Sharing means caring!
A pair of white-painted nightstands can be the perfect touch for many decor styles. With the right tools, you can take thrifted side tables and turn them into new farmhouse or cottage-style decor.
Follow along to see how I transformed these tables and how you can do the same with any old furniture pieces you may have!
Painted table arrangements
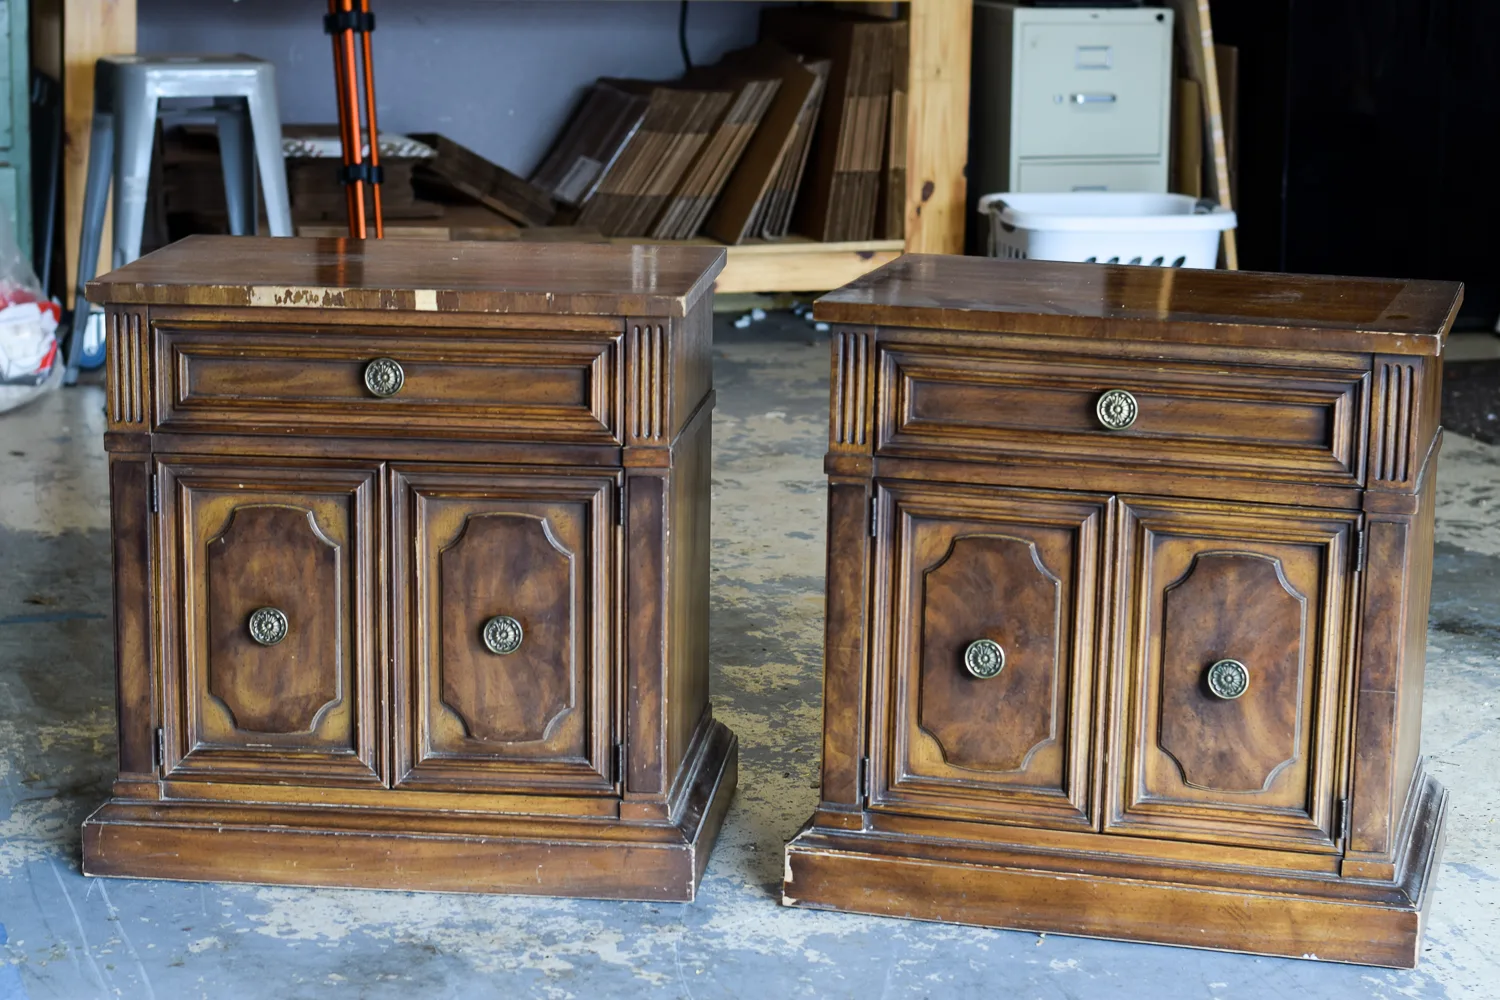
A friend of mine called me a while ago and told me that her aunt was looking to get rid of some furniture. This is always good news to hear!
She had a whole collection of antique Drexel furniture, and I think that was the Francesa line. Unfortunately, all pieces have sustained minor damage, meaning they cannot be resold as is.
I didn’t have room in my closet for larger pieces, but I decided to take this pair of side tables with me. Nightstand pairs are hard to find, and they always sell well for me in my closet.
Even though they were damaged, they were solid pieces of furniture that I knew would be beautiful again with a little paint,
Pin this!


What is the best paint for night tables?
Overall, my favorite paint to use when painting furniture is Fusion Mineral Paint. It provides me with a smooth and durable finish every time.
In this project, I wanted to use white, but not too bright. The off-white color with a hint of gray is what I was looking for.
Good thing Fusion has a wide range of whites to choose from!
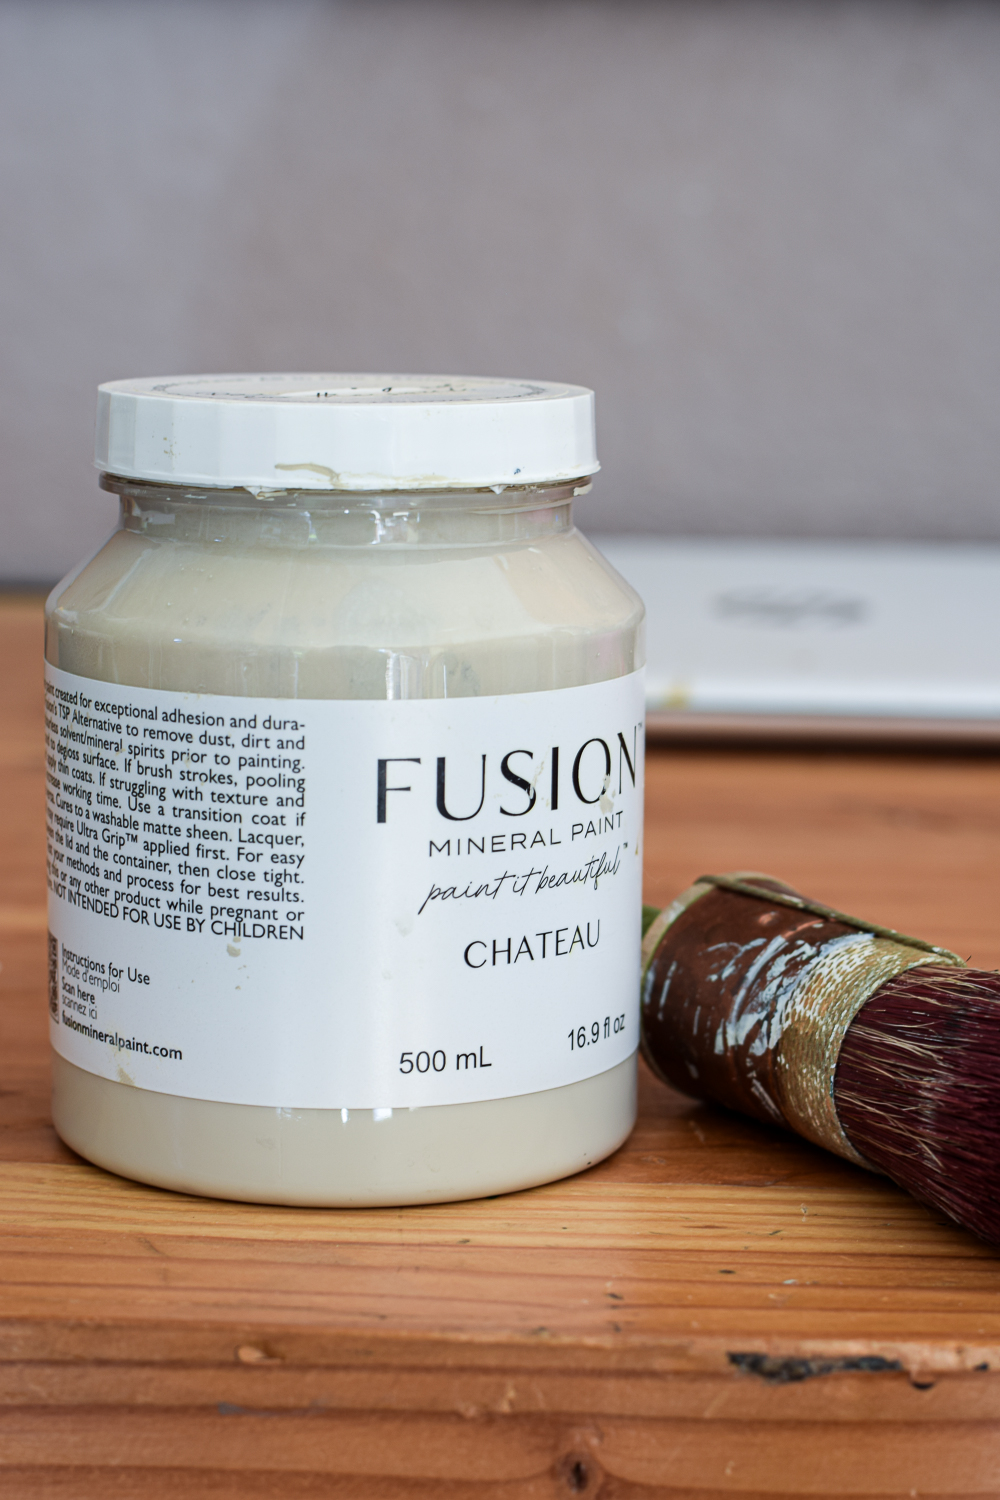


I realize in this photo it looks kind of dark grey. But once it’s on a piece of furniture, it still definitely reads white.
It’s a really great choice for a neutral off-white that’s not too yellow.
Want to try Fusion Mineral Paint for your next furniture project?
They have generously offered my readers a 10% discount on all Fusion products when you click and purchase here.
The discount will be automatically applied to your shopping cart. Yay!
Dresser Makeover Supplies
I participate in the Amazon Affiliate and Fusion Mineral Paint Affiliate Program, and will receive a small commission from purchases made through these links. Read my full disclosure here.
Complete workbench makeover tutorial
There was some work to do before I could start painting these night tables.
First, the affected spots must be treated.
Secondly, they needed a good cleaning.
Related Article: Why Should You Clean Your Furniture Before Painting It?
To fix spots where the veneer had been pulled, I sanded those areas smooth with sandpaper (80 grit), then applied a thin layer of wood putty to fill in any cracks.
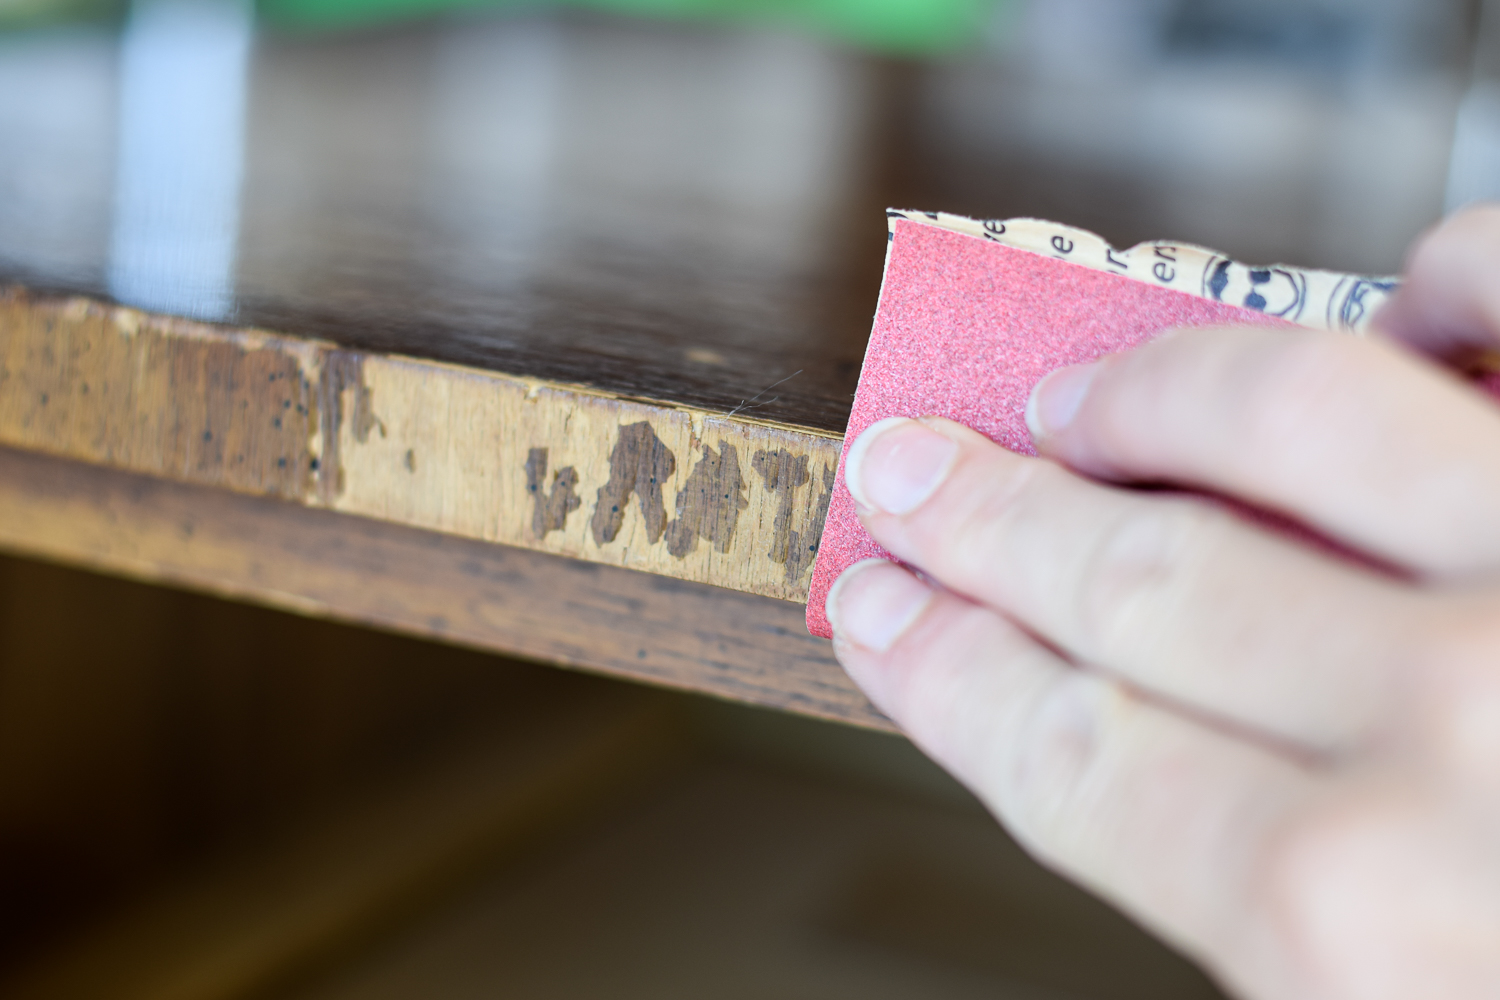


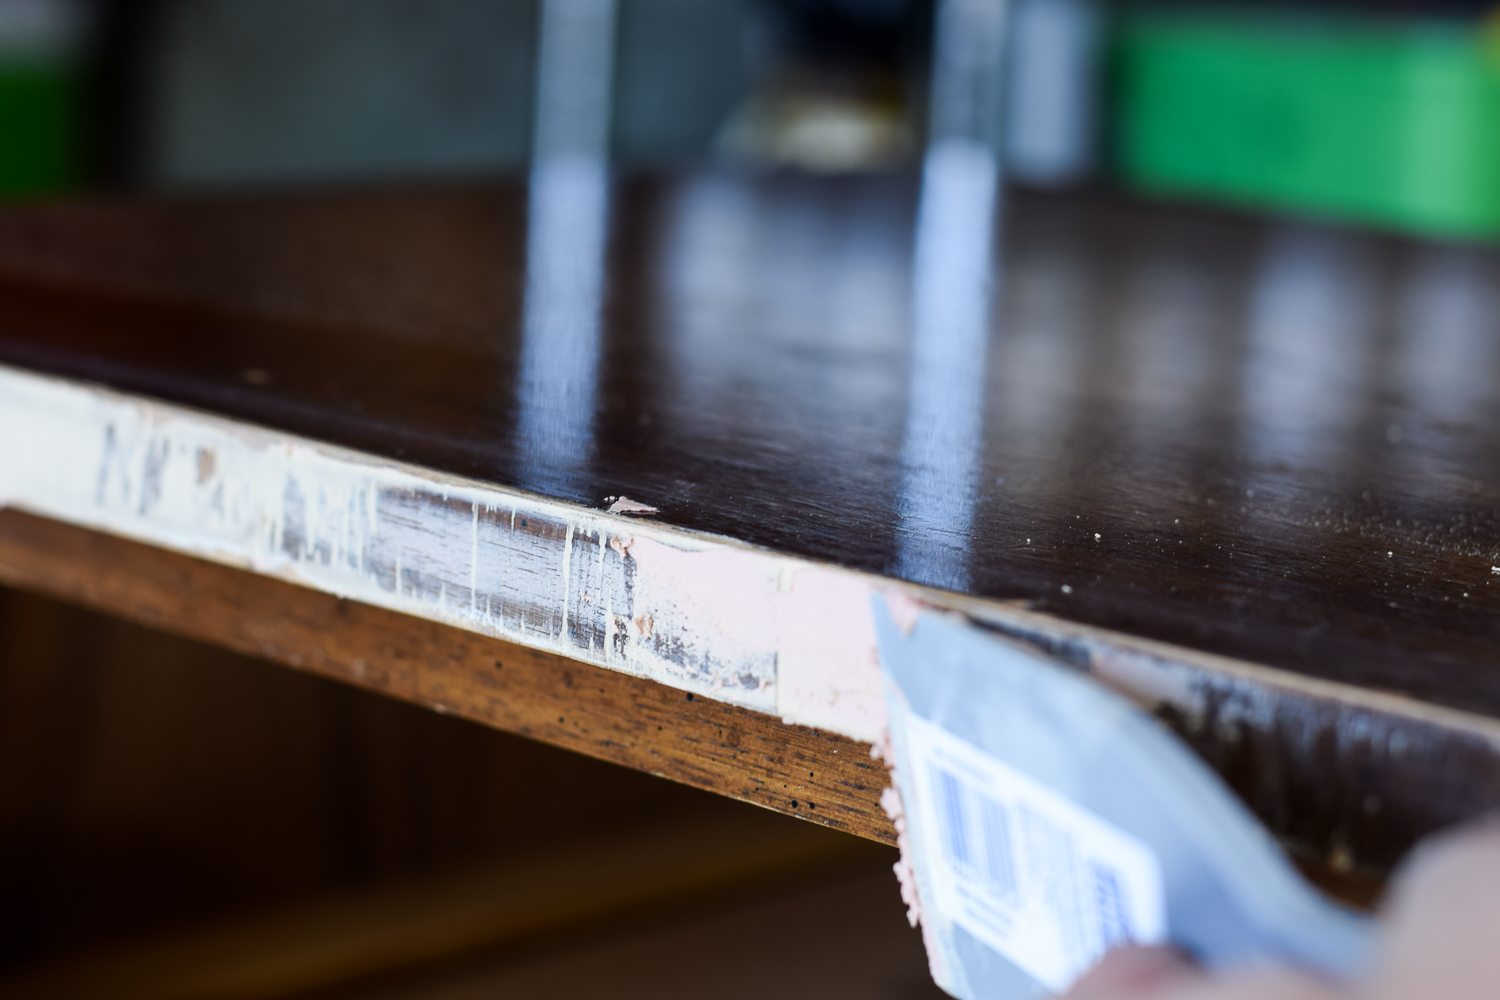

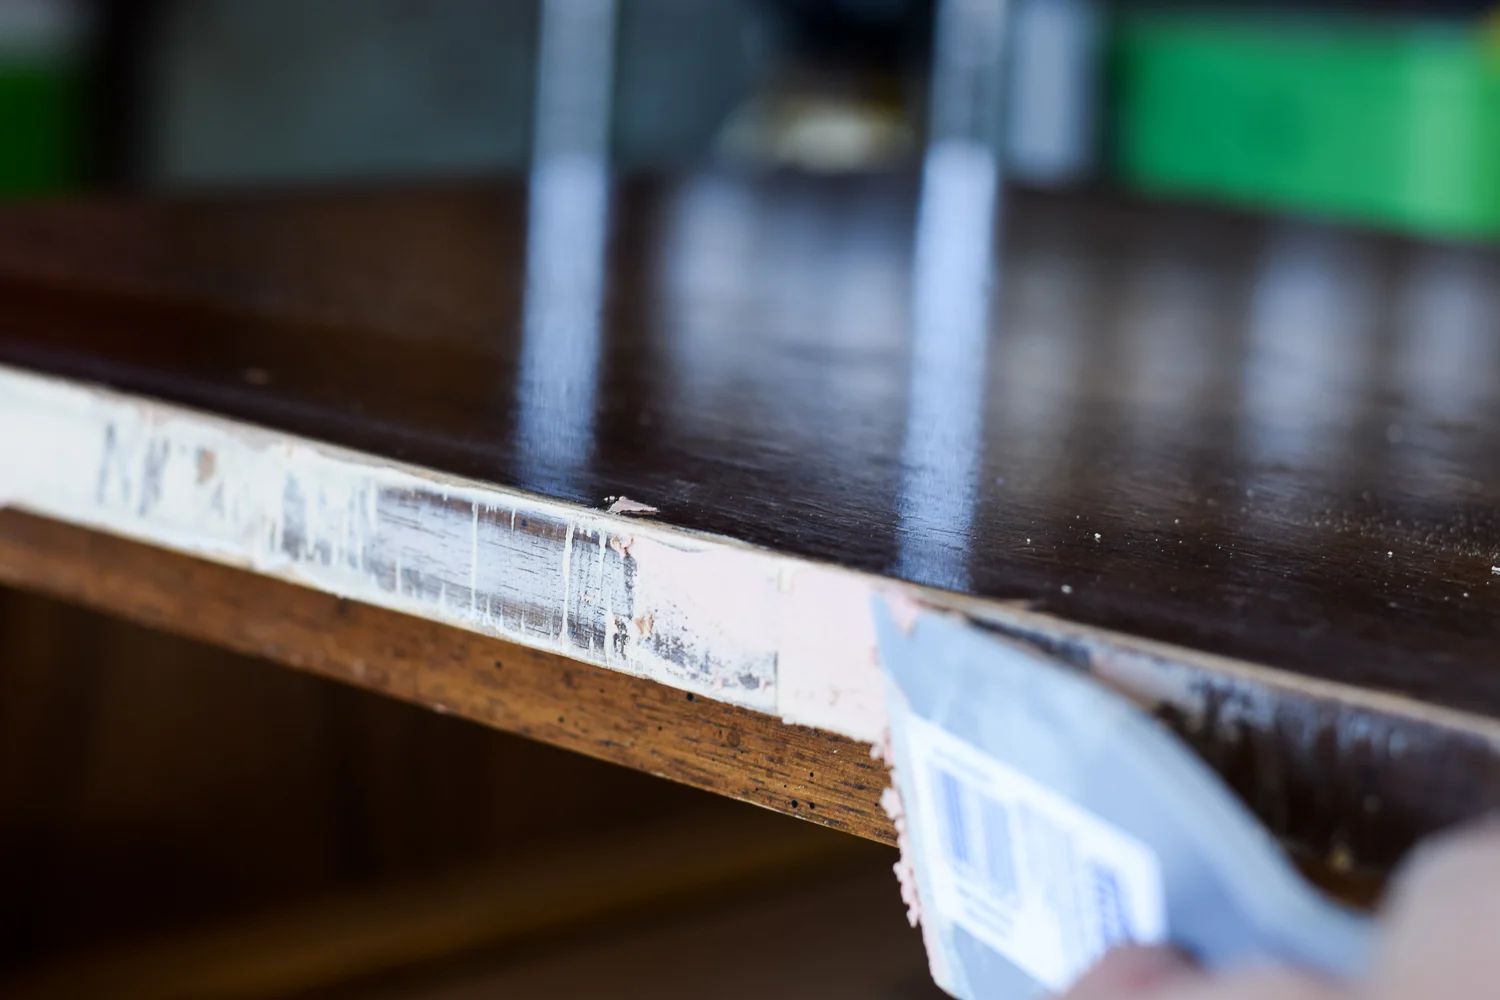

Once the wood putty was dry, I sanded it with fine (220) sandpaper to make it completely smooth.
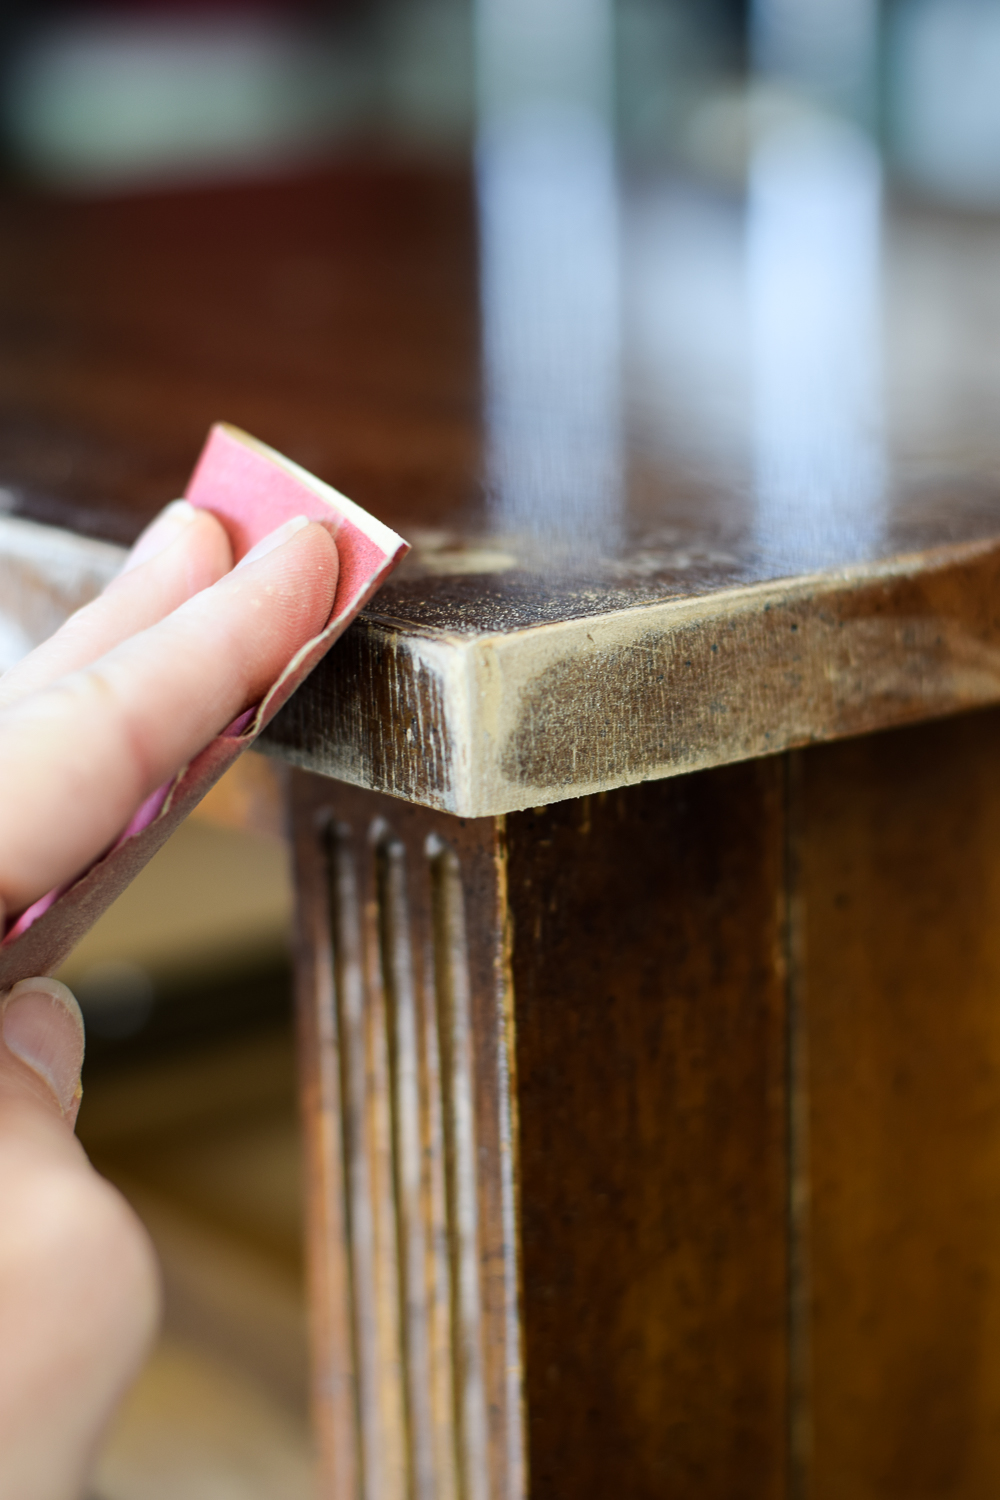

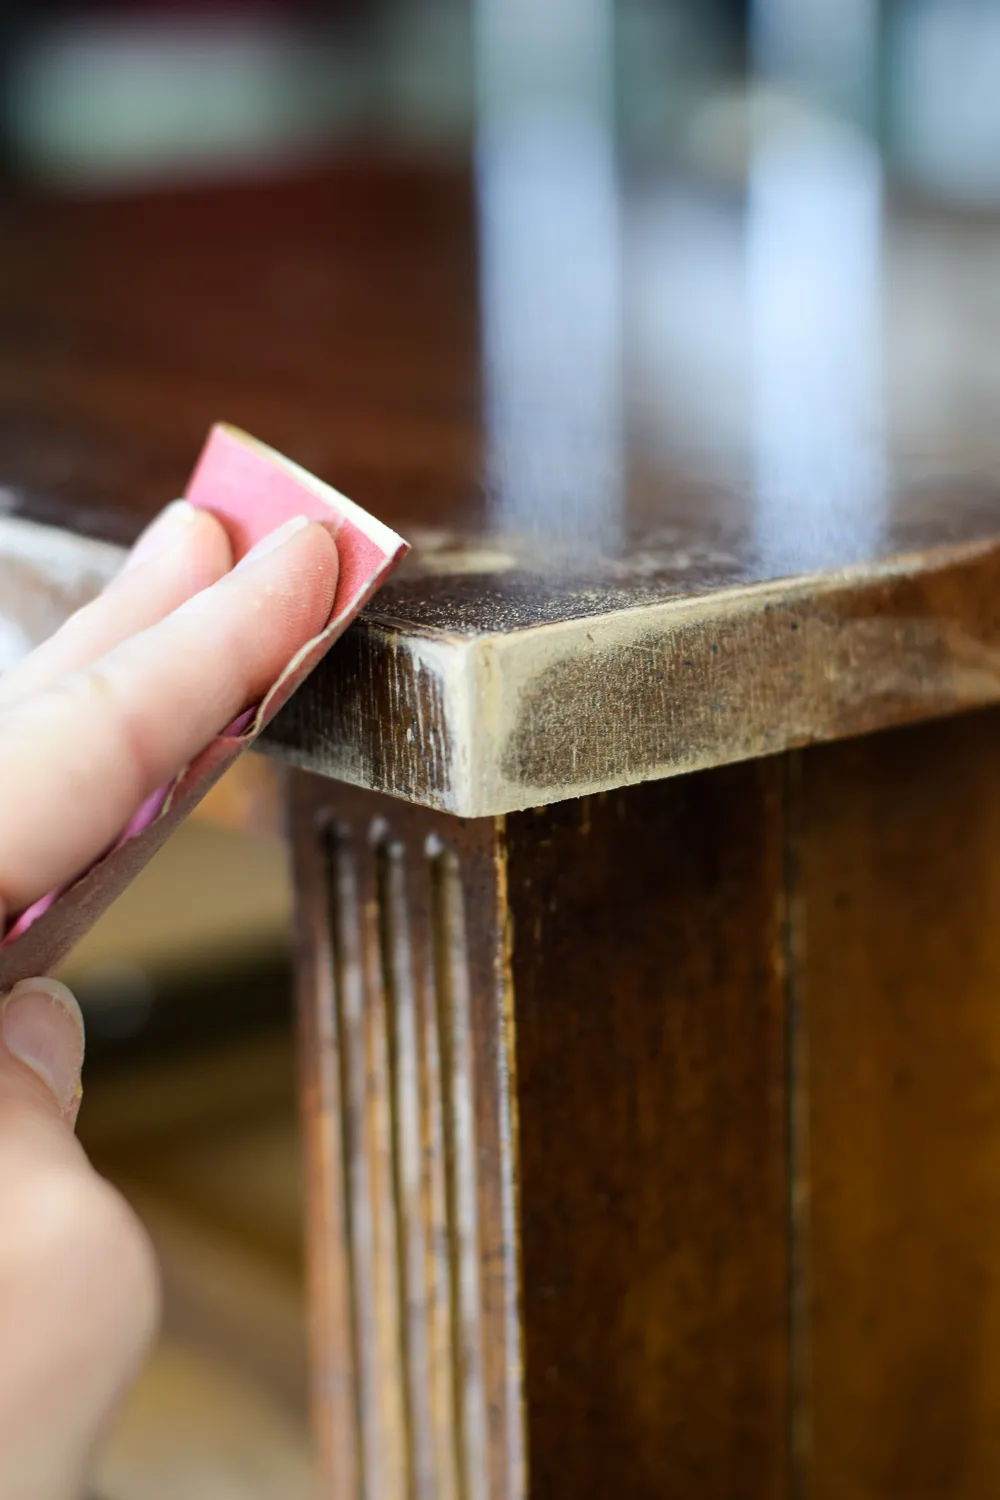

I also sanded down the corners and any other places where the finish was rough or there were cracks in the veneer.
After the damage is addressed, it’s time to clean these pieces well.
I first started by wiping it down with an odorless solvent.
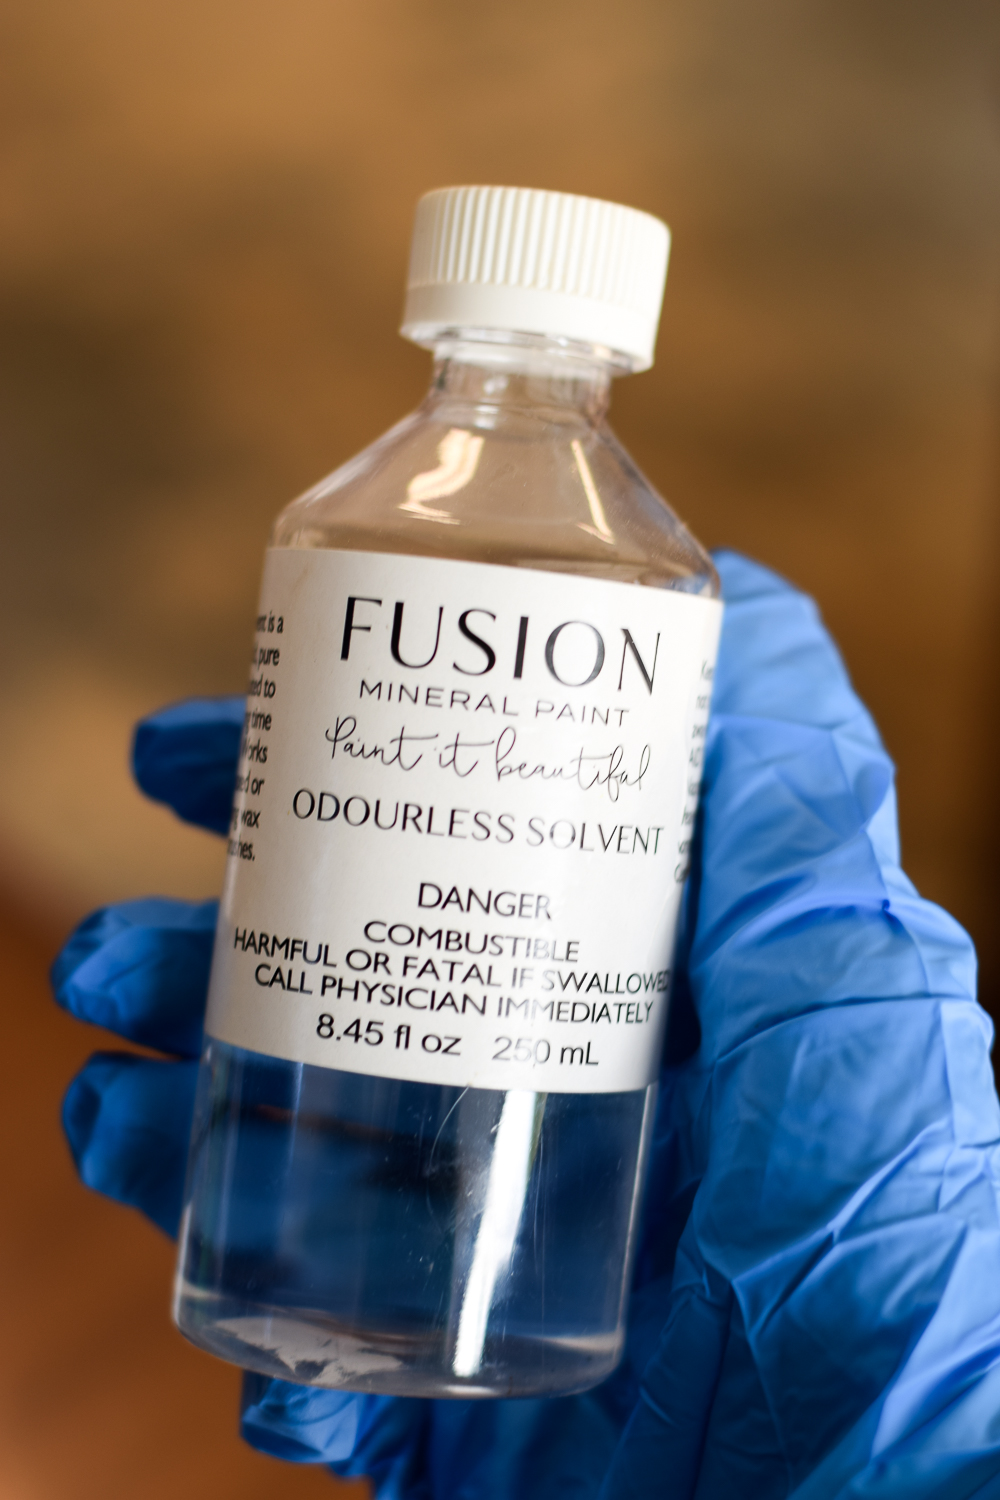


There were some areas of sticky residue scattered all over the body of these tables, as if someone had spilled a sugary drink and never cleaned it up.
The odorless solvent takes care of any real heavy residue like that, as well as things like wax or furniture polish buildup.
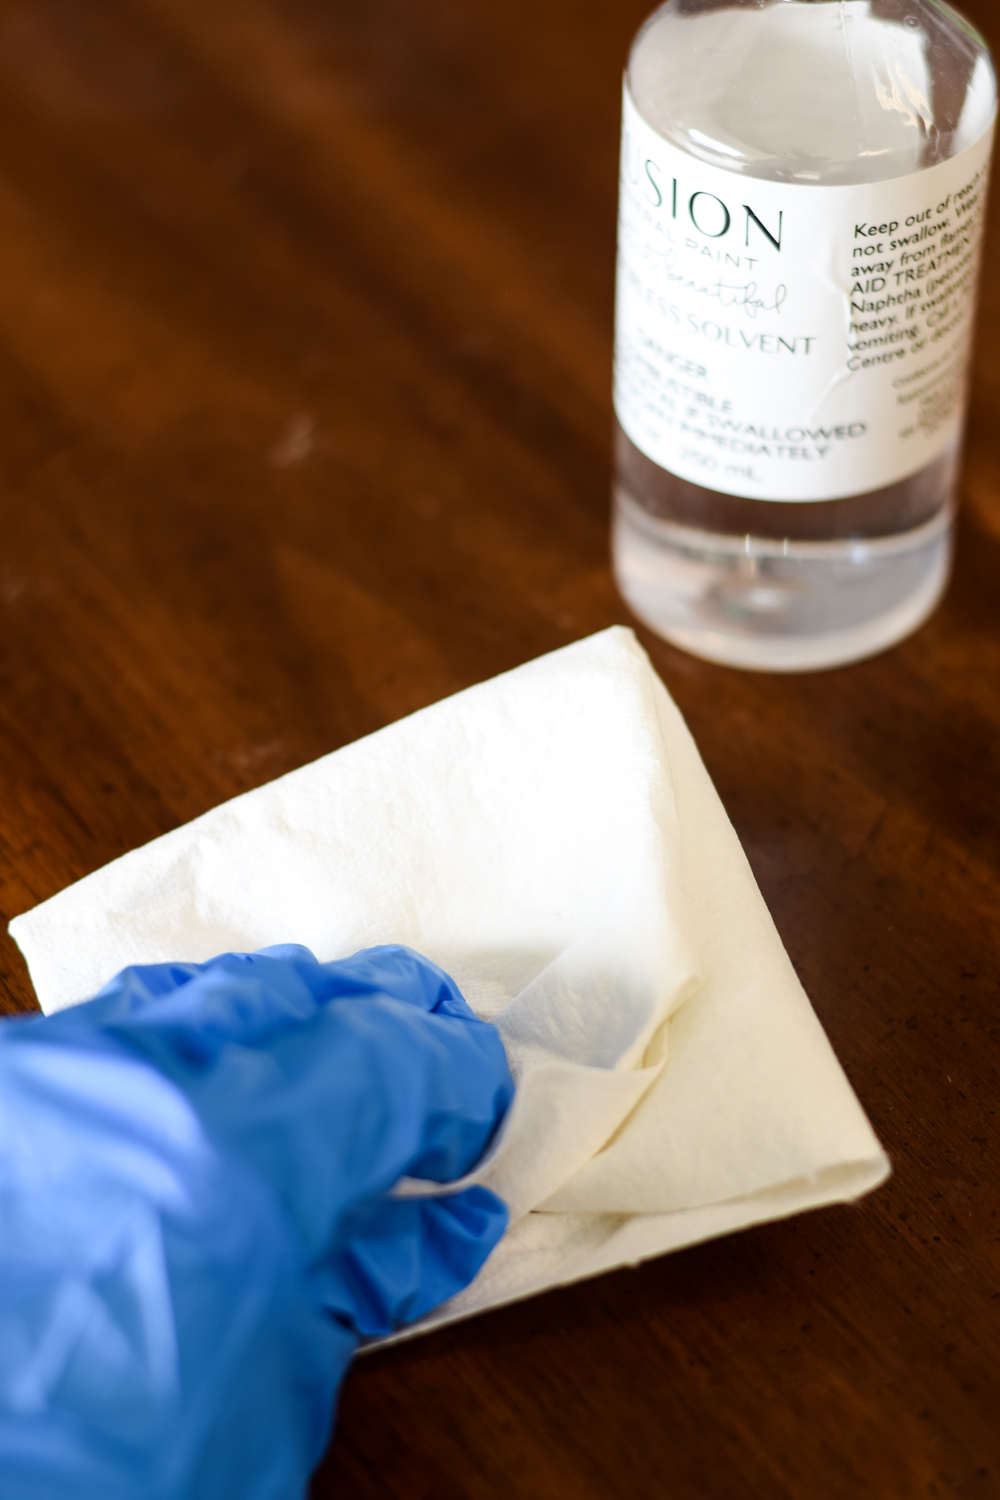


The final cleaning step was to wipe down each countertop again, this time with TSP Replacement Degreaser.
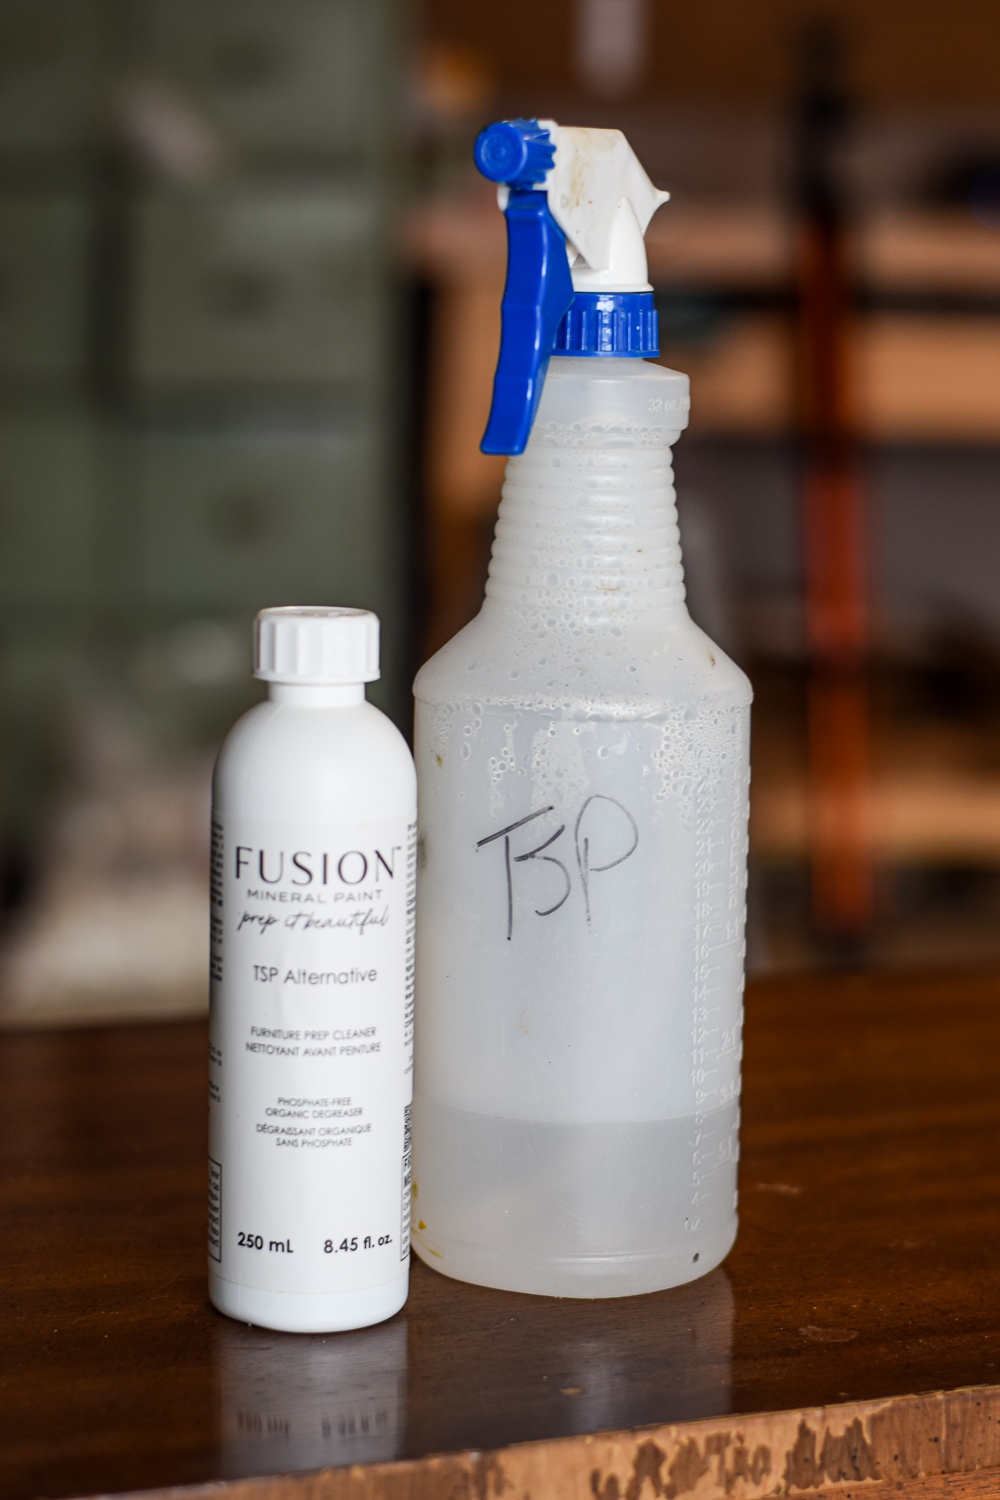

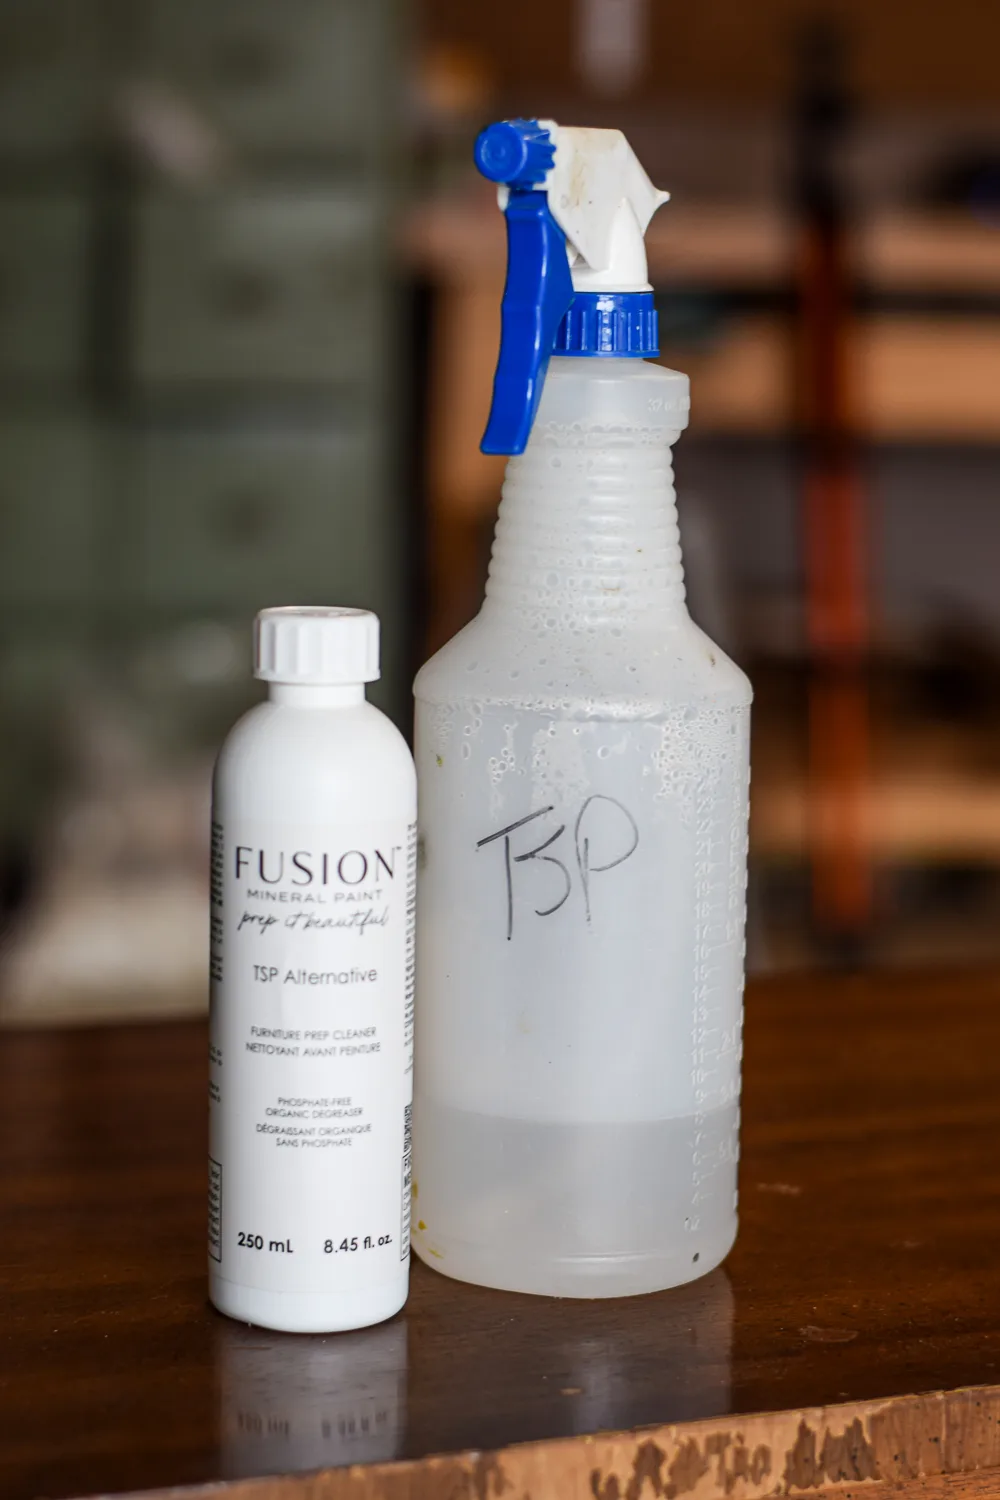

Seriously, this is one of my favorite products for furniture painters! It’s non-toxic and does a great job of cleaning up grease and other oily residue so your furniture is completely clean and ready to paint.


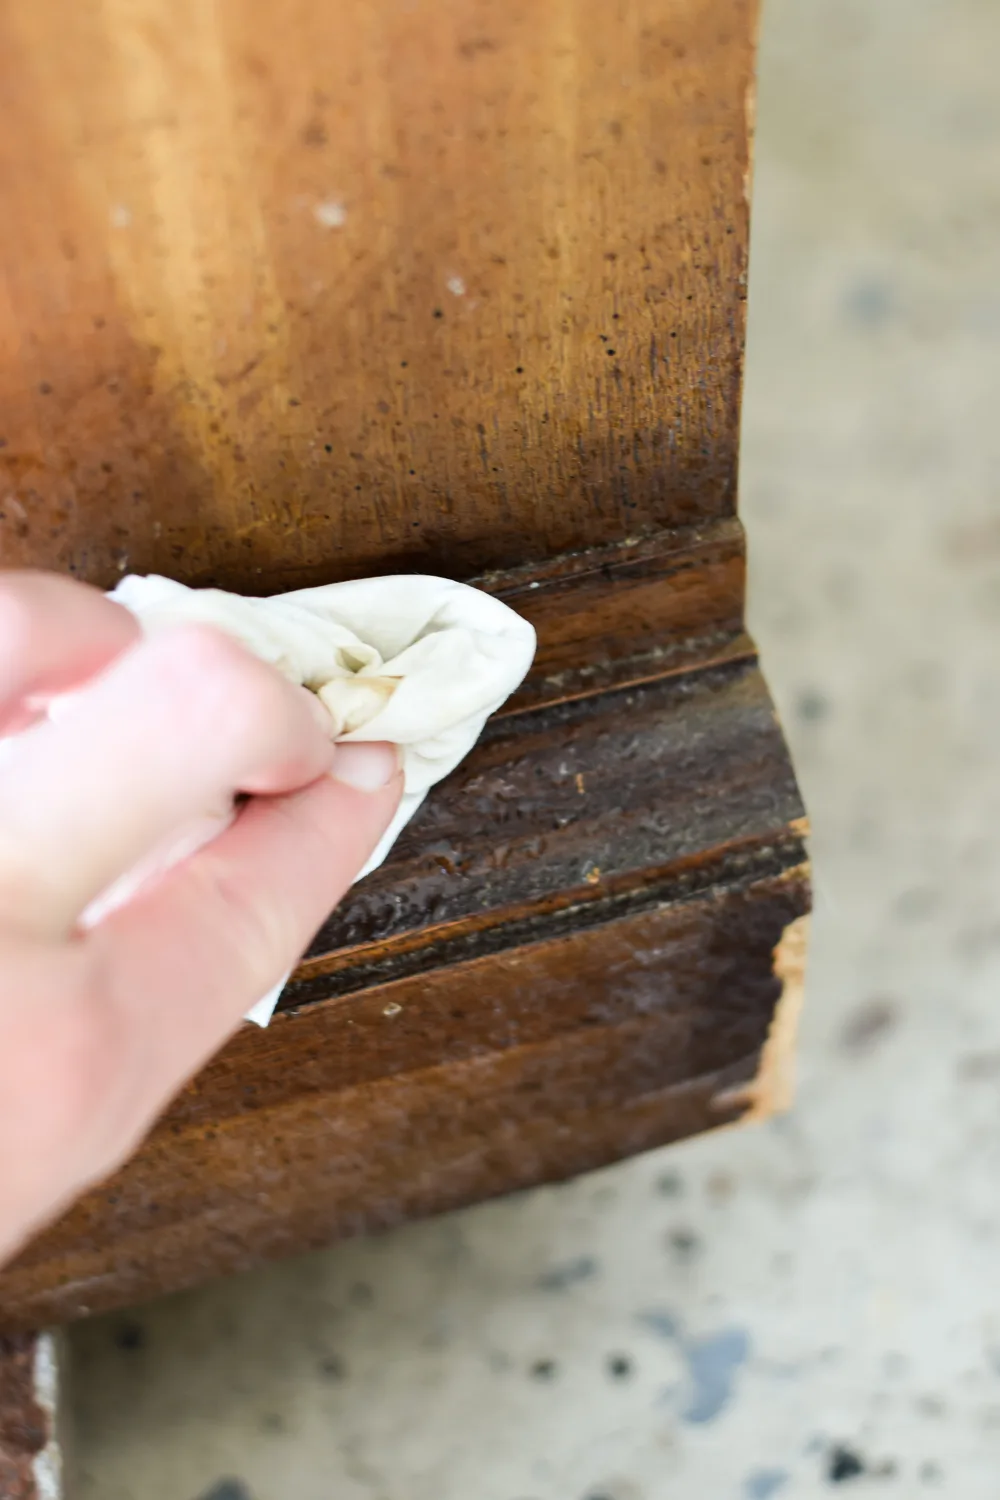

I just sprayed the entire counter, then used shop towels to wipe up all the residue from the odorless solvent and any other general grime. It’s really that easy!
The final prep step was to give the entire piece a very quick and light sanding with 180 grit sandpaper. This just helps open up the pores of the existing finish so the paint adheres a little better.
Related Post: Furniture Prep Flipping 101: When to Sand Furniture
Should I use primer as a base coat?
I usually don’t use primer when I paint with Fusion. It’s not necessary to have a paint pen, unless you’re painting something that’s not actual wood (think IKEA laminate material).
But when I paint dark wood pieces white, I like to use a base coat of white paint. This helps cover part of the dark wood and usually saves me at least one coat of more expensive paint.
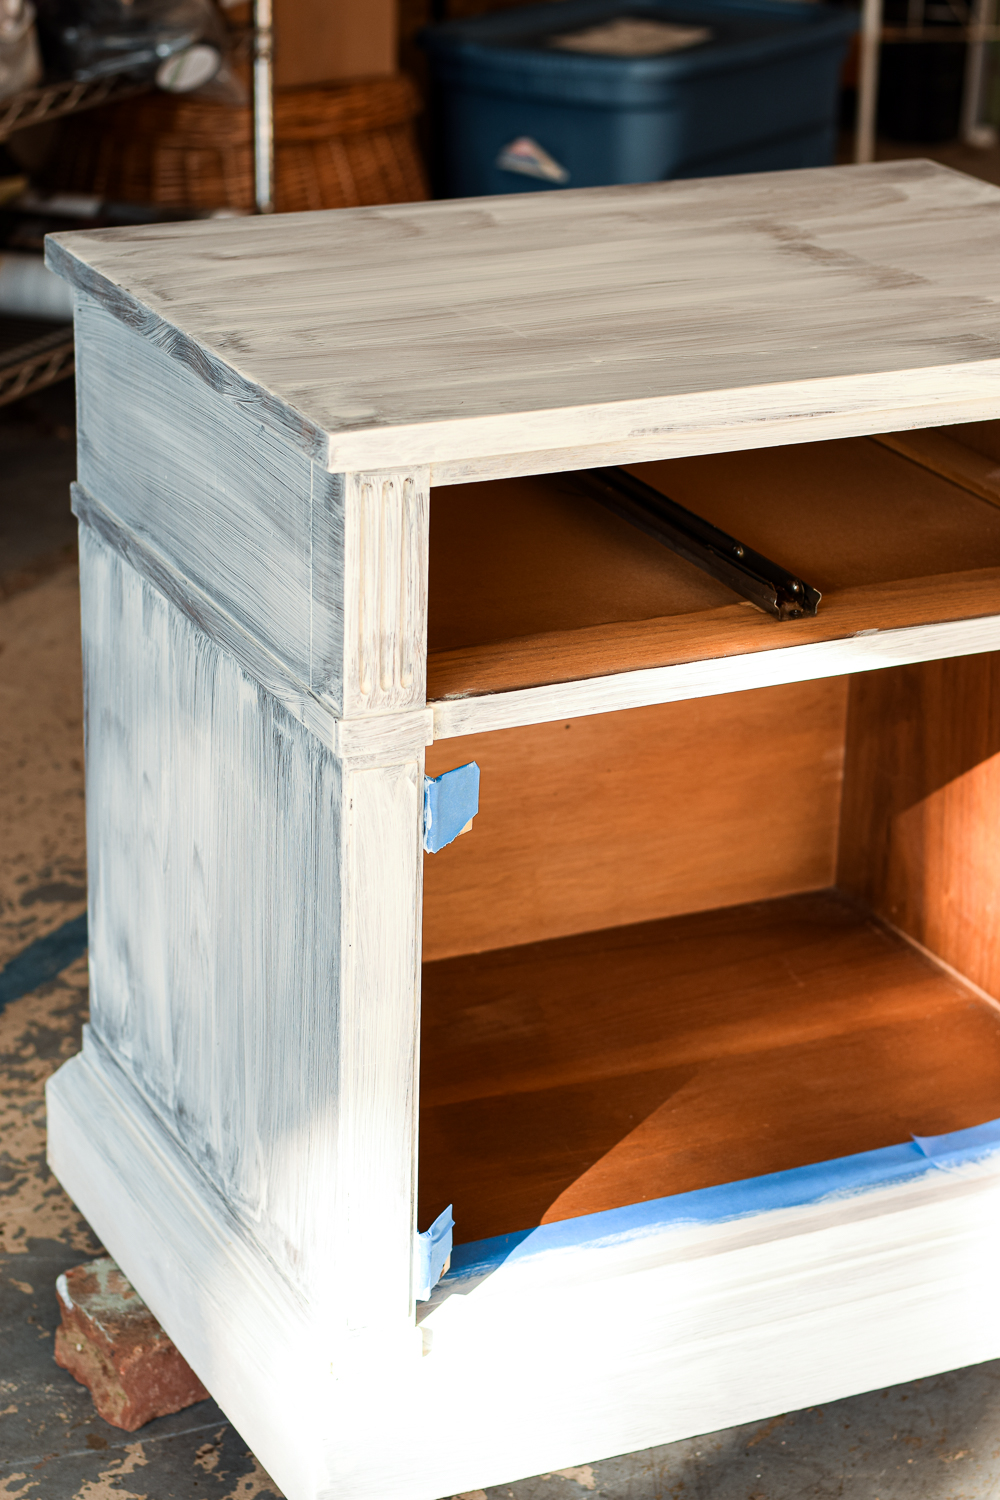

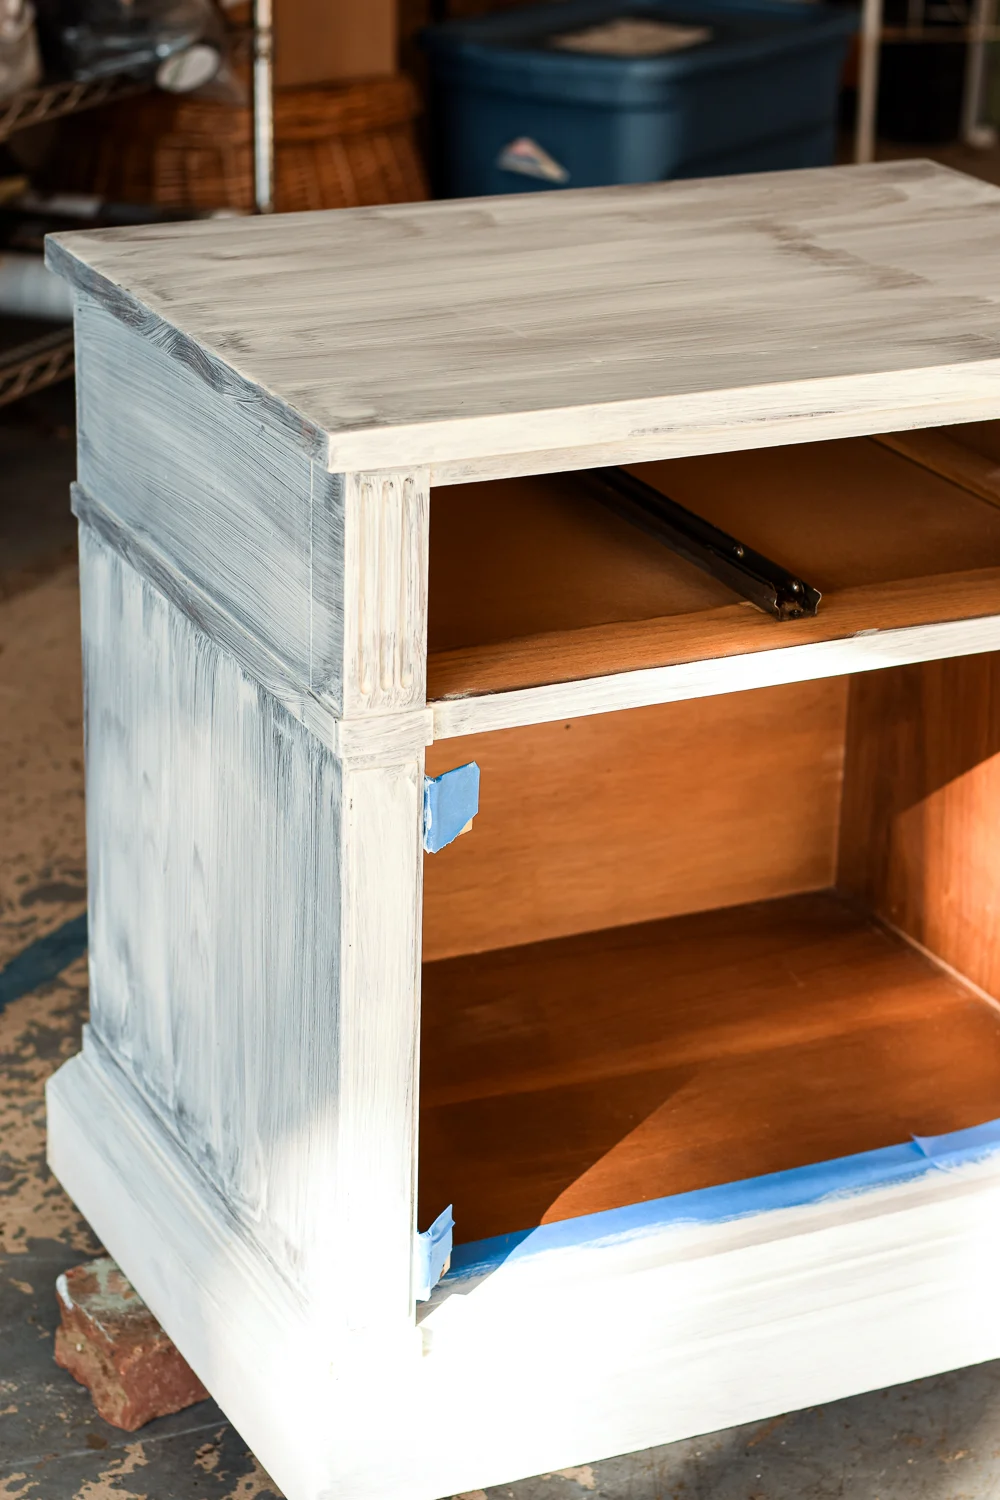

Here is one of the night tables with a coat of primer. Don’t worry, it always looks terrible! Once the paint goes on, it will look much better 🙂
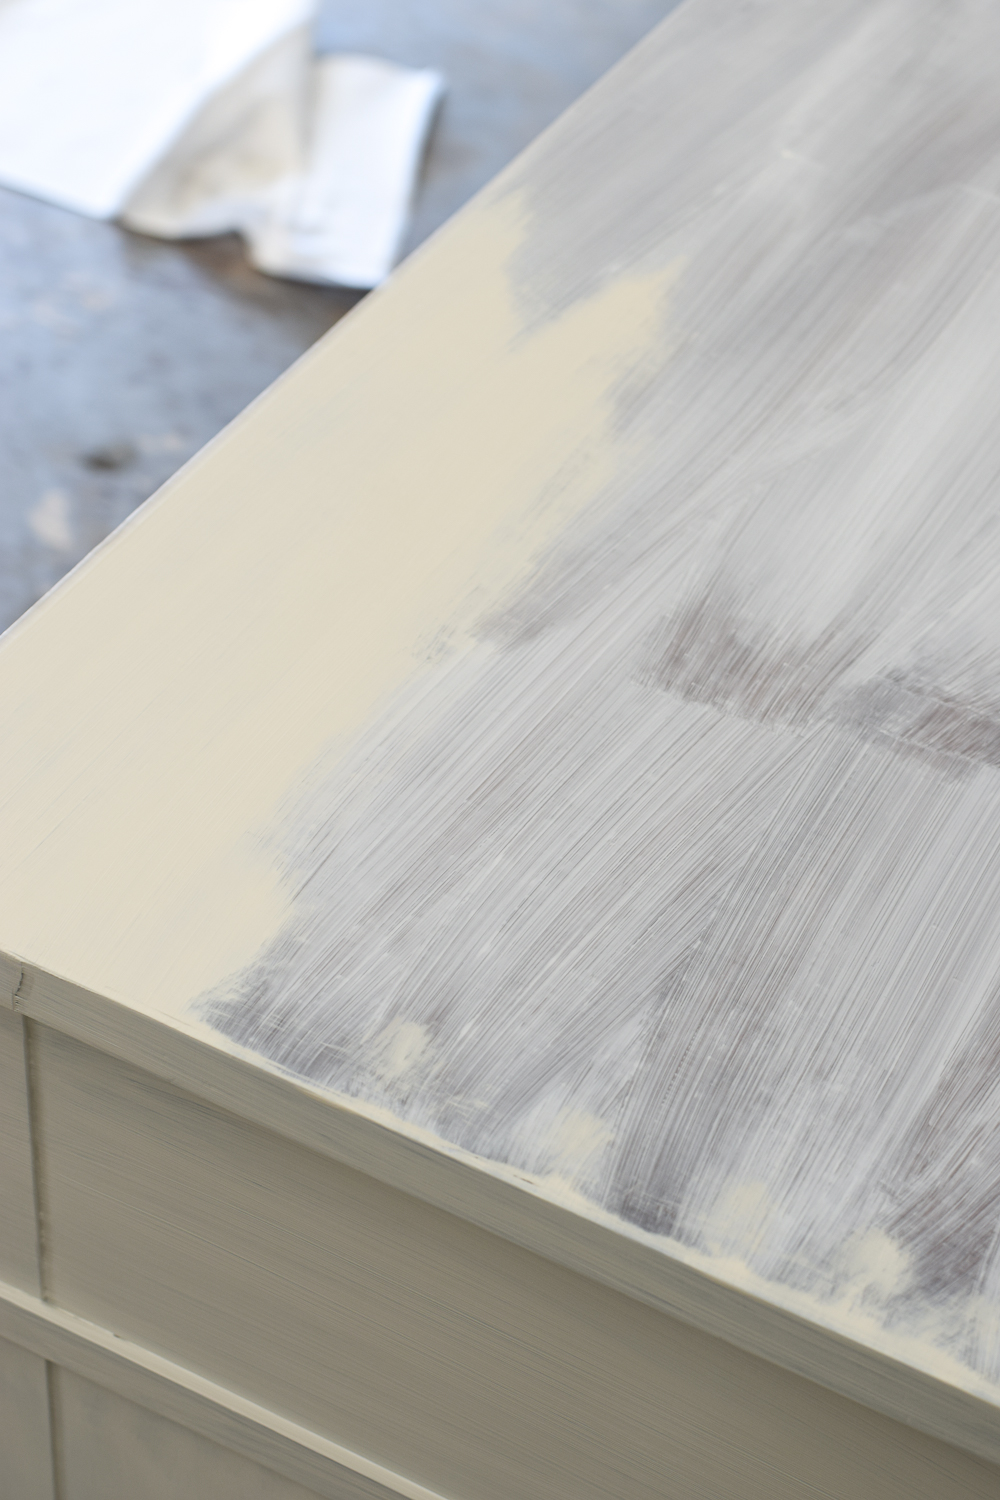

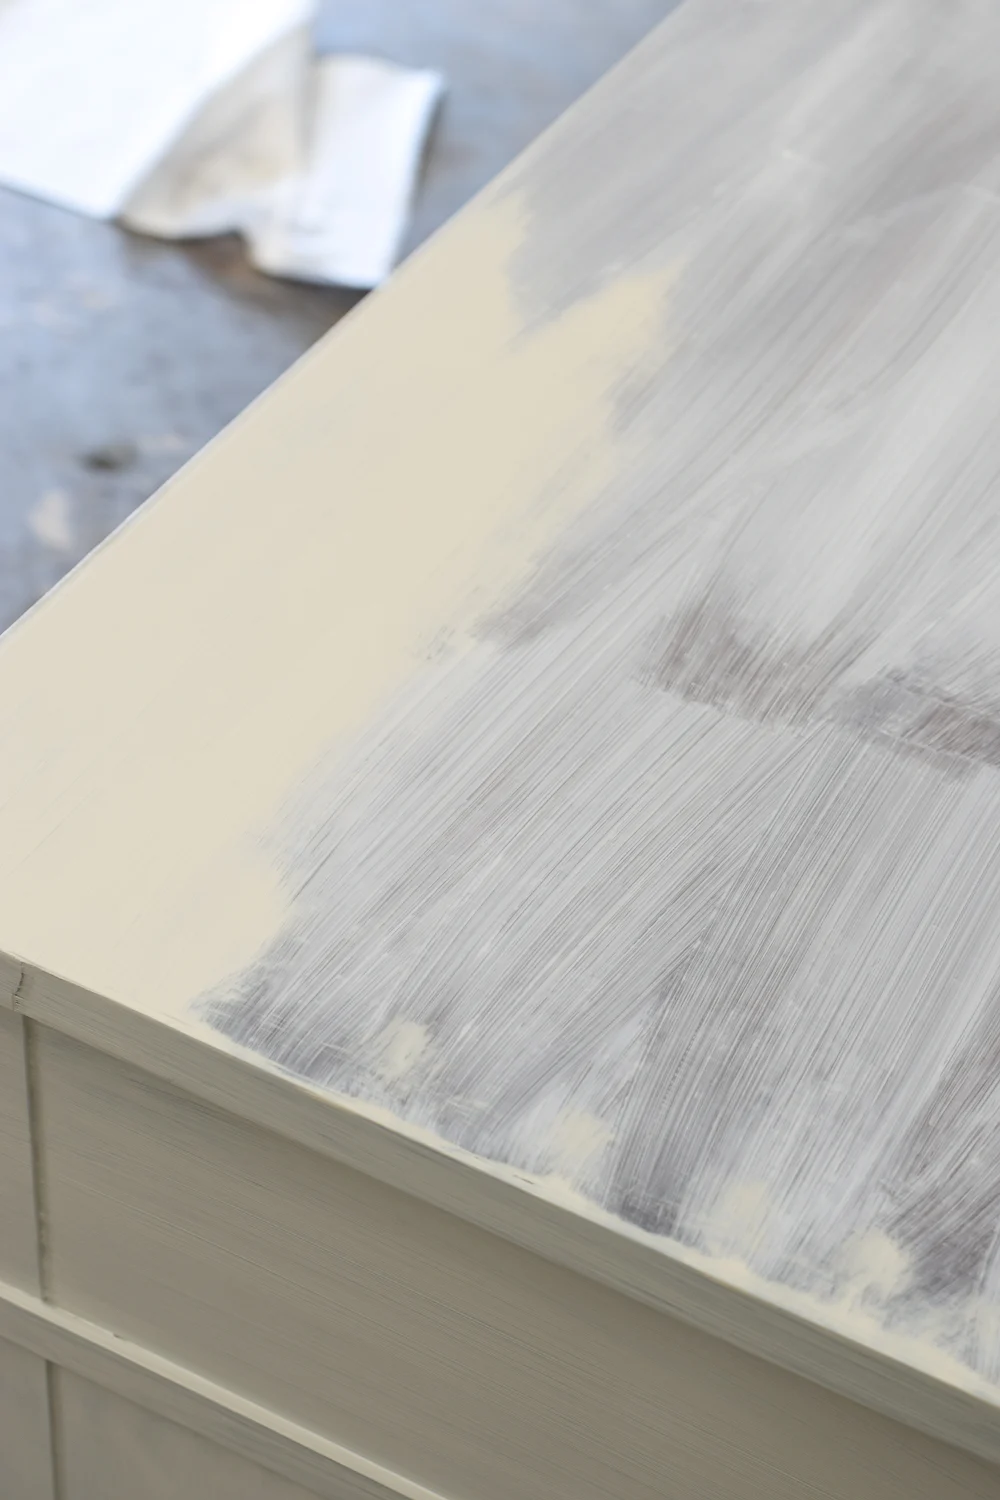

After the primer dried (I checked the recommended time for the specific type I used), I started painting on Fusion Chateau. That’s one coat, and we already look better!
It took two coats of Chateau to get full, smooth coverage. I let each layer dry for 2-3 hours before applying the next layer.
Tips for getting a smooth finish with Fusion Metallic Paint
I wanted these night tables to have a clean, modern finish.
The best way to get this look with Fusion is to paint in thin layers. Even if you need one extra layer to get full coverage, thinner layers will dry better and look better.
For cabinet tops or other large, flat areas, you can use a roller. This also helps with brush stroke issues.
My final tip is to invest in a nice brush. A quality brush with soft synthetic bristles can make a big difference in how smooth your paint finish is.
Watch my video comparing all the different Fusion Mineral Paint offerings in white!
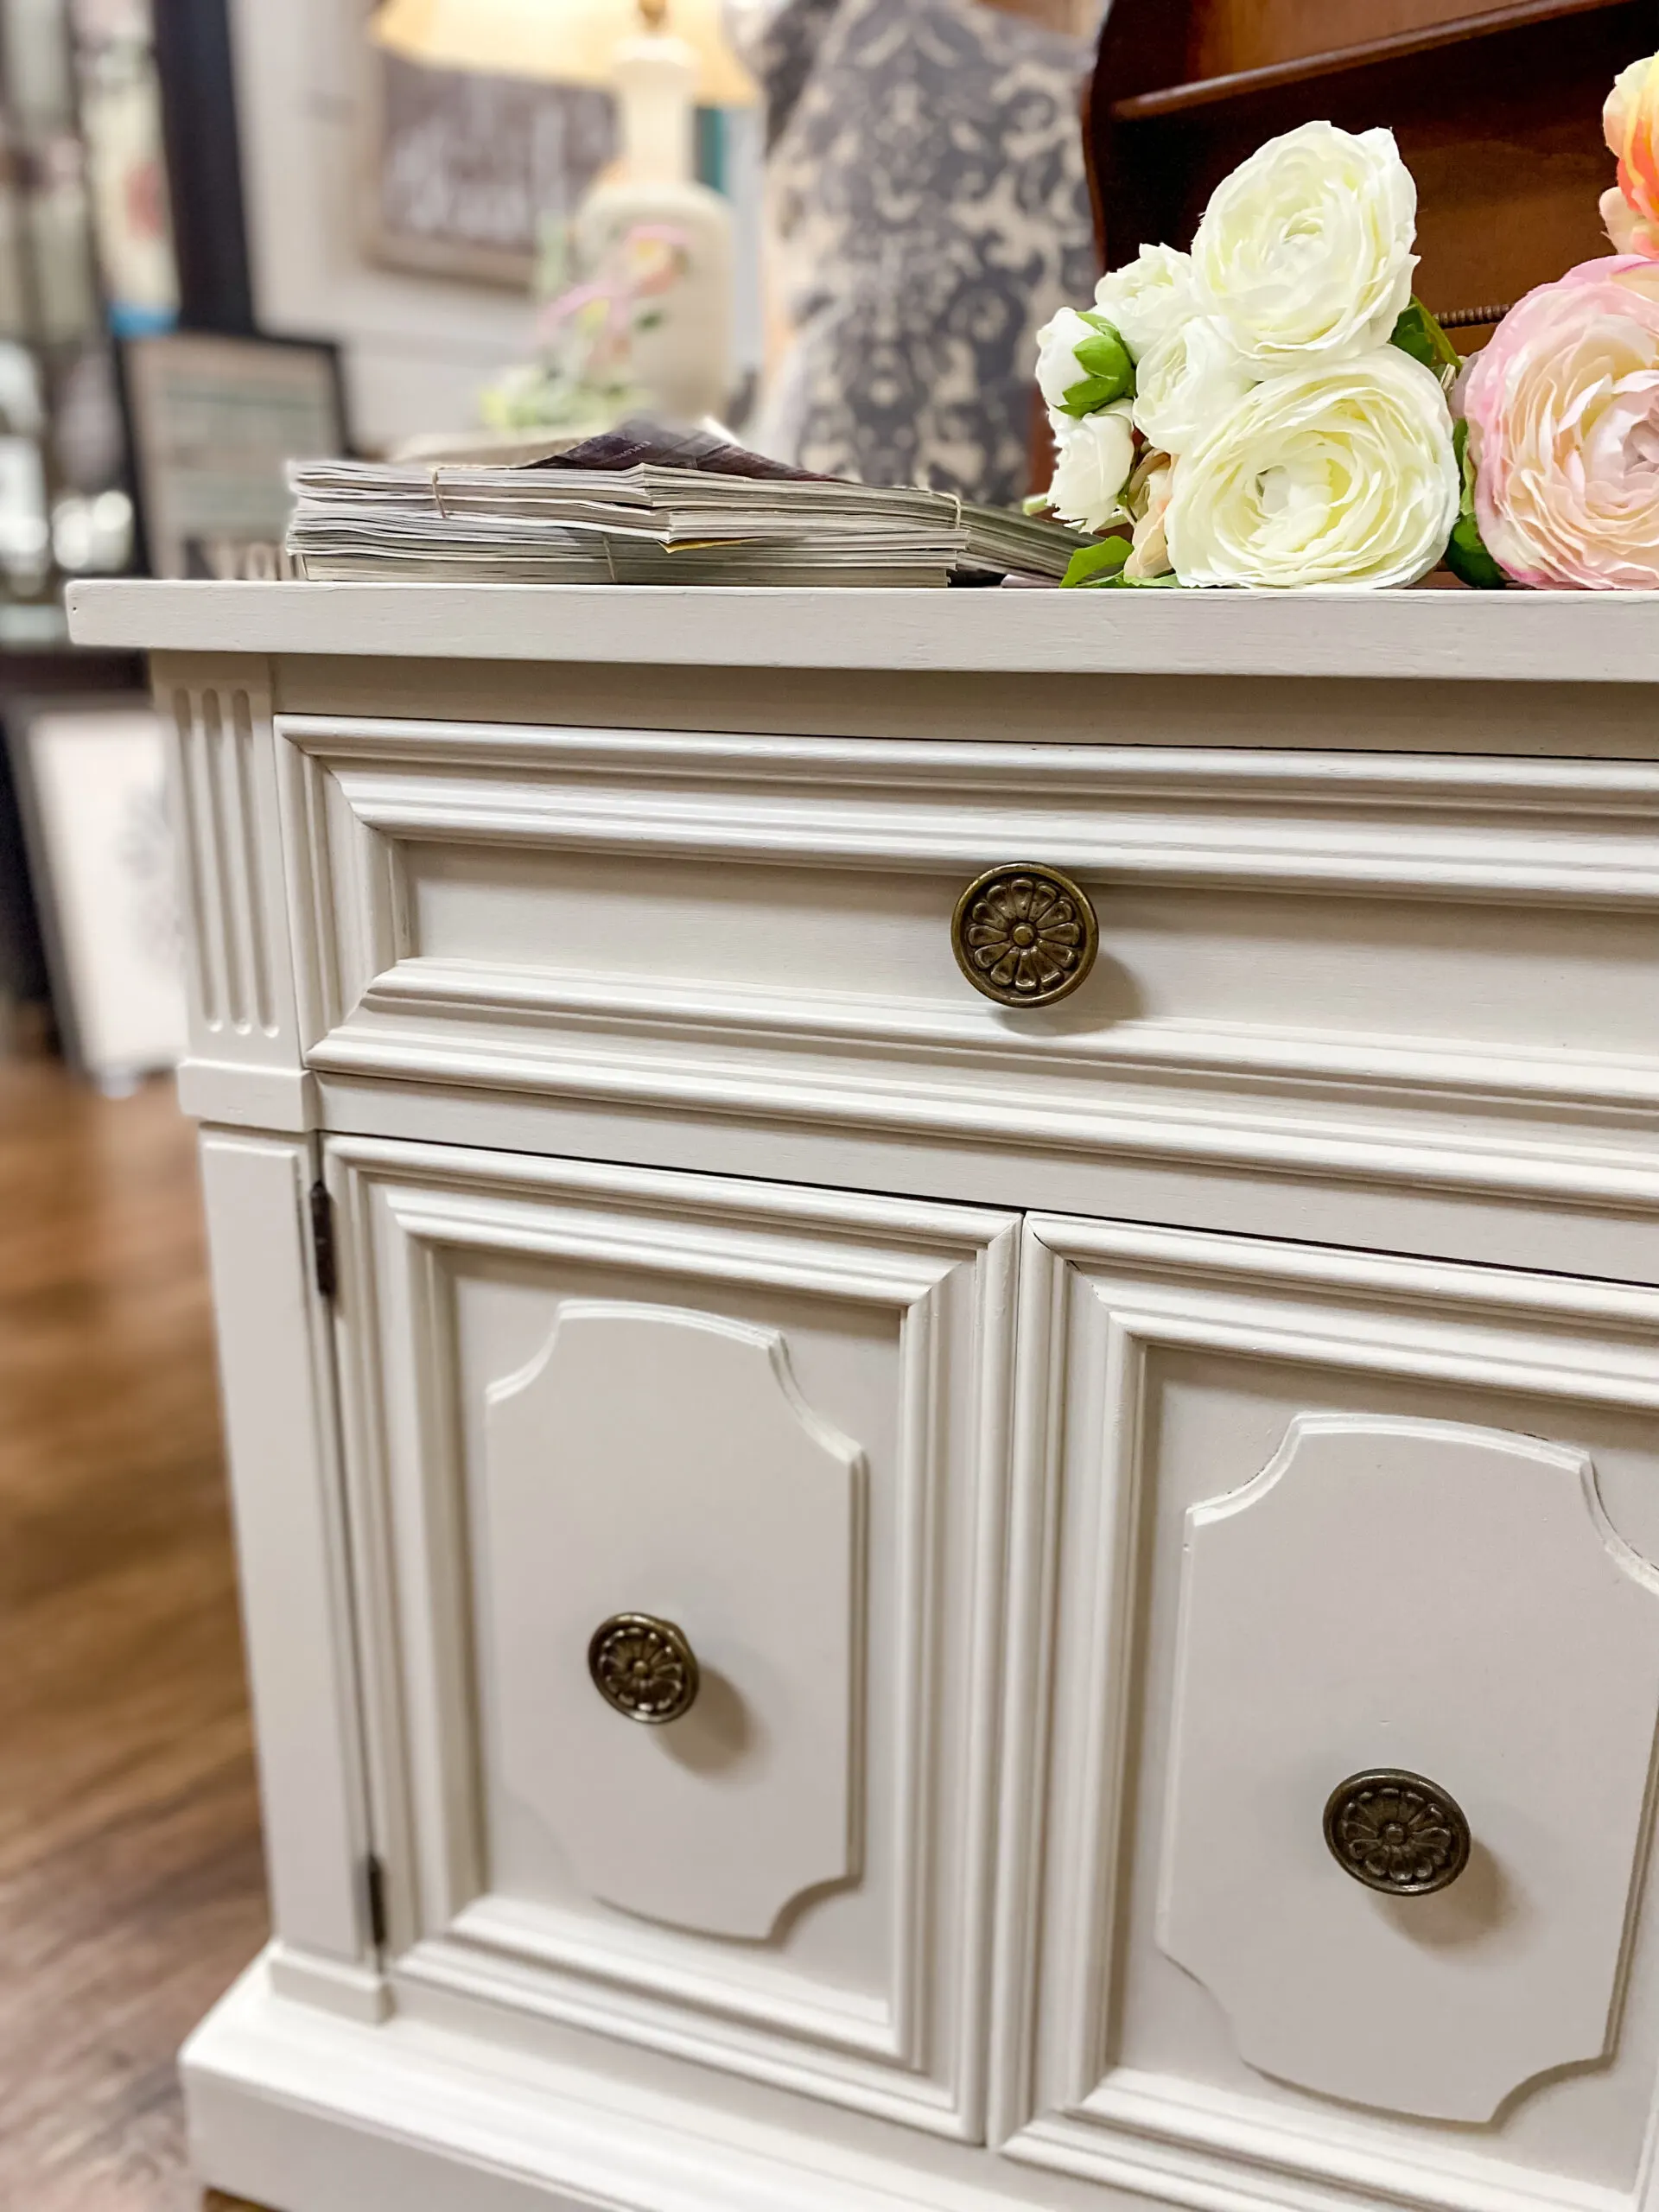
White painted bedroom tables
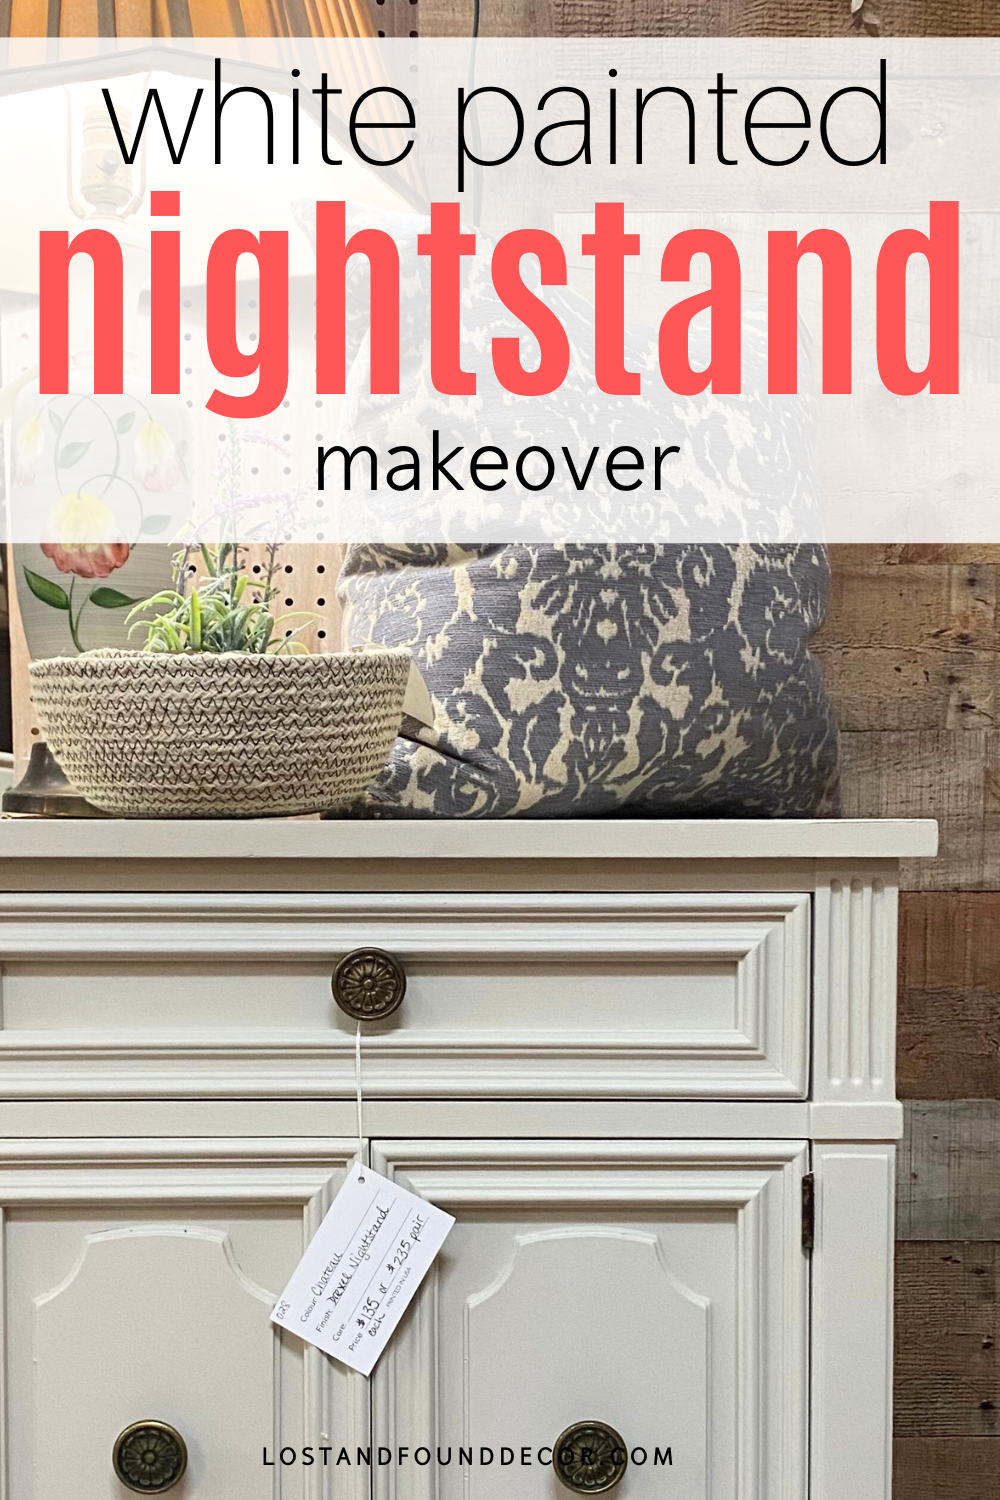
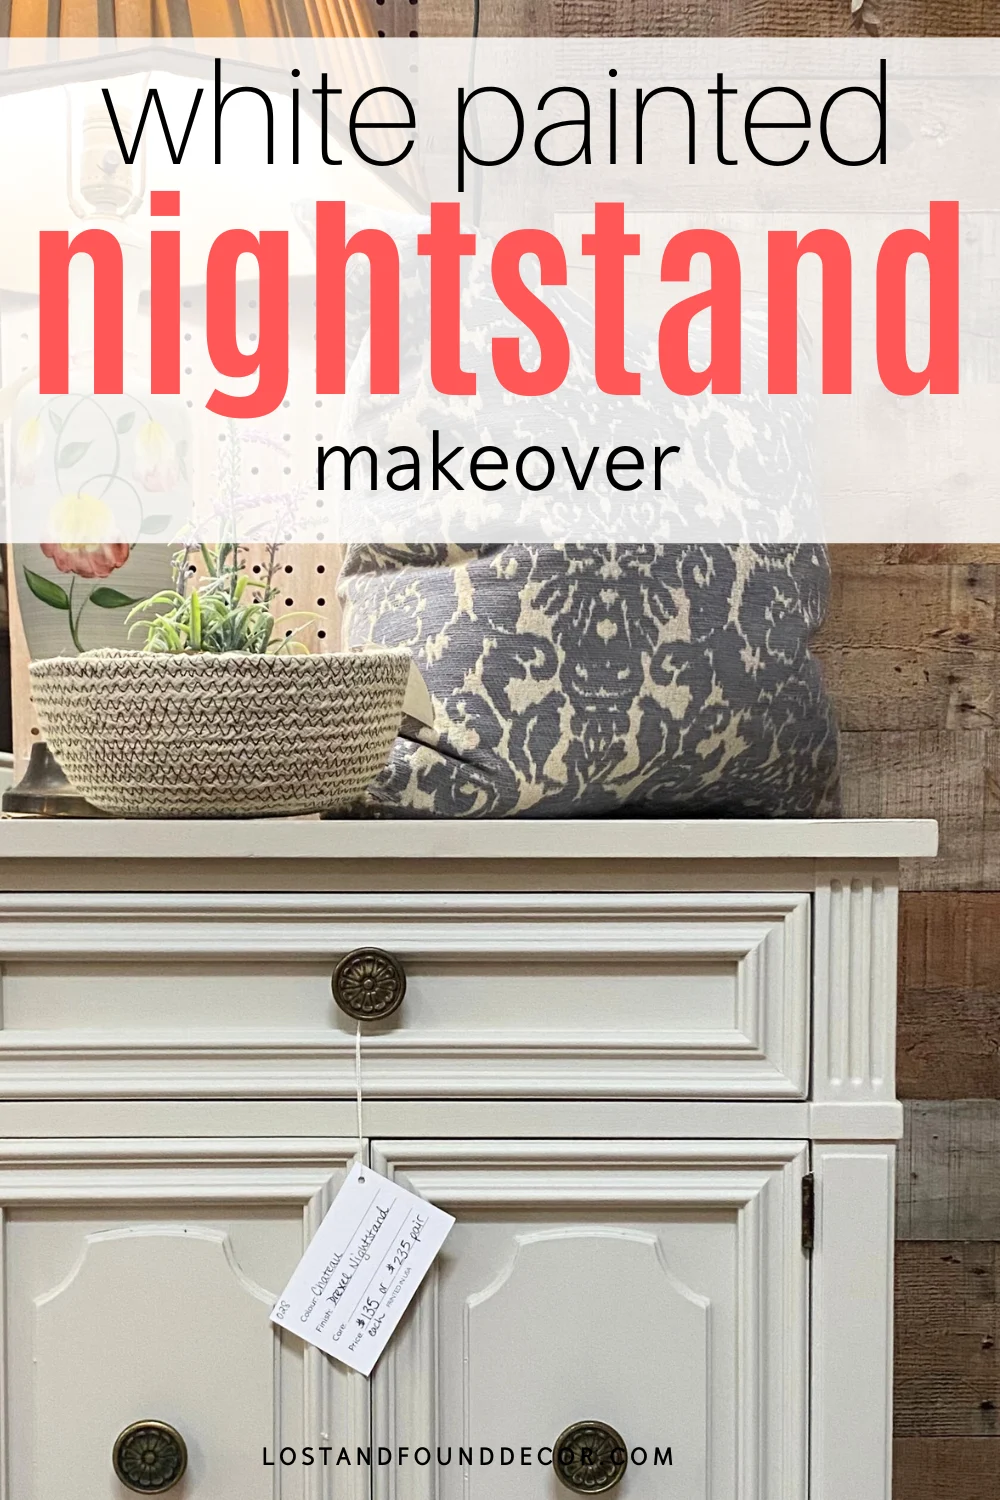
I let the final coat of paint dry for two weeks (to help cure and harden), then took it into my suite space.
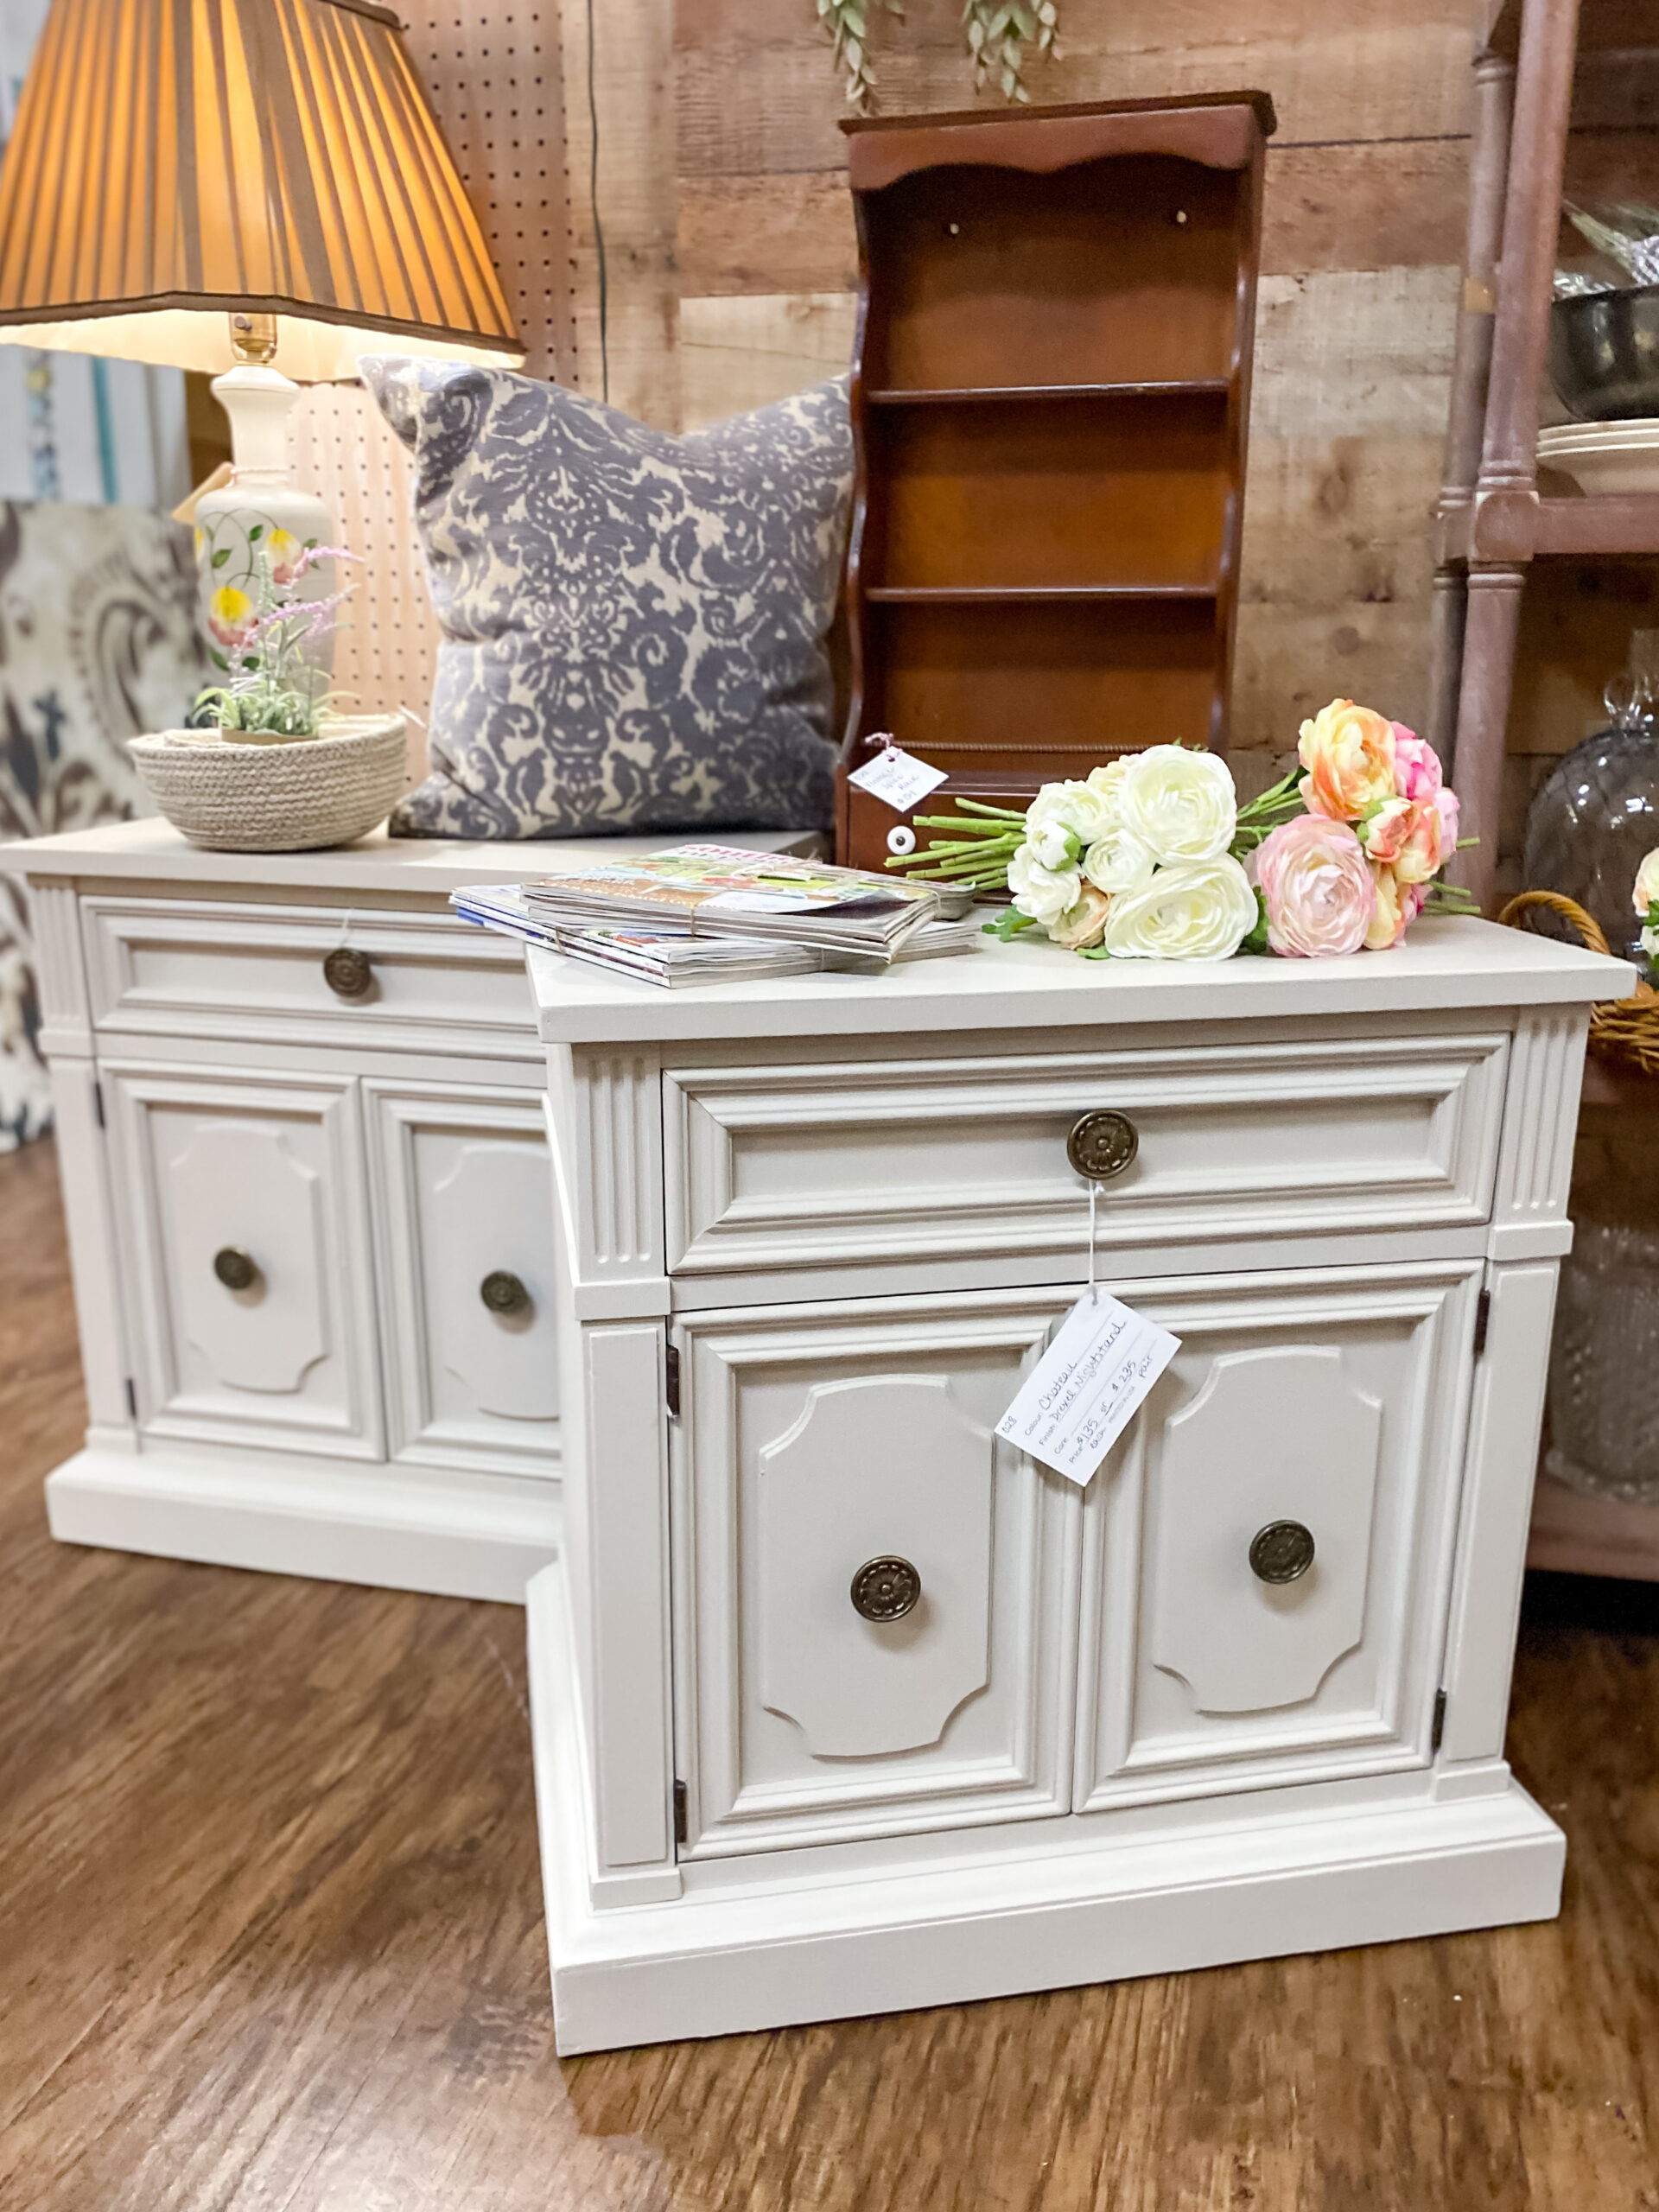

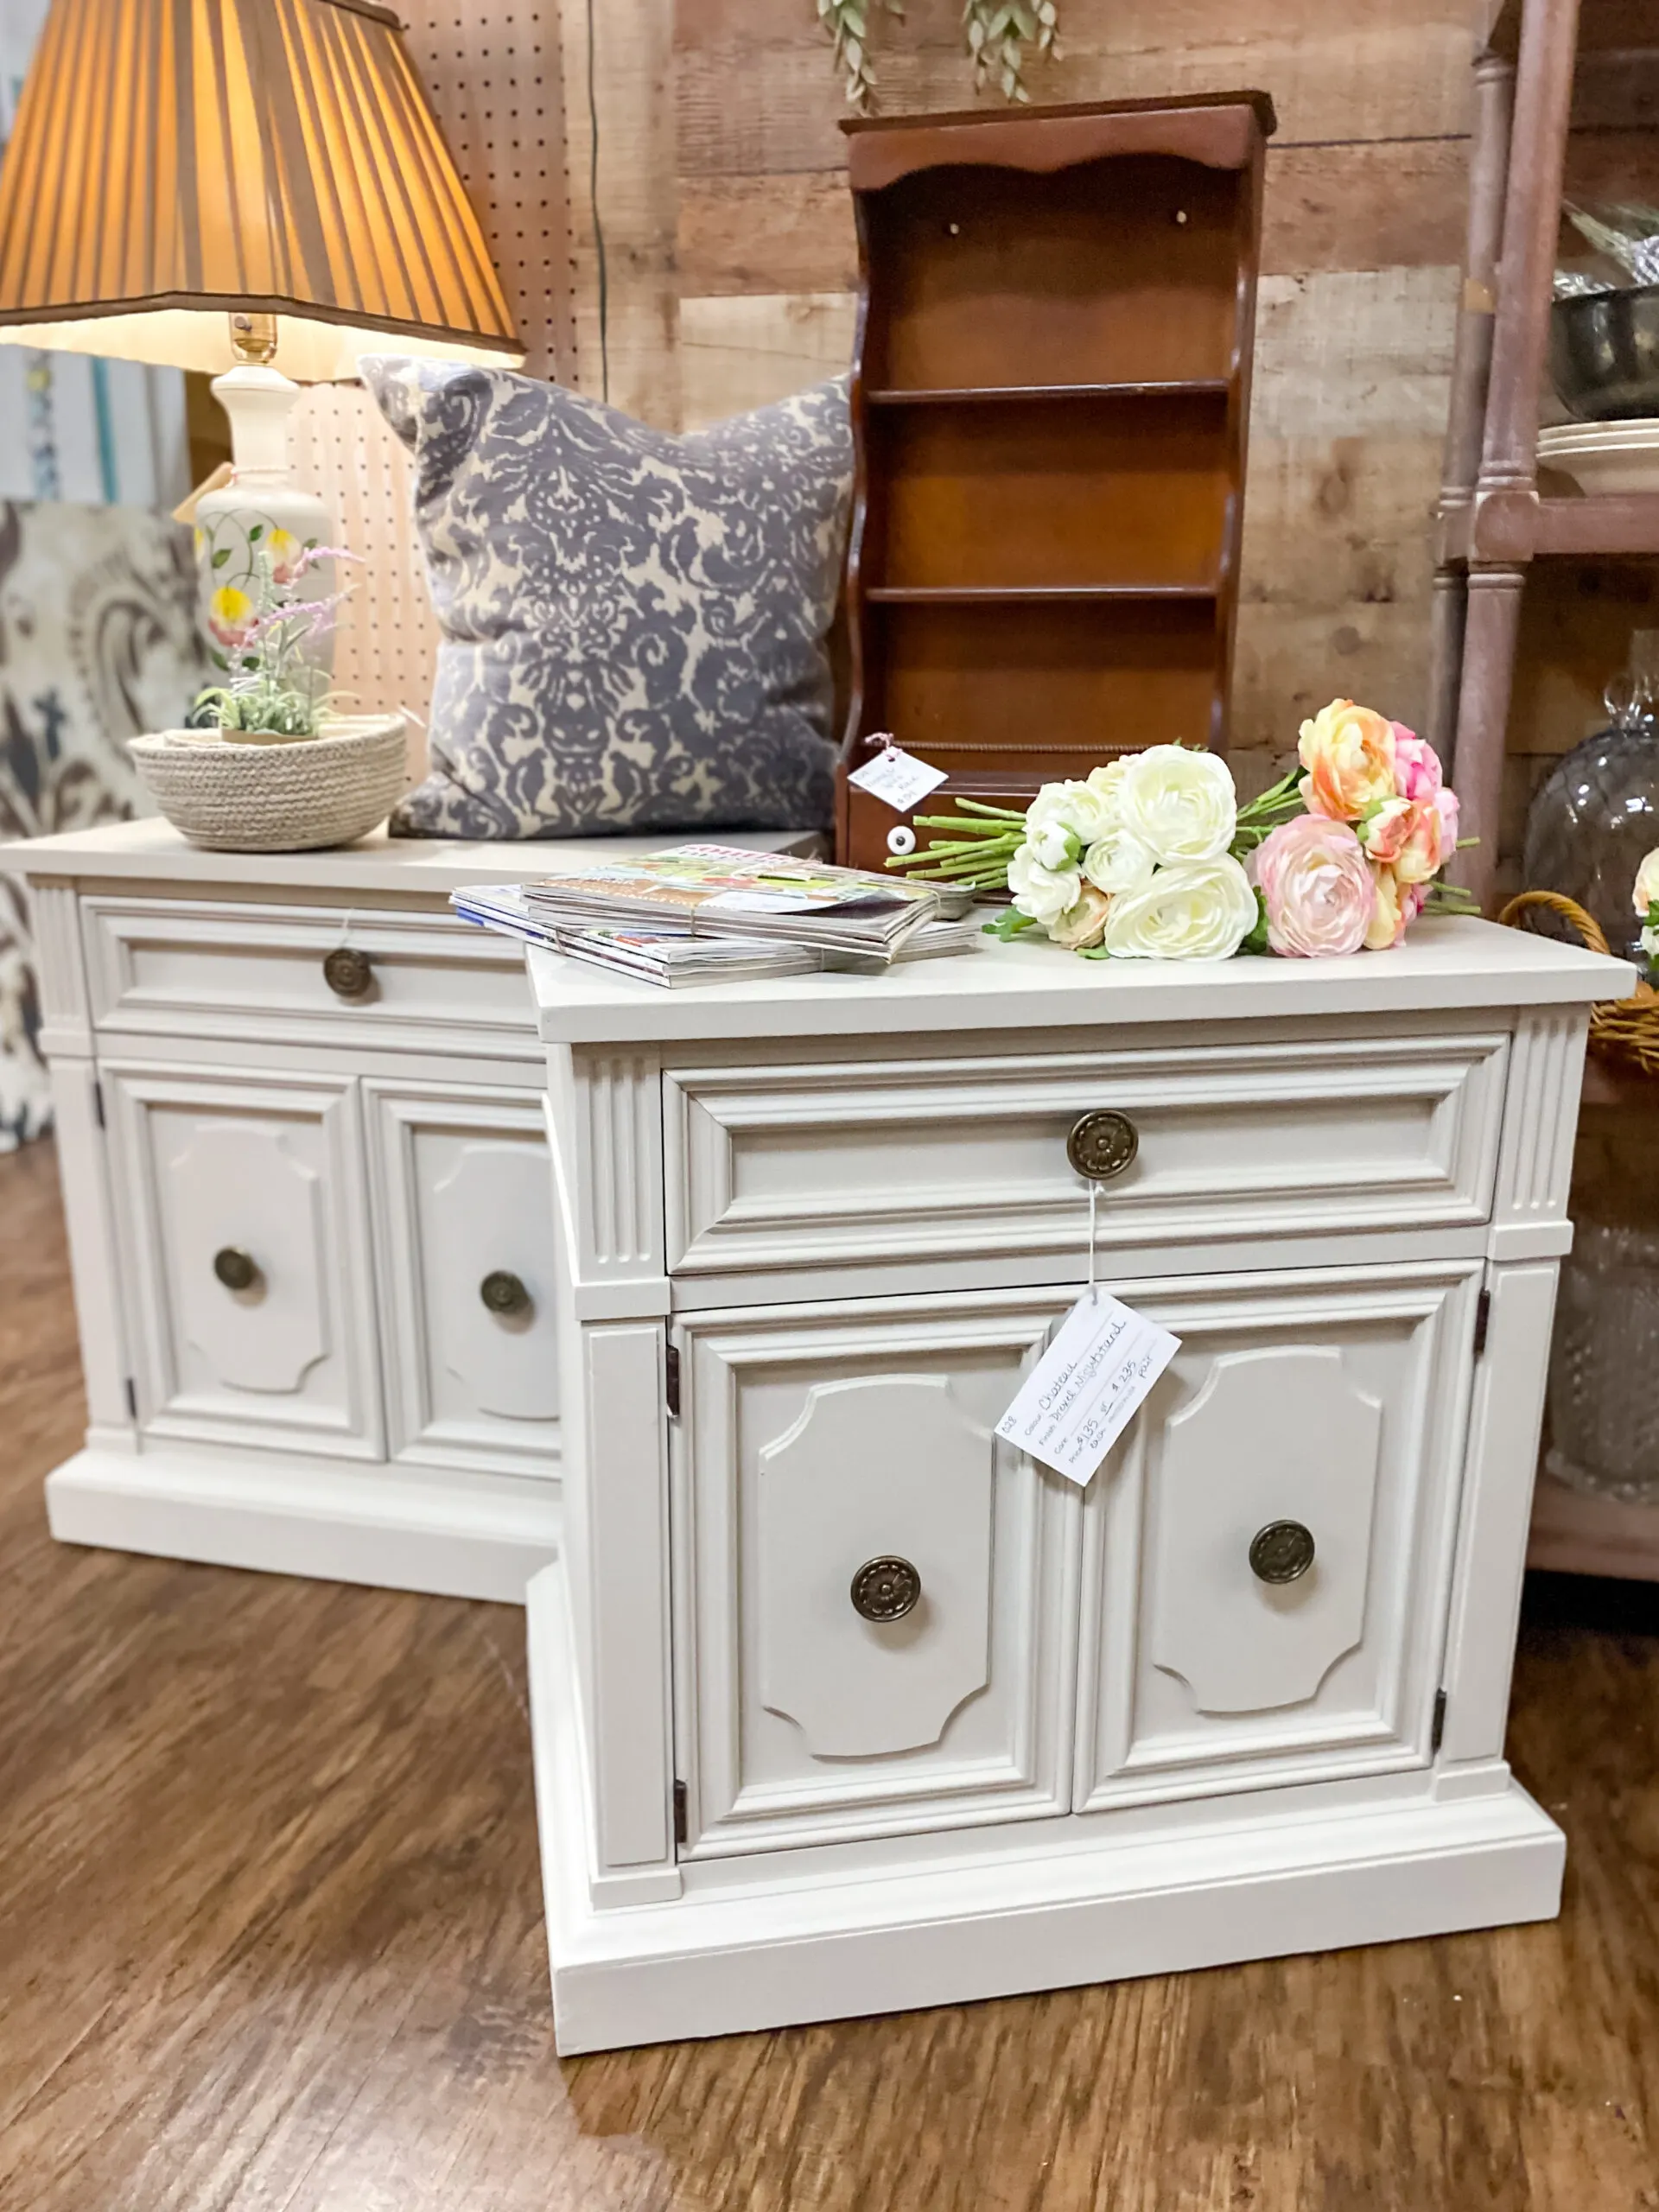

I can tell you they sold out quickly!
And you can see how the palace still looks definitely white, but it’s not very bright.
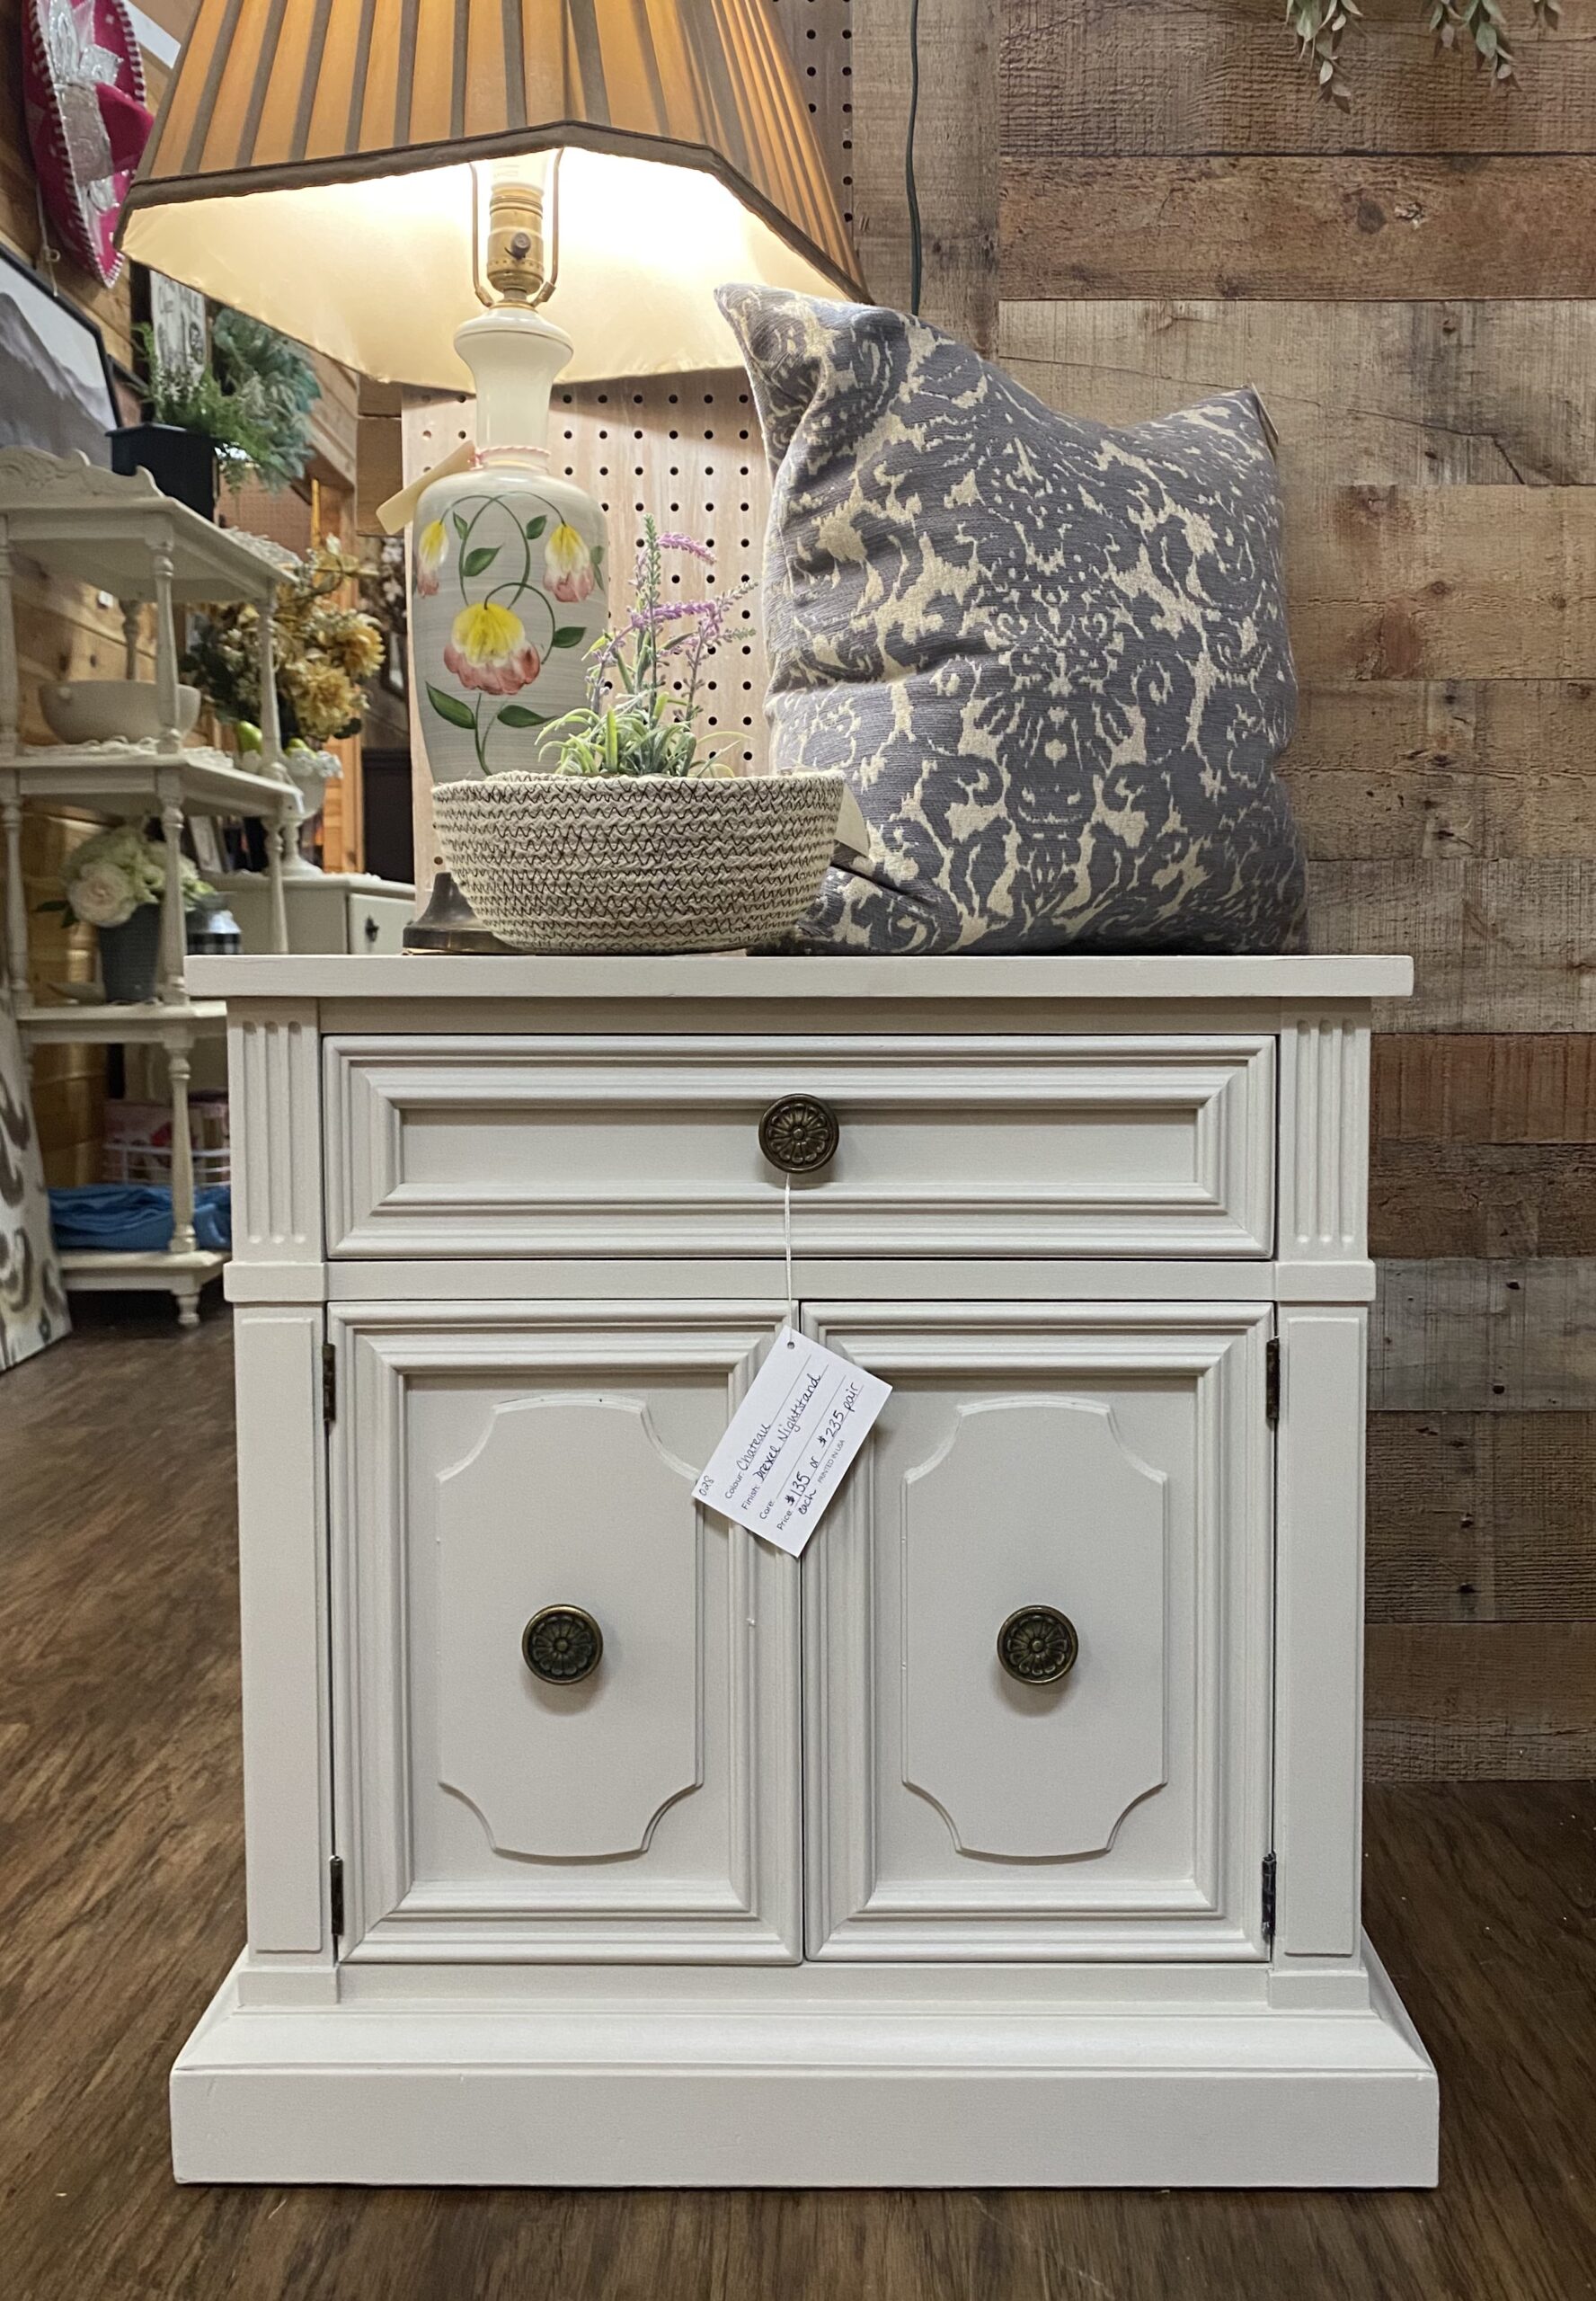

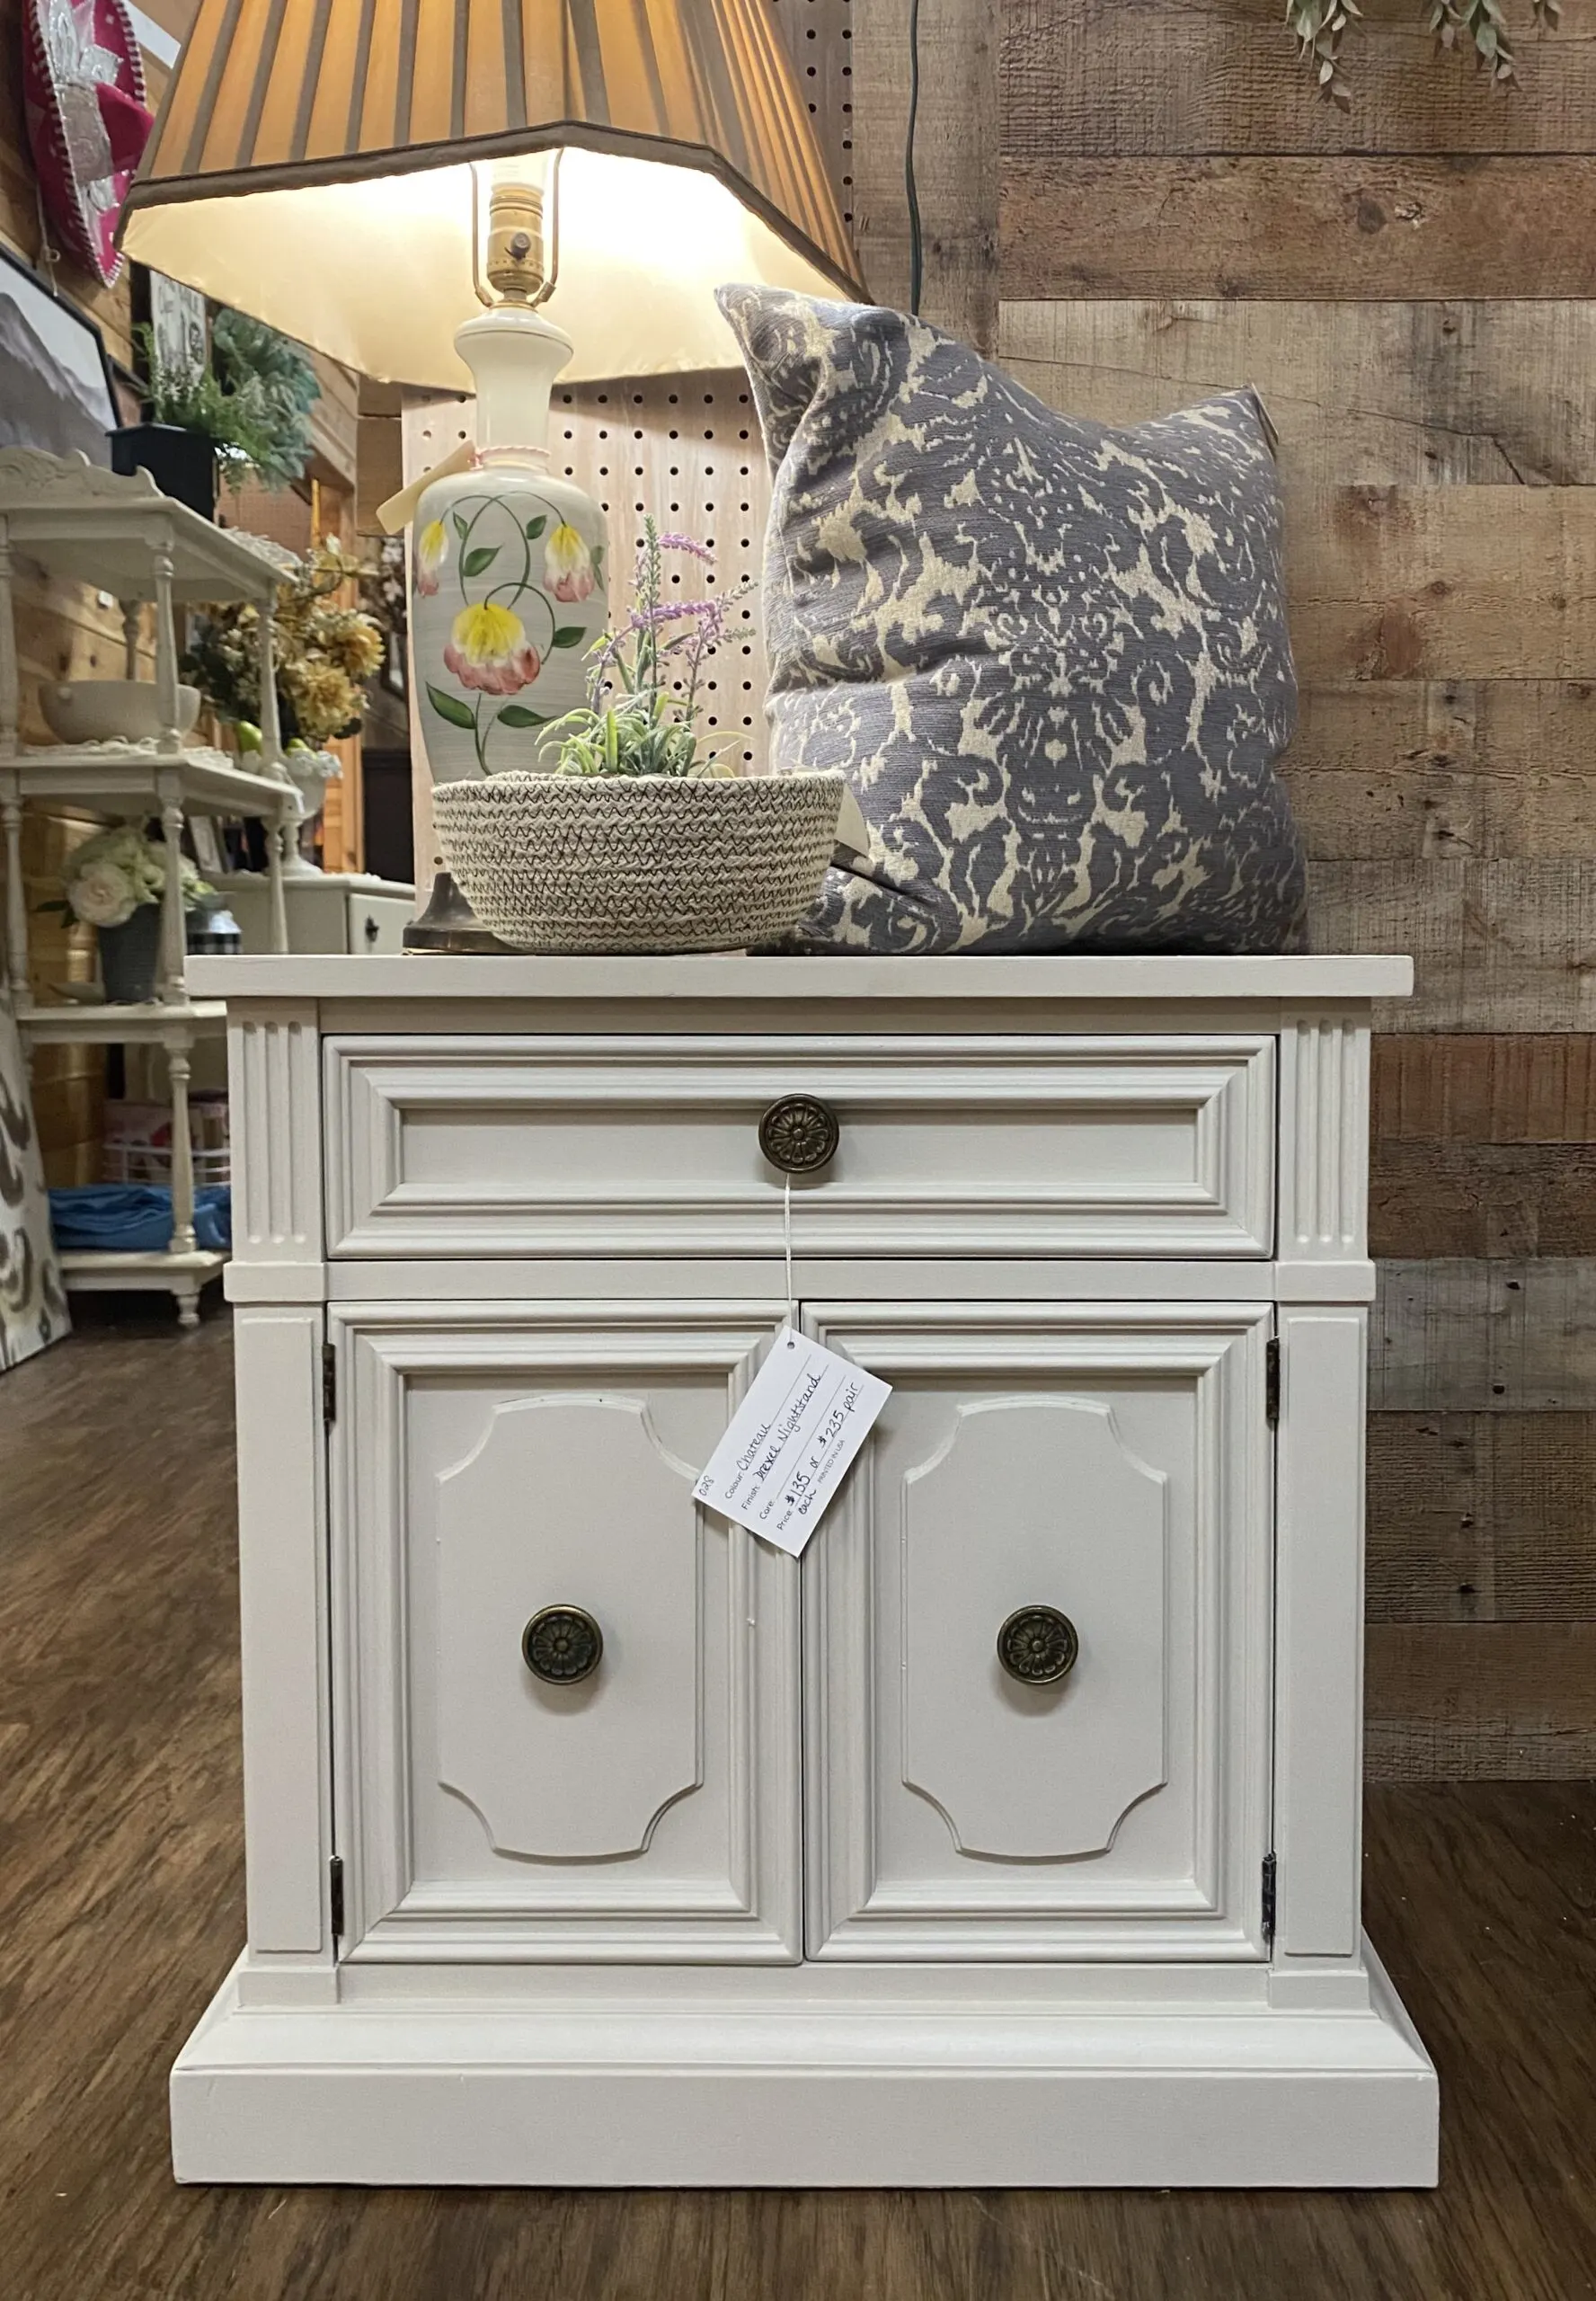

If these night tables had not been damaged, they would probably have sold just fine without being painted. However, it was not possible to salvage the torn veneer, so I used paint to renovate it.
I think the white look is clean and modern and goes with so many different styles!
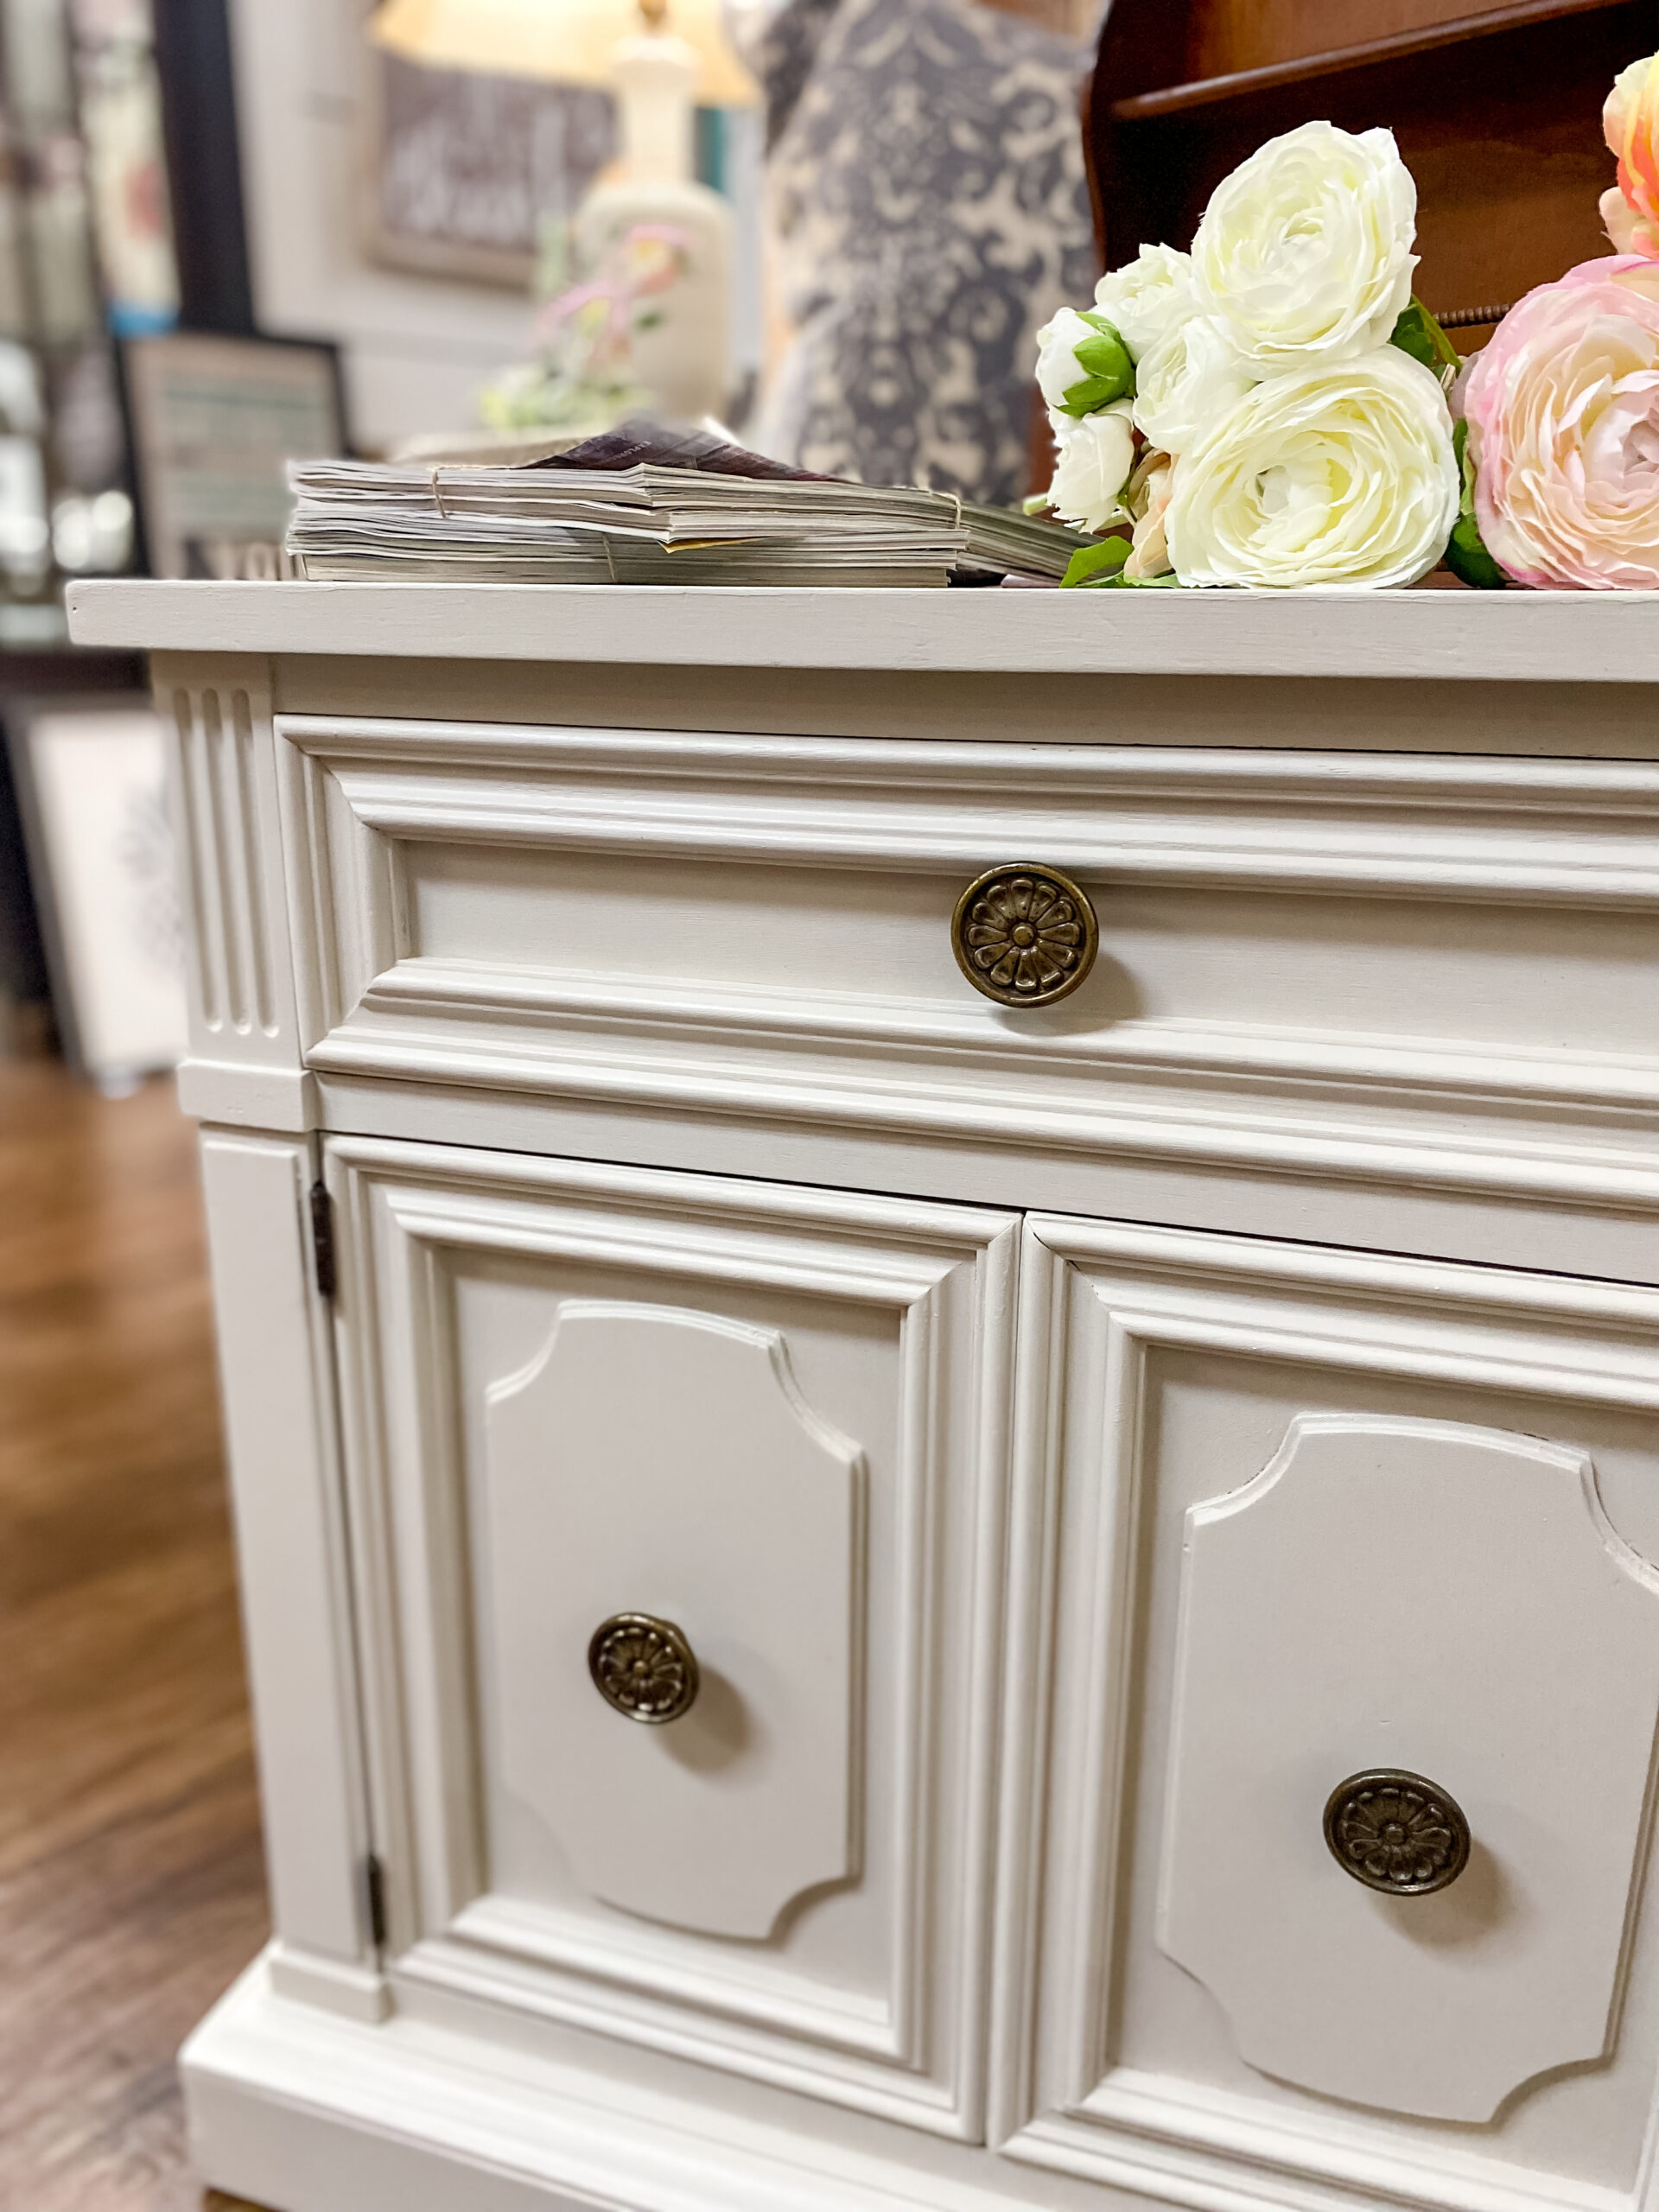


If you enjoyed this post! Here are more painted table ideas!
How to strip furniture {table arrangements}
Provincial French metal nightstand makeover
Inglenook painted table arrangements
Metal layered table with mirror finish
Thanks for joining me today!

