

This post may have subsequent links. Please see the disclosures here.
Let’s update our BackSplash with vinyl tiles! Temporary, yes, easy, yes, beautiful, definitely yes!
Hello beautiful friends … and a happy and happy !! Woohoo !!
I am very happy, it is finally the spring, and today it happens to be 75 years old. I don’t care that she says that she will be in the fifties again next week because today is beautiful! I also know that your time is transient, winter. Go to the outside! Ha!
Well, so we are still working to re -falsify our beach apartment. I realize that I have never participated in a full statement after all the original successive works we did. What in the world? I have no idea how I missed this. But don’t worry – I will share all the pictures “before”, what we did to renew them, the first decorated version, and our updated version now once you are done.
Sorry for that!
This is life. right? However, we planned to modernize the kitchen area last year … then this year … well, get drift. We have now had to push her to the next fall/winter, leading me to today’s post and the reason for this.
It was granted, there has been a lot in our lives in the past few years. This era of life is difficult. More strict than I was imagining. The loss of parents is very difficult, and it is fixed in life as you know that, the passage of years and years of memories, the removal of “things” (all things that carry memories as well), and the sale of the house in which I grew up since a child. It’s tough! This is complete.
We have lost my father and my mother my husband in the past two years. They were our last parents to go. We are now at this “new” stage of life without them. So all this to say, it was difficult to keep up with the blog here and life in general recently. But I am grateful because you continued to follow me with me!
Today’s post is, well, “Make-Do” so that you can “do” people. I really hated the tiles that people who have our home had a kind of “turning” from the eighties that had to be sold. It rose under the treasury that also pushed me crazy.
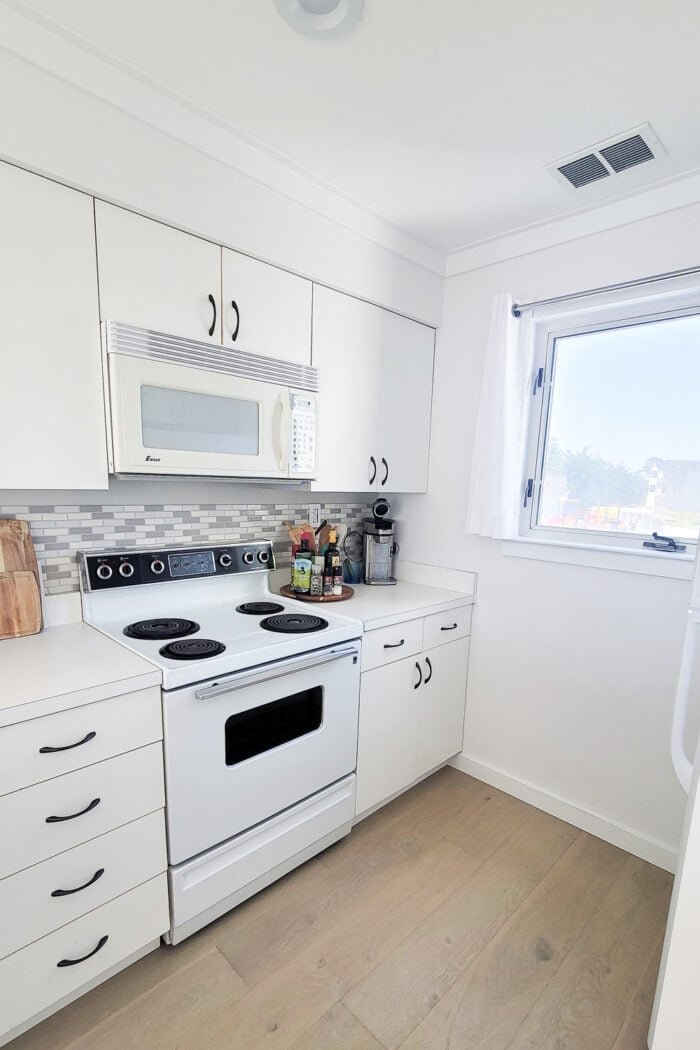
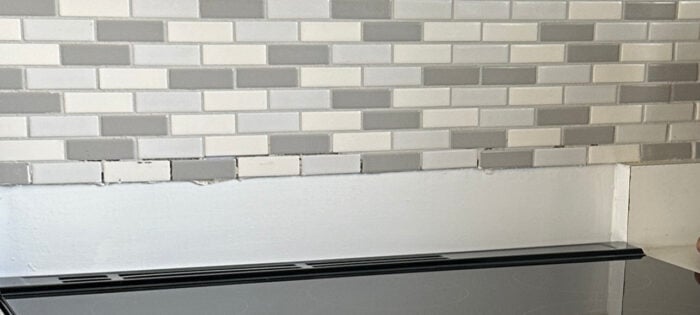
See what I mean here …
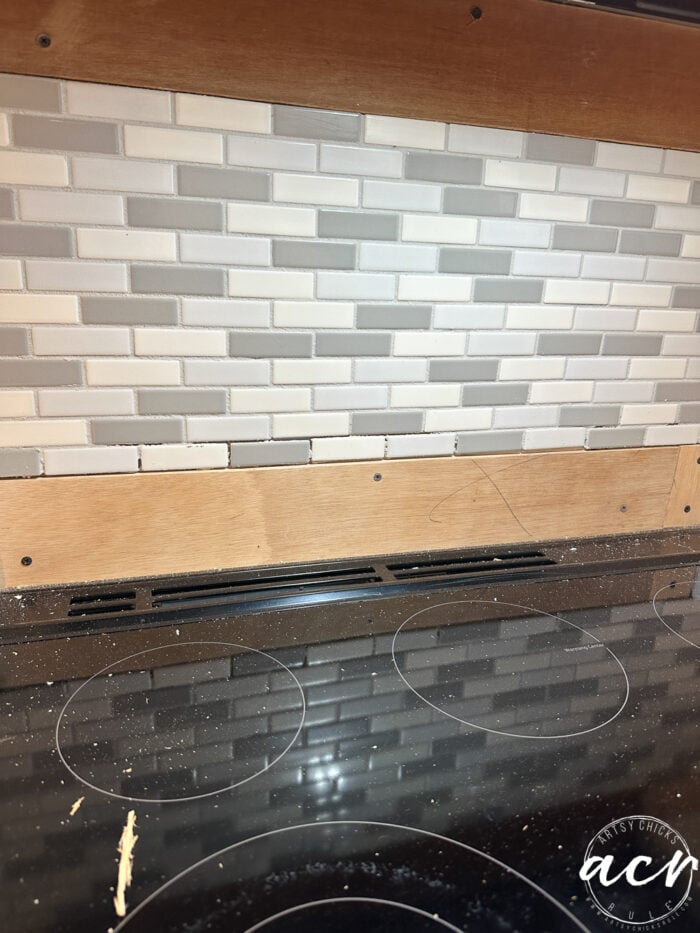
We were placed on new devices last November. So I am pleased with these! But see the tiles ?? Do not reach the cabinet. And we see where we changed the stove style? The old had a back area so the tiles were not needed to go below. Now it is a huge gap. Moreover, they did not bother to avoid the tiles behind the high stove area. (Which you cannot see in this picture but the area above the empty spot and the background of the stove) so that it seemed very bad.
In addition, in order to be honest, the Blame Gray Tiles, Tan and Big, were not for me!
Here is the old stove to show what I mean.
And choose what I was talking about.
Yuk. This seems terrible.
So.
I decided to raise some vinyl tiles to make it look much better and we dwell until falling when we deal with the entire kitchen. Which includes new tanks, the transfer of the refrigerator to the front (you will see what it means later), a flat counter area, and it has not been raised as the pelvis is with a new countertop, and a new real BackSplash.

What do I mean by “not raised” … see the upper tape there? We will make all of that, flat. There is no high bartop region.
But until all of this happens … this.
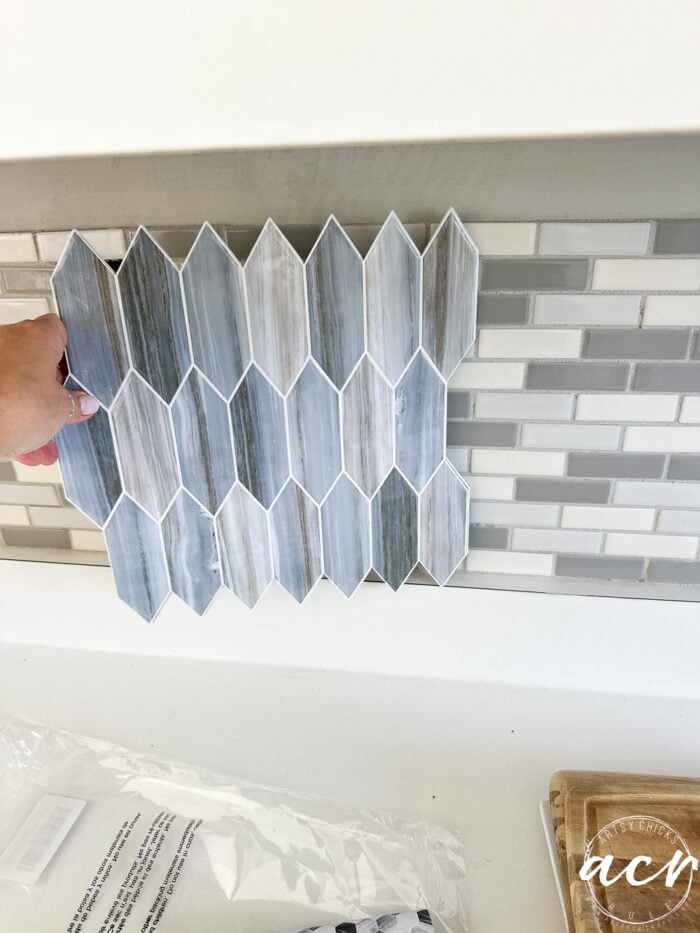
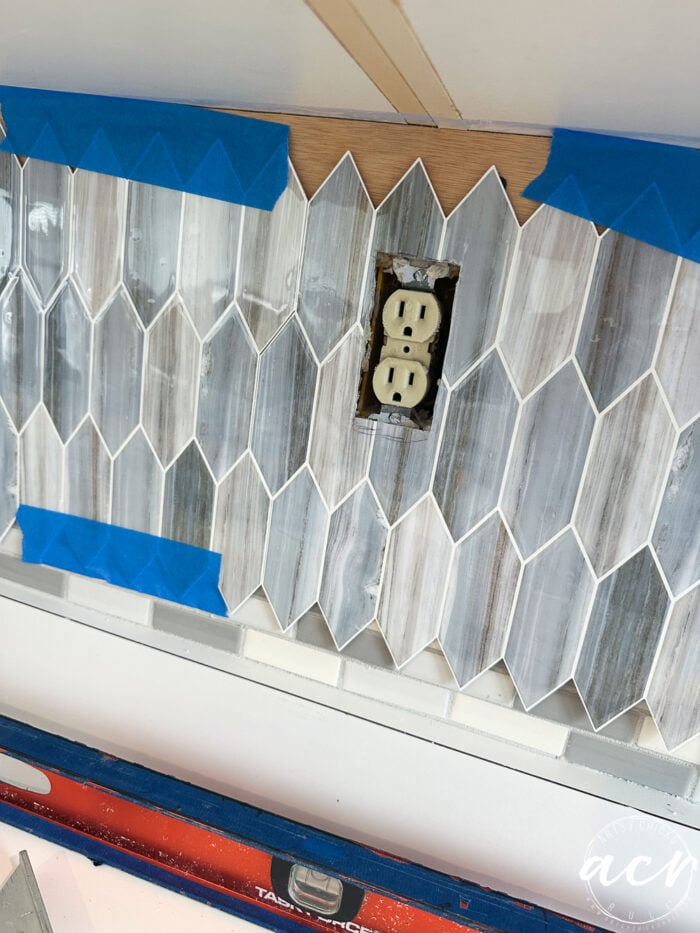
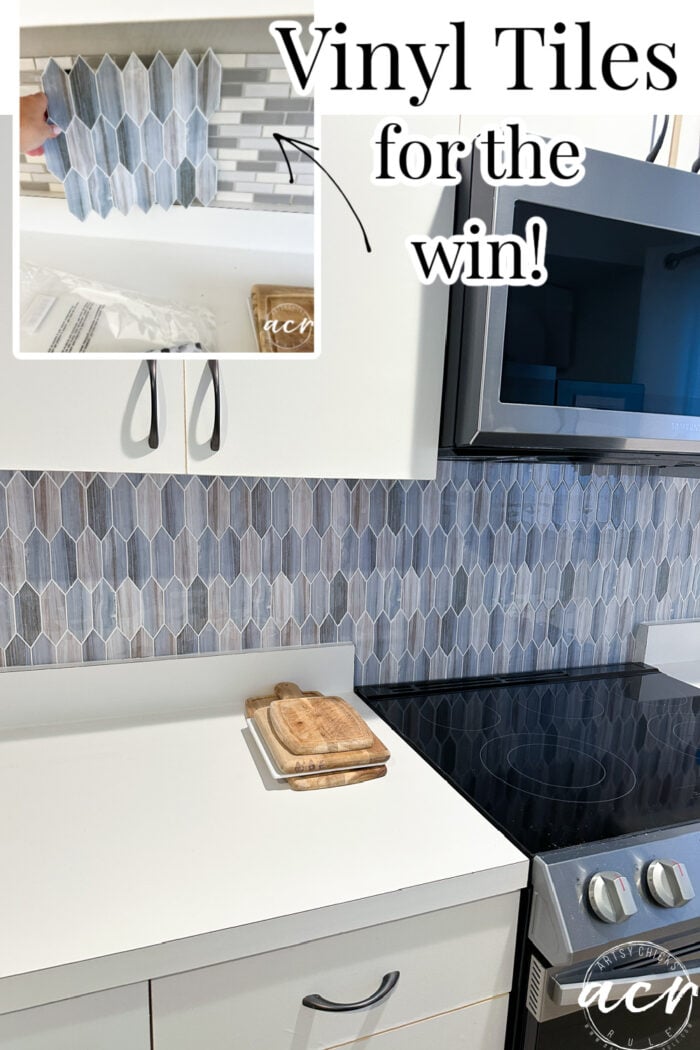
I found this vinyl tile on the Amazon and loved it! I actually love something just like this when we do real tiles. But we will see what we end up. I may find something I love better.
Just to give you an idea of how it appears compared to what was there.
You can find this beautiful blue tile here!
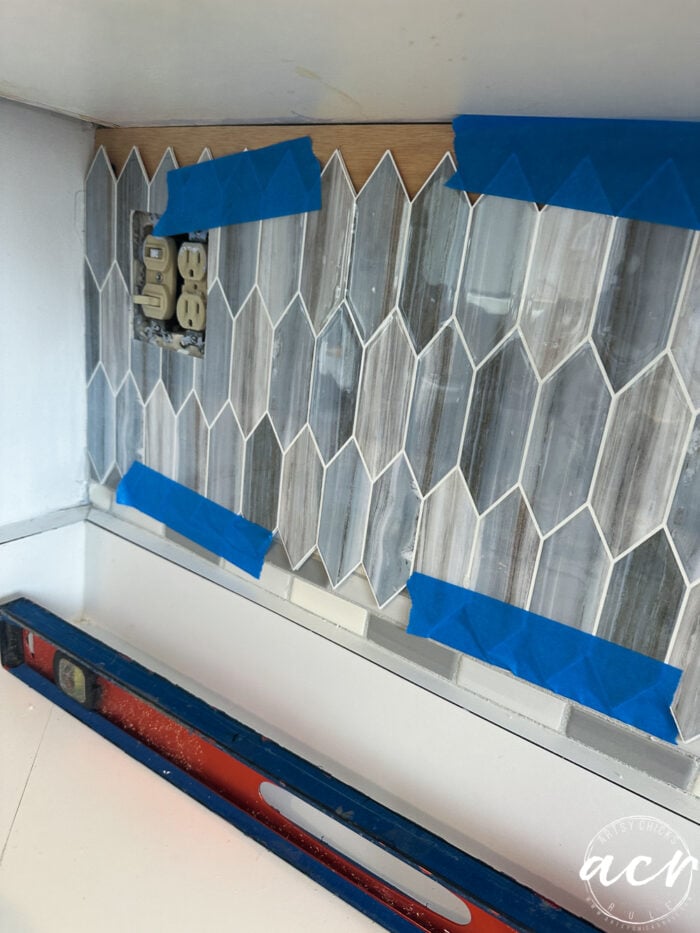
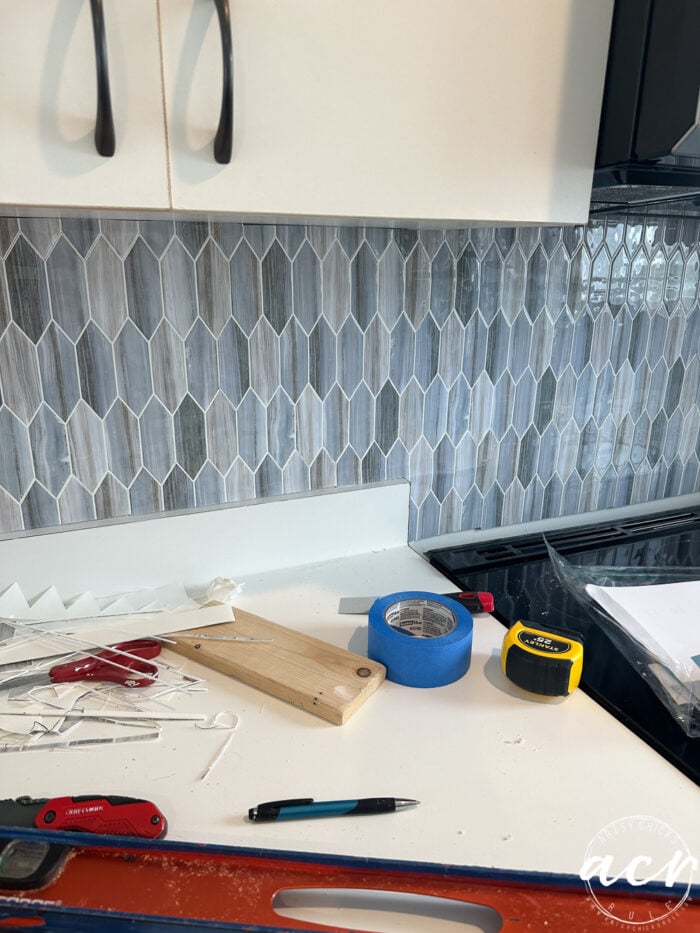
Since the tiles did not cover the entire area, we were working with varying depths, so my husband cut some paintings to fill these gaps.
I am not very worried because I know this will be very temporary. However, I want to look nice as much as I can stay.
So you can guess, nothing square! Tanks, walls, meters, lap. I did my best with that.
I have already registered them all along the way first before “sticking” anything permanently on the wall.
Such …
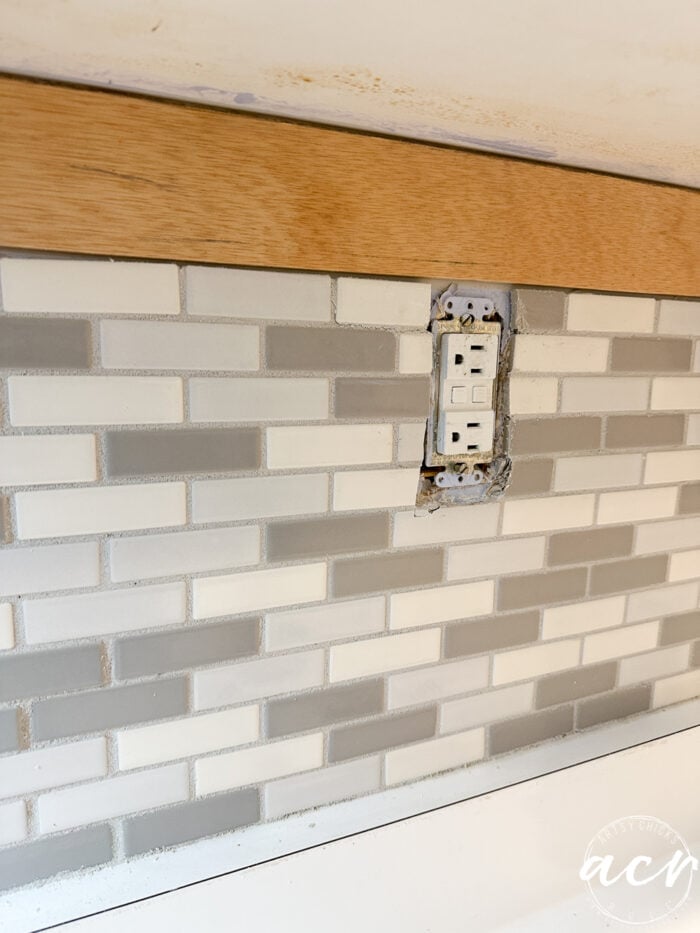
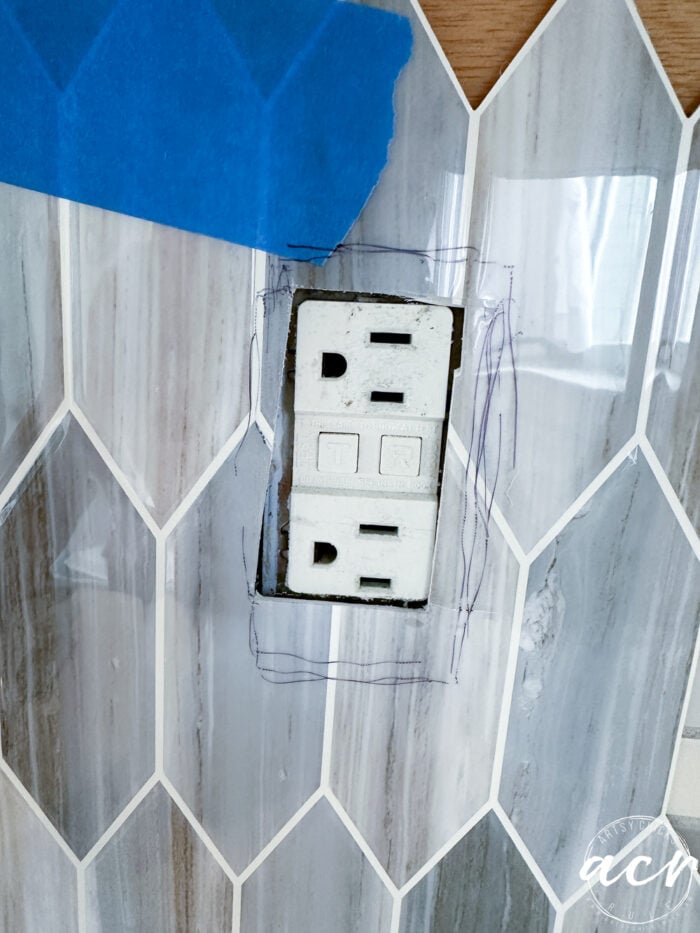
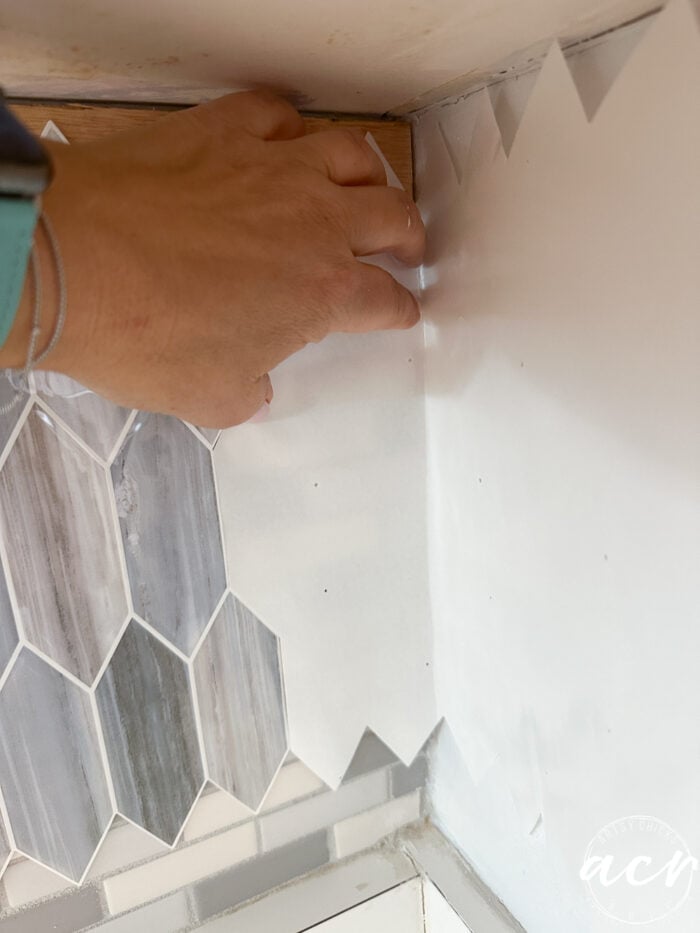
Then, as soon as I started “sticking” to the wall/tiles, I had to know how to cut these electrical vessels. Well, I will tell you that I am not one !! Haha !! I am only not. Therefore, I started attempting mathematics. Well, you can guess how things went, haha! So, instead, I only carried it and made a small mark where the port was and cut a small area to start with it. Then keep it again and cut again, again, etc. I am sure that it took longer but frankly, it was easy and direct (guaranteed) in this way!
Yes, this is a super stick, but I do not trust it. no.
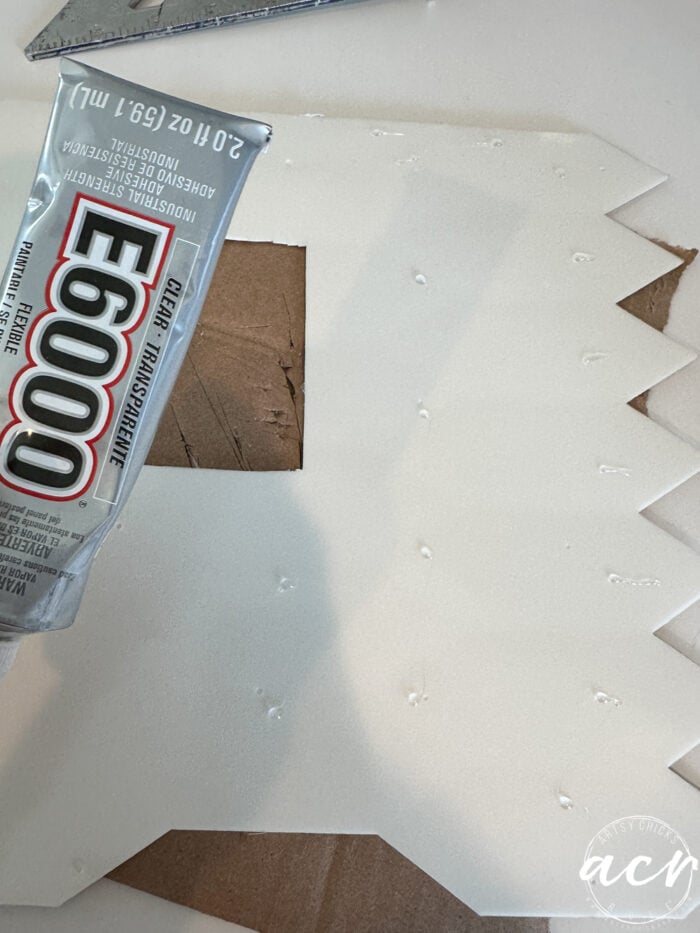
So I pulled the trusted glue, very strong, E6000 and added small points from it here and there on the back of the tiles to help keep it better.
Then we hang it on the wall. It fits well together, so it is very easy. There is a seam there if you look closely you can see it.
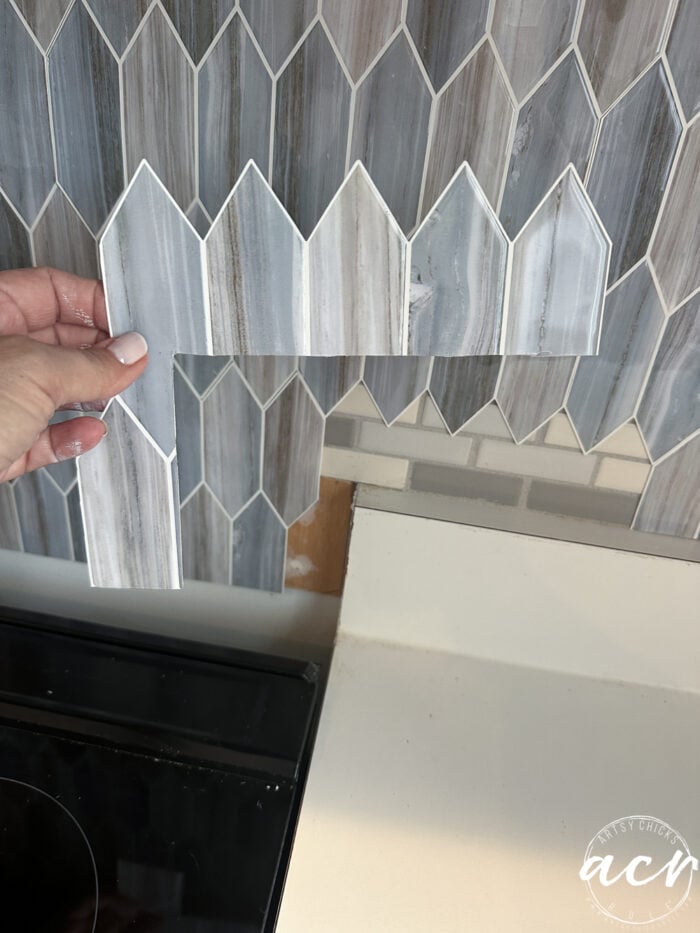
When I got to the corner, I carried white support, which is the exact same pieces of cutting, and I used this to my pattern to cut the next final piece. I hope this is logical.
I requested two packages for this project, which appeared with the discounts. But I left a lot, but unfortunately not with the factory discounts. So I decided to try to cut some of the pieces I needed by hand. I worked fine! Again, temporary, so it’s okay!
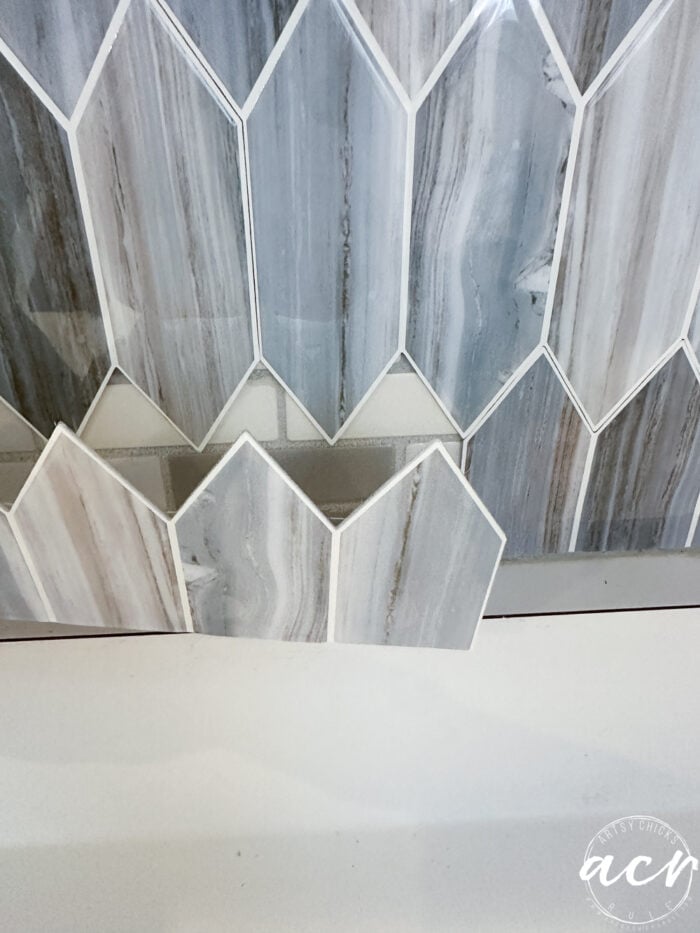
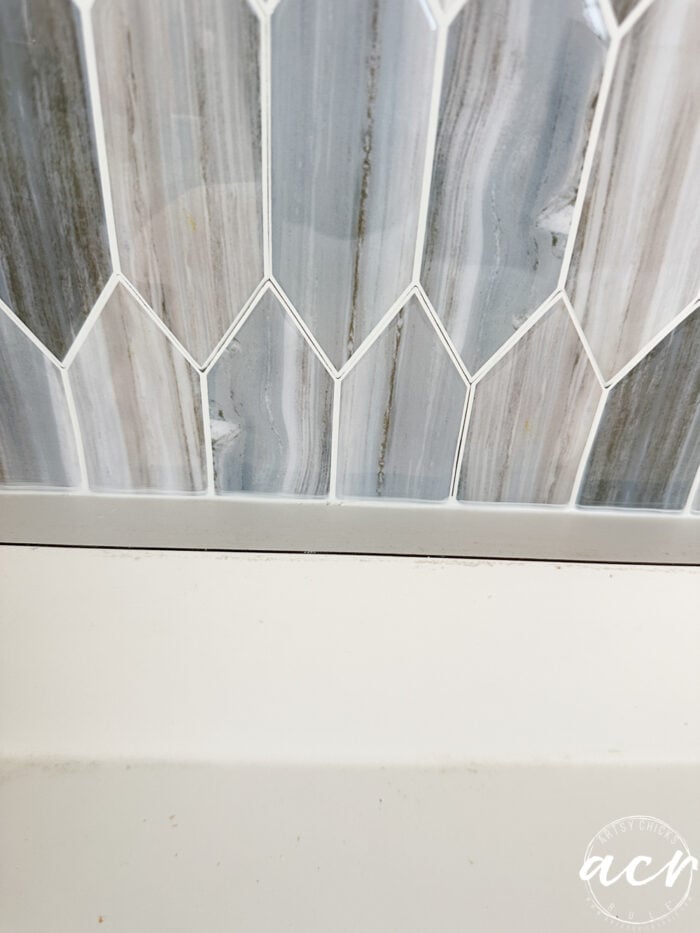
I cut this piece by hand from a larger piece. Thank God it fit well enough. (see below)
See how it’s not exactly perfect though ?? It is not enough to make me care yet! temporary!
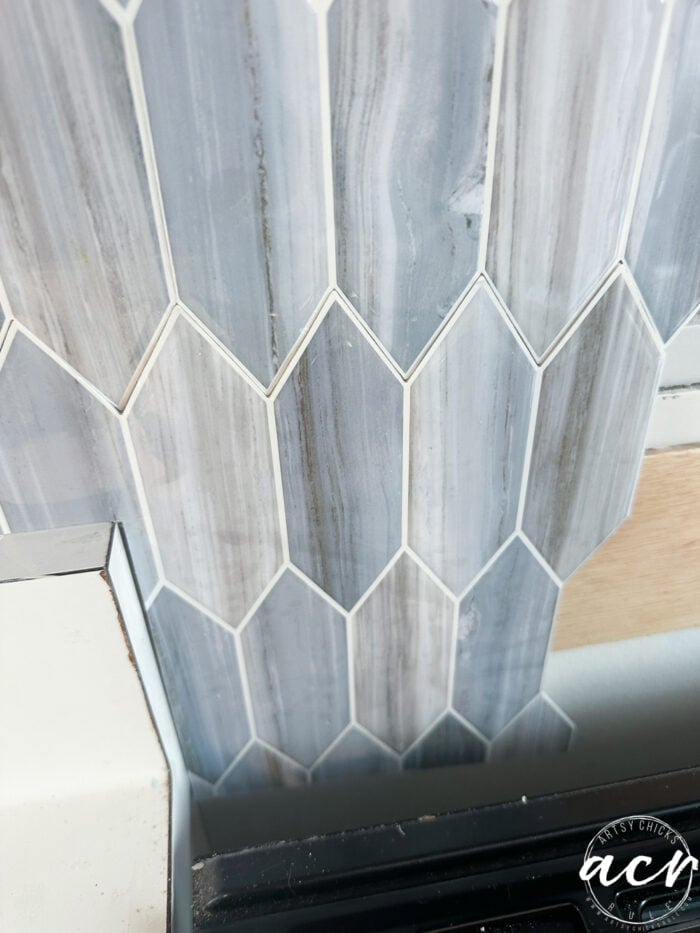
In addition, I will return something down this week to “fill” those areas so that it does not appear well. I will update this post with that if it ends well.
Measuring and cutting!
It is really not as difficult as it seems. It took me most of me to do it … but he is able to do that!
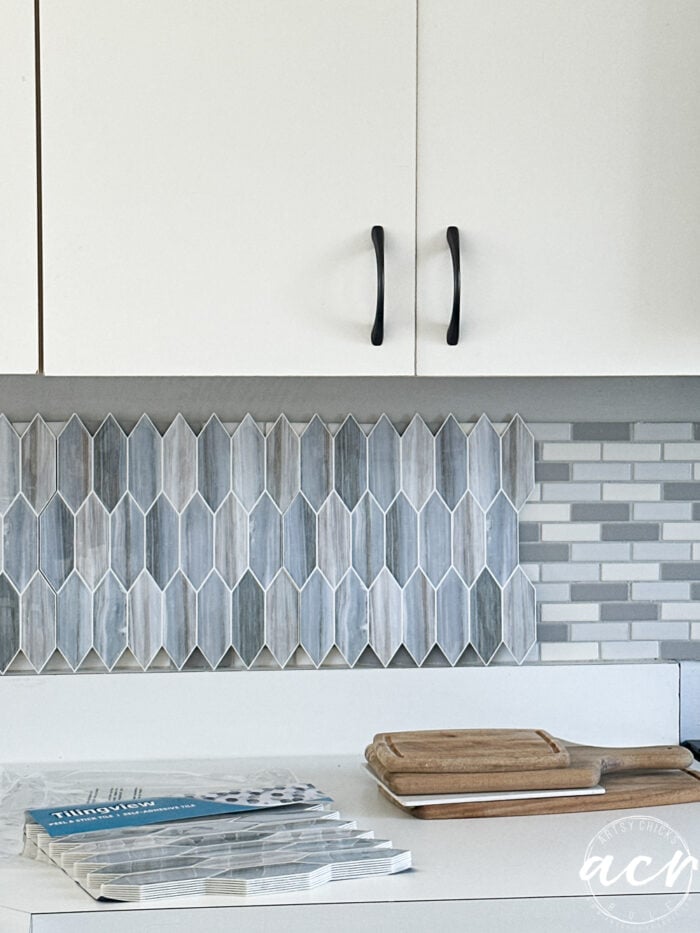
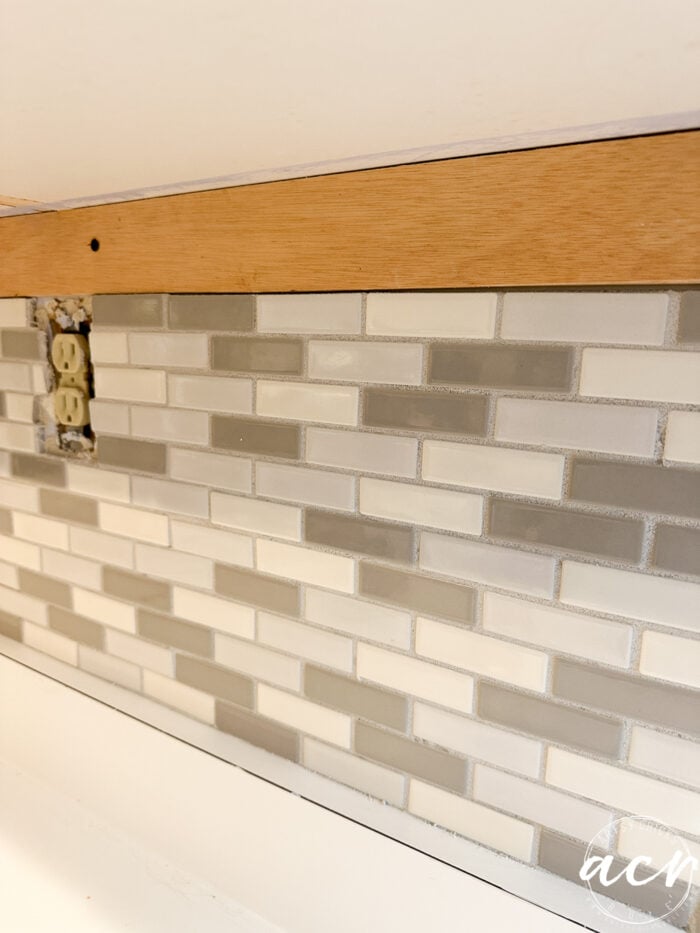
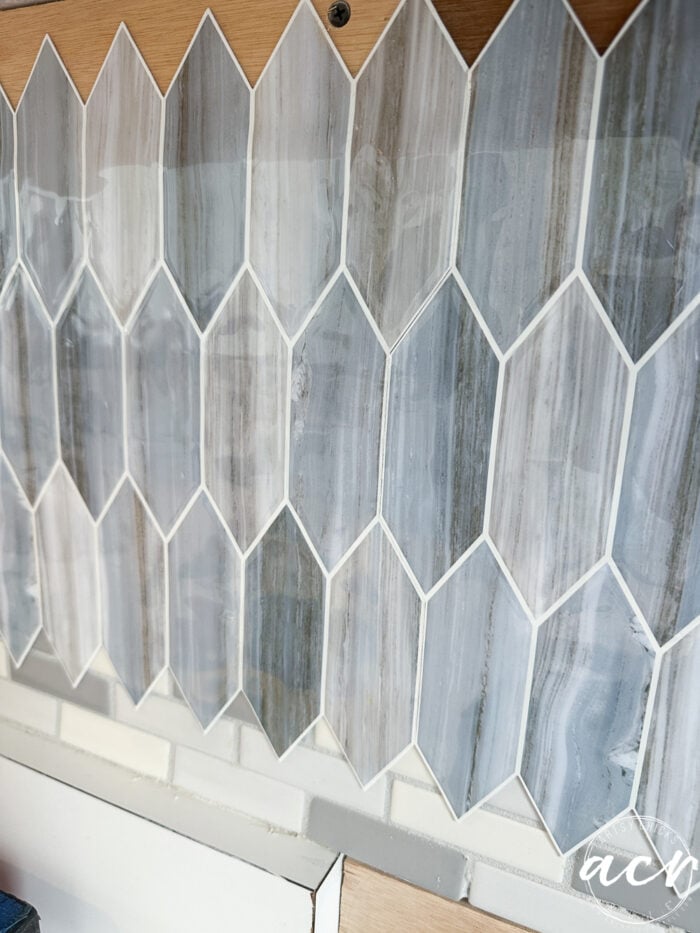
Look at that. Many better! Very beautiful.
As I always say, CAULK makes everything ideal and the end of appearance. I love me some dam!
Ignore the gaps in the “tiles”. Remember, I drop something to take on the next weekend. We hope to fill them as well. Stay tuned, you know that I will tell you the real deal in it. (By the way, I tried to fill these areas with the dam … No, not covering well enough)
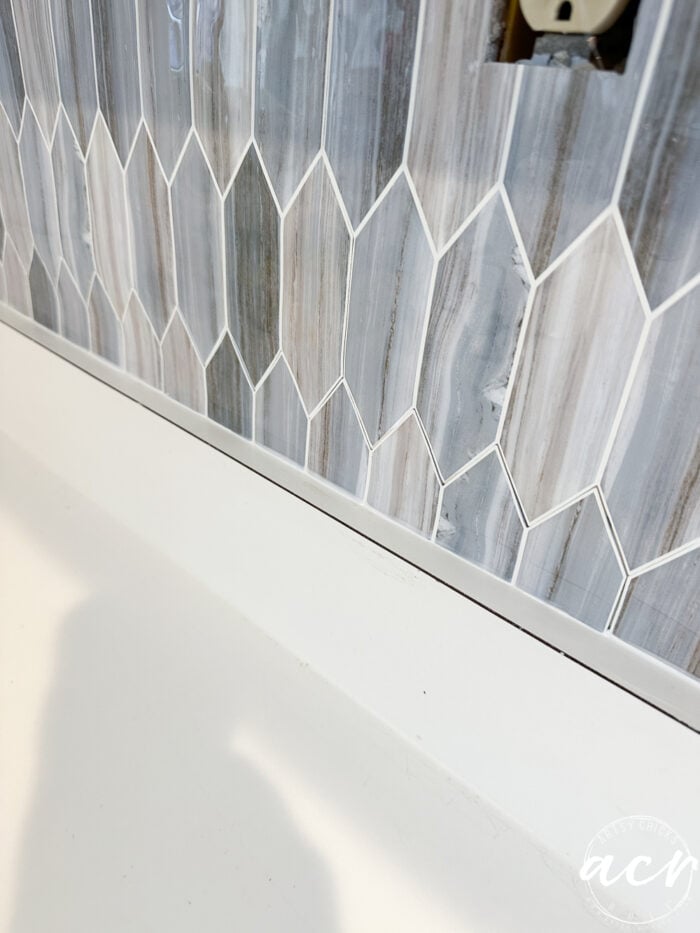
But the dam on the seams … yes. Good things!
How beautiful is this now ??
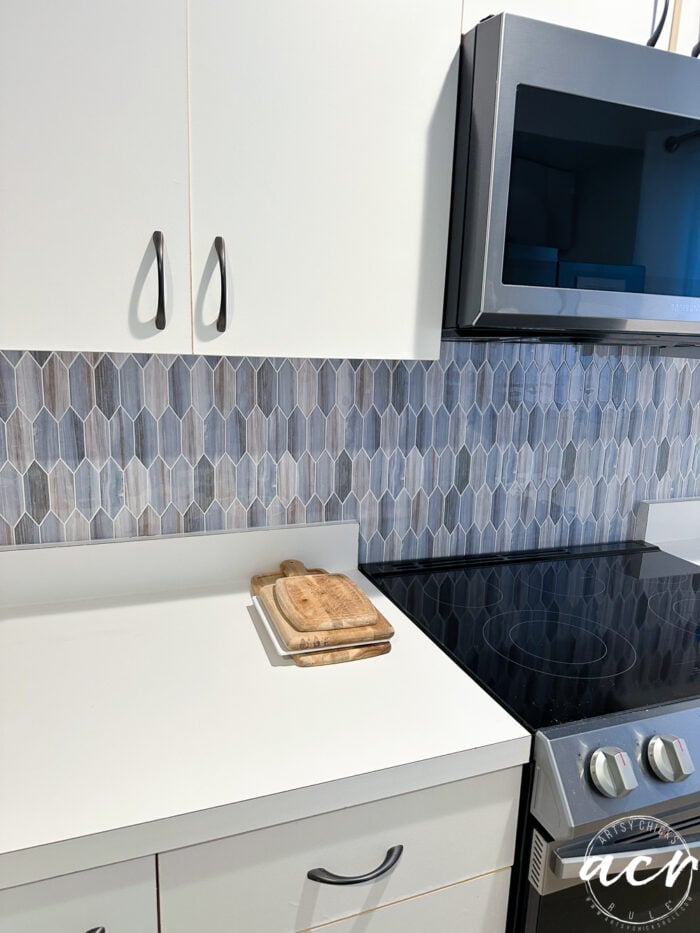
I love him! Very happy with her.
As mentioned above, we are re -decorating the apartment. Below are some of the shots that I took about what we have done so far! It is not over, so consider that. I will share everything when I am. Beautiful pictures then!
You may remember that we have ridiculed this golden mirror in OBX and put it on the blue control unit table that we found at home here immediately after we bought our apartment … Watch it here.
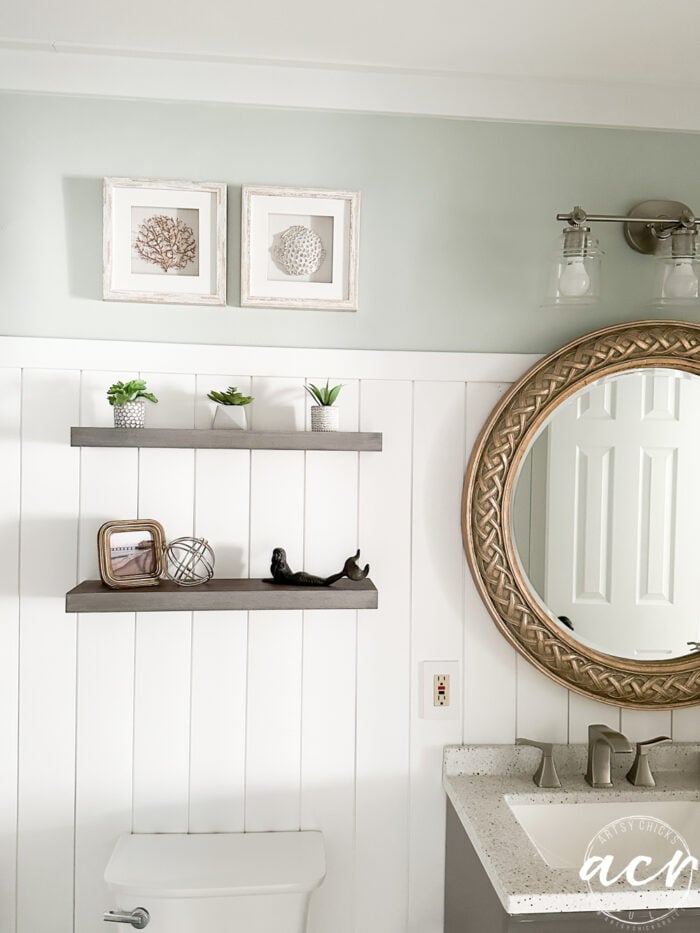
Well, we decided to remove the stock mirror that went with this bathroom cabinet and put this golden mirror here instead. I also added a beautiful sunset image that you took from the Jenitte berth to the shelf and new photos over the shelves as well.
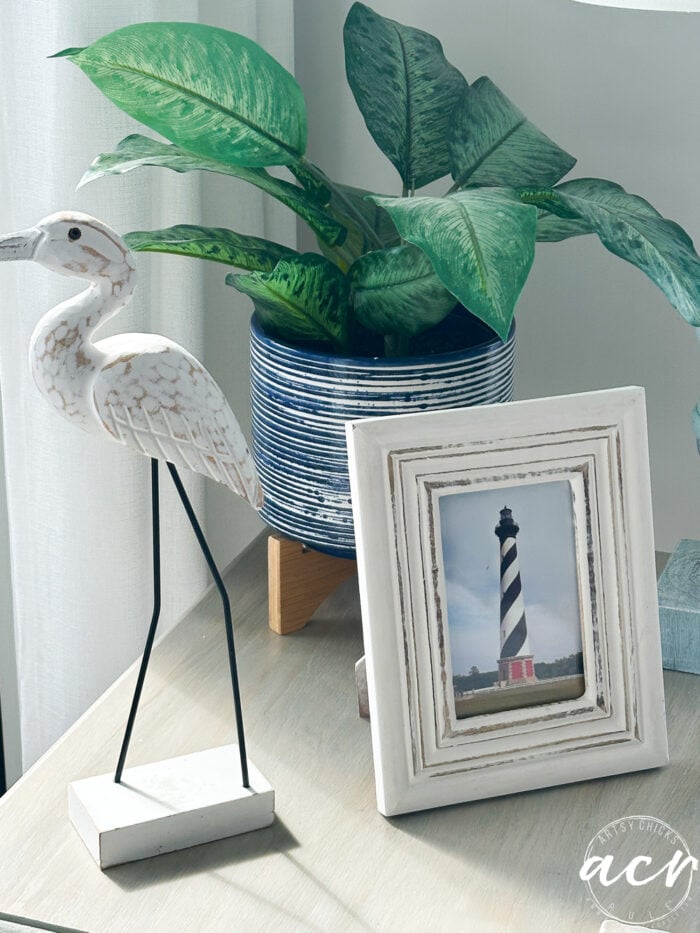
More pictures of OBX have been added over the years … one of the Cape Hattereas lighthouse.
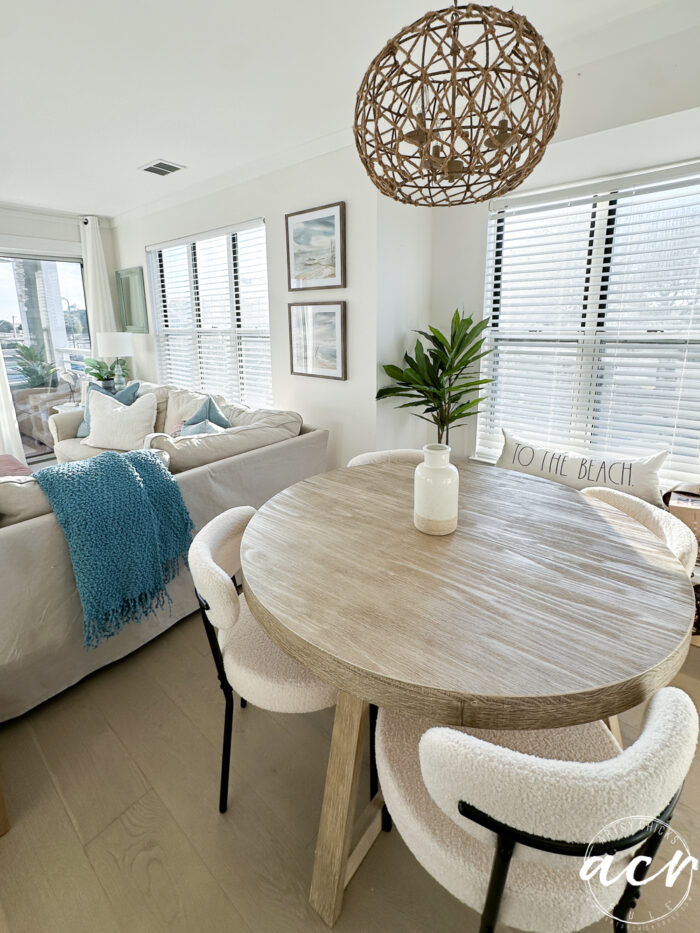
New pictures of watercolors have been added to the wall, new table and chairs, and new pillows on the clip.
We also decided to make the deck slightly more warm with outdoor furniture and candles (which are controlled remotely, of course).
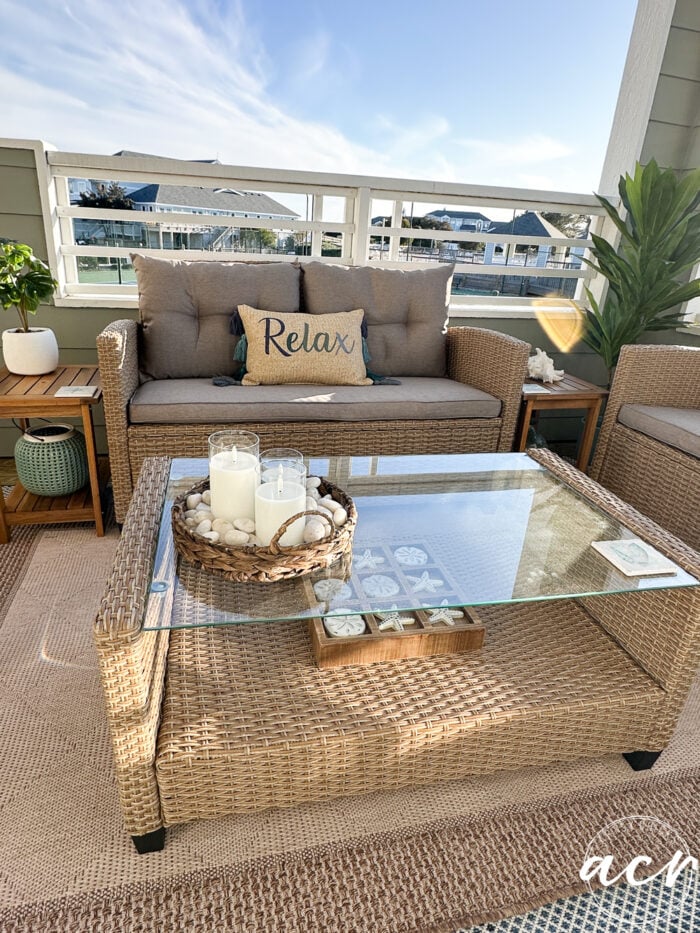
We were able to keep suitable for the jacketing table that I have reappeared here years ago when we bought for the first time.
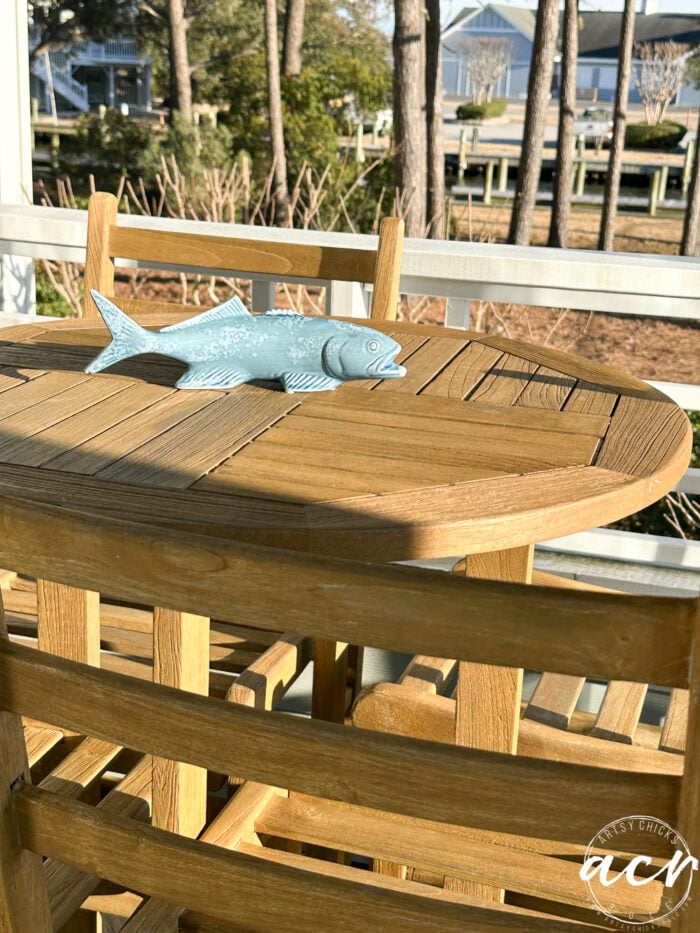
You can read about this shift here.
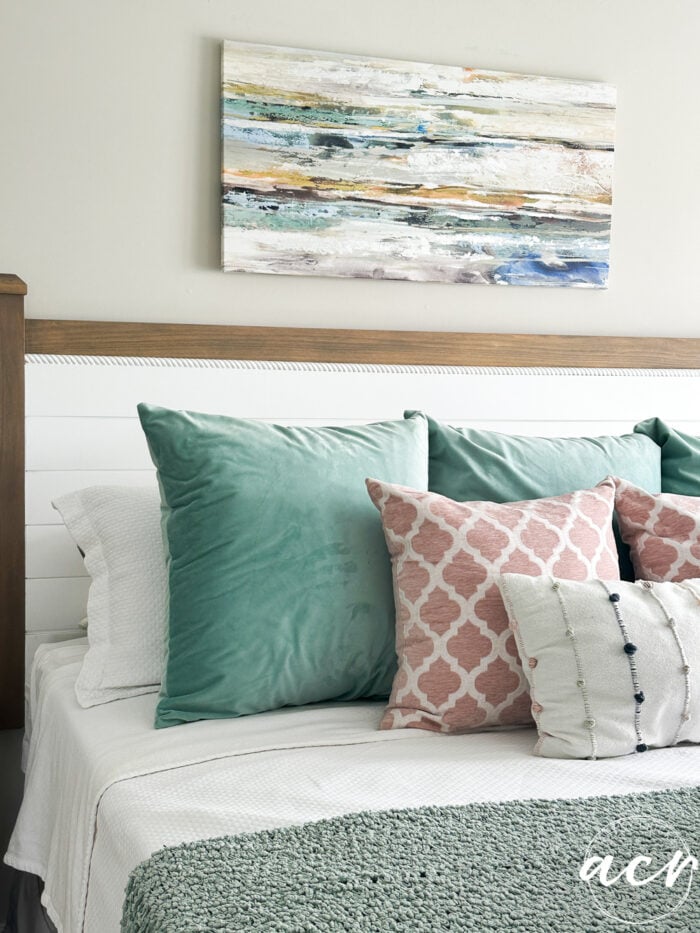
The dual bedroom to King got a new look as well.
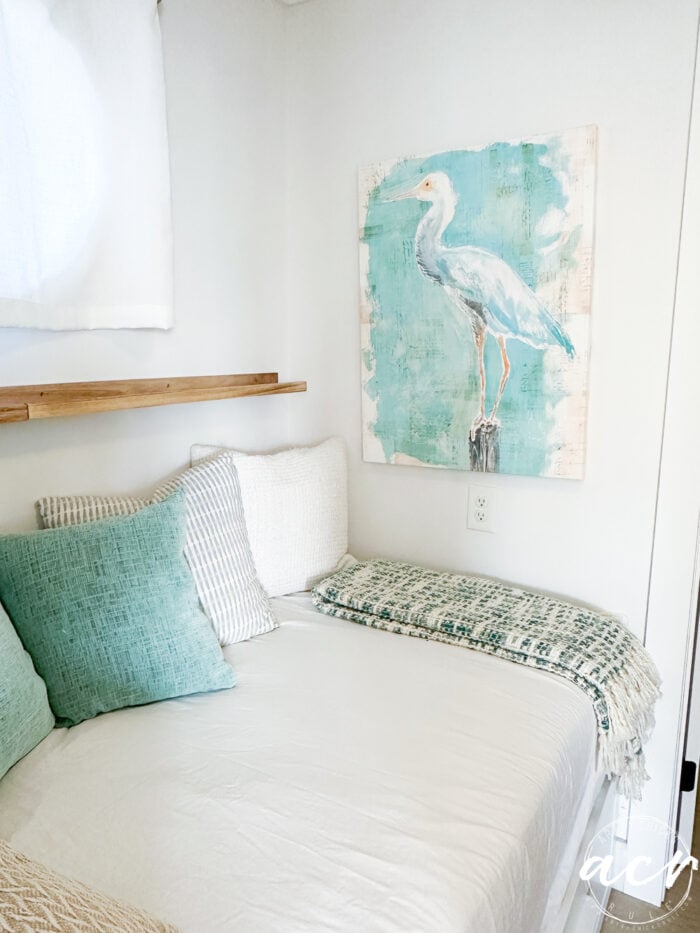
New Aqua pillow covers for blue pillows.
I also love new white thin soon.
New carpets in the bedroom and living room (and amateurs and kitchen as well).
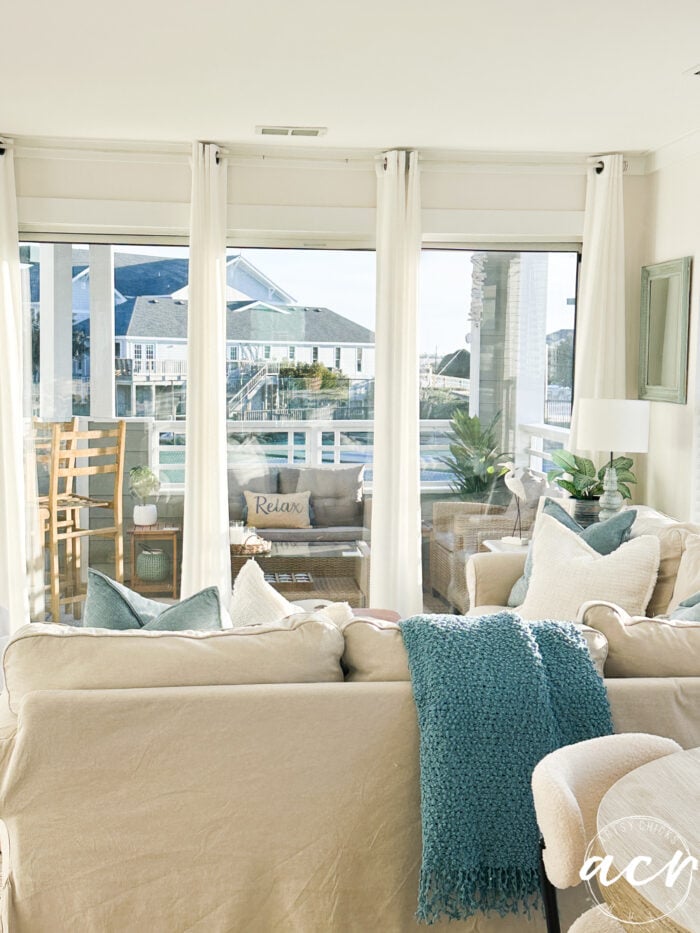
living room…
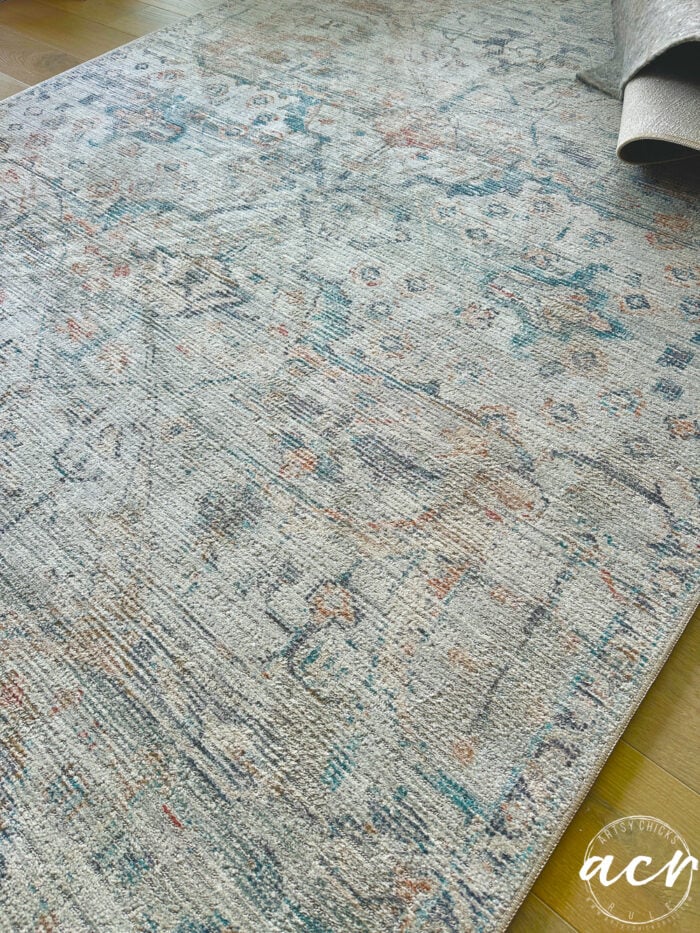
I adore those colors! You can find it here. (It is almost outside the stock everywhere) Leave one in this size! If you like it, it is better to break it!
This has not yet decreased and it is large, 9 x 12, so that is all I can share at the moment.
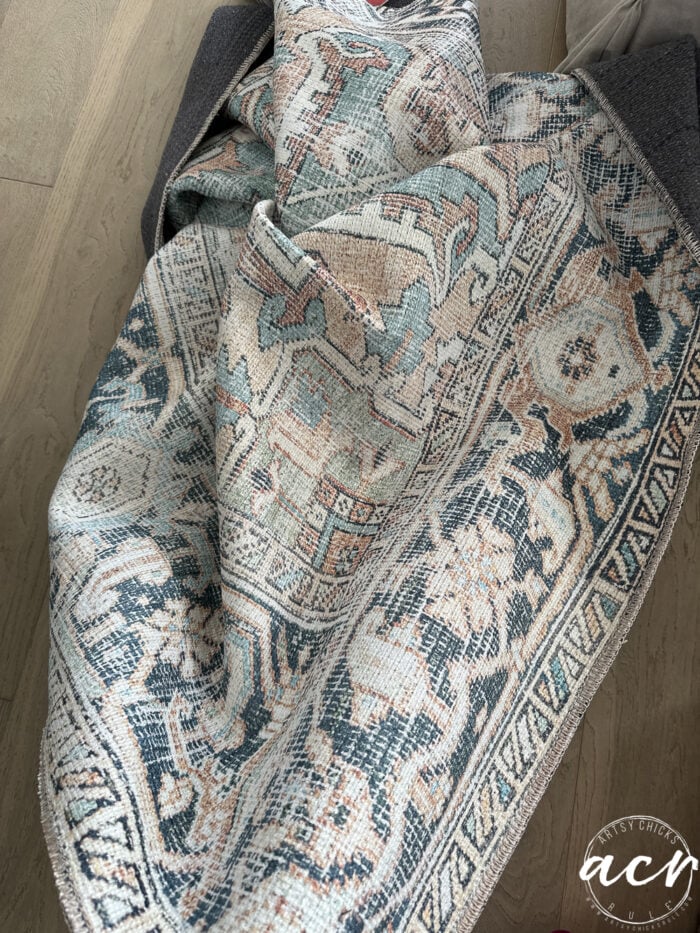
You can find this one here. (This is not outside the stock!)
The colors are great in this one too!
And the other that I am excited about!
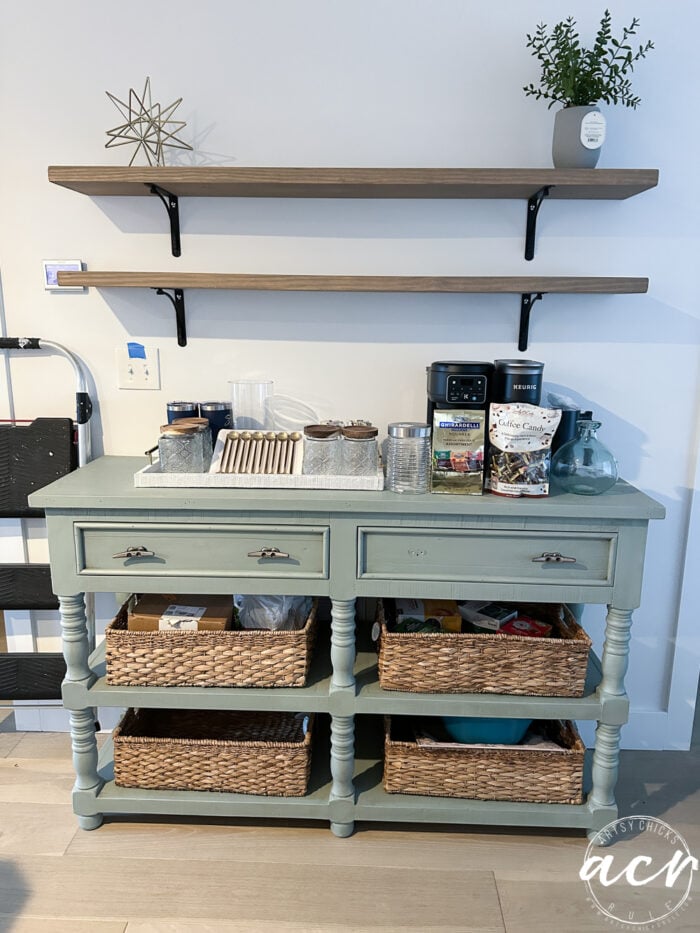
Coffee/new tea !! Woohoo !!
I am very excited to convert this control unit table to a cafe tape! I will have to be treated, chocolate, cookie, coffee flavors, coffee, tea and more! I can’t wait for this one style!
Hubby cut the panels 2 x 10 and shook it with the stain of the beloved sectarian wood and hung it with arches we found in Louise. I really love him very much! The baskets came at home. I will have links to everything once you are finished!
This is now! Stay tuned for full disclosure soon.
I hope you think about using vinyl tiles, it is easy to work with it, and sticks well while it is beautiful!
Install it to save it!
I wish you an amazing weekend, friends! I will try to post some updates and we go this week on our Instagram stories. If you don’t already follow it, you can here!
xoxo

 Arabic
 Chinese (Simplified)
 Dutch
Dutch English
 French
 German
 Italian
 Portuguese
 Russian
 Spanish