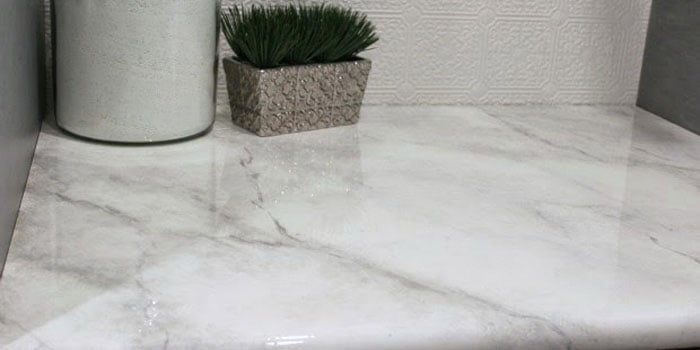
10. Epoxy casting
Once you have some epoxy on your work surfaces, start spreading it. Anything you use to spread it on will need to be thrown away, so use something disposable. Larger spreaders will make it easier! I used the plastic putty knives I had on hand, but I wish I had listened to my mom and bought the giant disposable spreader for $2 from the store.
Smooth the mixture as much as possible and let it run off the edges. It looks like glass. It will level out as you apply it, and you have to work quickly to spread it out before it starts to set.
Make sure to check all the edges and make sure everything is covered. (After it dried, I found two small spots on the front edge that we hadn’t noticed, so I fixed them with clear nail polish.)
Under the front edges, I used a sponge brush to catch the drips so they wouldn’t harden and create an uneven edge. Repeat this several times during the first hour while it dries. You’ll also need to remove the masking tape around the raw edges of the table—I removed mine within the first hour after the epoxy was set.

Once you’ve covered the surface, don’t touch it! But look closely for air bubbles. Other tutorials I’ve read have used a blowtorch or their breath to pop the bubbles. My torch didn’t light, so we just blew on all the air bubbles we could find — if I did it again, I’d try using a blowtorch.

