
Is the plaster in which your Paksplash meets? It is a common mistake in the tiles I see it all the time. Here’s how to fix it and what you are doing to avoid it in the future.
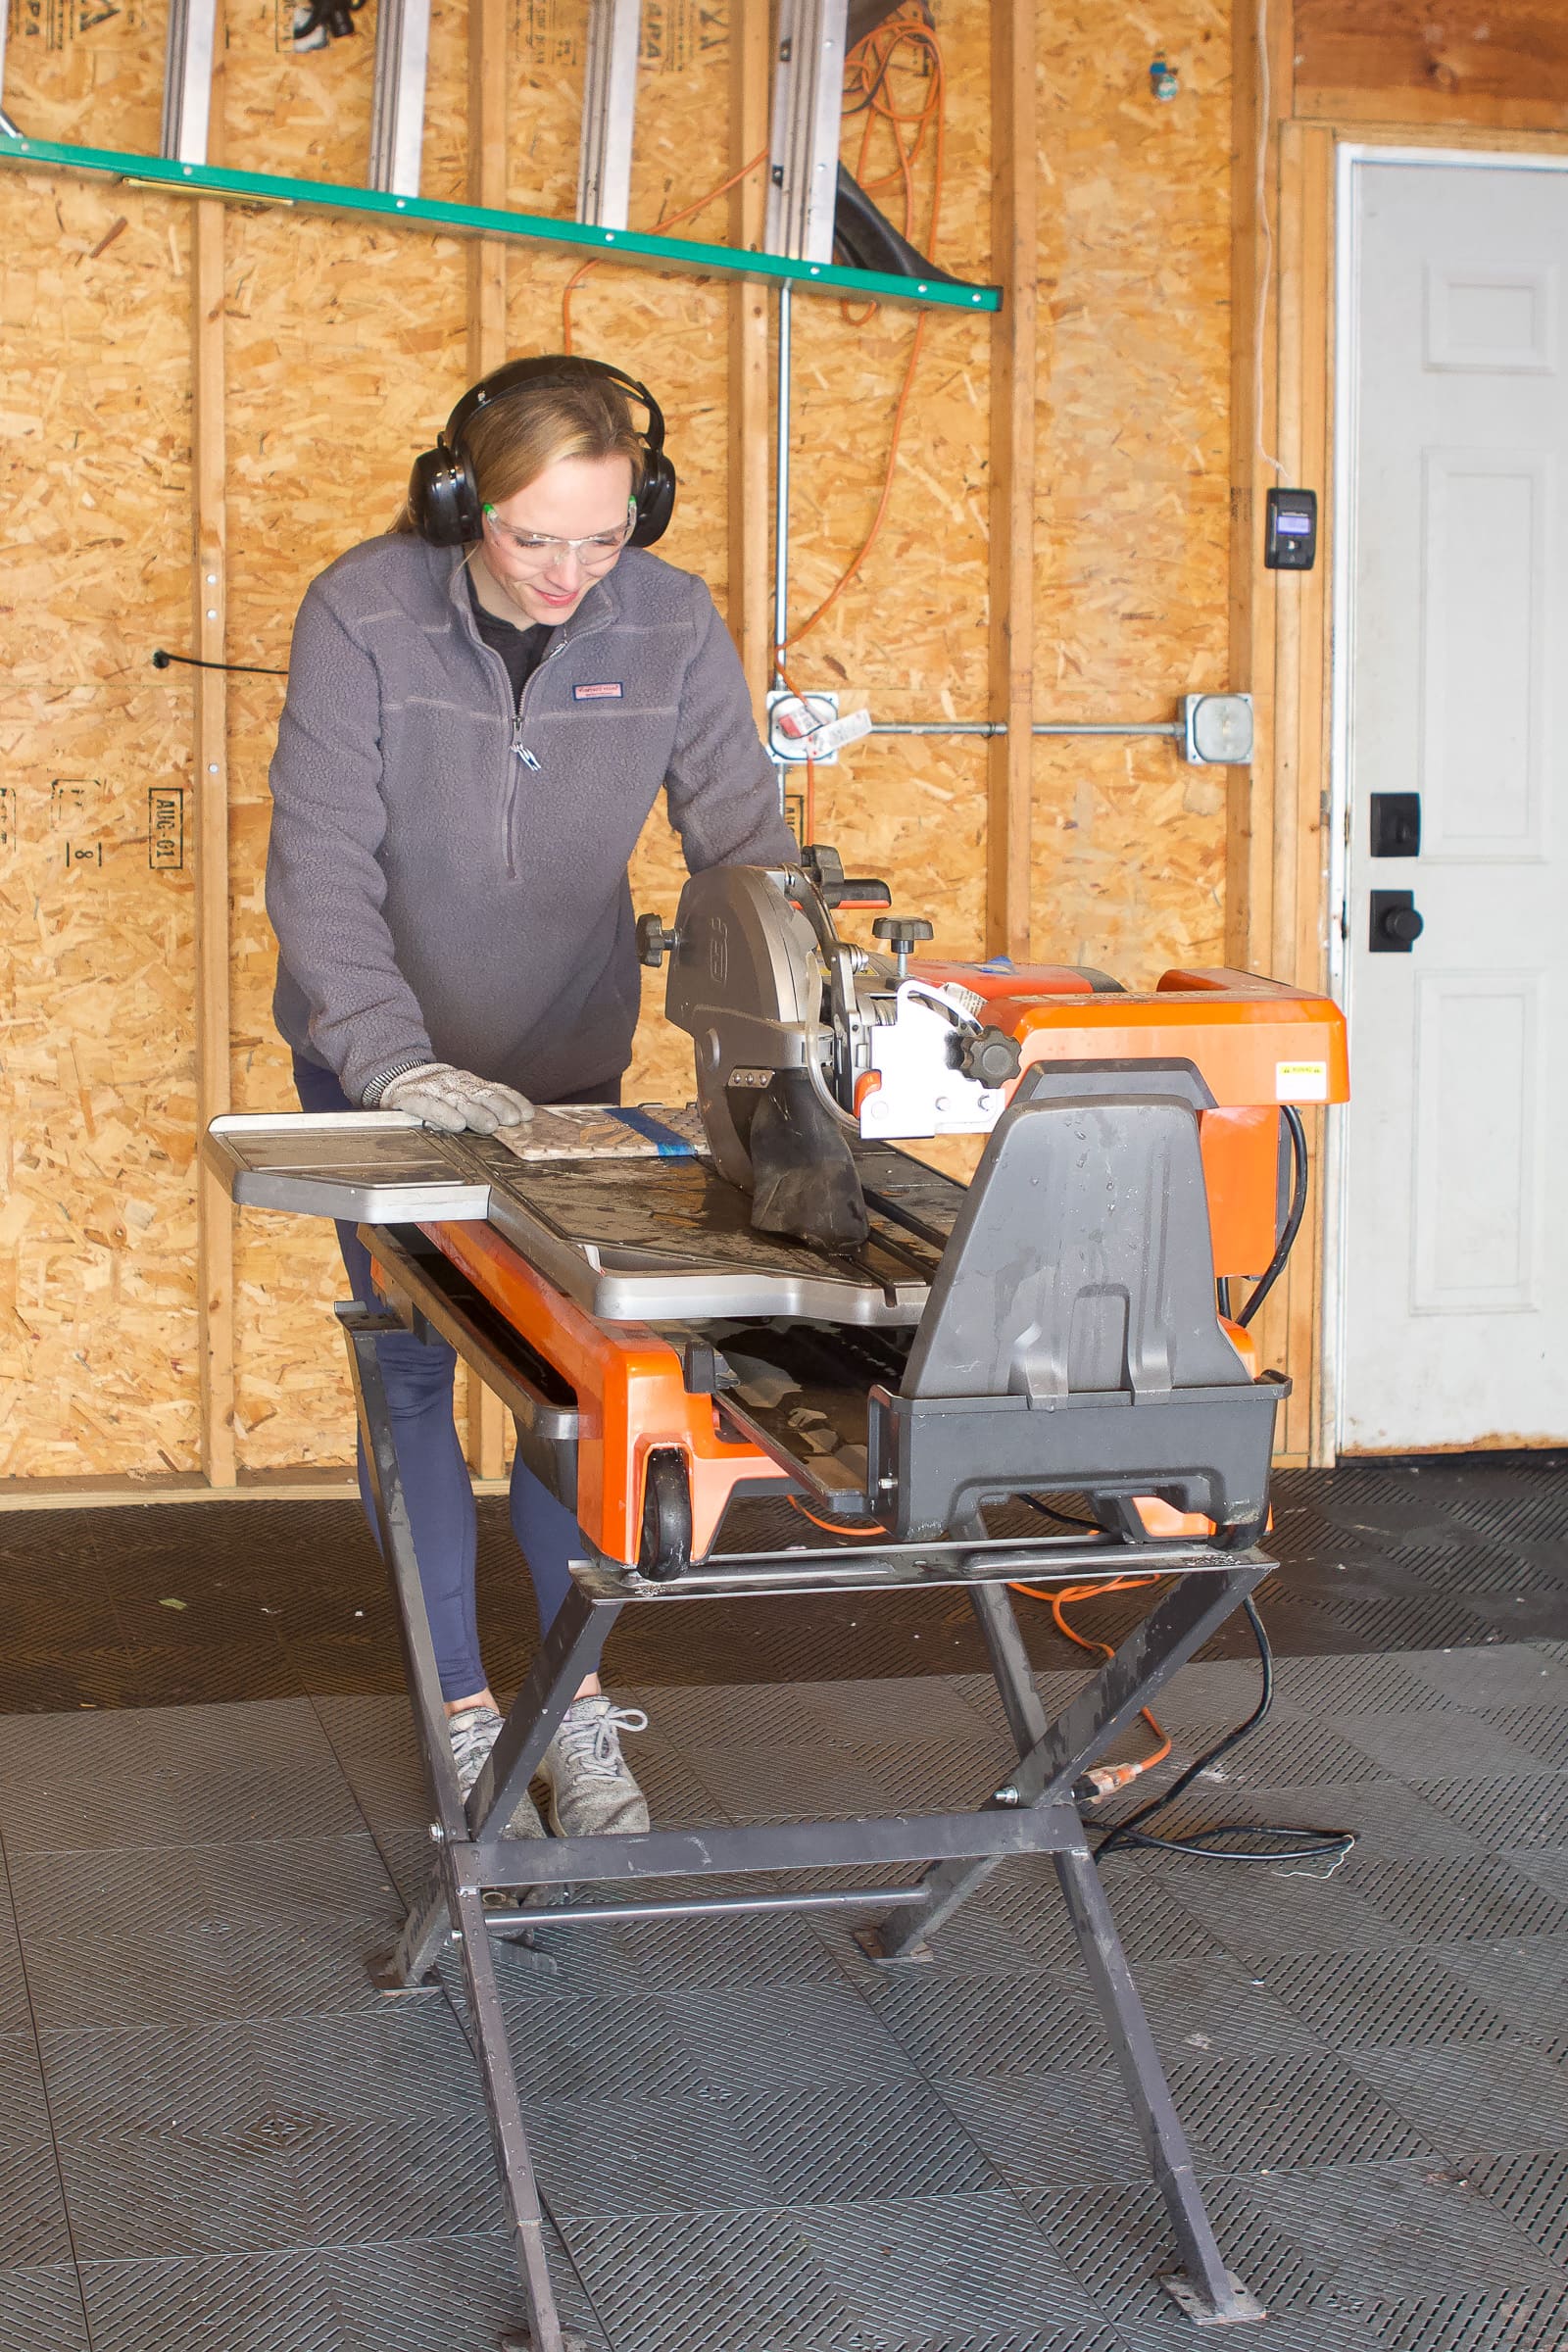
We all know that I am not a professional contractor or a merchant, but when I do a project, I spend hours of research and learning from professionals. I watch videos, read the blog posts, and devour educational programs to ensure that I can handle every task with the best I have. Over the years, I have completed many tile projects, each of which improves my skills, although I am far from an expert!

First night project

In 2018, in our old apartment, Vino decided as an aspiration to be exposed to our entire bathroom and his news ourselves. We installed marble basket floor tiles and metro tiles on the walls and shower.

It was one of the most difficult projects, but it was the rewarding, which we dealt with at all, as we taught us valuable lessons about the installation of tiles. Subsequent projects, such as adding marble tiles to our apartment fireplace, green tiles to our laundry room, and tiles to the bathroom in the basement.
So, when my mother asked me to look at the Paccpelash, who was collapsing at the bottom, I immediately suspected a tiling error. Here’s what happened and how to fix it – excessive advice for your plaster repair projects!
Baccalach mom
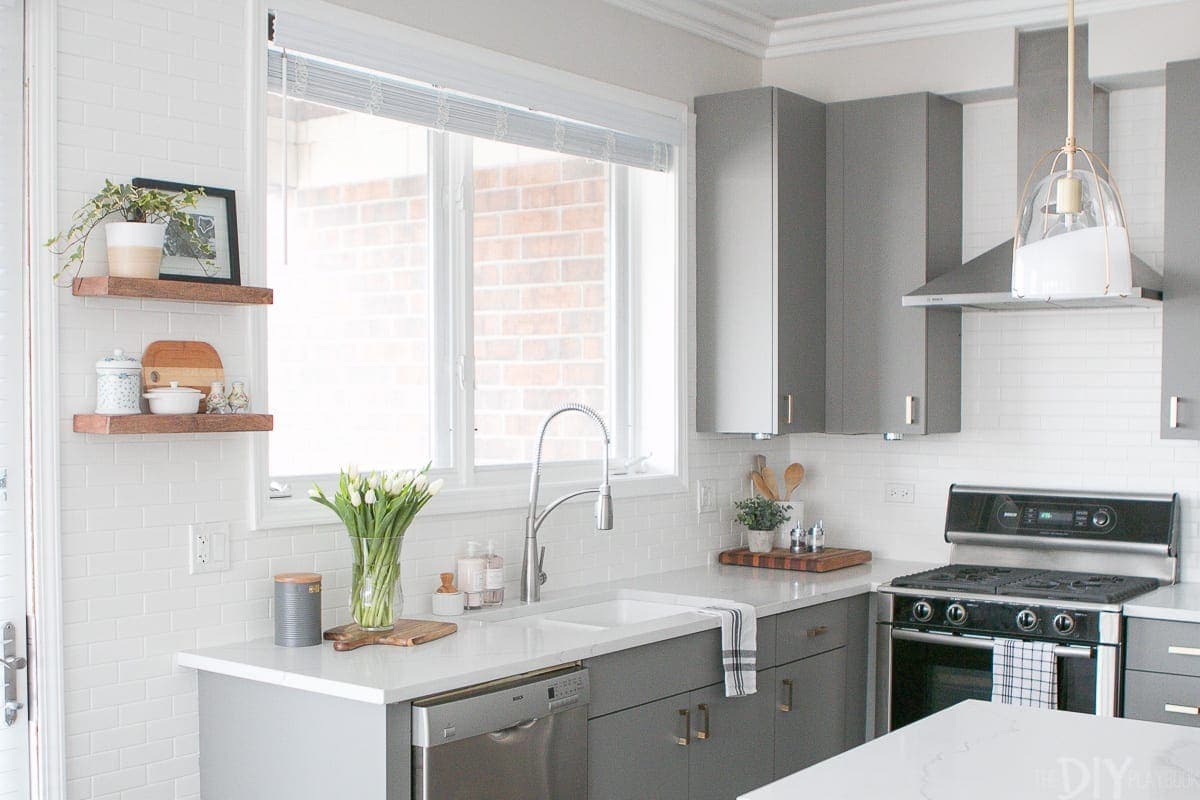
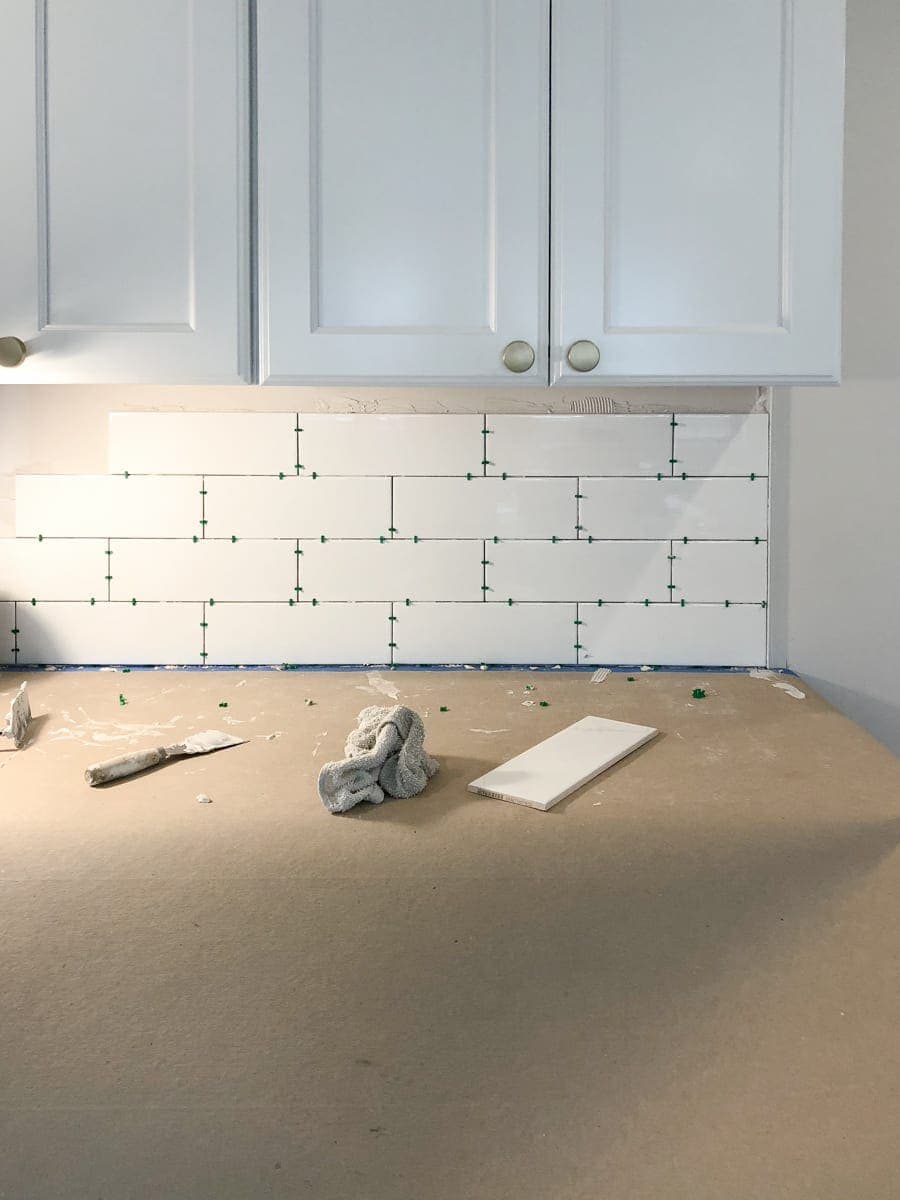
My mom made her kitchen when she first moved to her home. There were blue subway tiles like Paksblash was not its style.
It ended up choosing this white tile as a laxqulach for her and it turned out beautifully. Maher asked his nephew to do this task and do well, but I got the impression that this may have been the first time that this type of project is doing. 
The tiles looked good for a while, but the lower plaster line started to collapse as it met the quartz countertop. The missing plaster left the gaps that not only seemed ugly, but also pose of water damage in the surrounding area.
My mother hated chaos on her virgin meters, which were covered with pieces of rising plaster and plaster dust, and she was not sure of the reason for this. Fortunately, I knew it would be a quick solution and we will not need to contact any professional help.
Avoid this wear mistake
Below is the problem: The installer has not left a suitable joint below, as the tiles meet with a countertop. These gaps, which are usually about 1/8 inches, allow normal expansion and materials to shrink due to moisture and temperature changes.
You want to leave this 1/8 -inch gap where all aircraft meet. In this case, the tiles also meet the tanks.
Instead of using a flexible dam, he avoided these areas, and since the plaster is not flexible, it is cracked and collapsed with movement. Placing the new plaster on the current plaster will not solve this problem.

For the kitchen plaster repair project or kitchen tiles, always leave a suitable stretch stretch and use the correct type of material – in this case, block silicone instead of plaster.
This is a problem that you may also see on the shower floor. If so, you can follow these same steps exactly.
How to fix the fragmented plaster
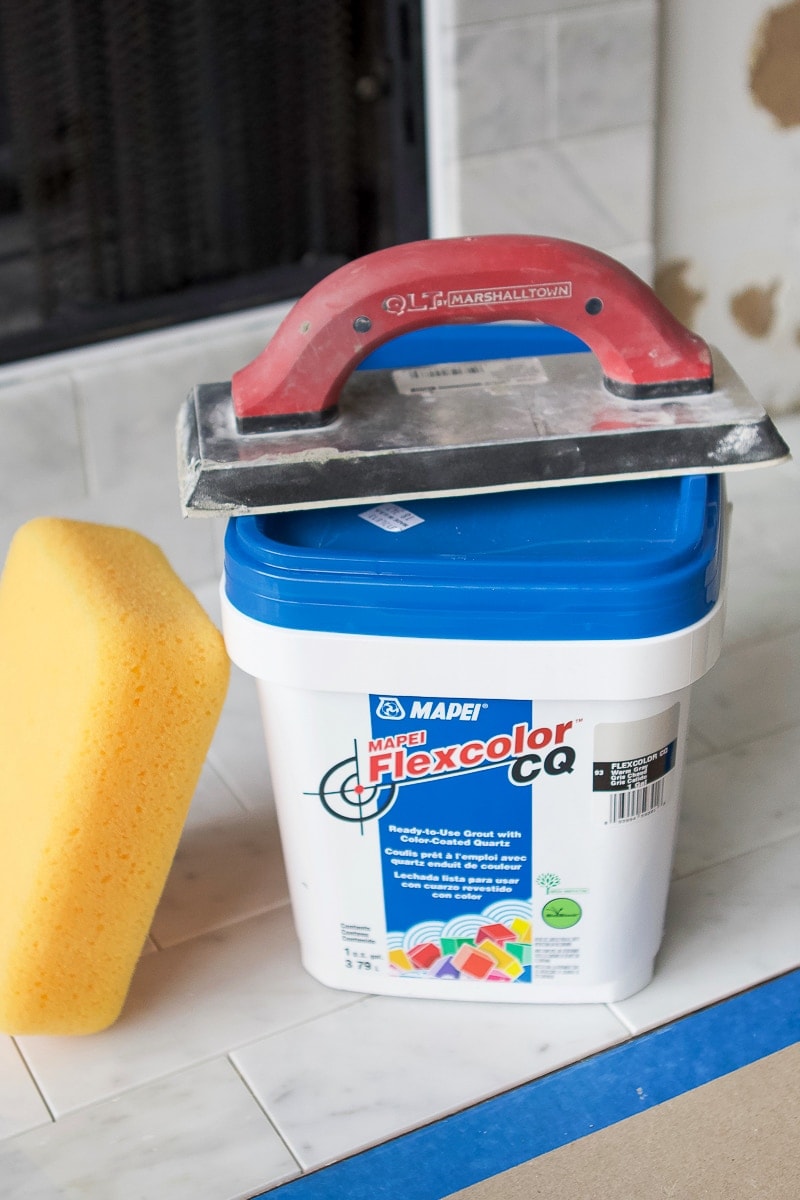
Fortunately, we were able to correct the situation and get rid of the dilapidated plaster in Bacc in Baccarash and make it look better ten times. This is what we used.
Remove the damaged plaster
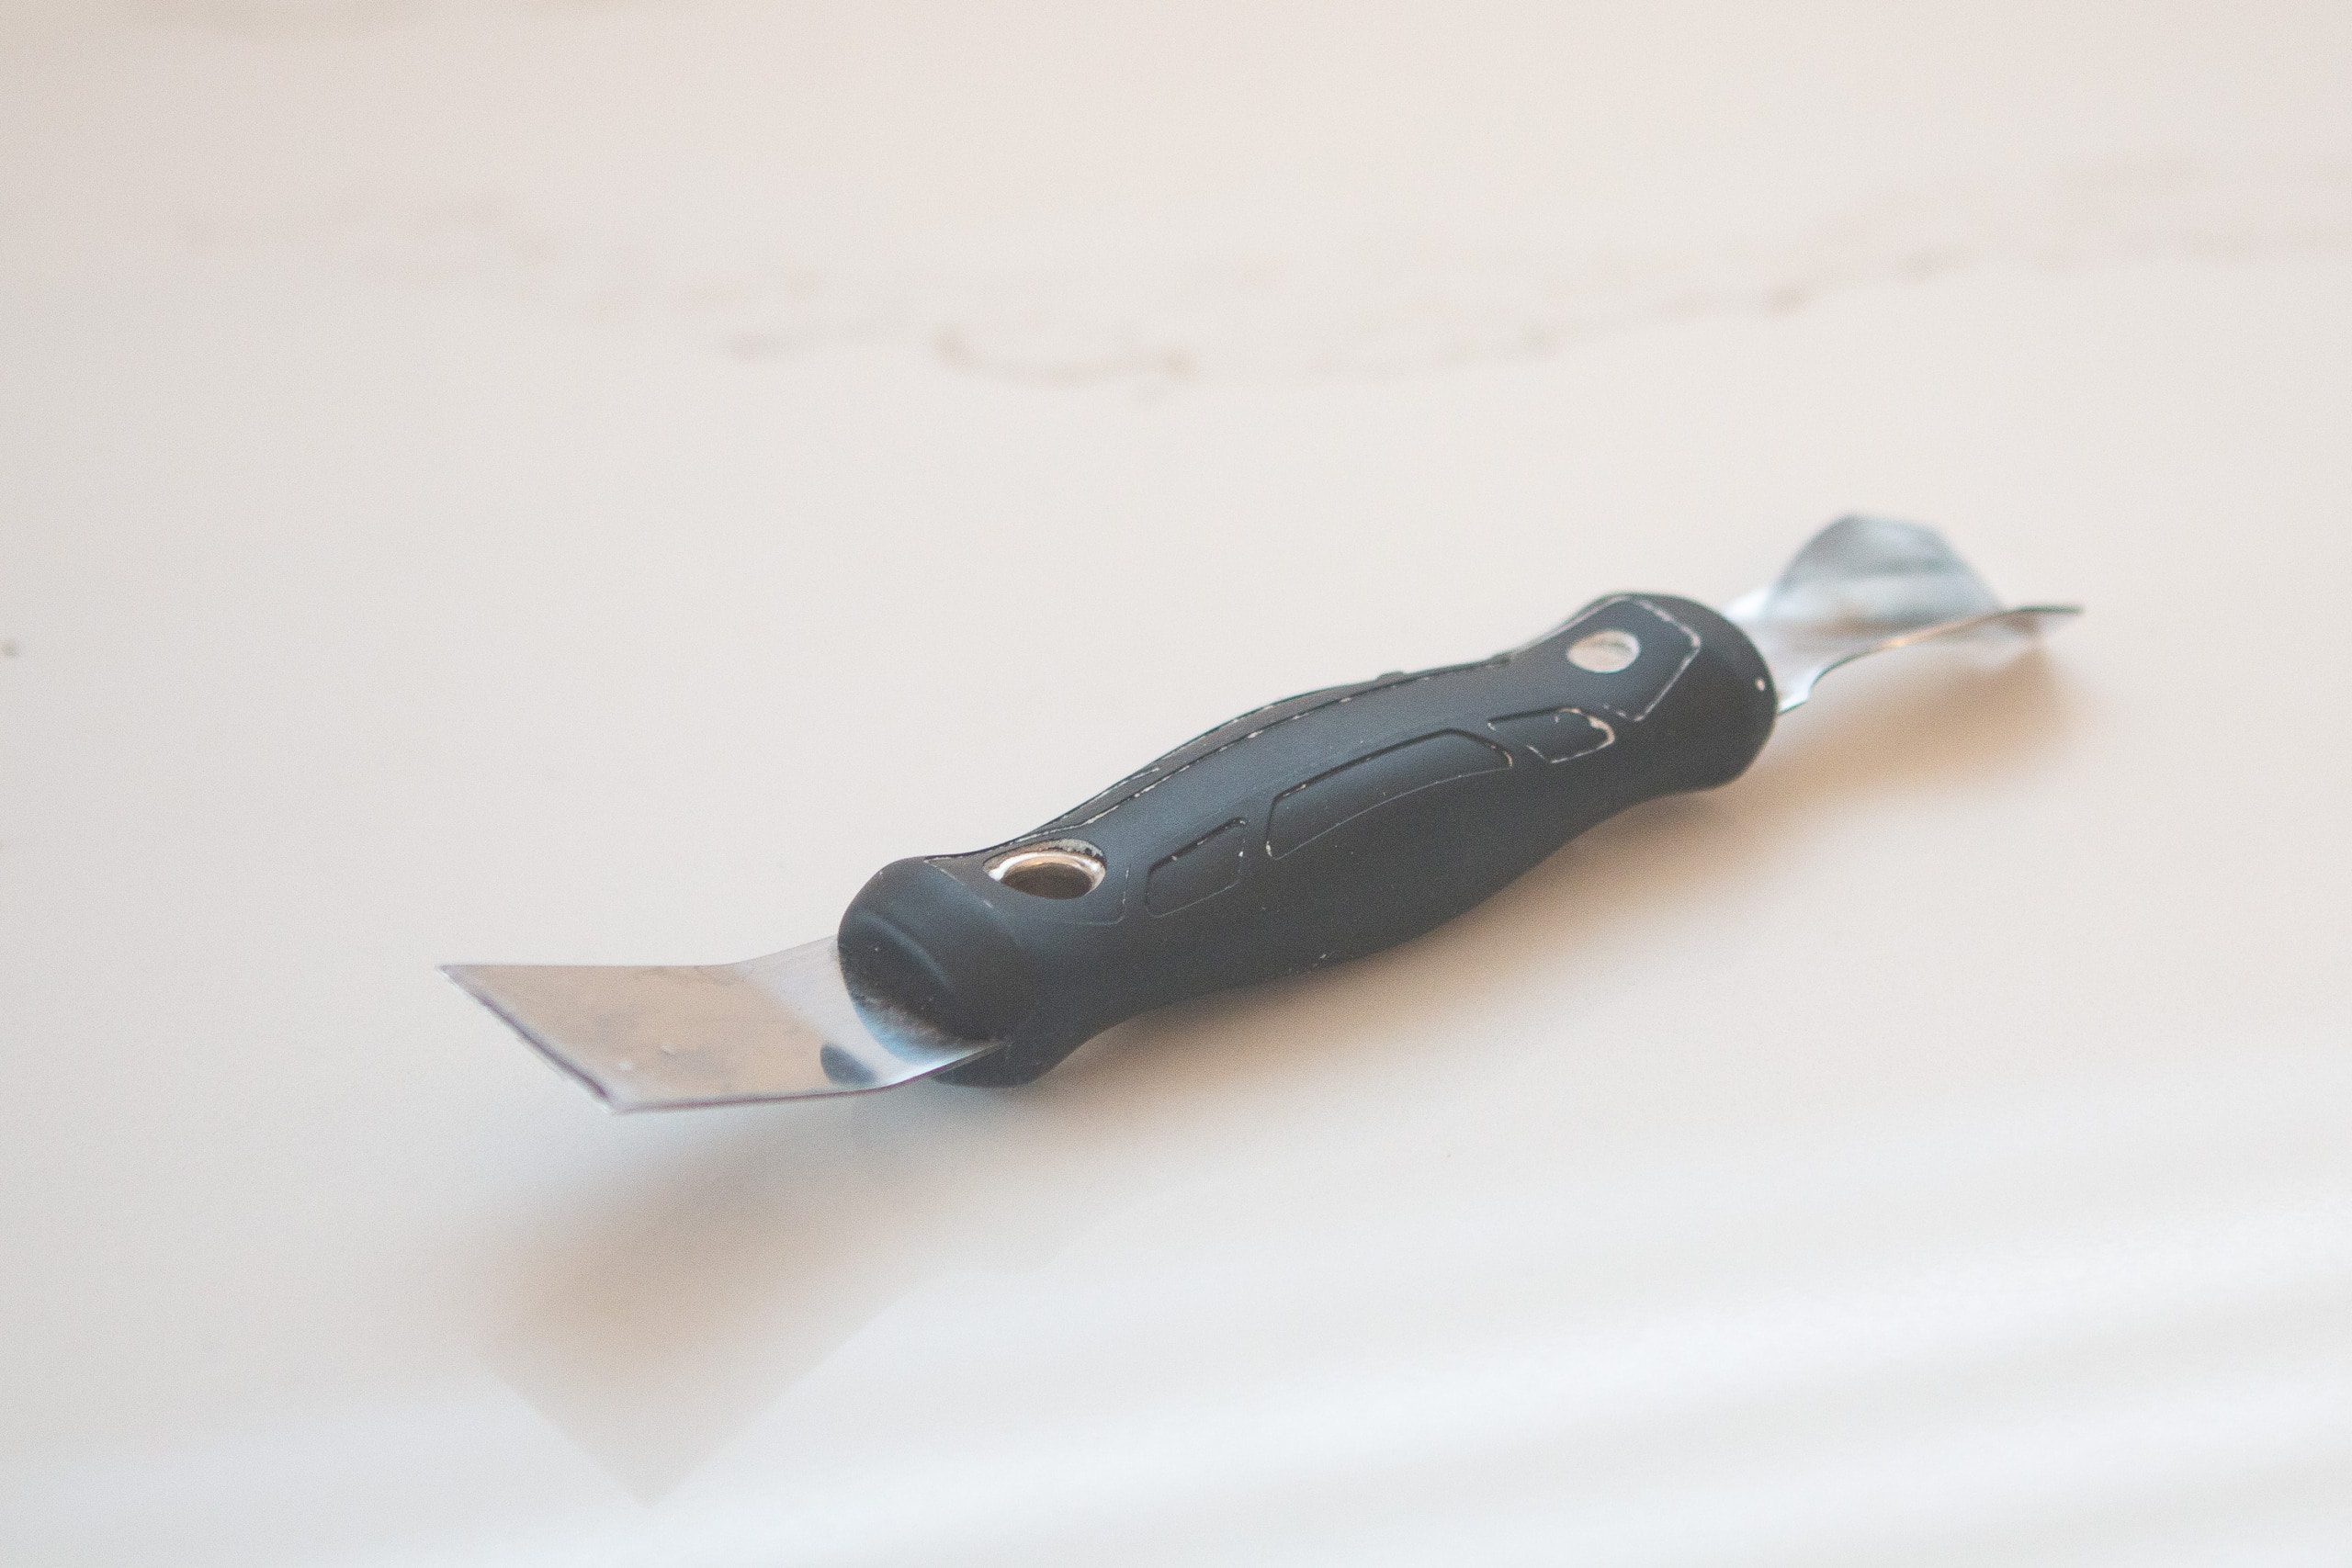
 The first thing we did is to scrape the extract of plaster. It was very easy because it was collapsing anyway. I just used the flat side of my dam removing tool to heal everything away. Make sure not to damage the surrounding tiles.
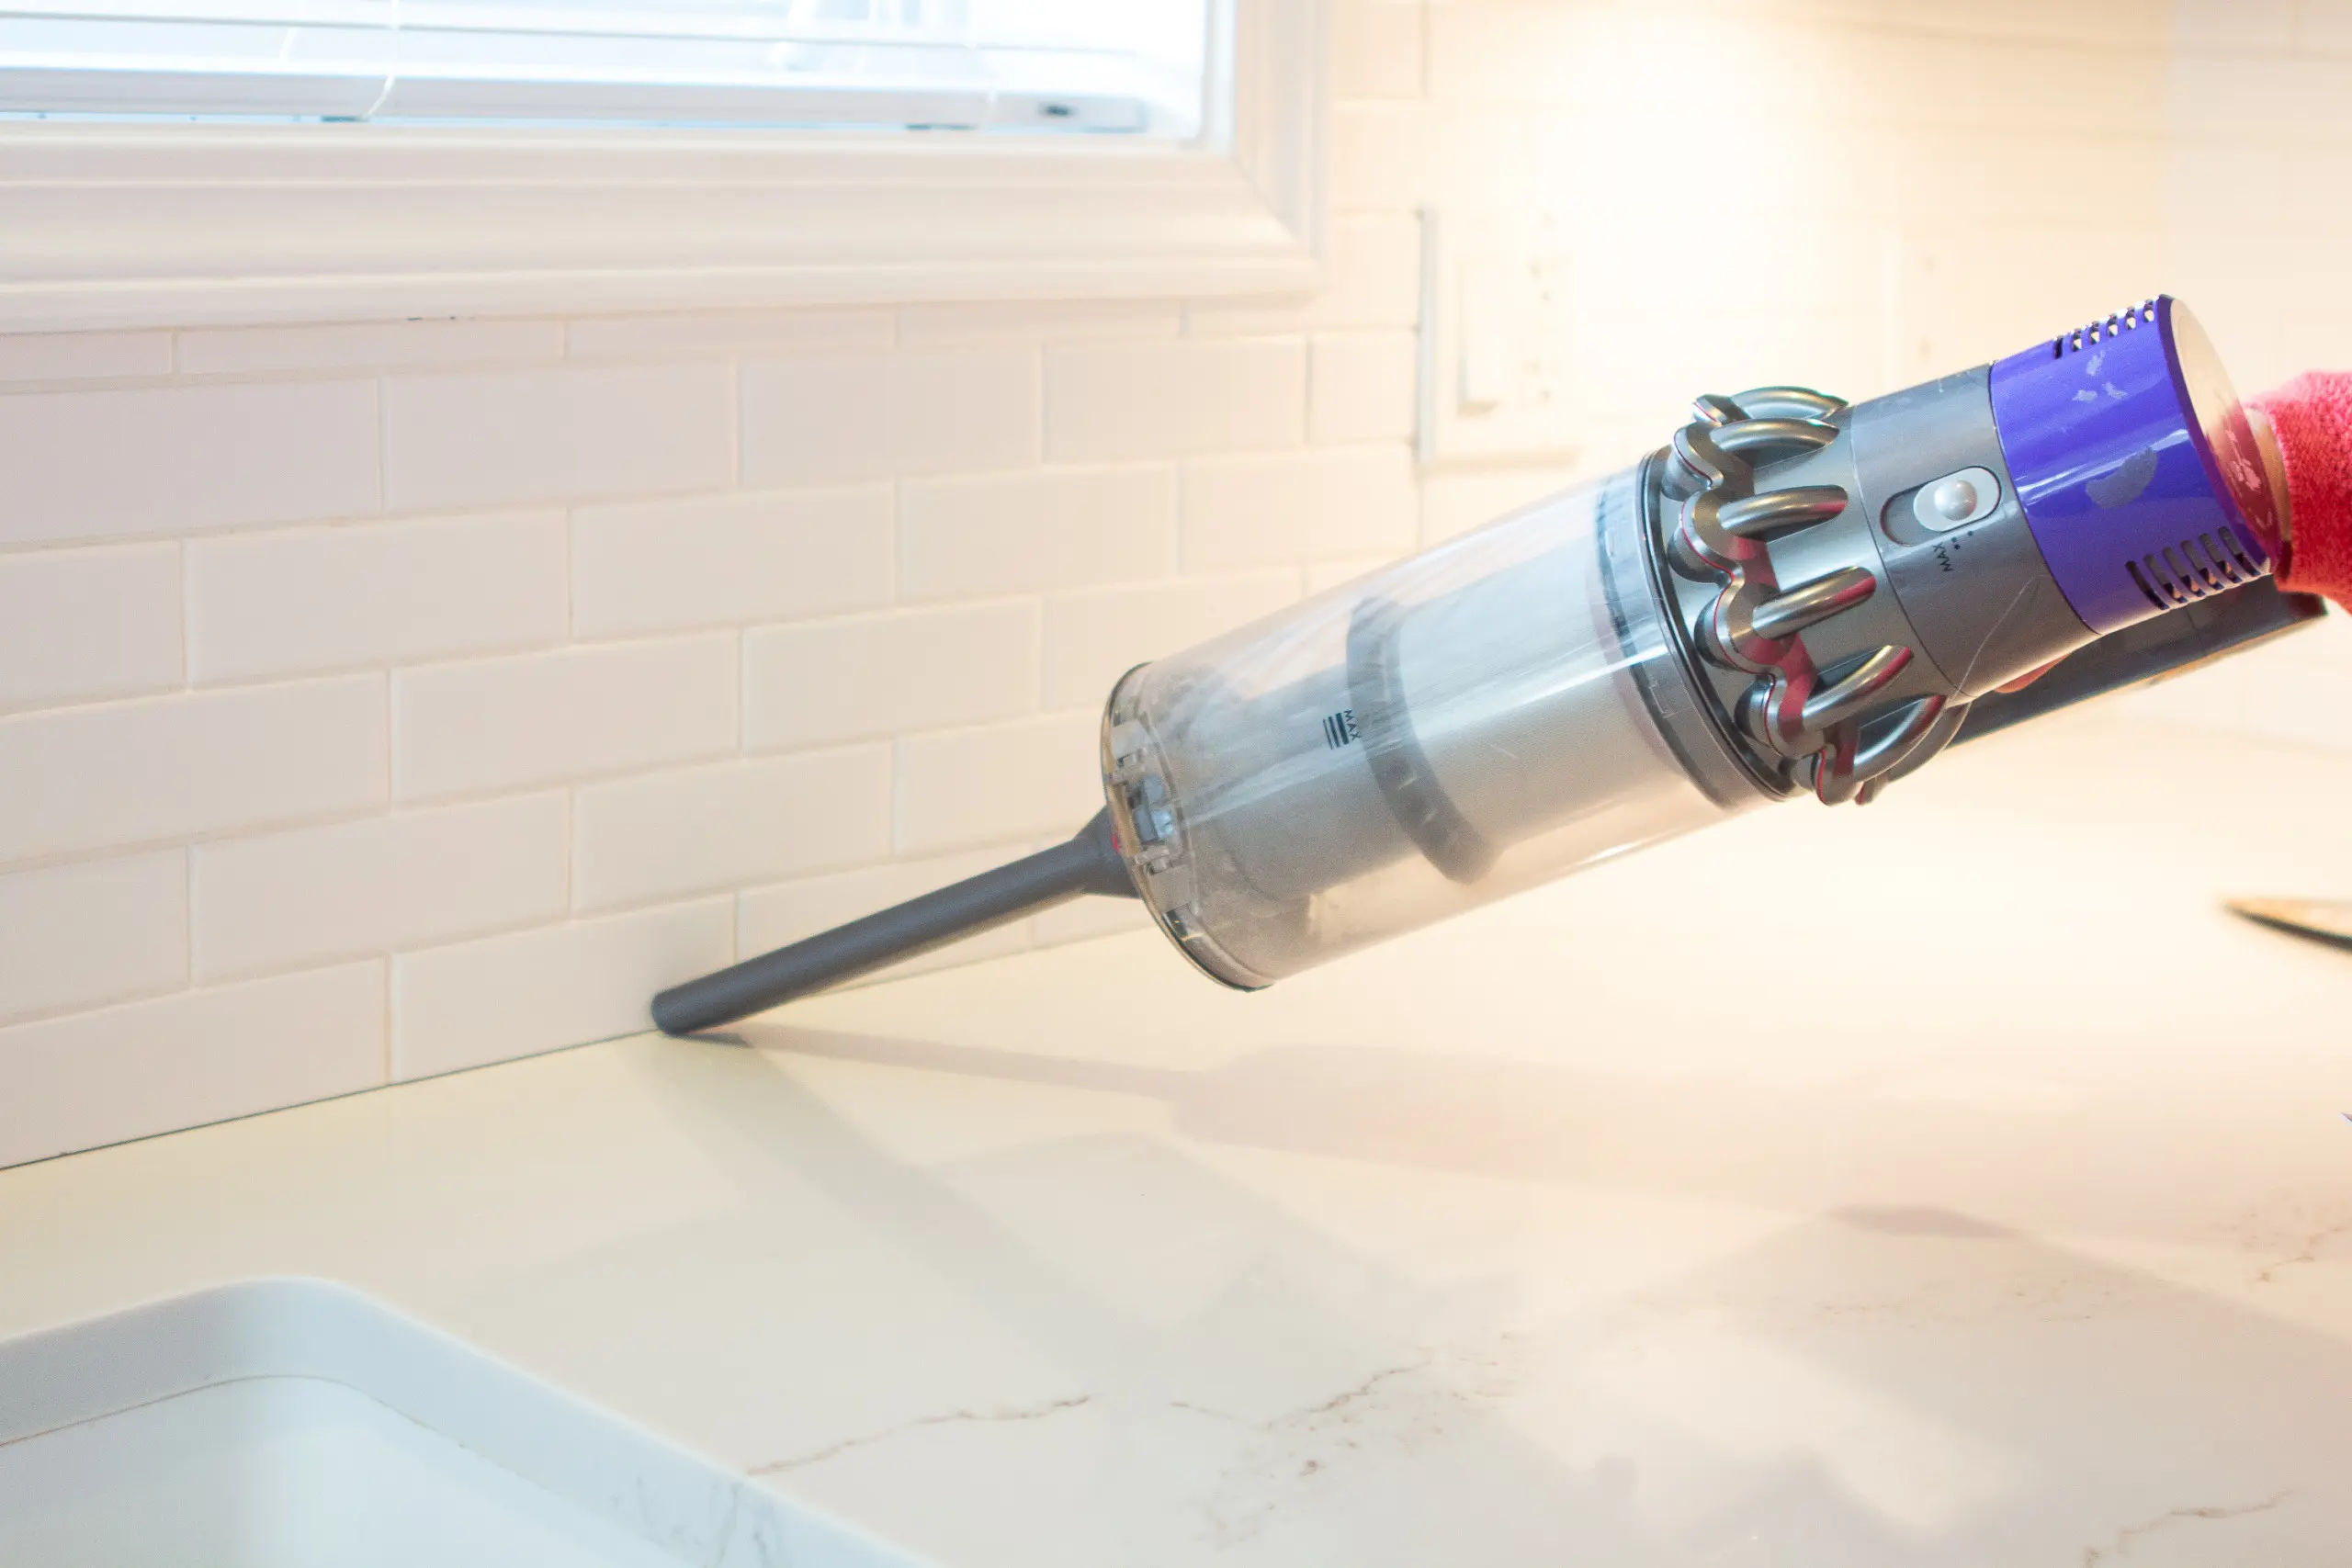
With out the old plaster, we emptied the debris and used the breach to ensure that everything was really clean. Then, it is time to fill.
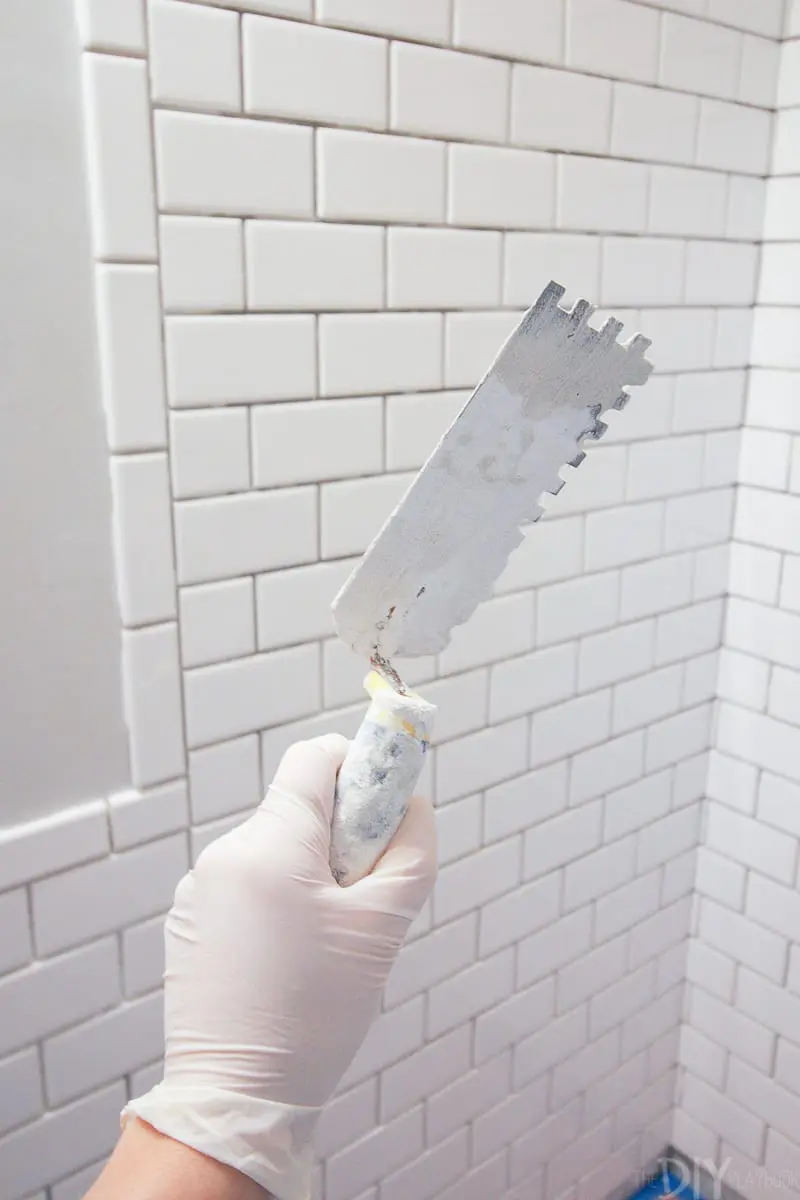
Choose the right dam
Well, so let’s discuss CAULK for one second. When doing wood carpentry projects, you will always use acrylic, which is somewhat easy to use. Acrylic block is also coat, so that you can paint directly to match the walls or pieces. You can learn more about the differences between the dam species in the post of my CAIRK 101 blog.
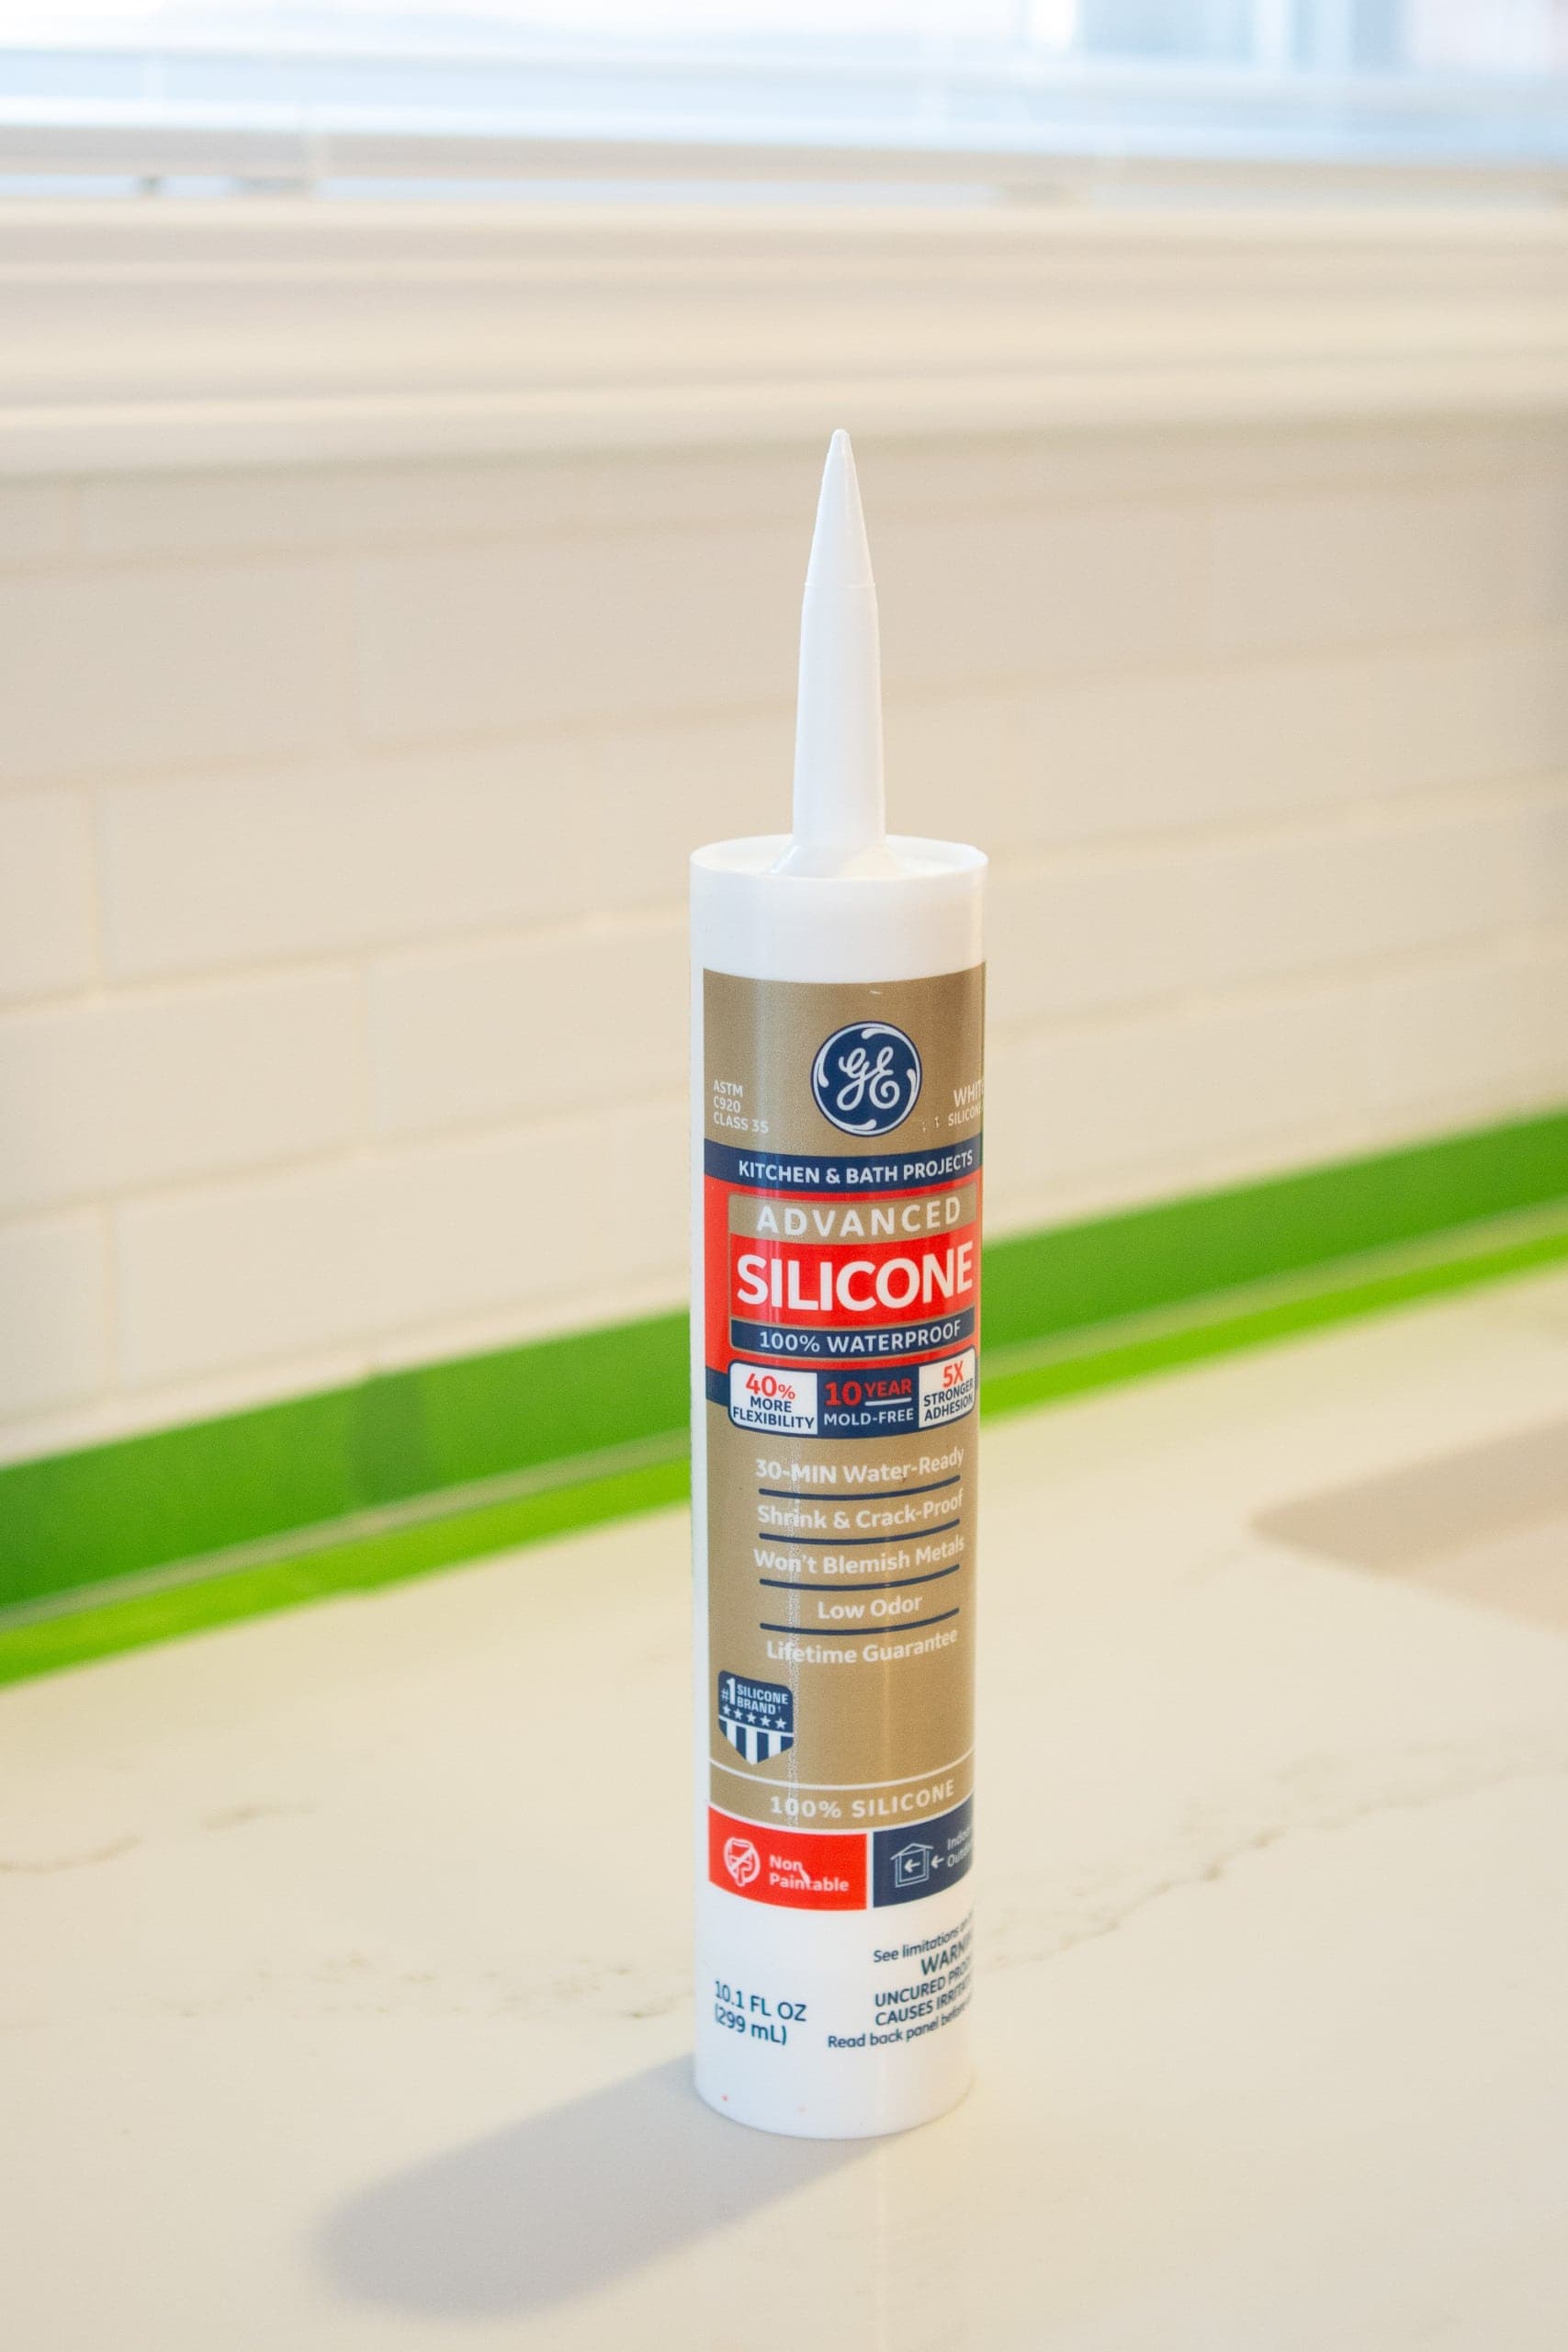
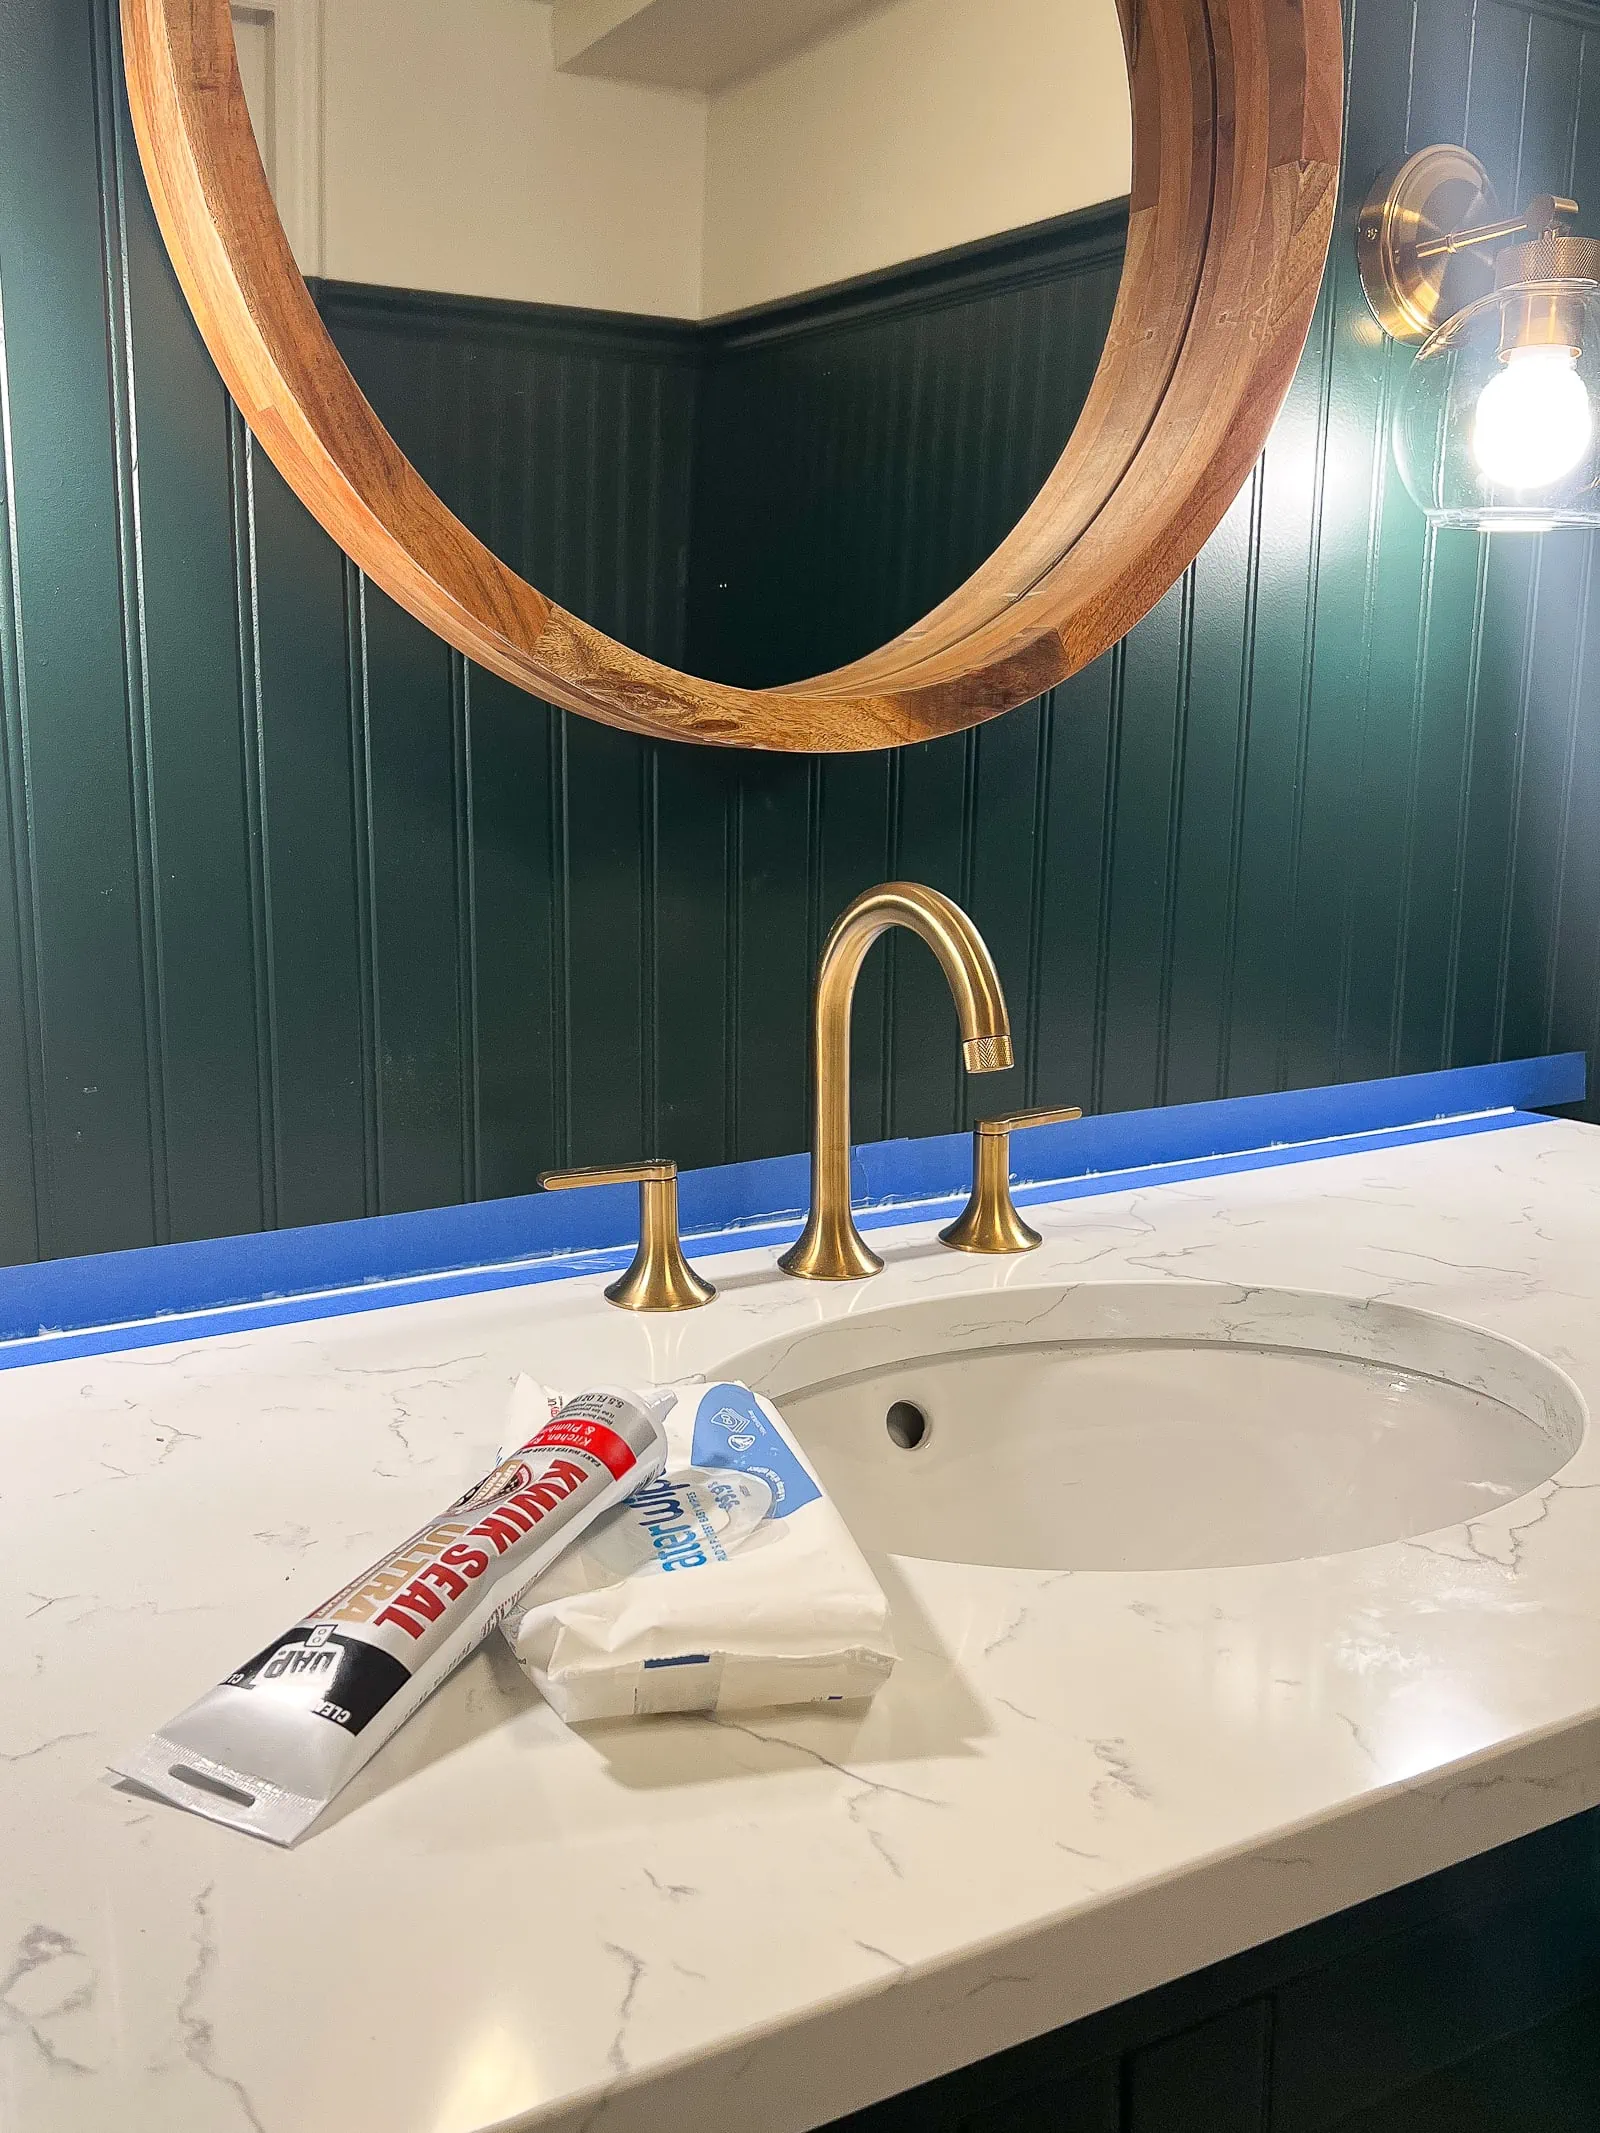
For a project that needs a waterproof, such as bathroom or kitchen, silicone block is the way to go. It cannot be painted, but it comes in different colors to match the color of the original plaster. It is difficult to work with silicone bridging more than acrylic and is chaotic. Don’t worry, I have tips to achieve the task properly.
If you really have a large gap, use the Backer Code. The supporter rod gives a place to rest. Pay it to the crack and fill it over it!
Painter rescue bar

Since the silicone block is very messy, you will want to use the painter bar for a clean, fragile line and prevent excess from spreading on the surface of the tiles.
I used the painter tape and recorded the countertop and the bottom of the wall tiles to create a small thin line for the dam. 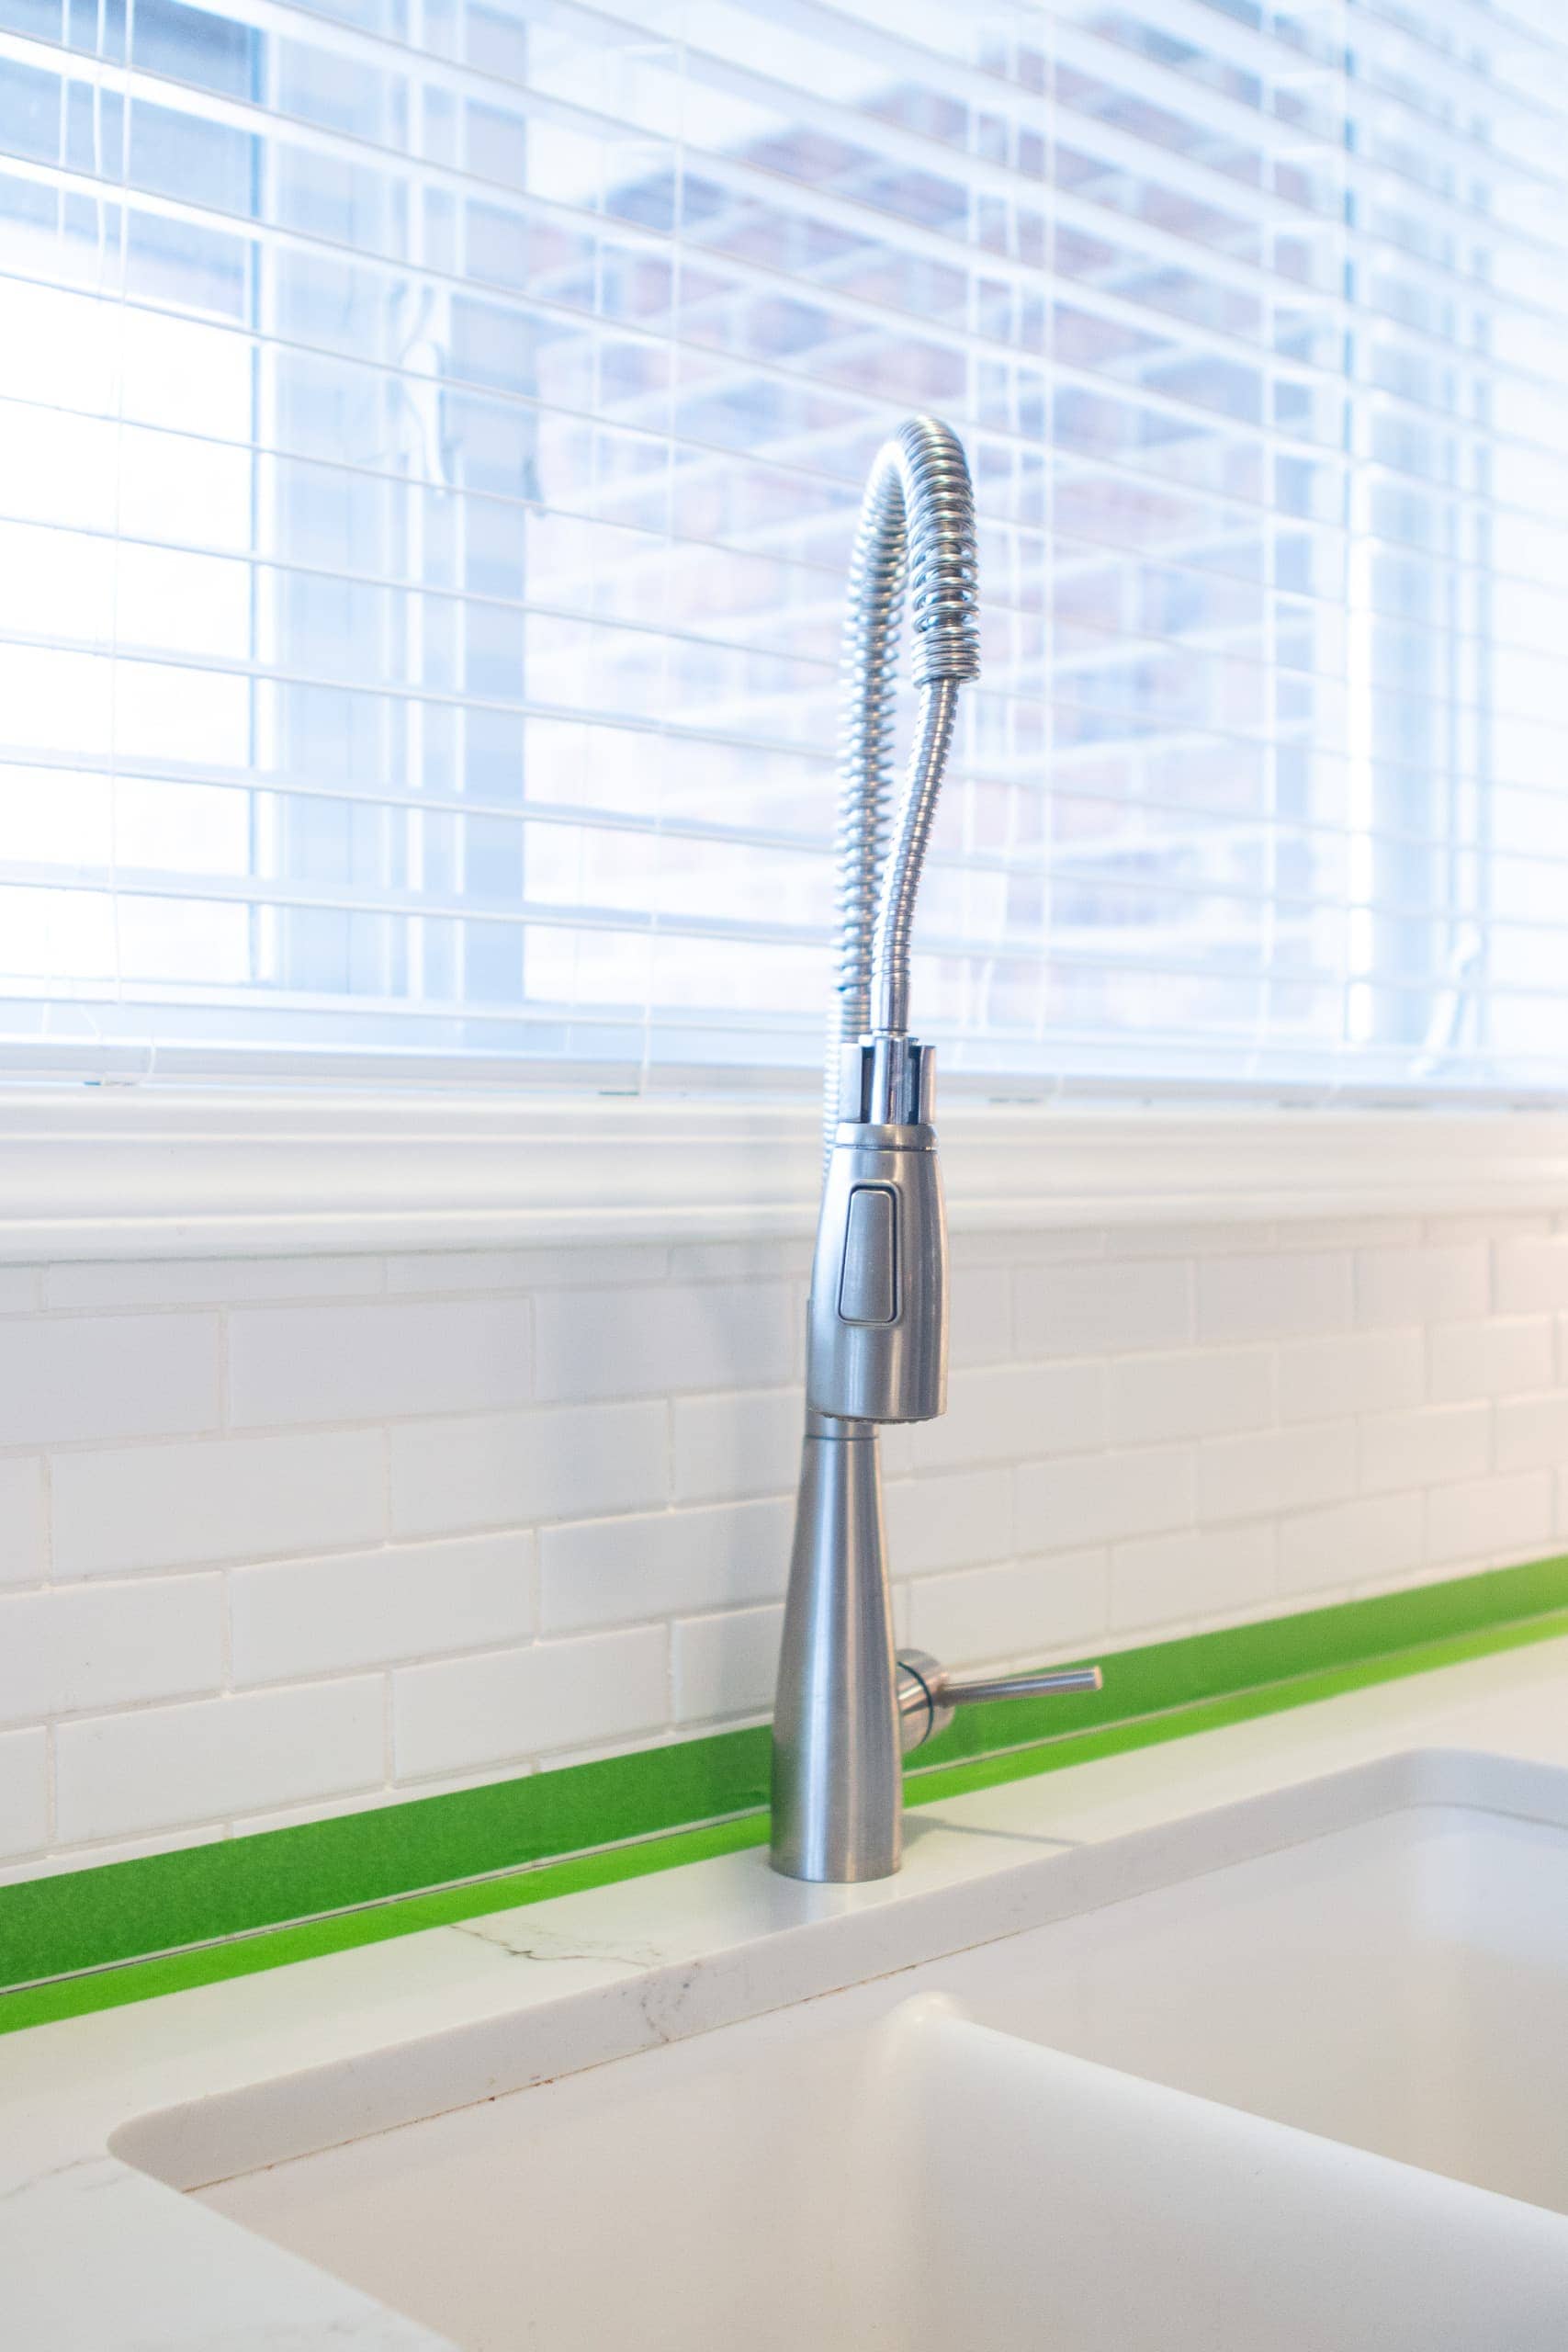
The painter’s tape will keep your job elegant and will ensure that your dam does not exceed all over the tiles or meters. Trust me, it is worth five additional minutes of time and effort.
Best dam tips
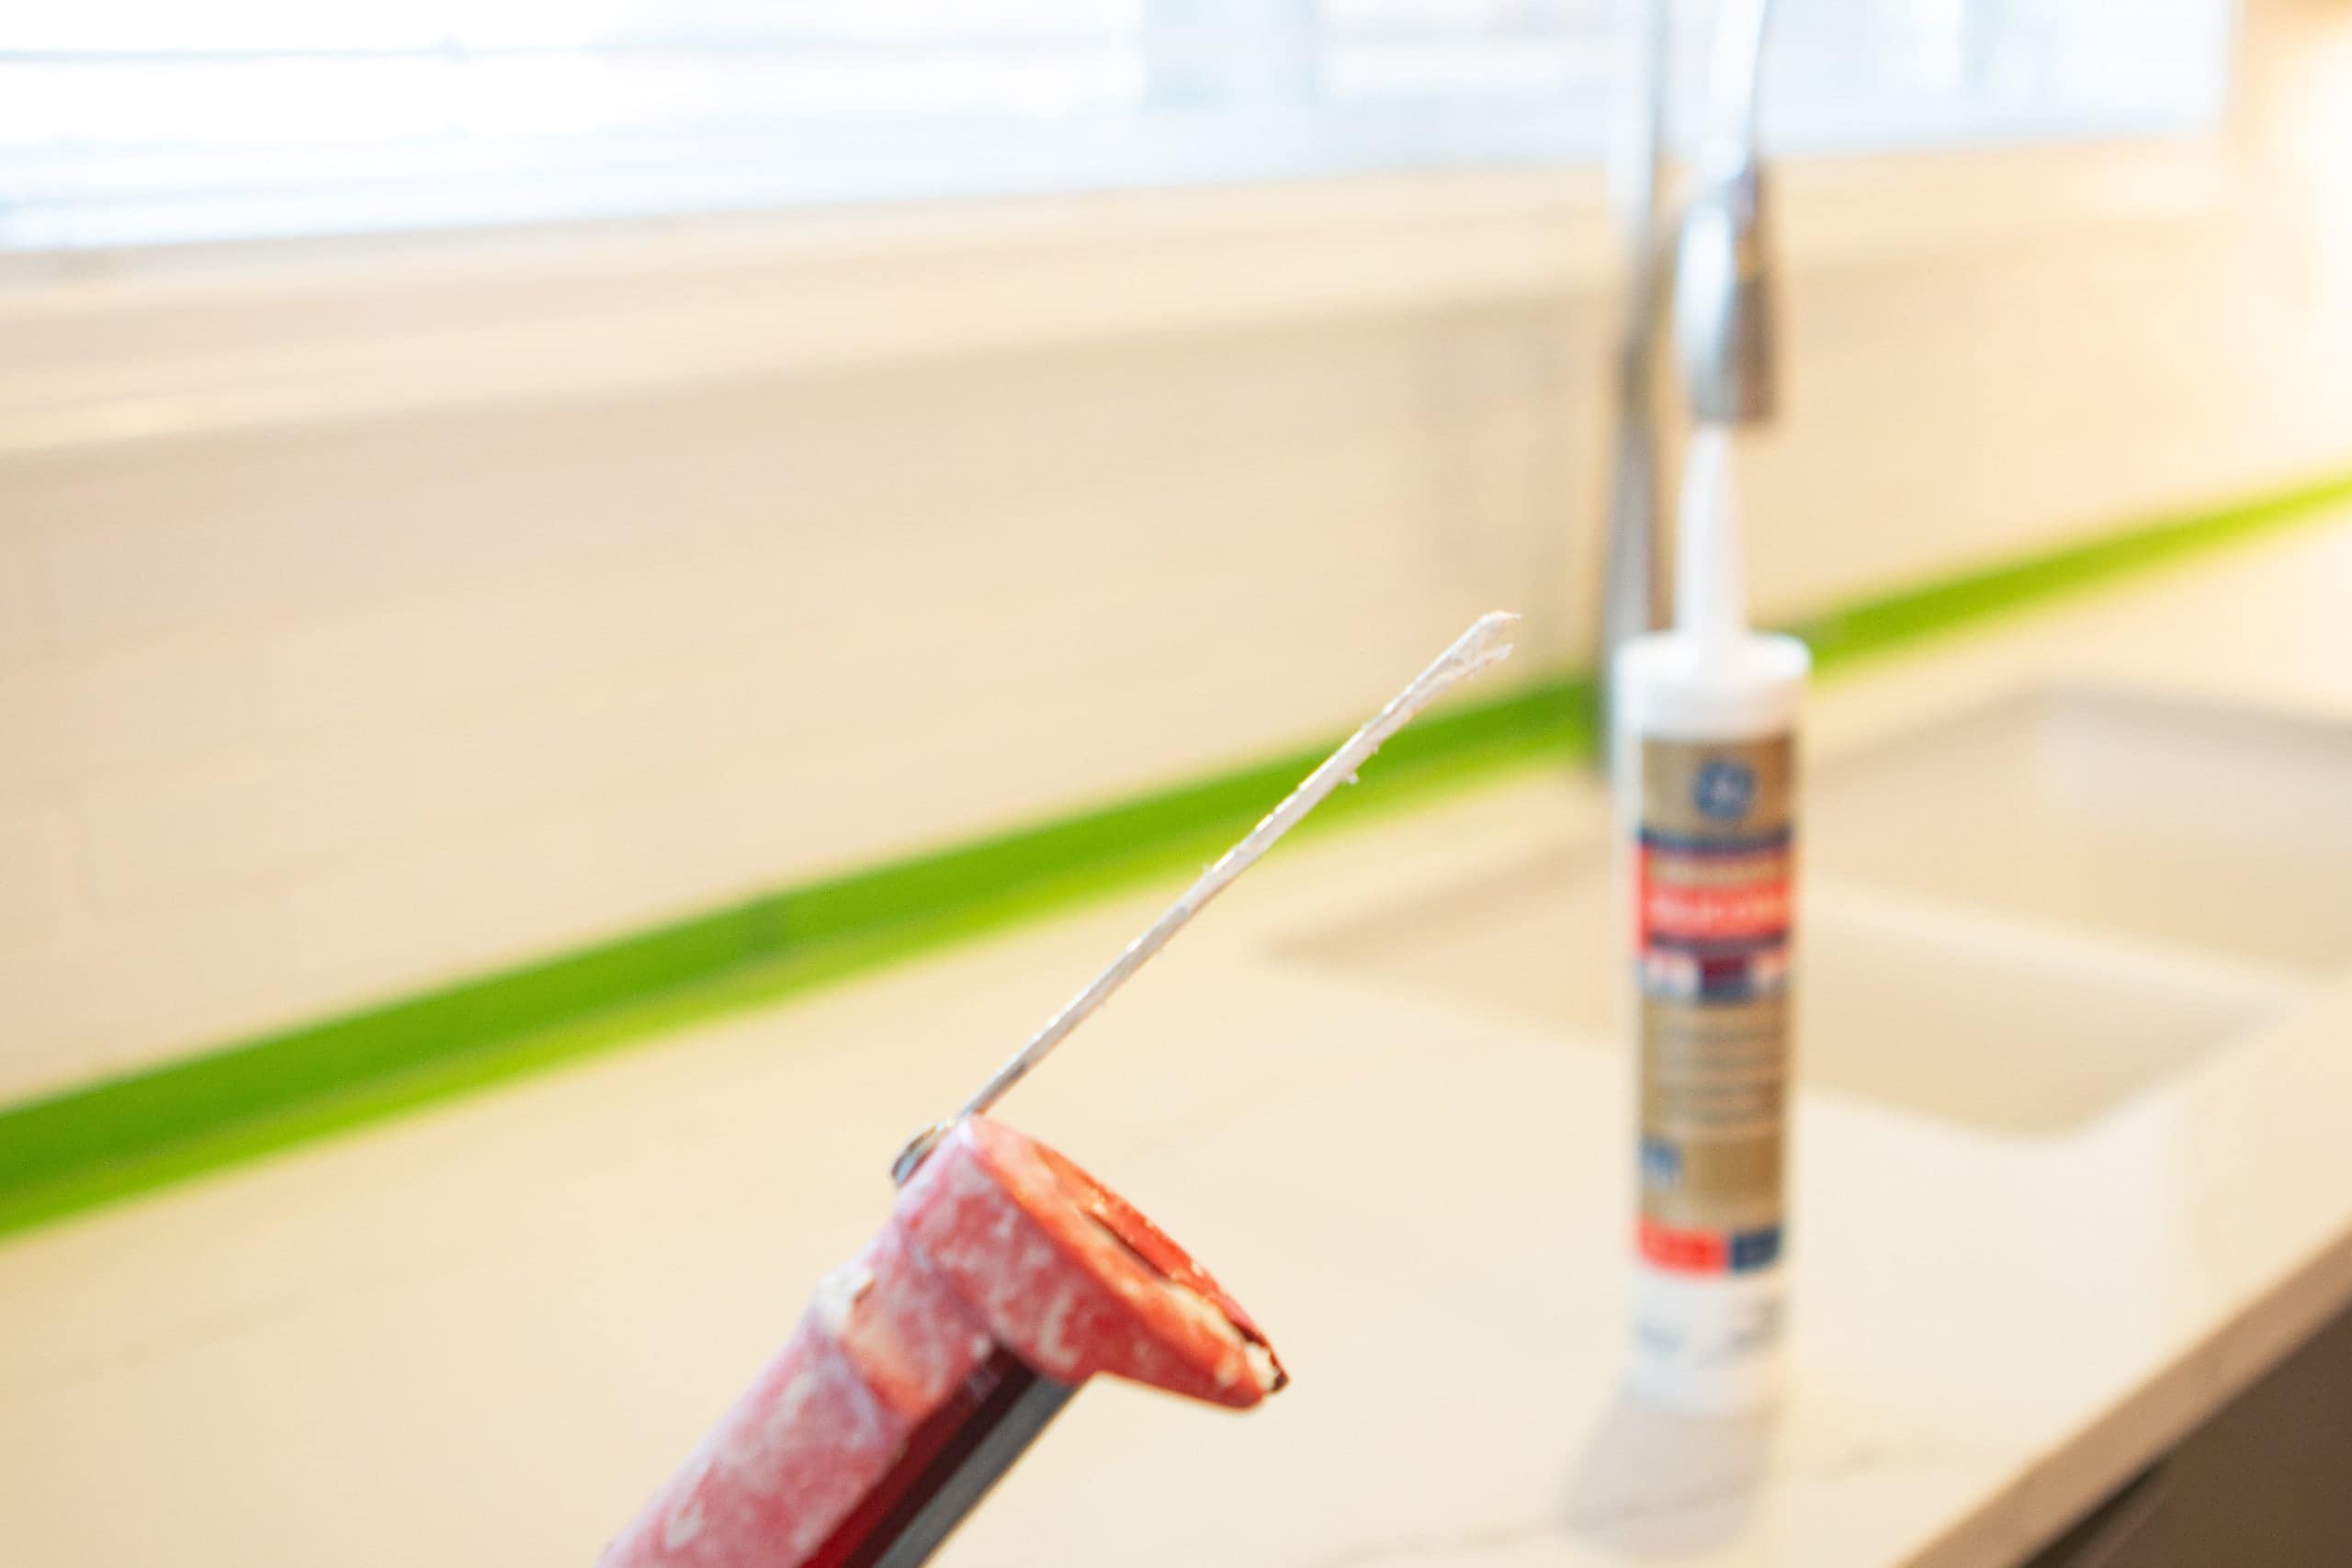
Use the ceiling pistol to open the dam tube. It contains something pointed to it and you are only in the hole to break the tube seal. 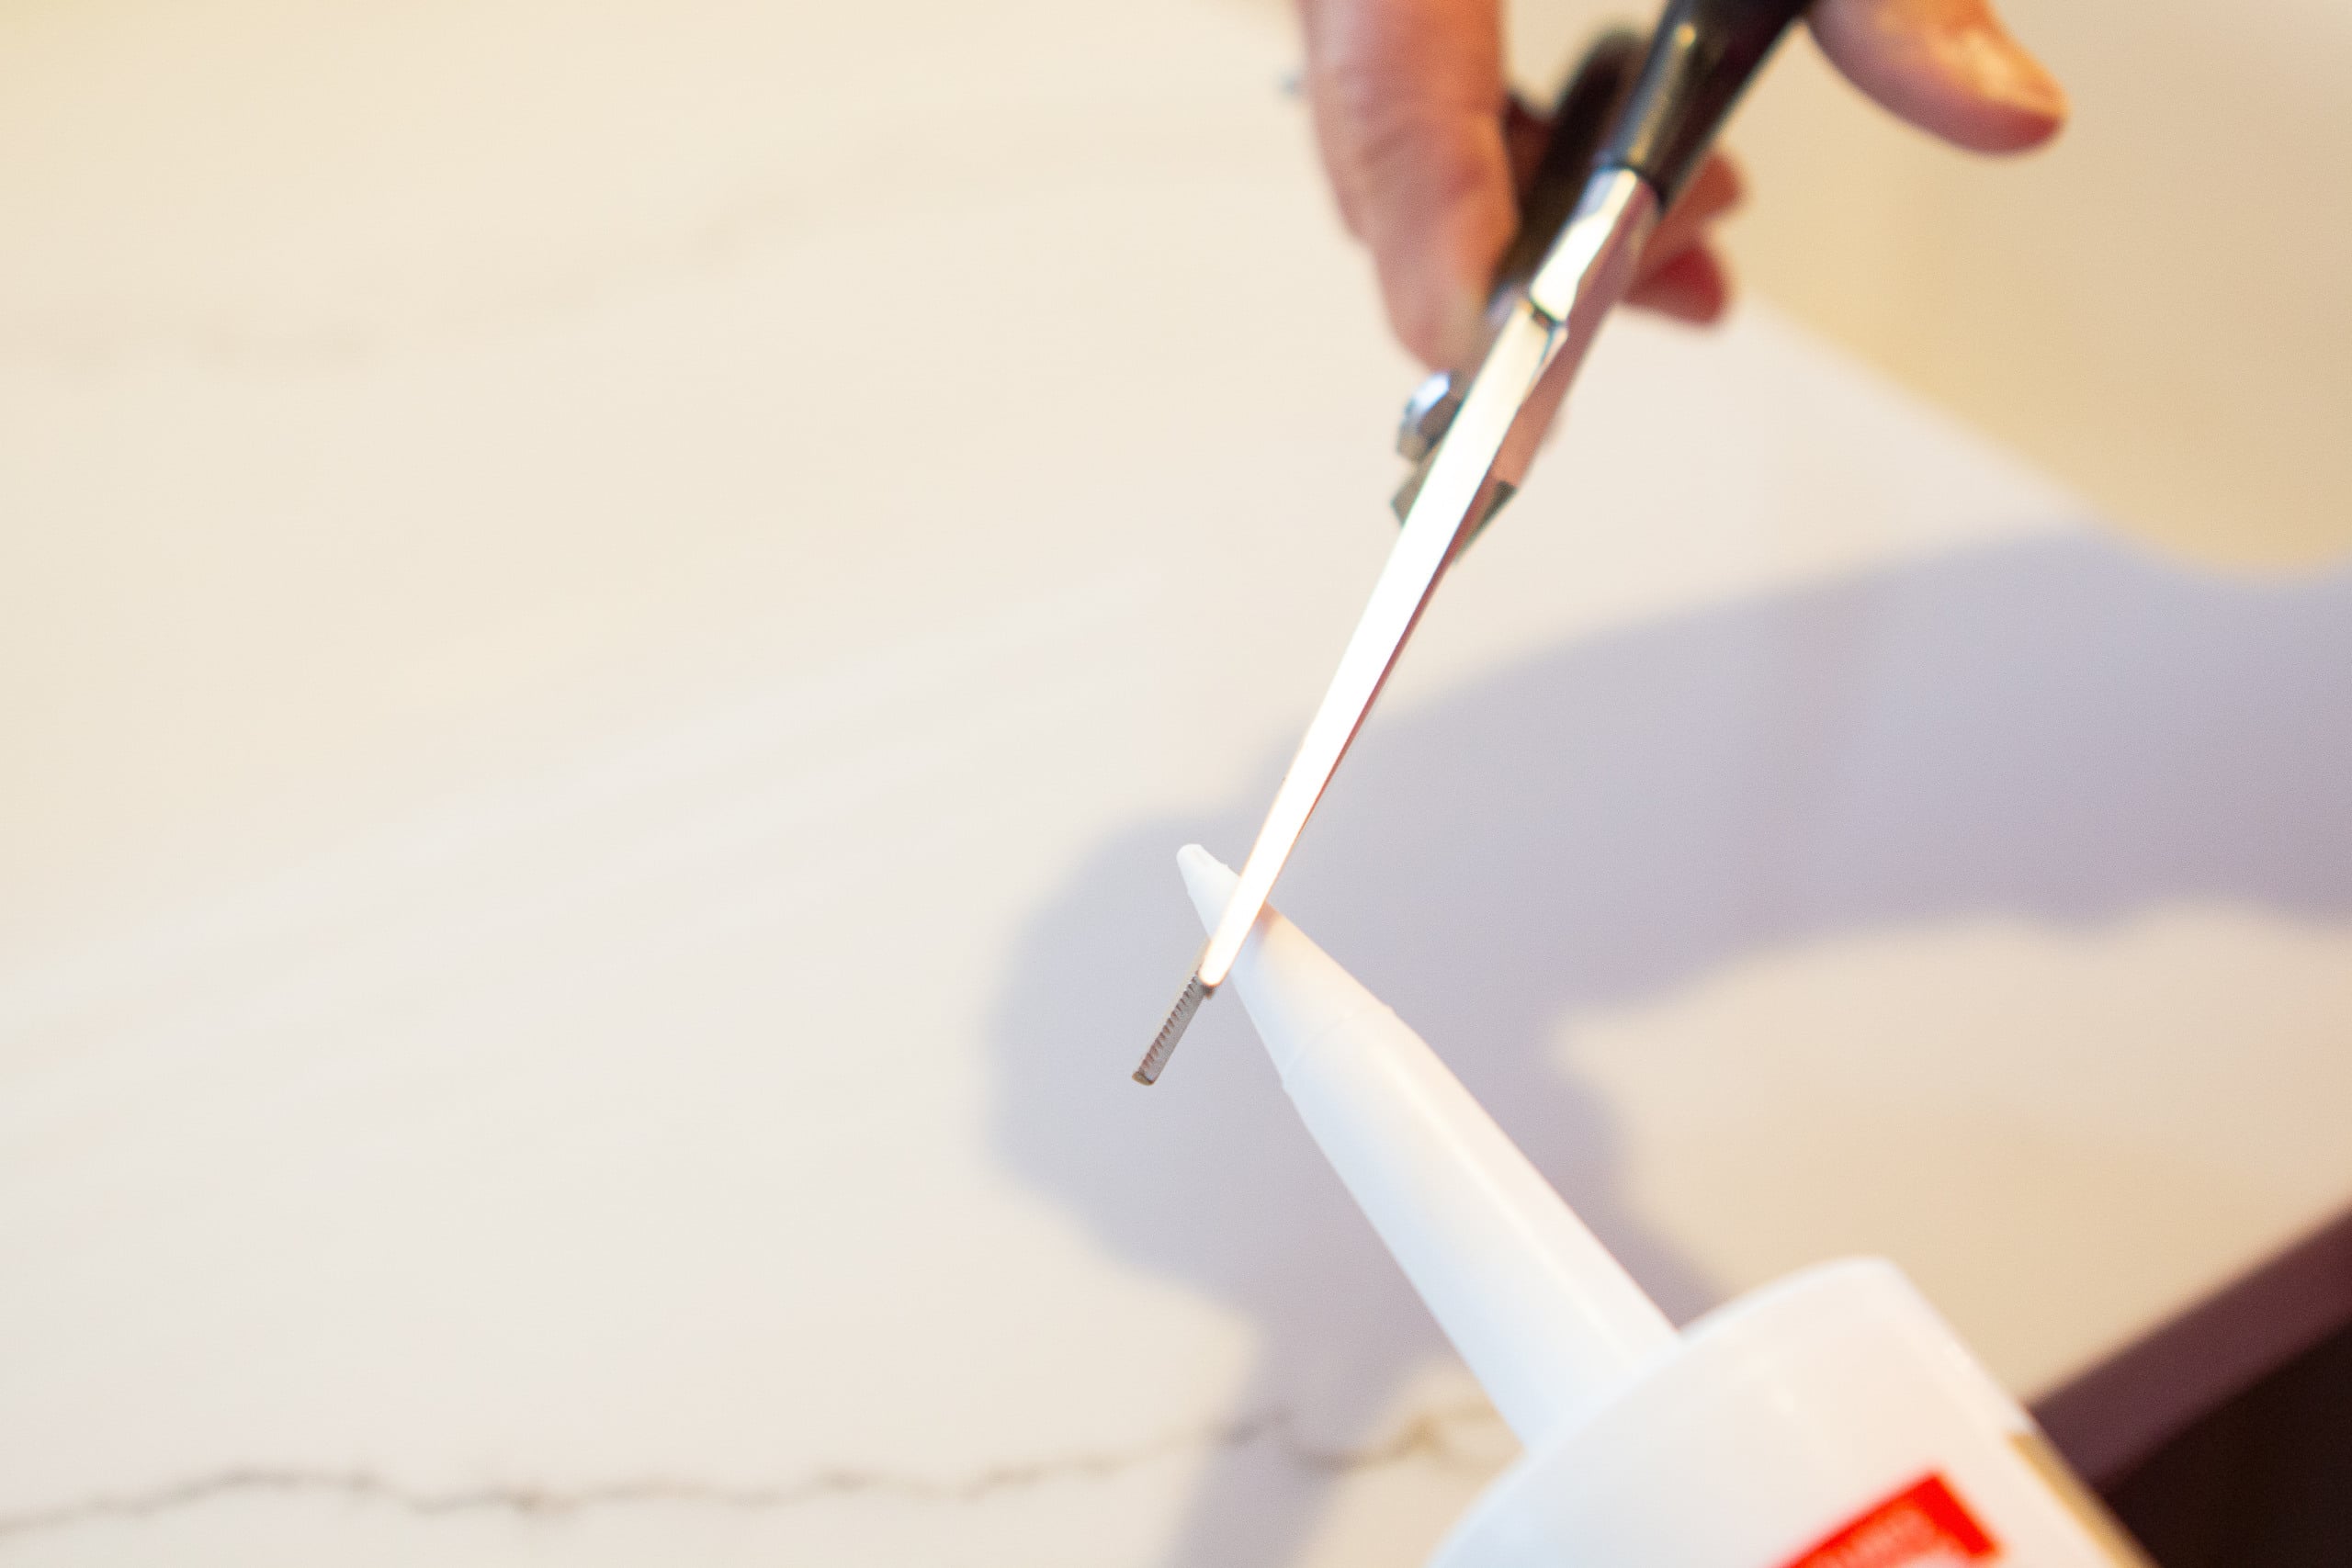
Use sharp scissors to cut the tube at an angle. Some registry rifles have a tool based on it to cut the tube, but I find it better to cut an angle with scissors. If you look closely, there are direct measurements on the nozzle of most brands from Cauulk based on how thick you want to be your dam line. I love cutting a 1/4 inch mark. 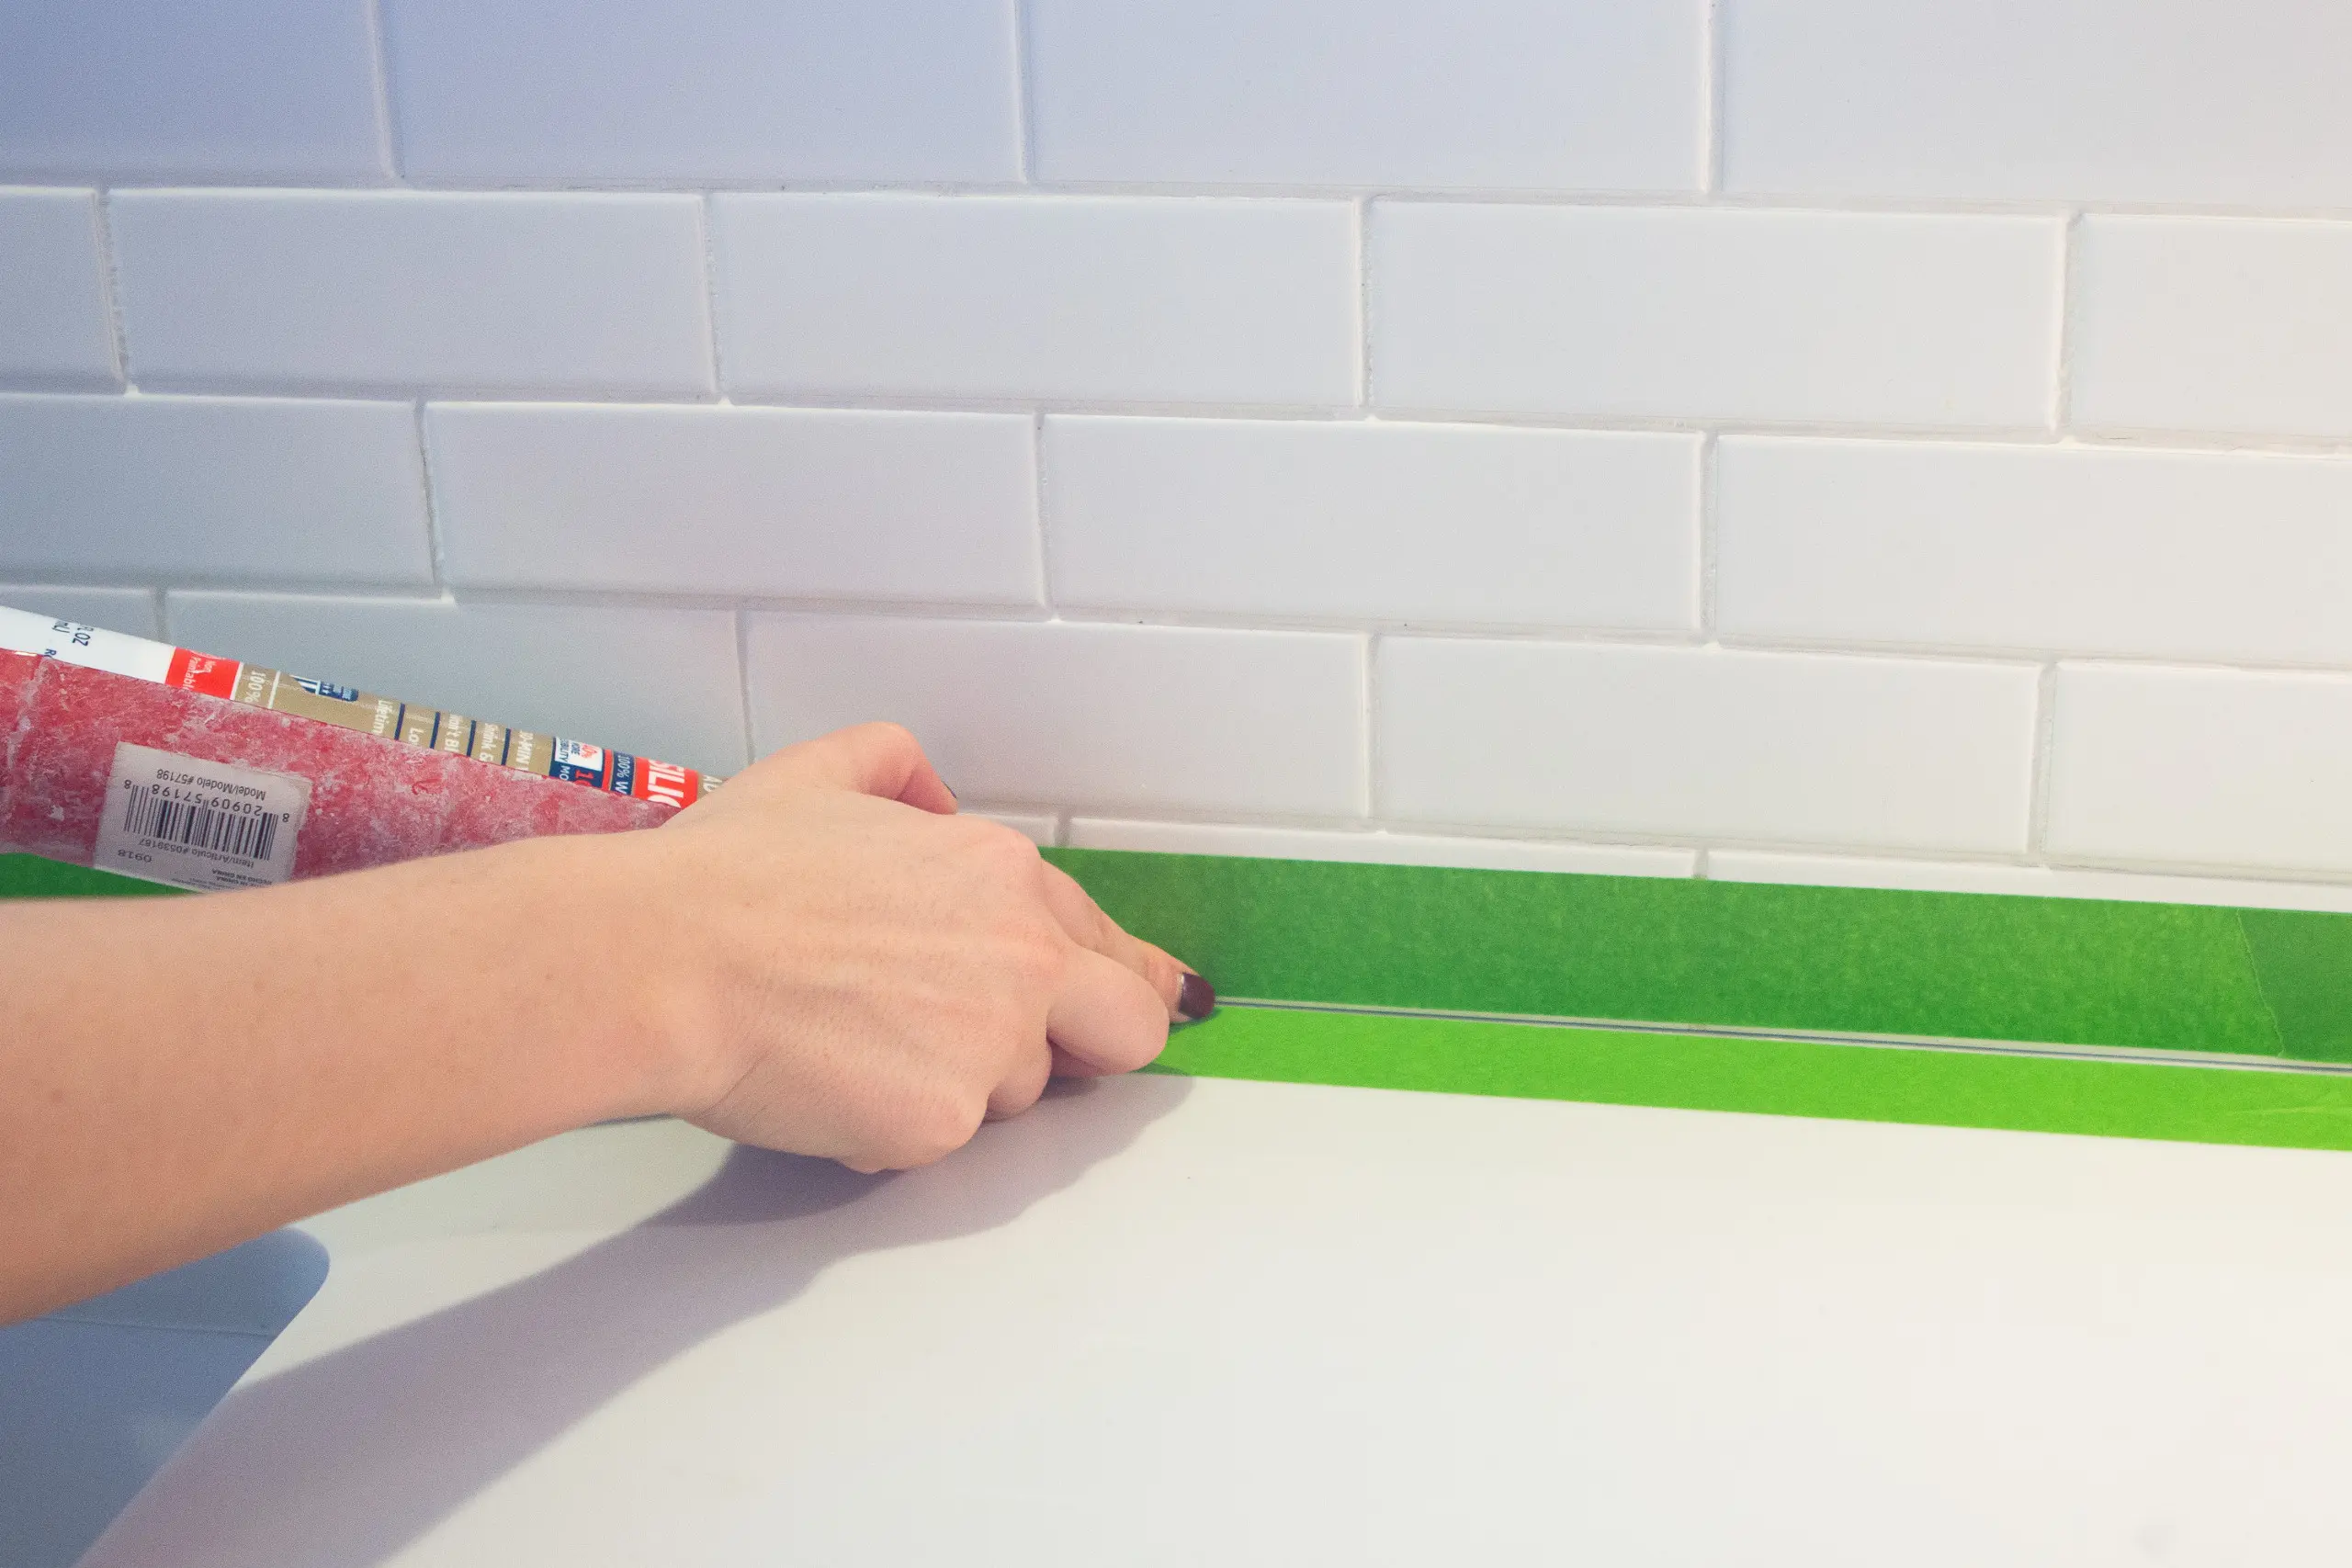
Take your dam and slowly run it along the line. I love working in small sections simultaneously and keep the dam rifle moving. You can then wet your finger and run it on the dam line to soften it. Children’s napkins are also working here. Once you get a suspension from the dam, you can follow your finger the record pistol during the dam. This requires some practice, though. 
Keep a cup of water nearby. You will want your finger to be moist when running along the dam to soften it so that your skin does not adhere. You can also wear gloves and get wet fingers. 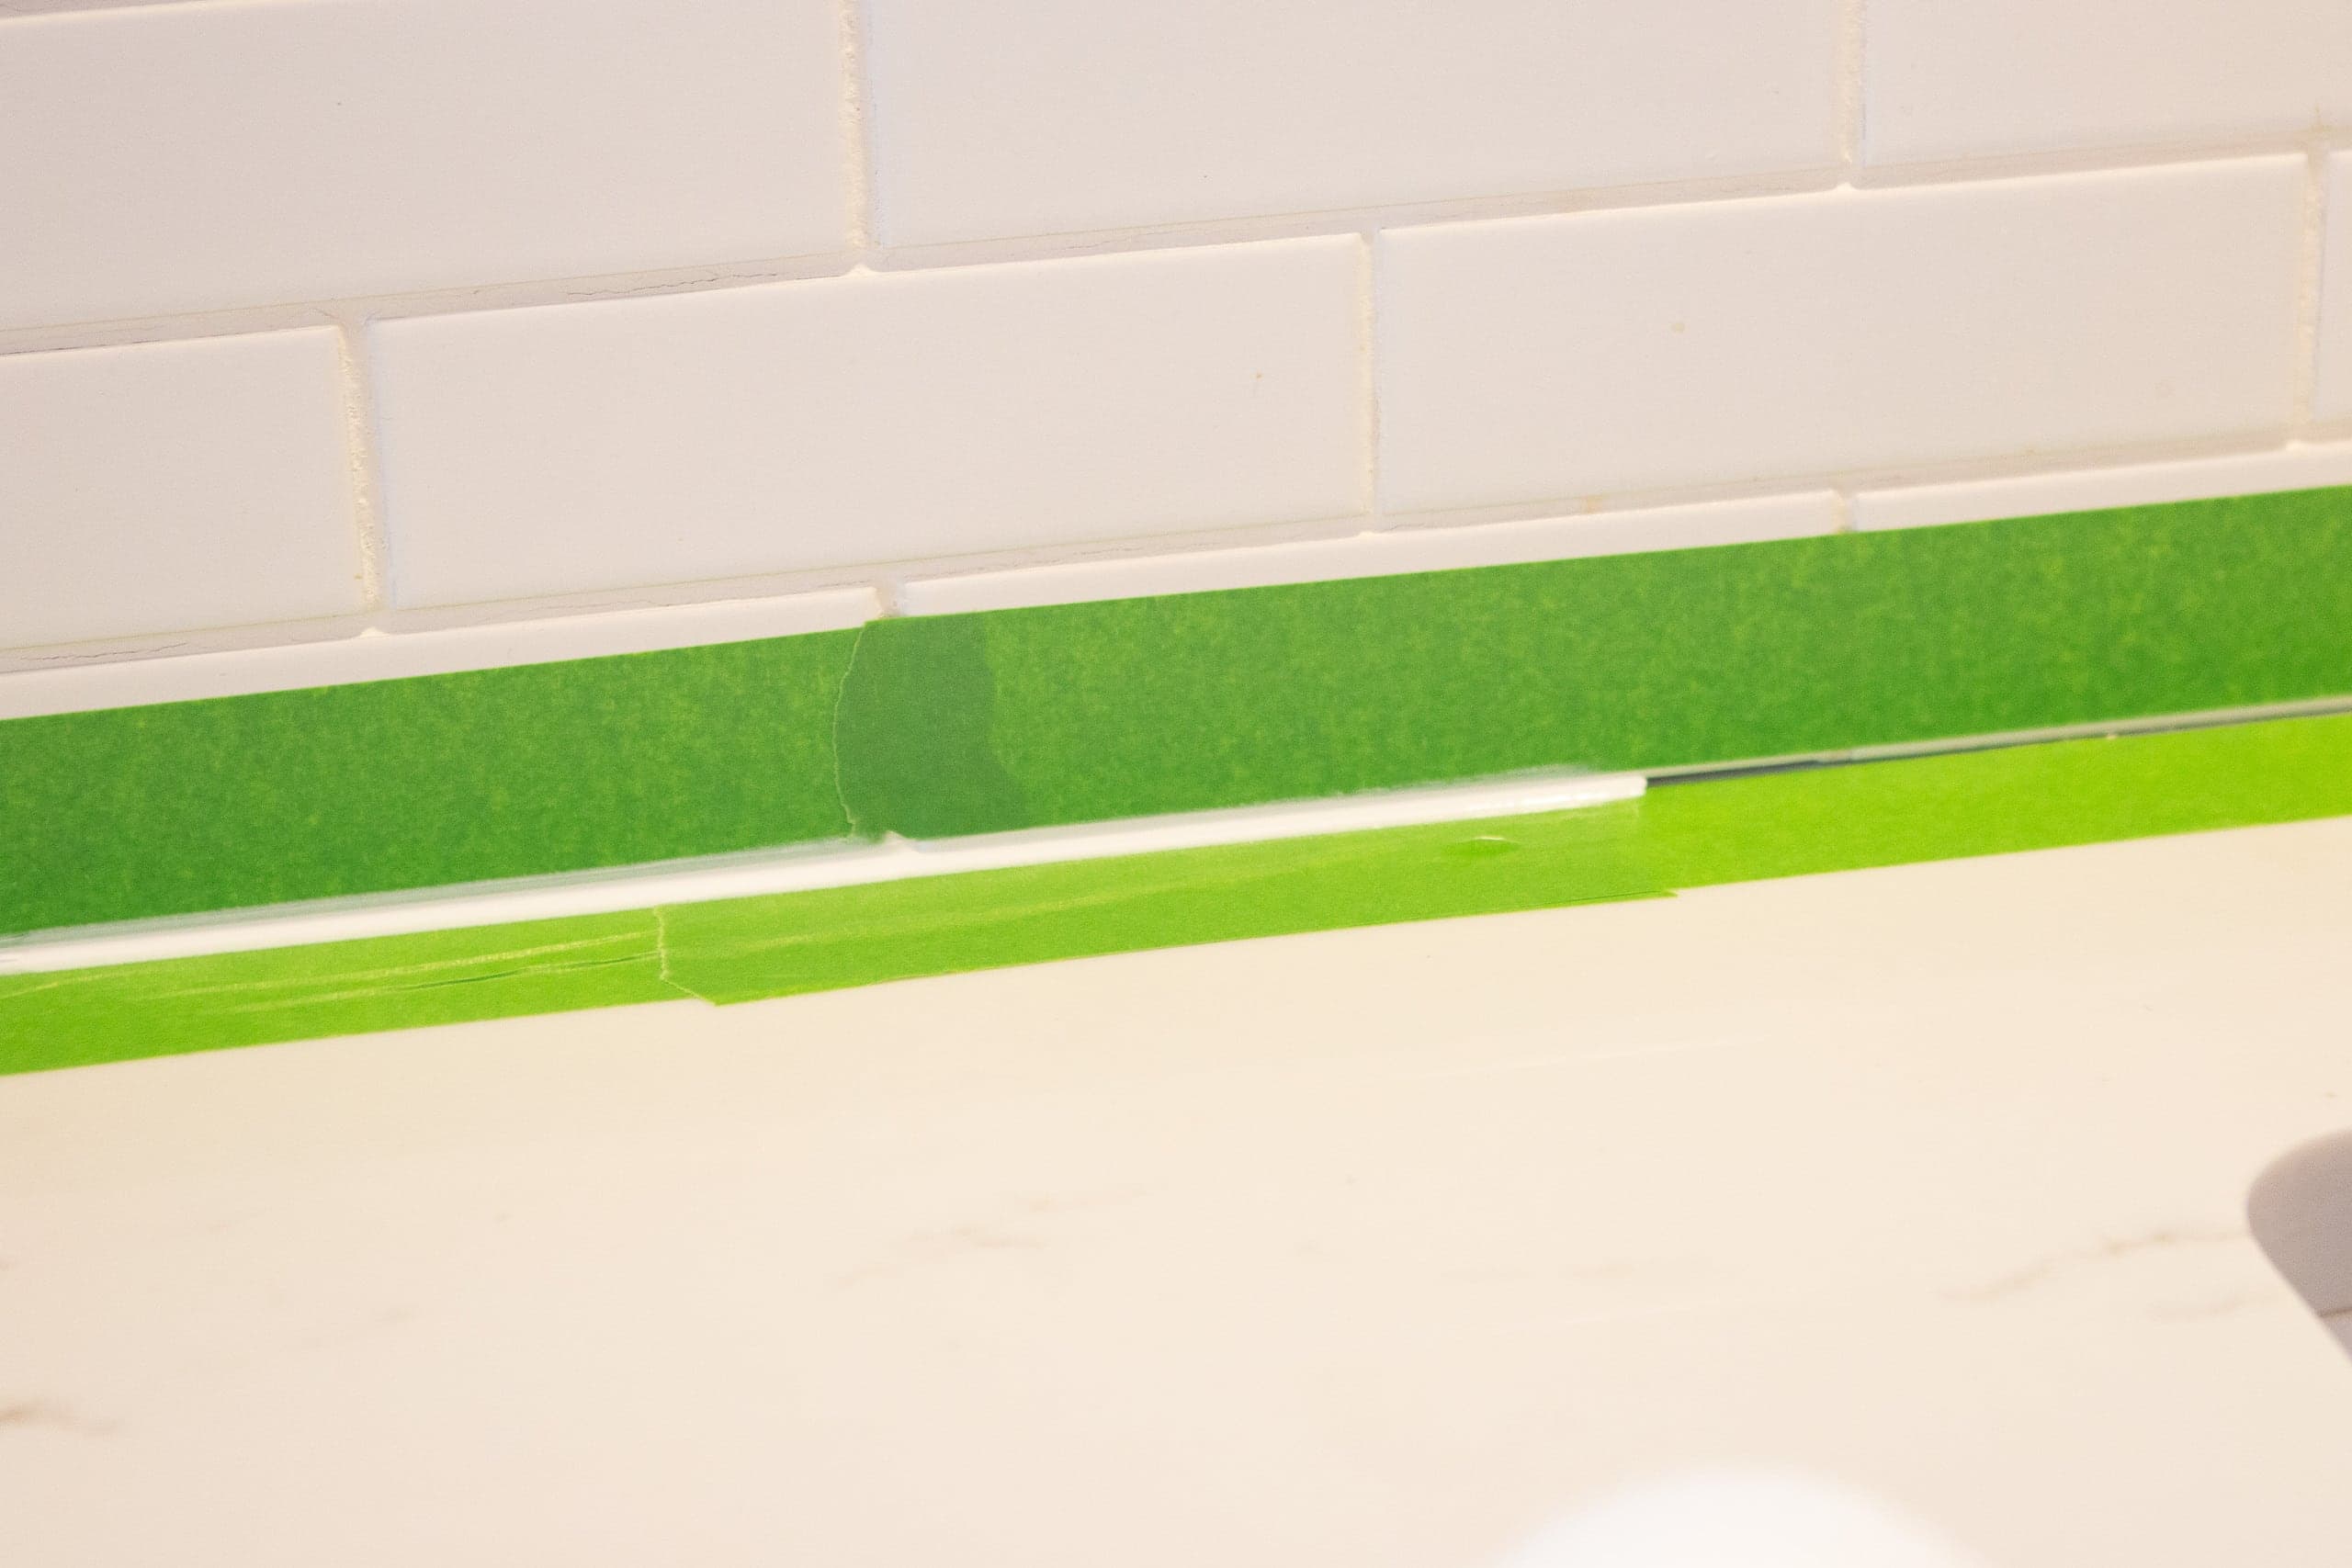
Once everything is blocked, take a closer look before removing the painter bar. If the area needs more dam, add it now, and with your finger again, and soften it. Remove the painter bar, while the dam is still wet, and do your best to chaos with the dam. It may be tempting to turn on your finger over it again and again but trust me, this will only raise things! It is better to ensure that everything looks perfect before removing the painter bar. The dam should take about an hour to dry.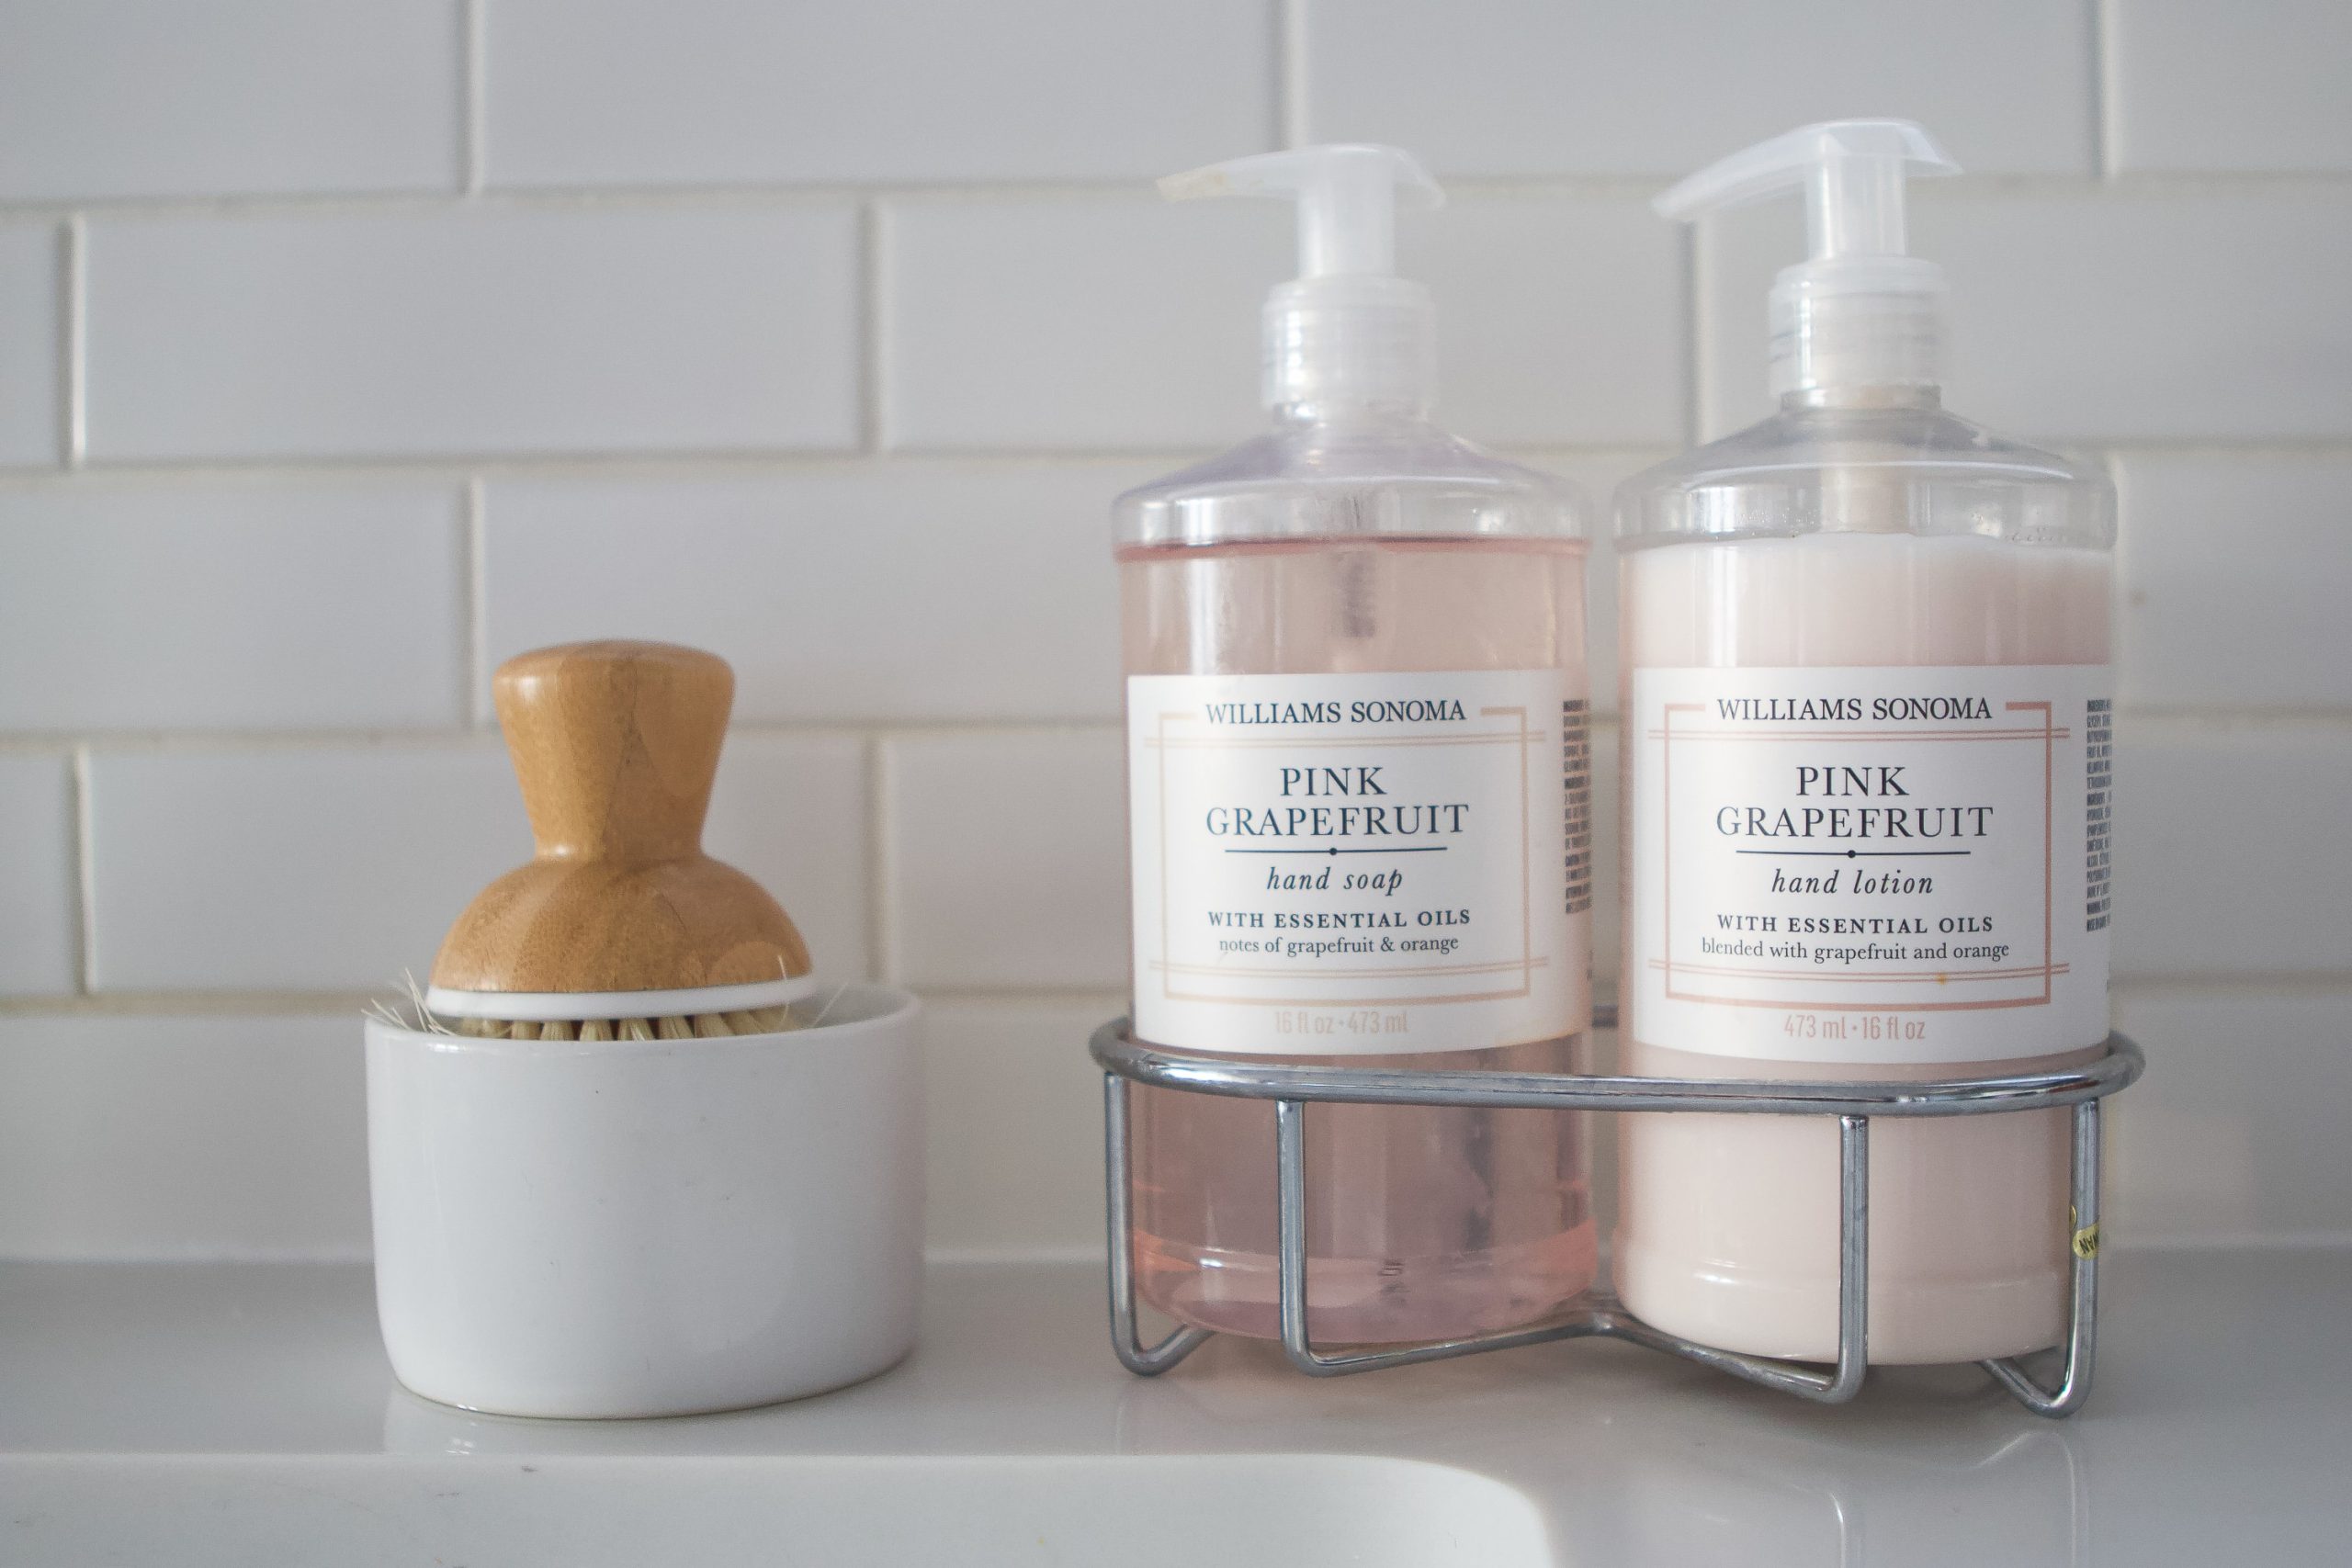
This project did not use a lot of dam at all, so this small tool was used to provide the remaining dam for another project on the road. It is inexpensive and works great.
Baccablash the improved kitchen for my mother


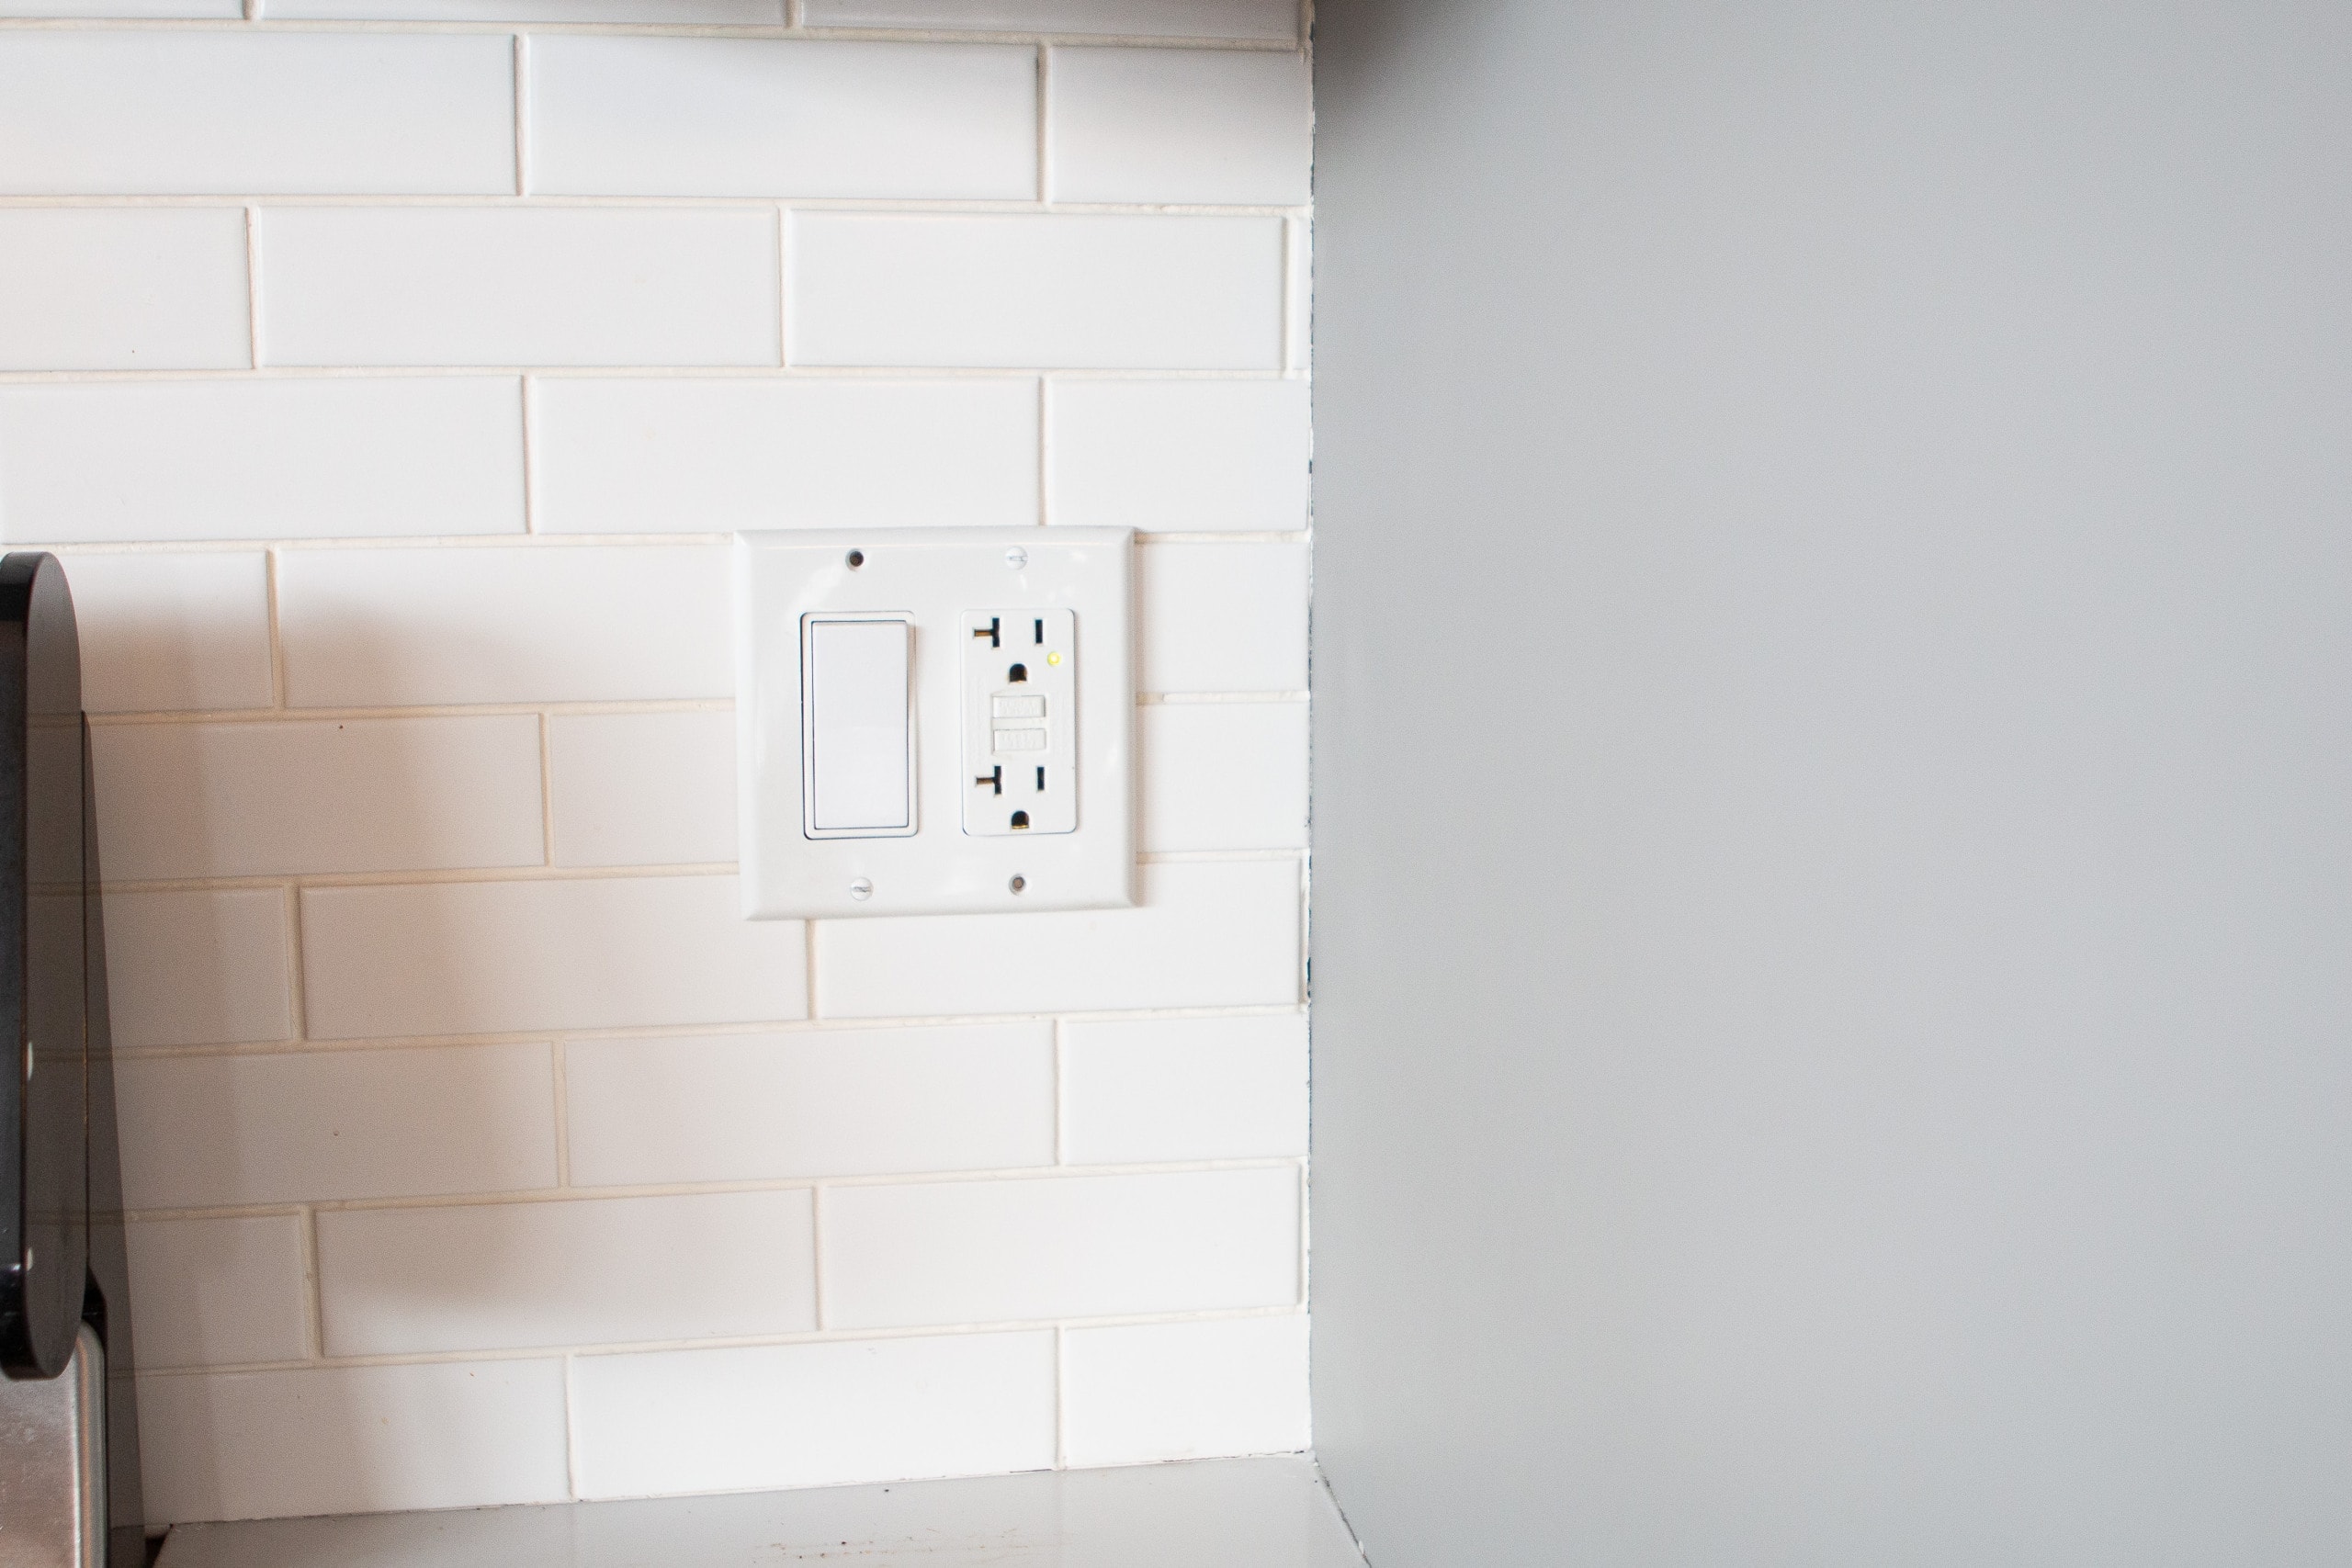
Cairo Fresh returns this kitchen to its previous glory with a new appearance. It is now well closed and should stand at the level of excess water, grease, and anything else that may explode here.

This bright white dam may need regular maintenance below the line. But the good news is that it will continue for a period much longer than the original plaster.
Jean’s kitchen sources

The color of the wall paint: Benjamin Moore “Balbua Fog” // Tanks: Benjamin Moore “Chelsea Gray” // copper pendants // runner (blush/gray) // accessories (most of them are domains) // faucet // Al -Sabun Group
Final ideas on this plaster repair project
Whether you are dealing with tile countertops or plaster repair on bathing floors, the presence of the necessary tools and knowledge can make a big difference. I hope these tips will help you avoid common mistakes and keep your fried areas look flawless.

Cystic
More tiling publications to join
 Arabic
 Chinese (Simplified)
 Dutch
Dutch English
 French
 German
 Italian
 Portuguese
 Russian
 Spanish