

Tips for disinfecting and storing photos, artwork, and paper memorabilia.
Purging family memorabilia, photos, and children’s artwork can be very overwhelming.
As with any major decluttering project I undertake, the process of sorting and organizing these keepsakes took a lot of time!
From start to finish, it took nine months to complete the review process of all of our most valuable photographs and paper memorabilia.
I’ve learned a lot through this process and wanted to share some tips with you. 
I knew this was the perfect place!:
This post may contain affiliate links for your convenience.
I may receive a small commission when you make a purchase through the links.
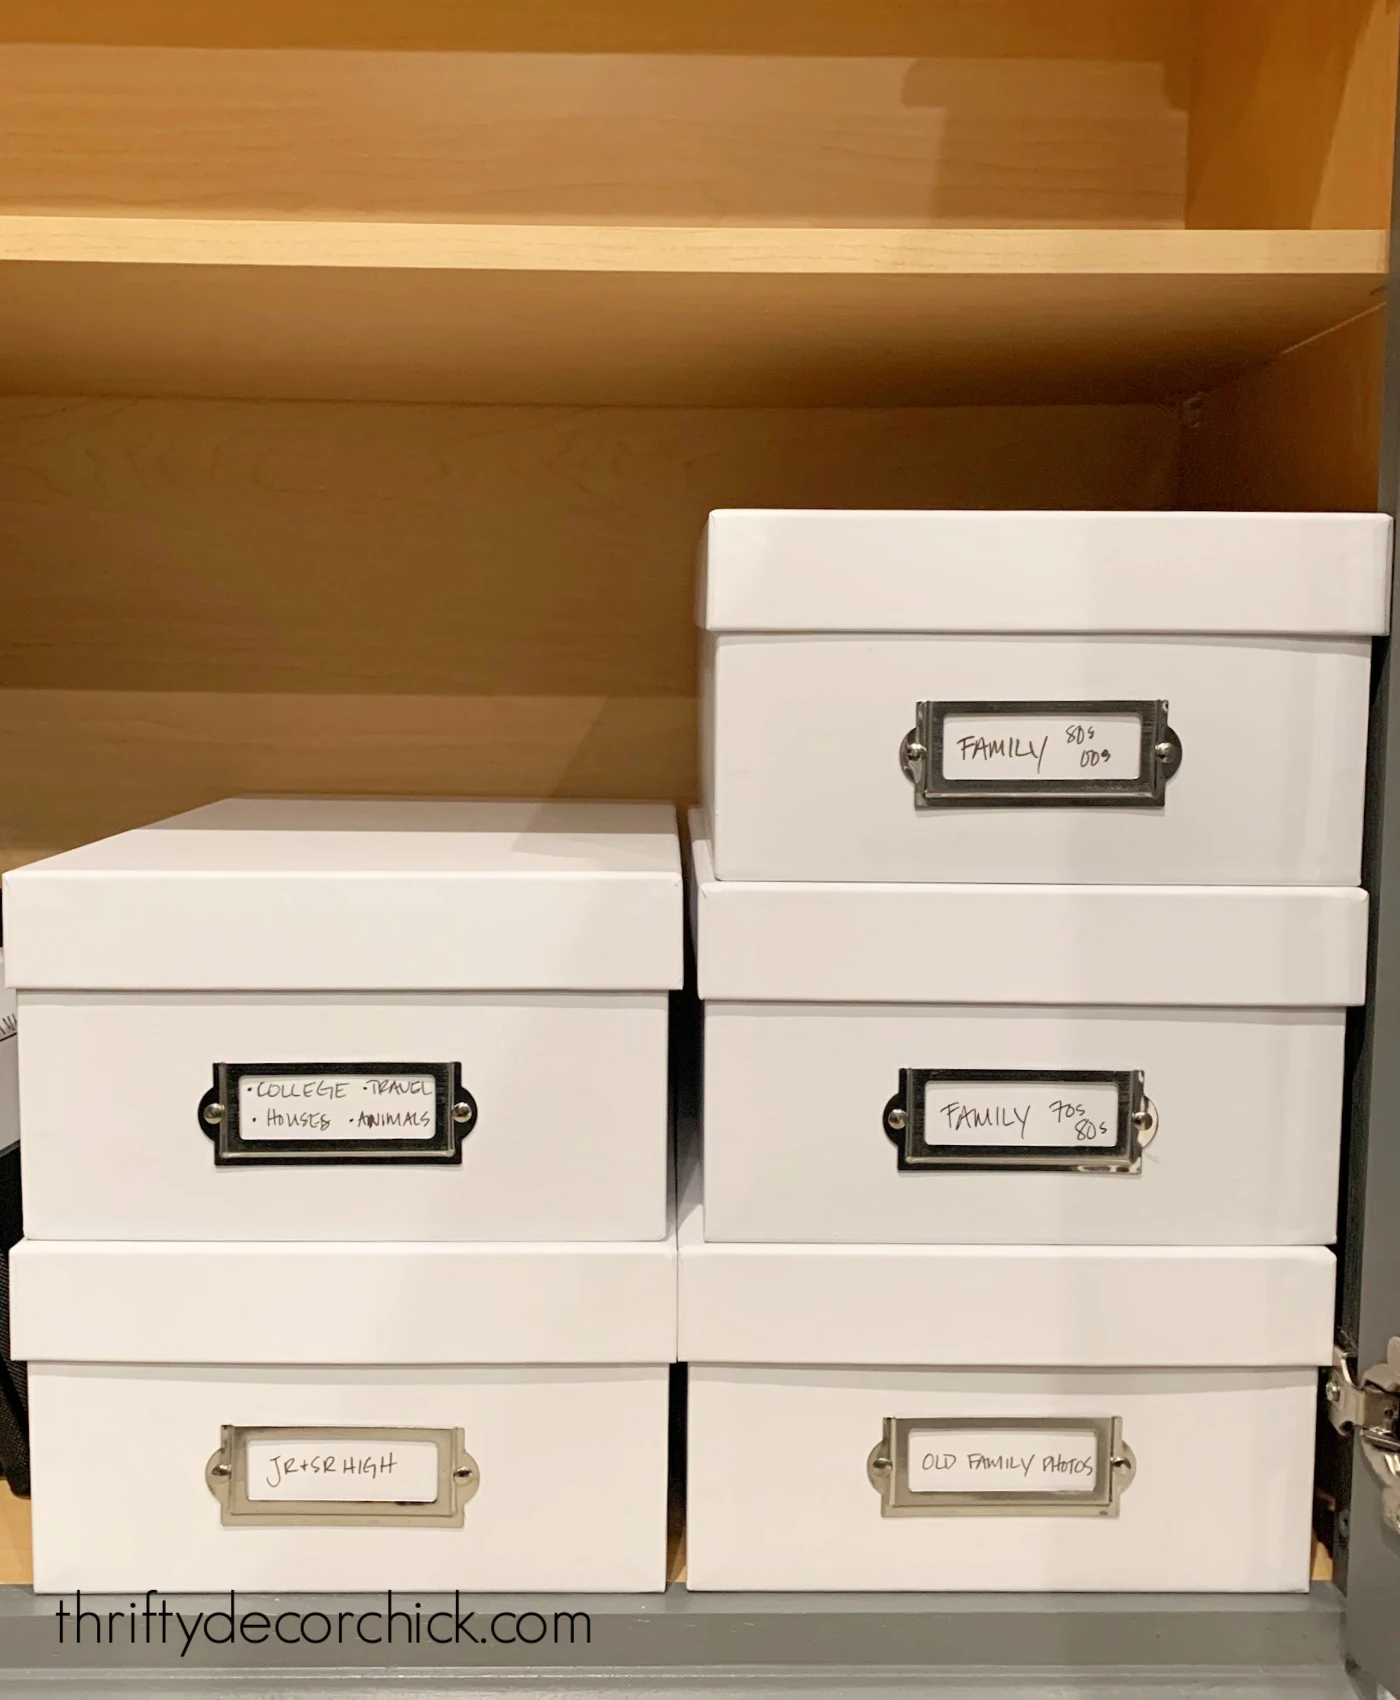
I still have plenty of space, so one of those closets is now a place to store all of our family photos and things from our kids’ childhoods.
I had five main “paper” items to sort and store:
My first step was to review everything to decide what to keep.
There is a difference, and I find it much easier to keep the things I love than to decide what to get rid of.
If I don’t like something, I won’t feel guilty after donating it. And if I love it, I won’t feel guilty for keeping it, no matter how silly it may seem. It’s really freeing up the clutter this way!
First step: photos
The first part of this project was sorting through thousands of images. It took me a long time to do this.
Family photos and a small box of items are the only things from my childhood that my mother has been able to preserve from one move to the next…so I cherish these pictures.
For this reason, a few years ago I would have felt bad about posting any photos.
I can also get rid of all the rolls of film I took in middle and high school. (I texted some friends to see if they wanted it.) It was a great feeling to throw out so many photos that it was cluttering up the ones I wanted to enjoy. I reduced the images from eight boxes to five.
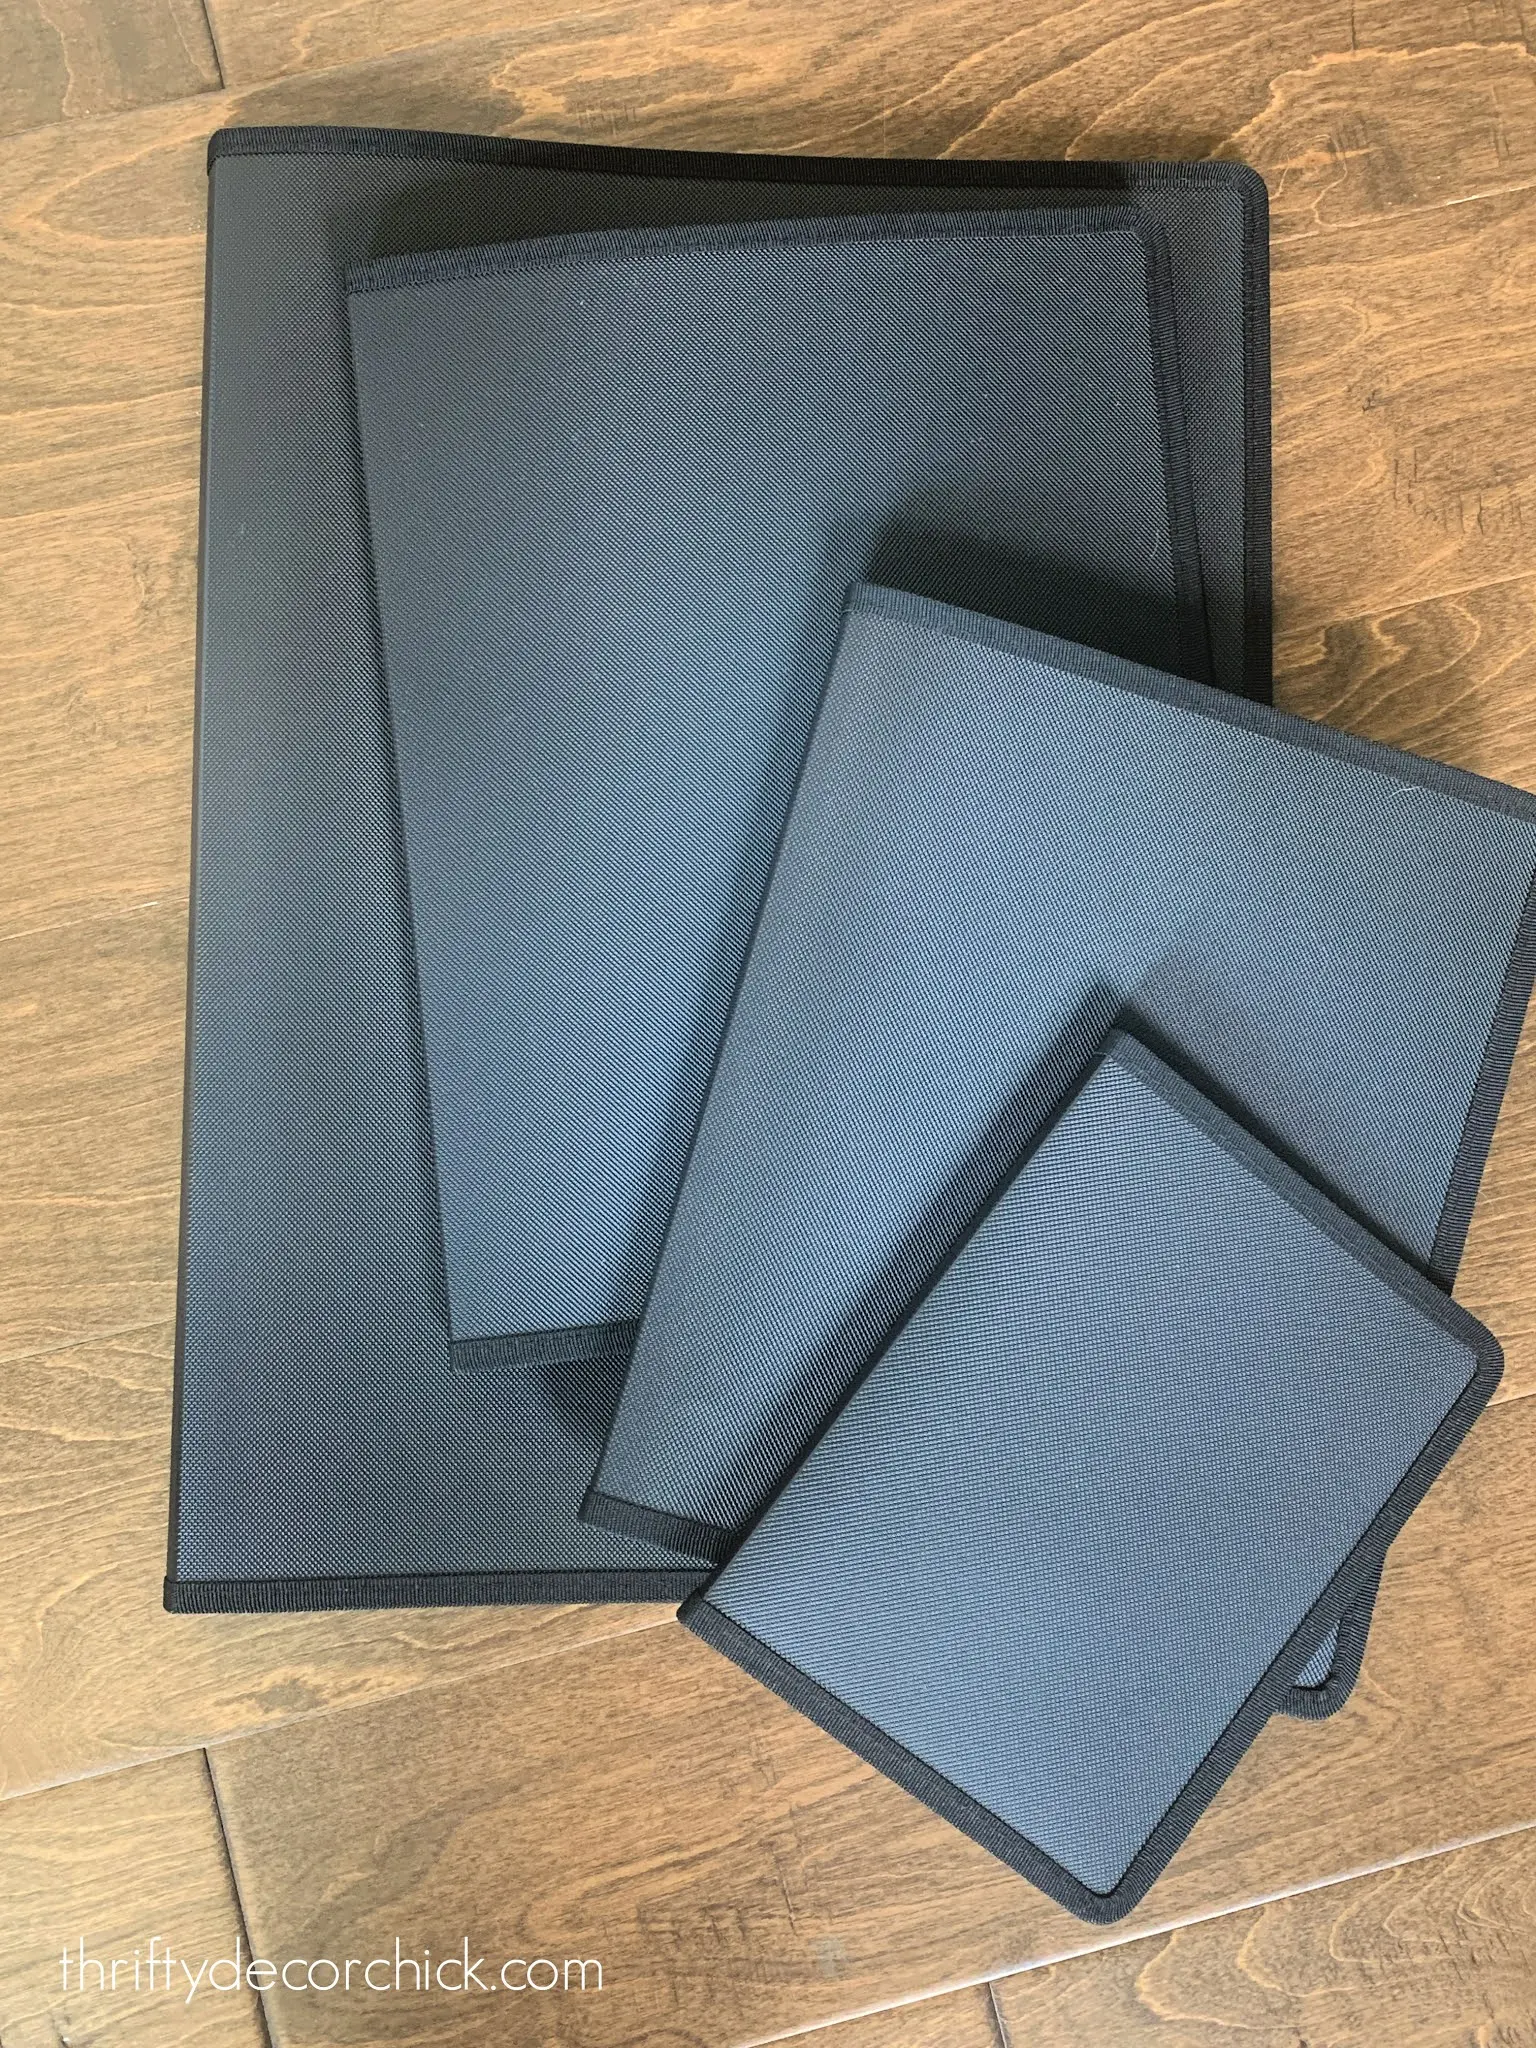
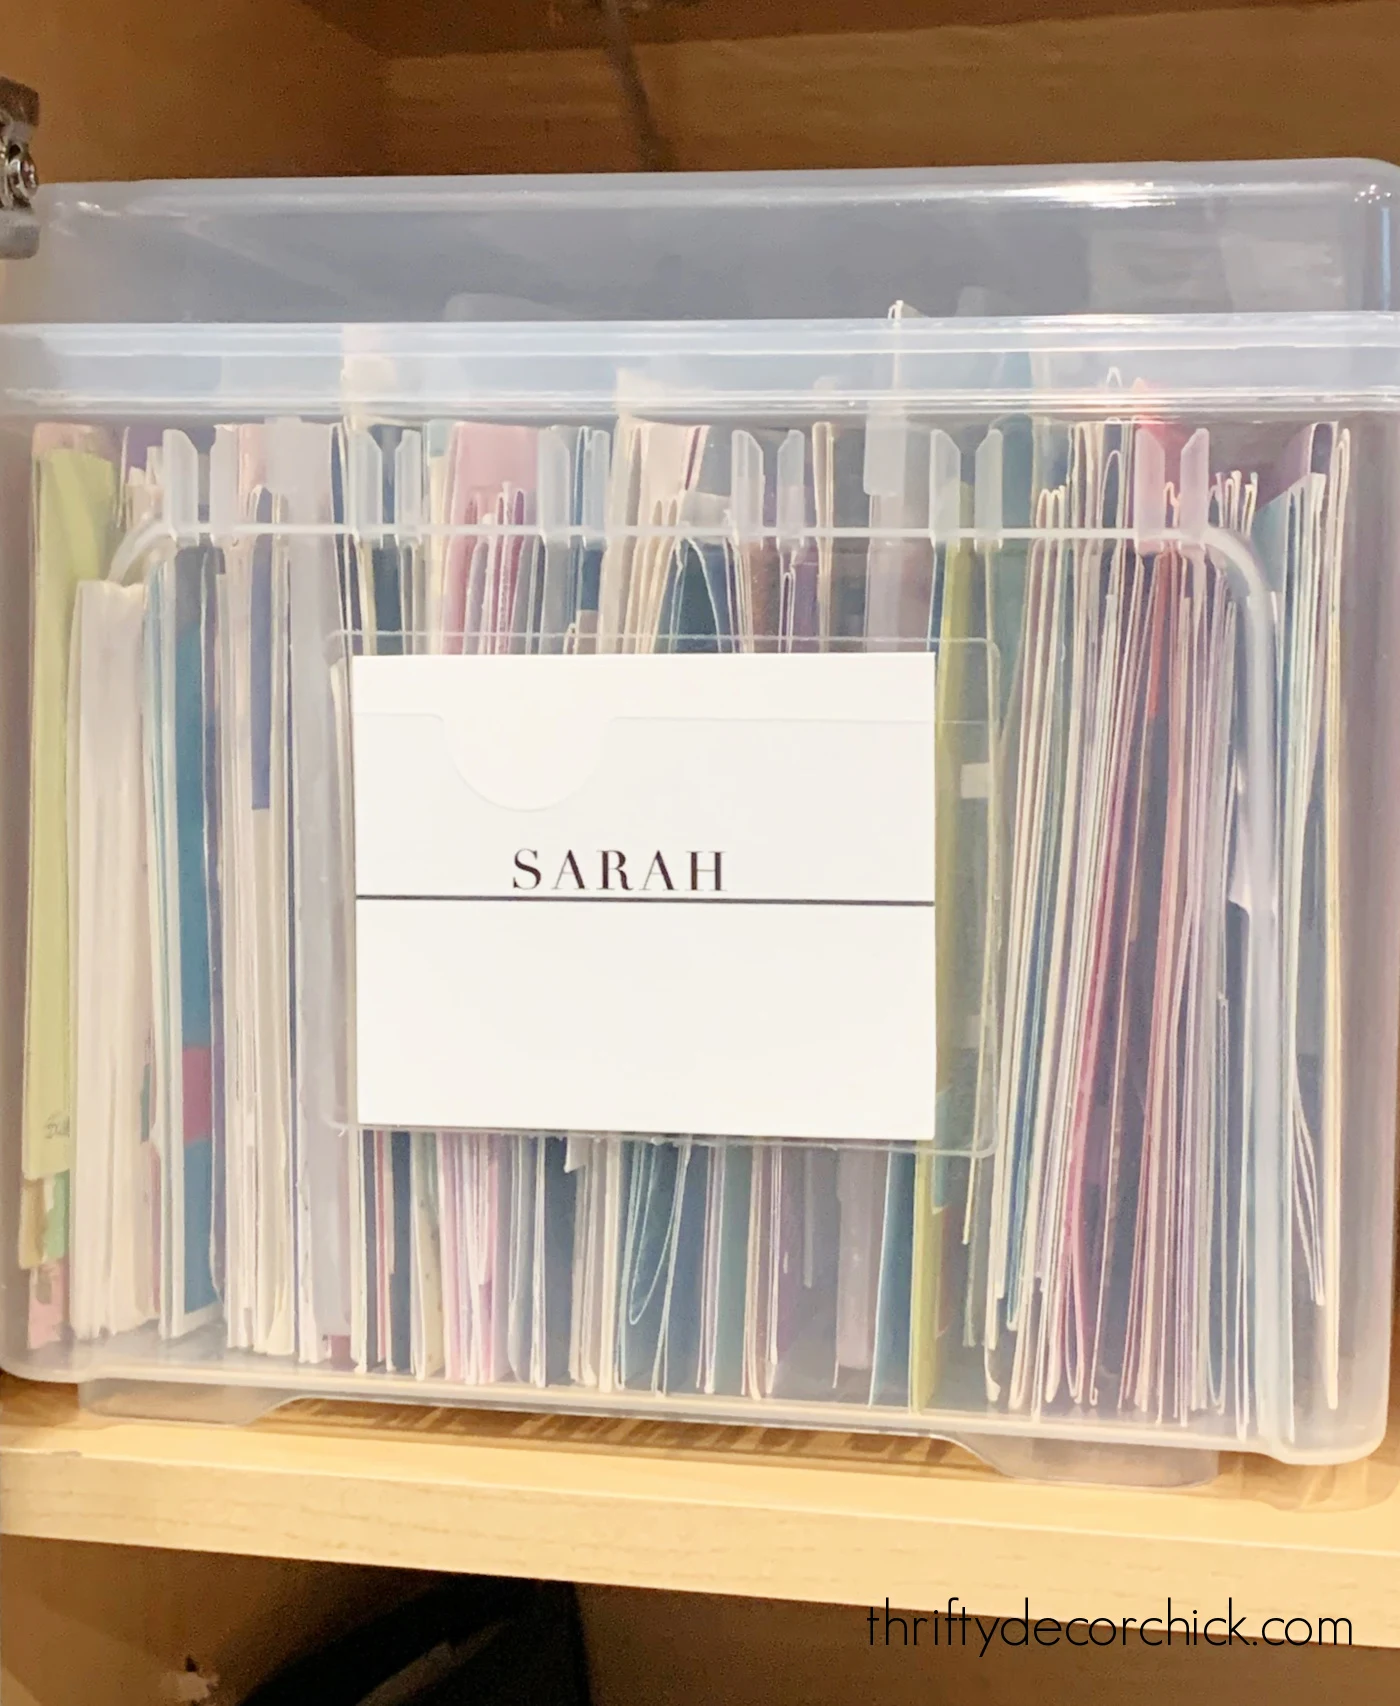
It worked so well with photos, I decided to use these folders for artwork and paper memorabilia as well.
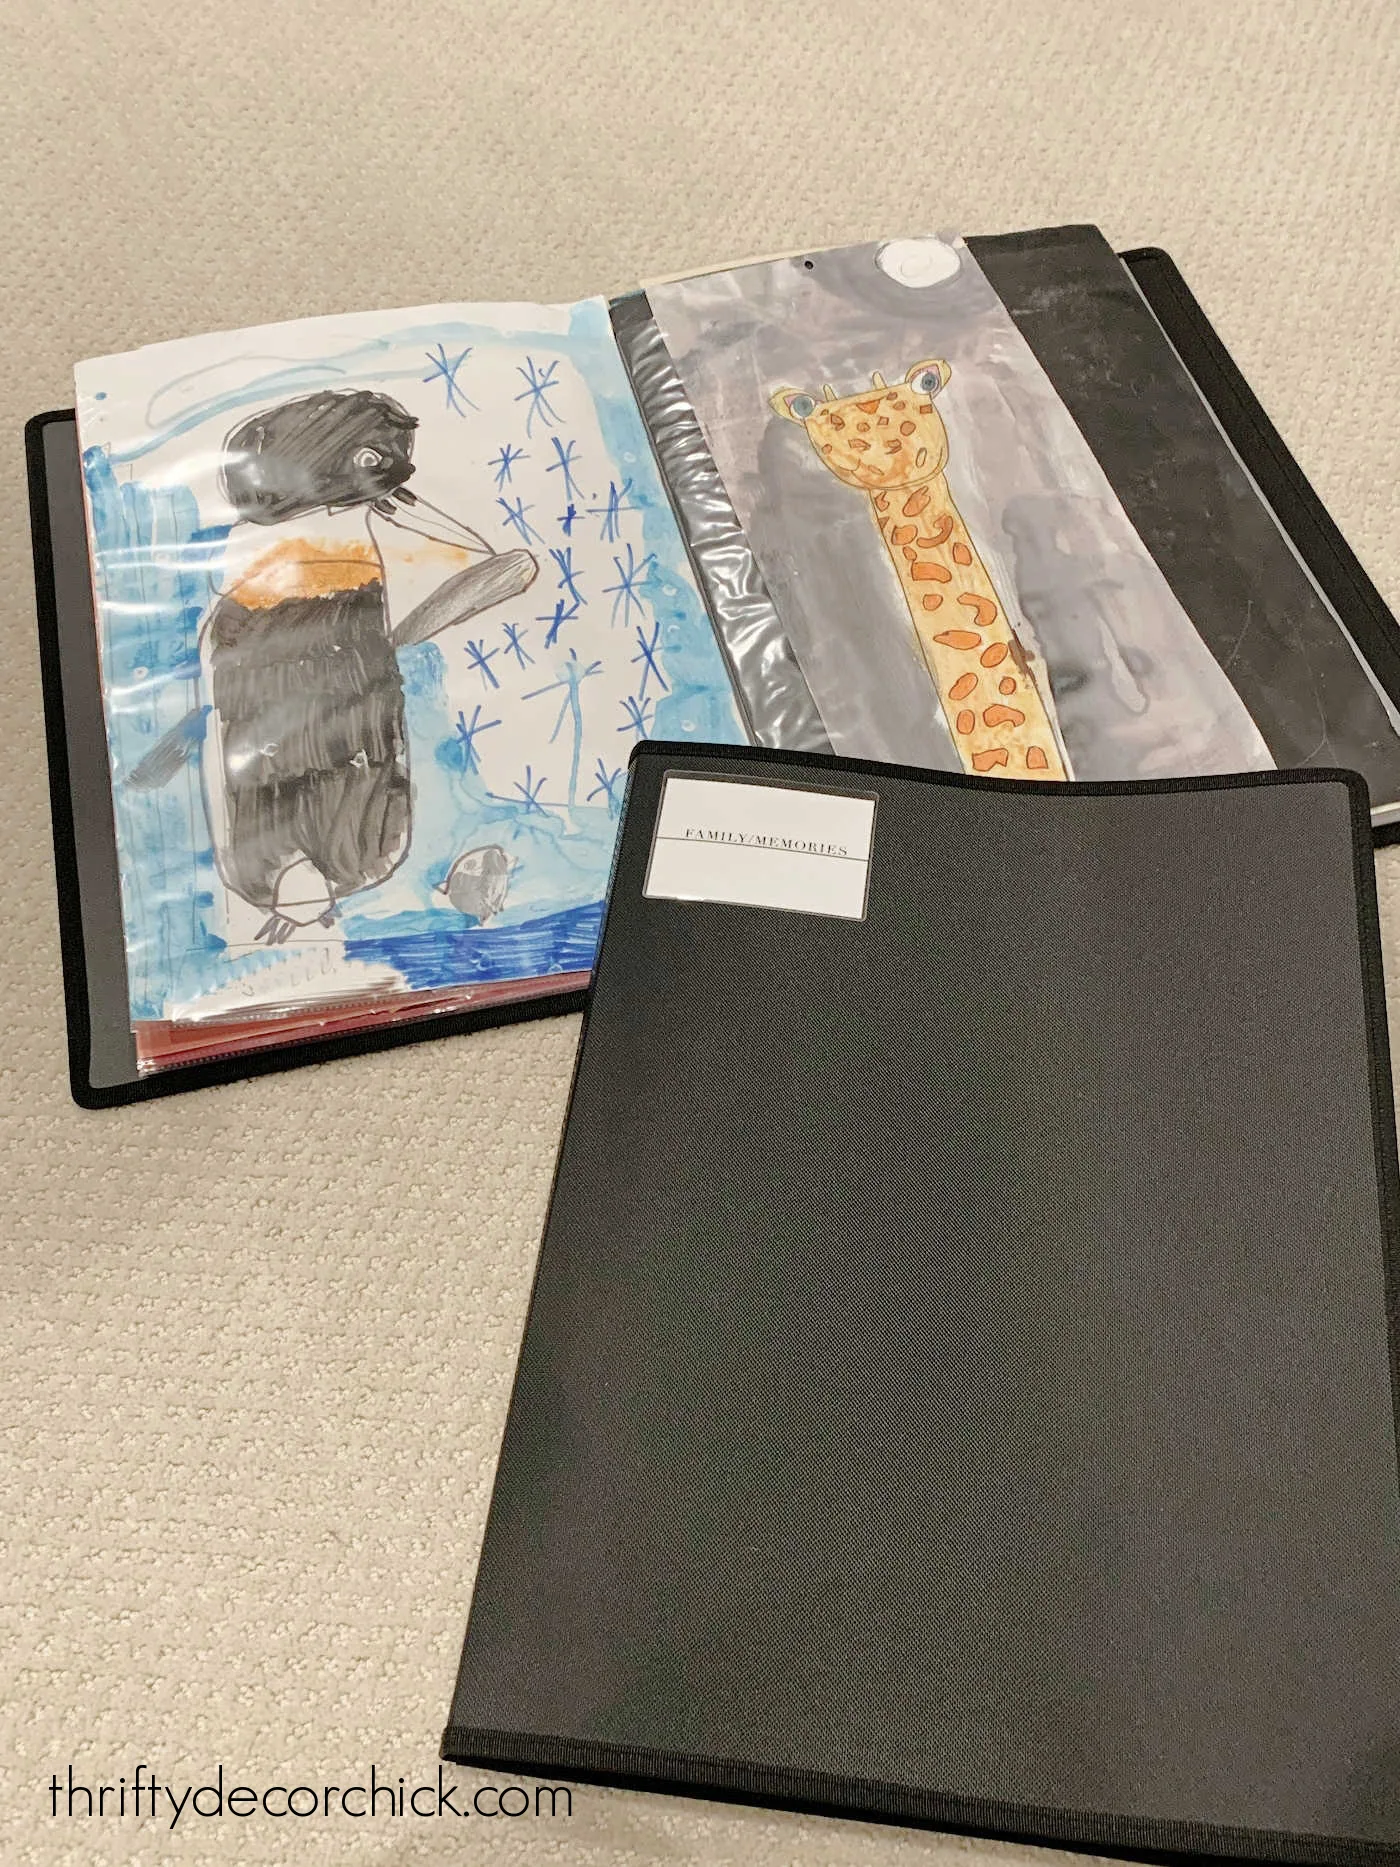
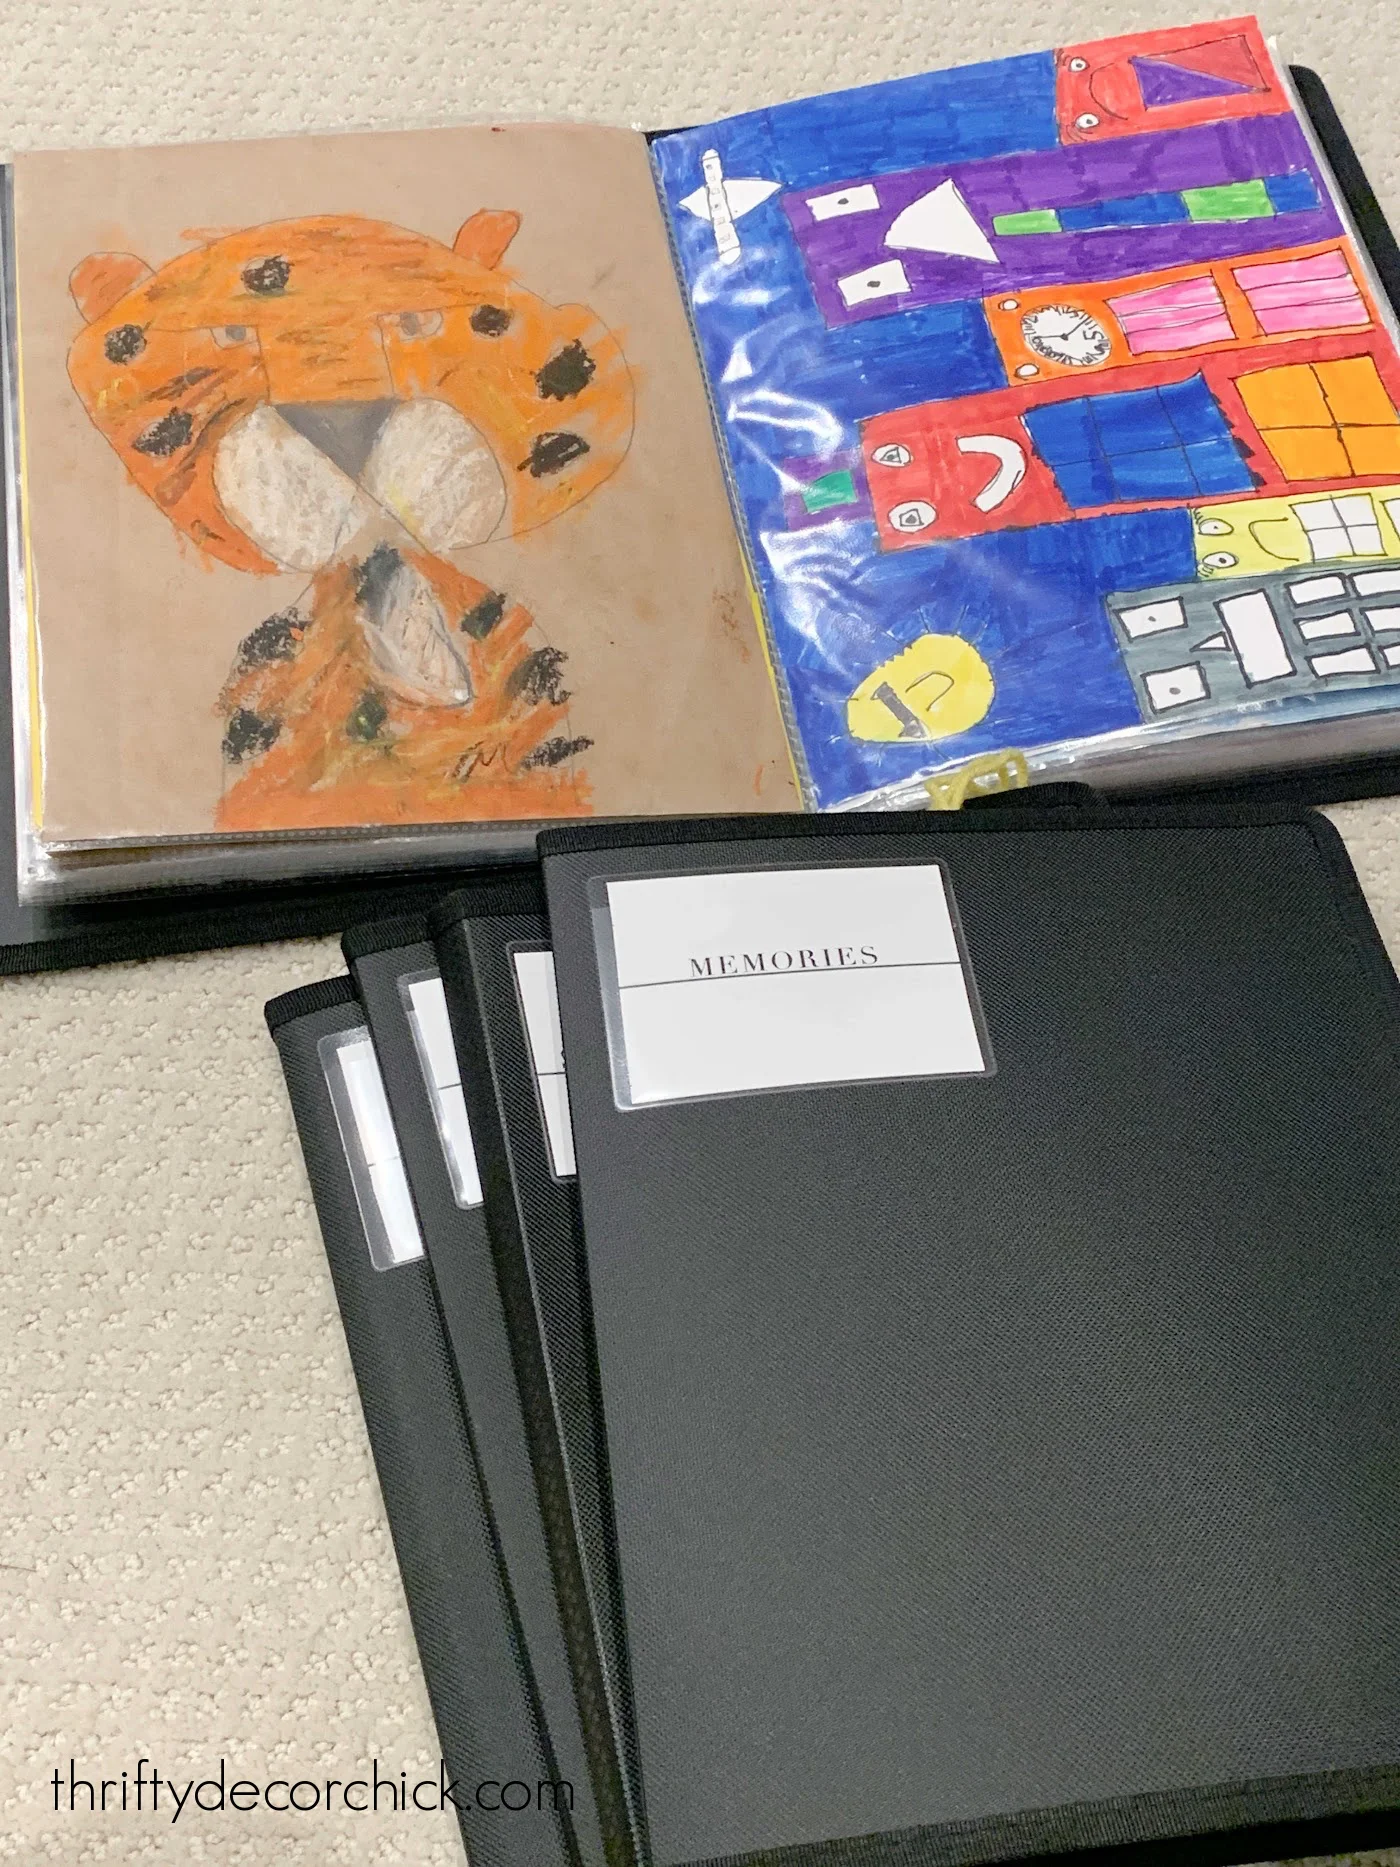
Step Two: The child’s artwork and memorabilia
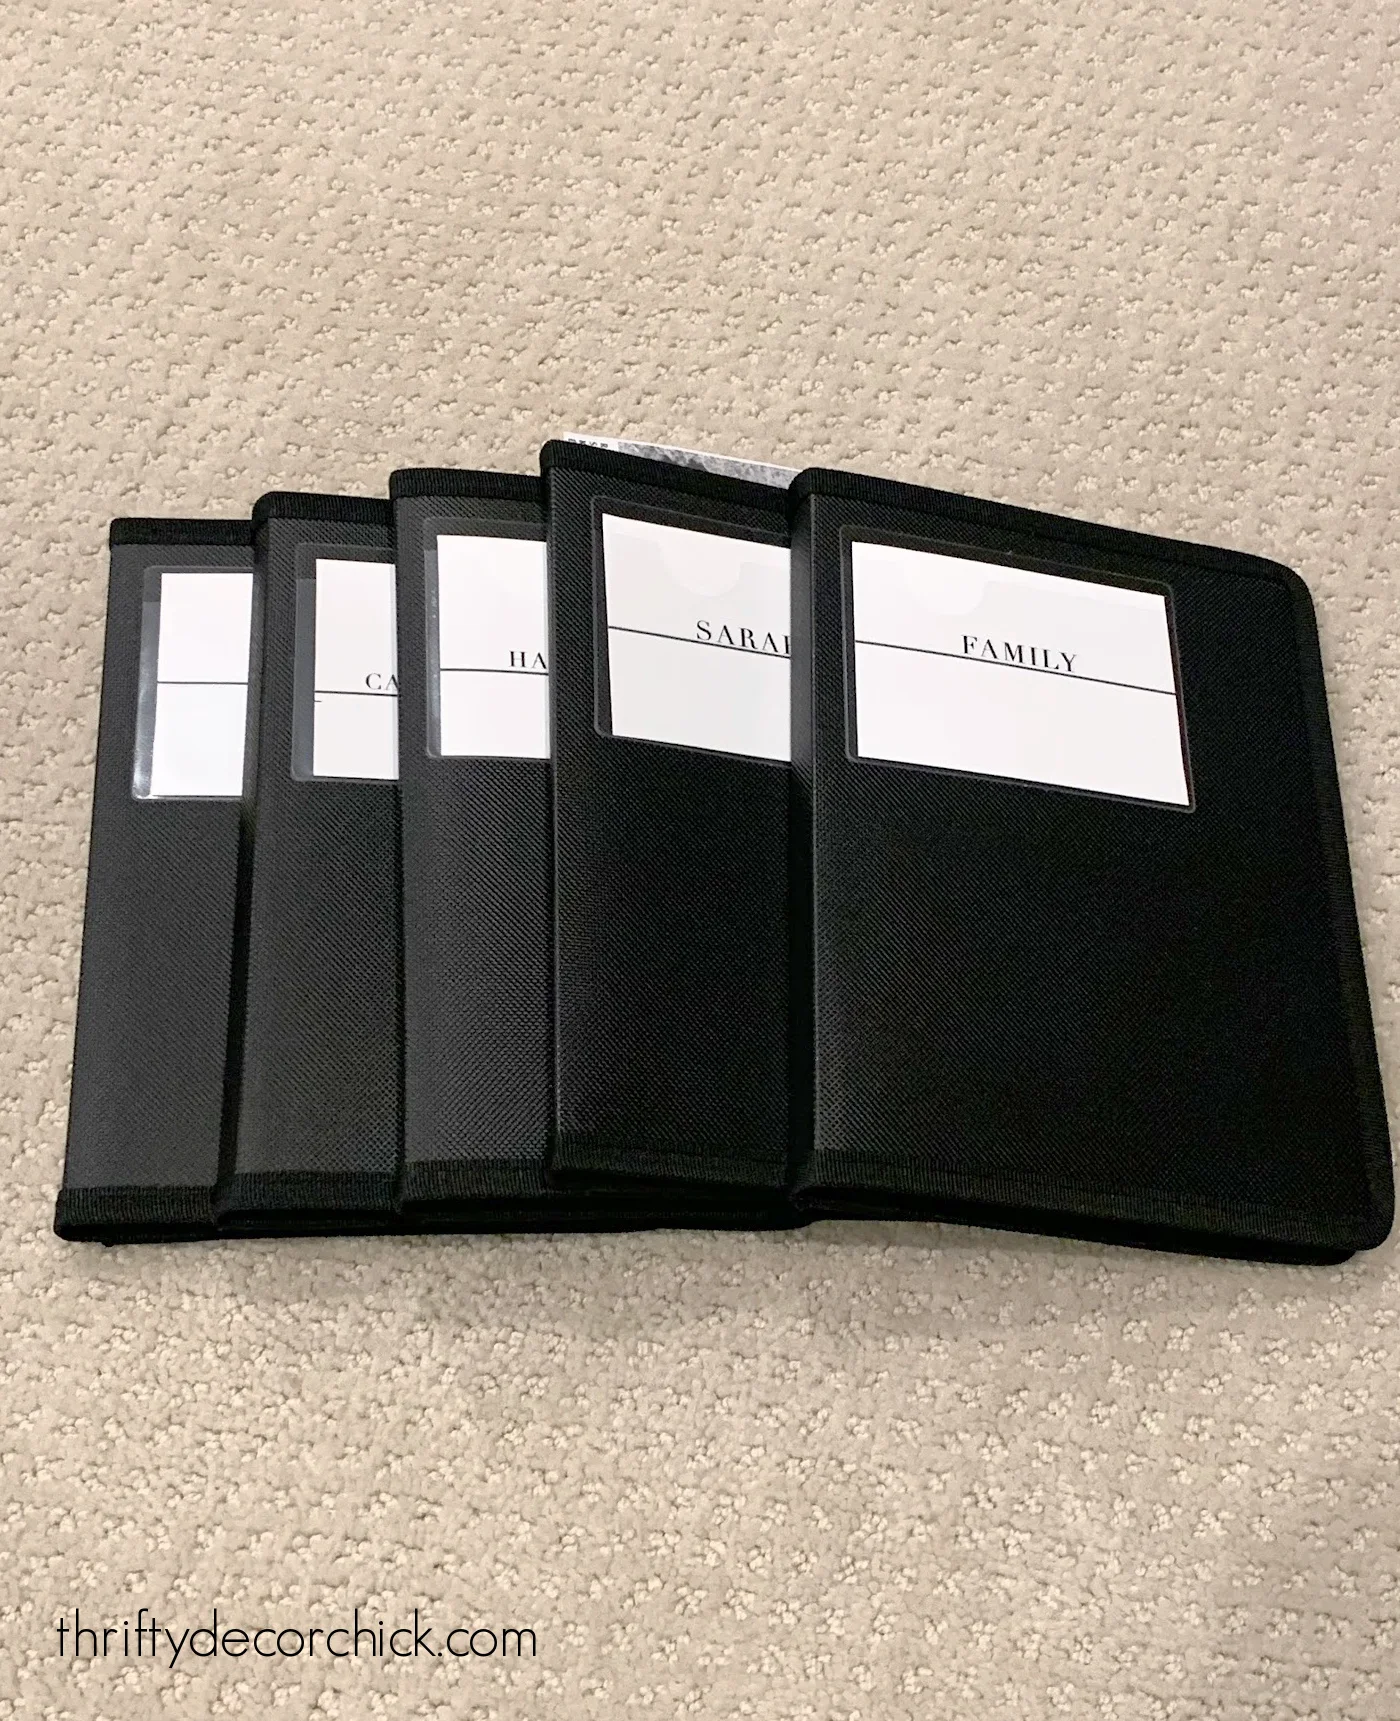
These stylish wallets solve many storage problems. They come in six sizes, from 4 x 6 to 11 x 17 inches, and are perfect for both photos and artwork.
Every paper keepsake is placed in these wallets, from large pieces of artwork to family photos:
For medium sizes:
And even the smallest ones — I put several things like tickets and small programs in one as well.
I’ve categorized them into families and topic so we can easily find what we’re looking for:
These folders are great!
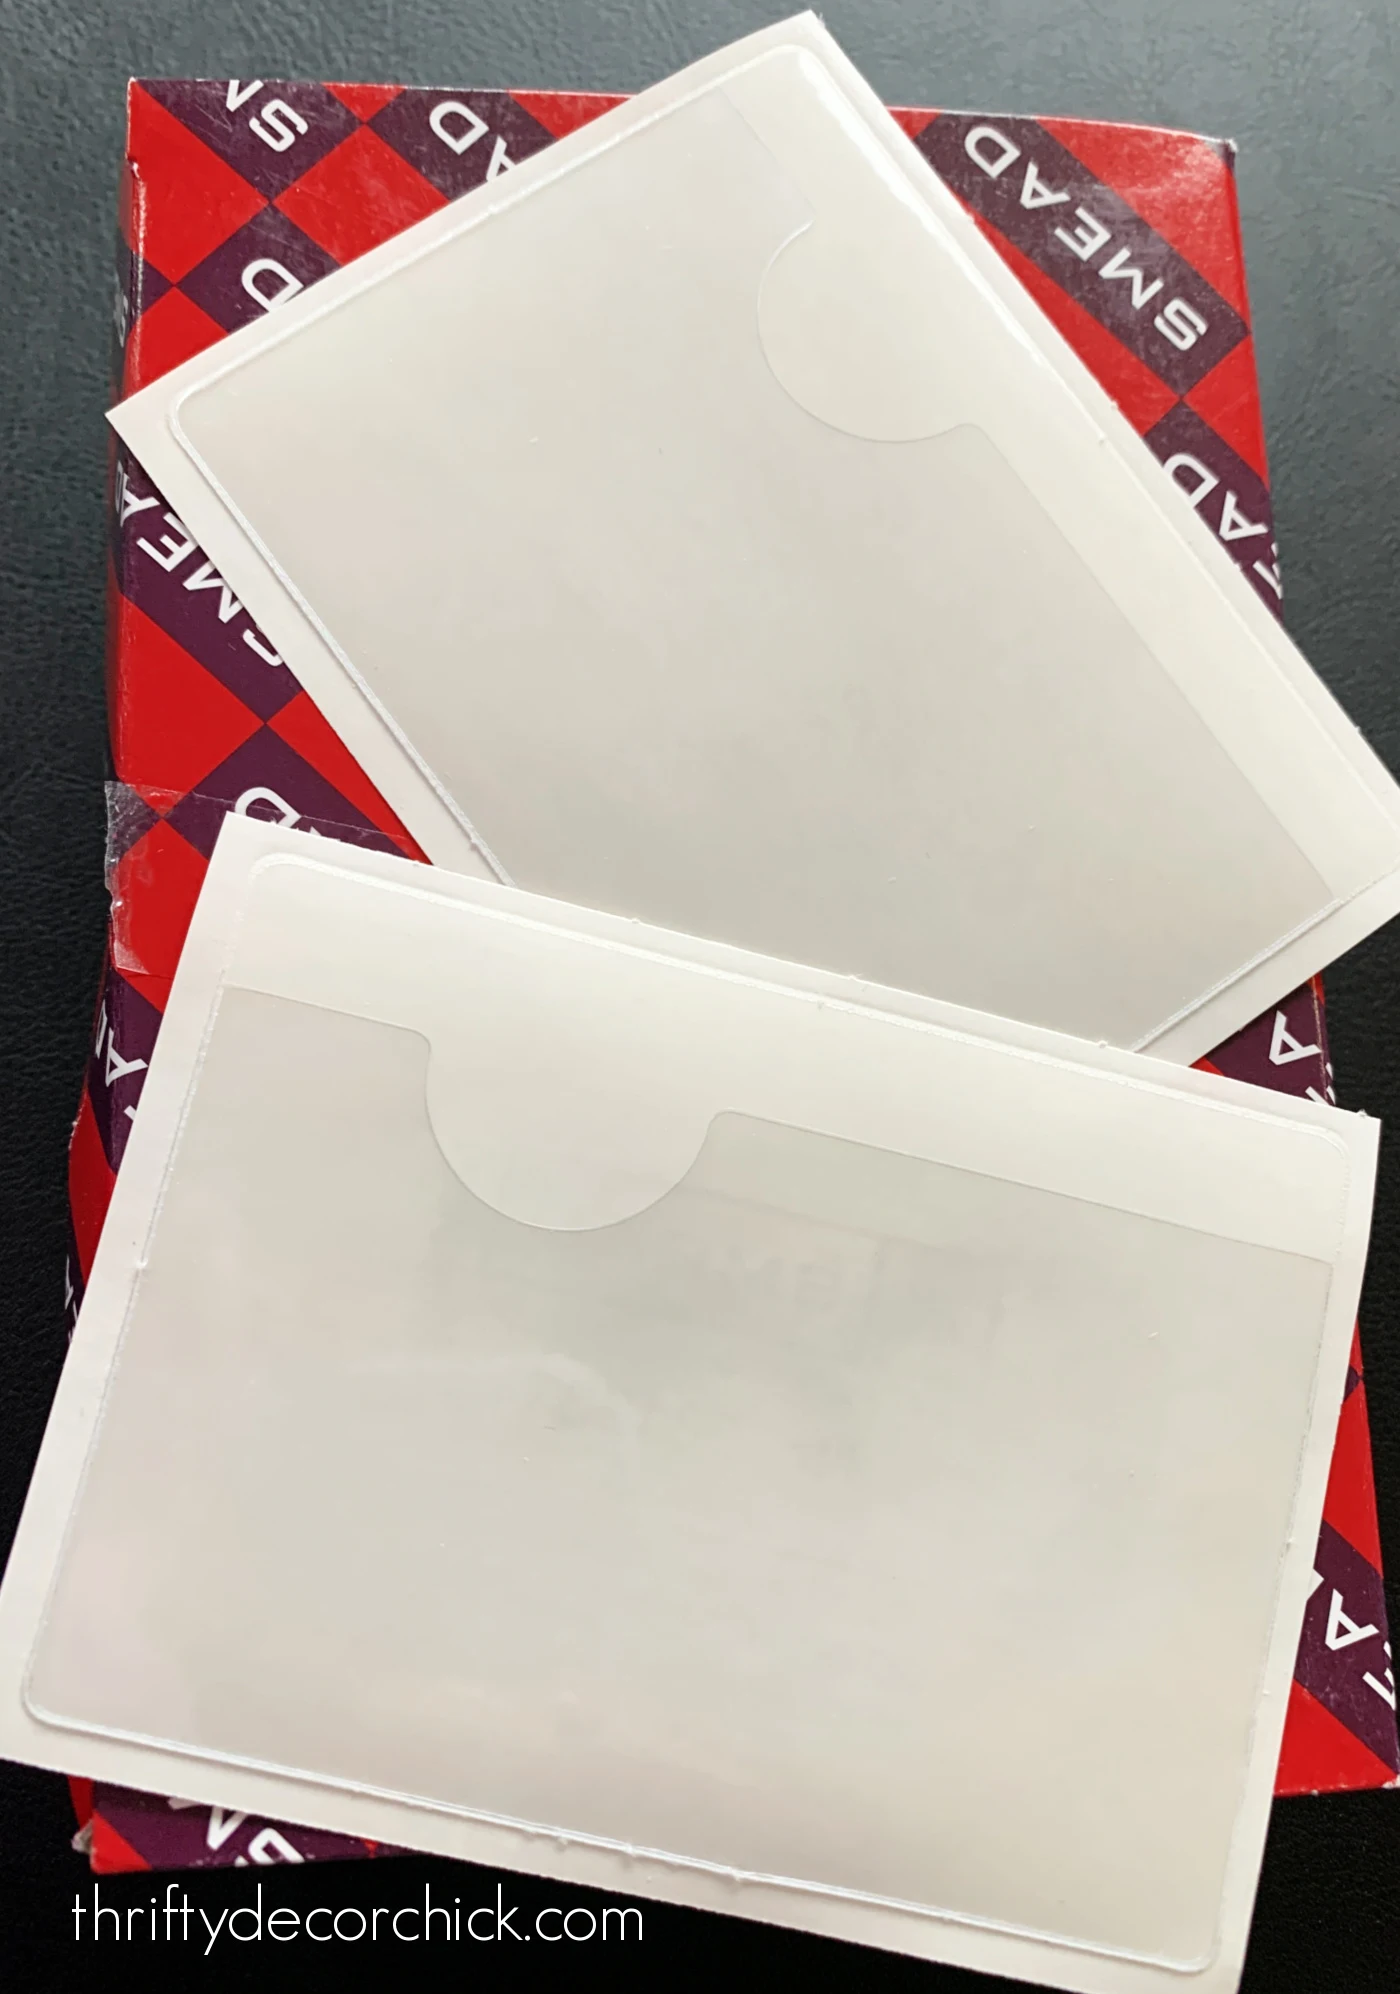
It’s sticky enough to stay on lids (yet!) and you can easily change the paper label if you change the contents.
Step Three: Greeting Cards
The final items to address were the greeting cards. I used to feel silly for keeping these things, but I’m over that now.
Looking through old cards from my family and friends makes me happy, and I’ve realized that it’s perfectly fine to keep stacks of them if I have the space.
You get to choose what you cherish and want to keep!
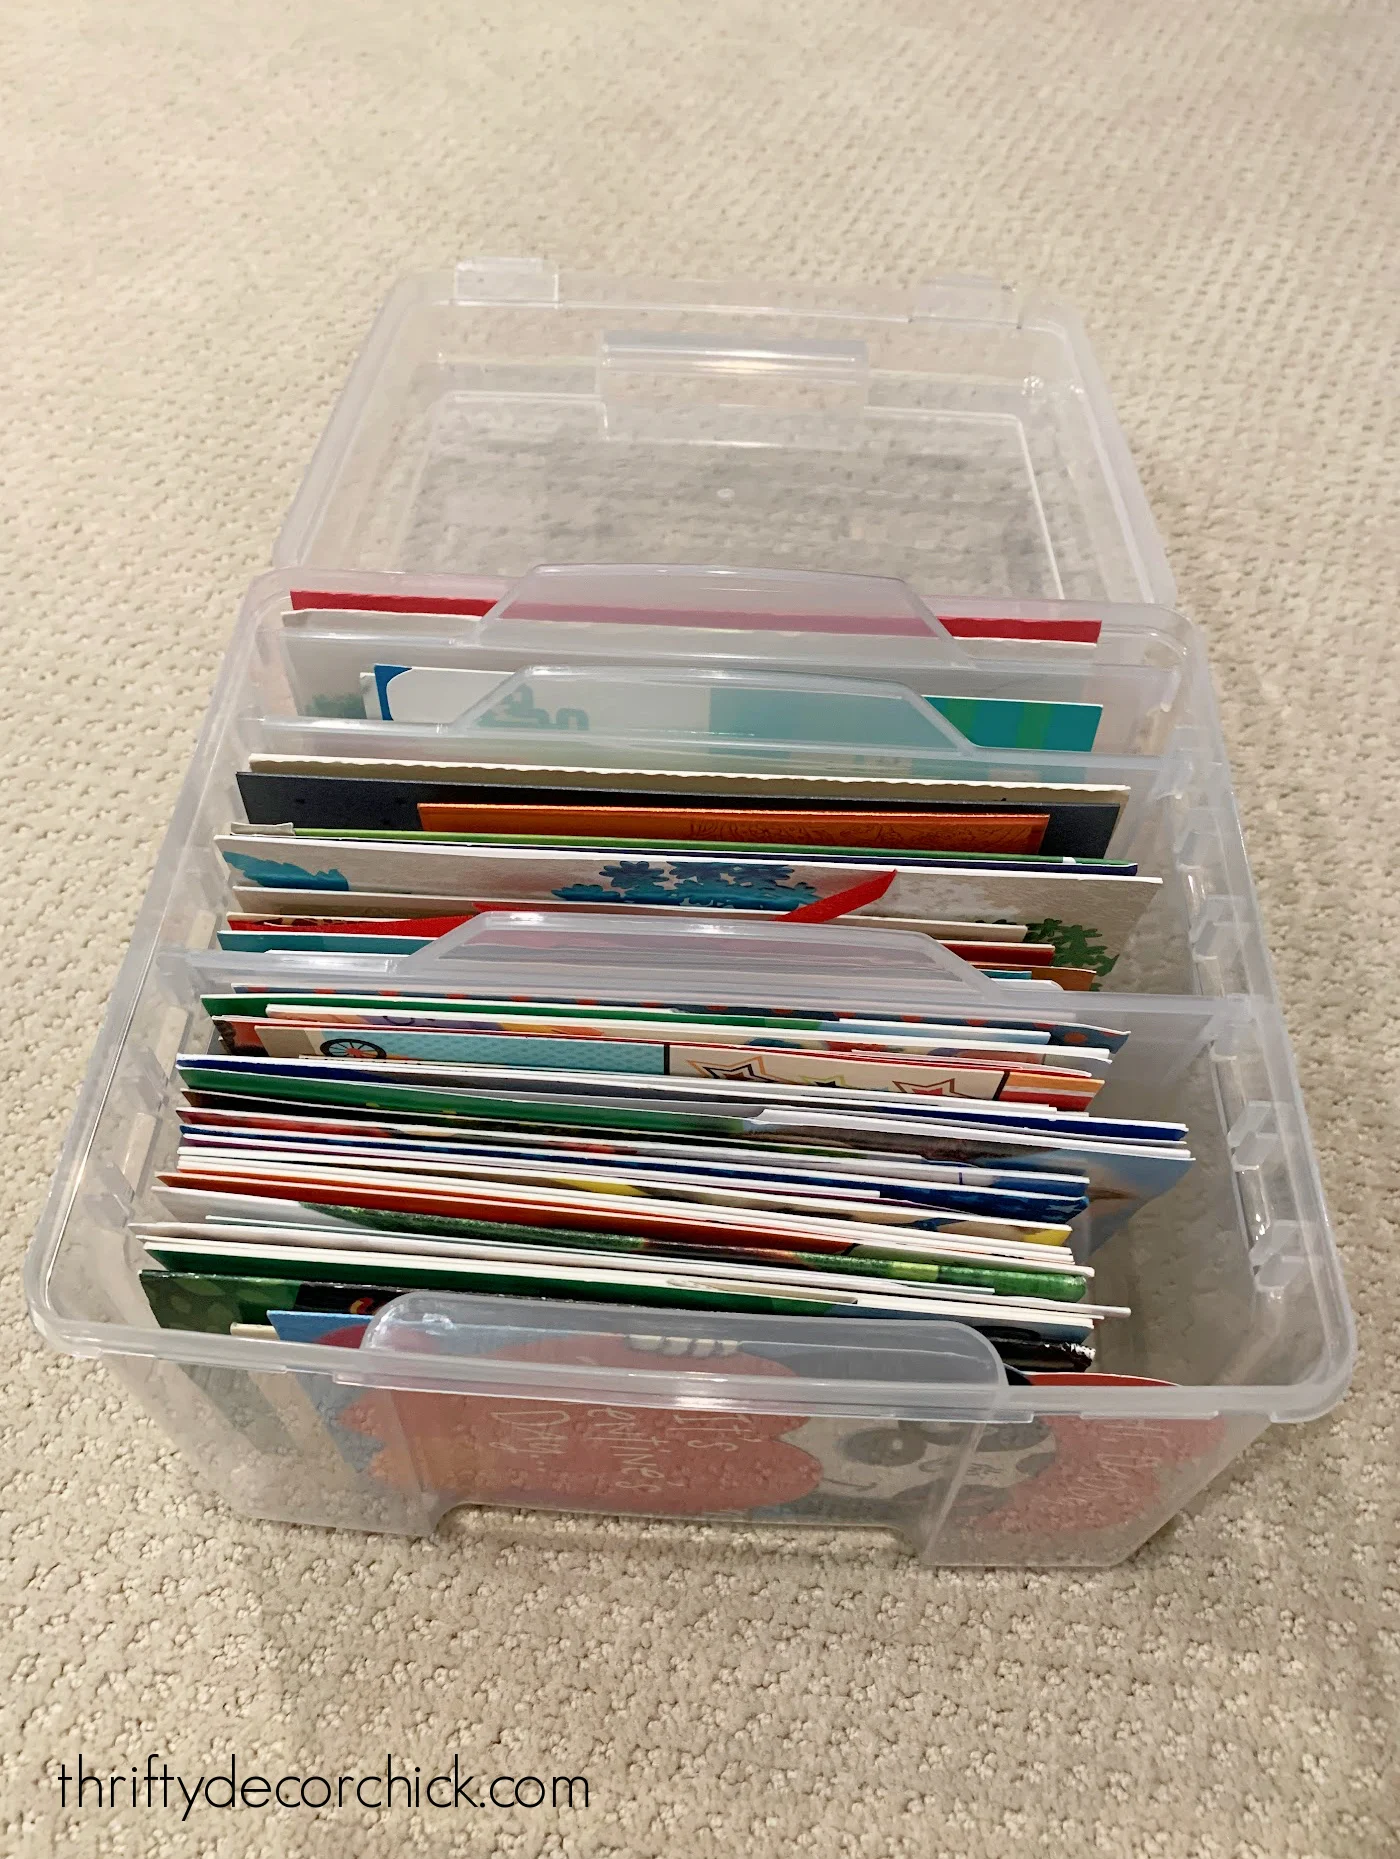
It comes with a set of plastic dividers that you can label as well, but I only used dividers in each basket.
I got a box for each of us, and only kept what I could squeeze to fit. It was boring since I started with a pile four times this size, but it was also fun to read through the beautiful anniversary, holiday, and birthday cards.
It took me a long time to go through them all…I just picked my absolute favorites, and my greeting card basket was already full:
I may have to go through it again before my next birthday. 
This closet is now home to all our paper memorabilia and photos. I like everything to be organized:
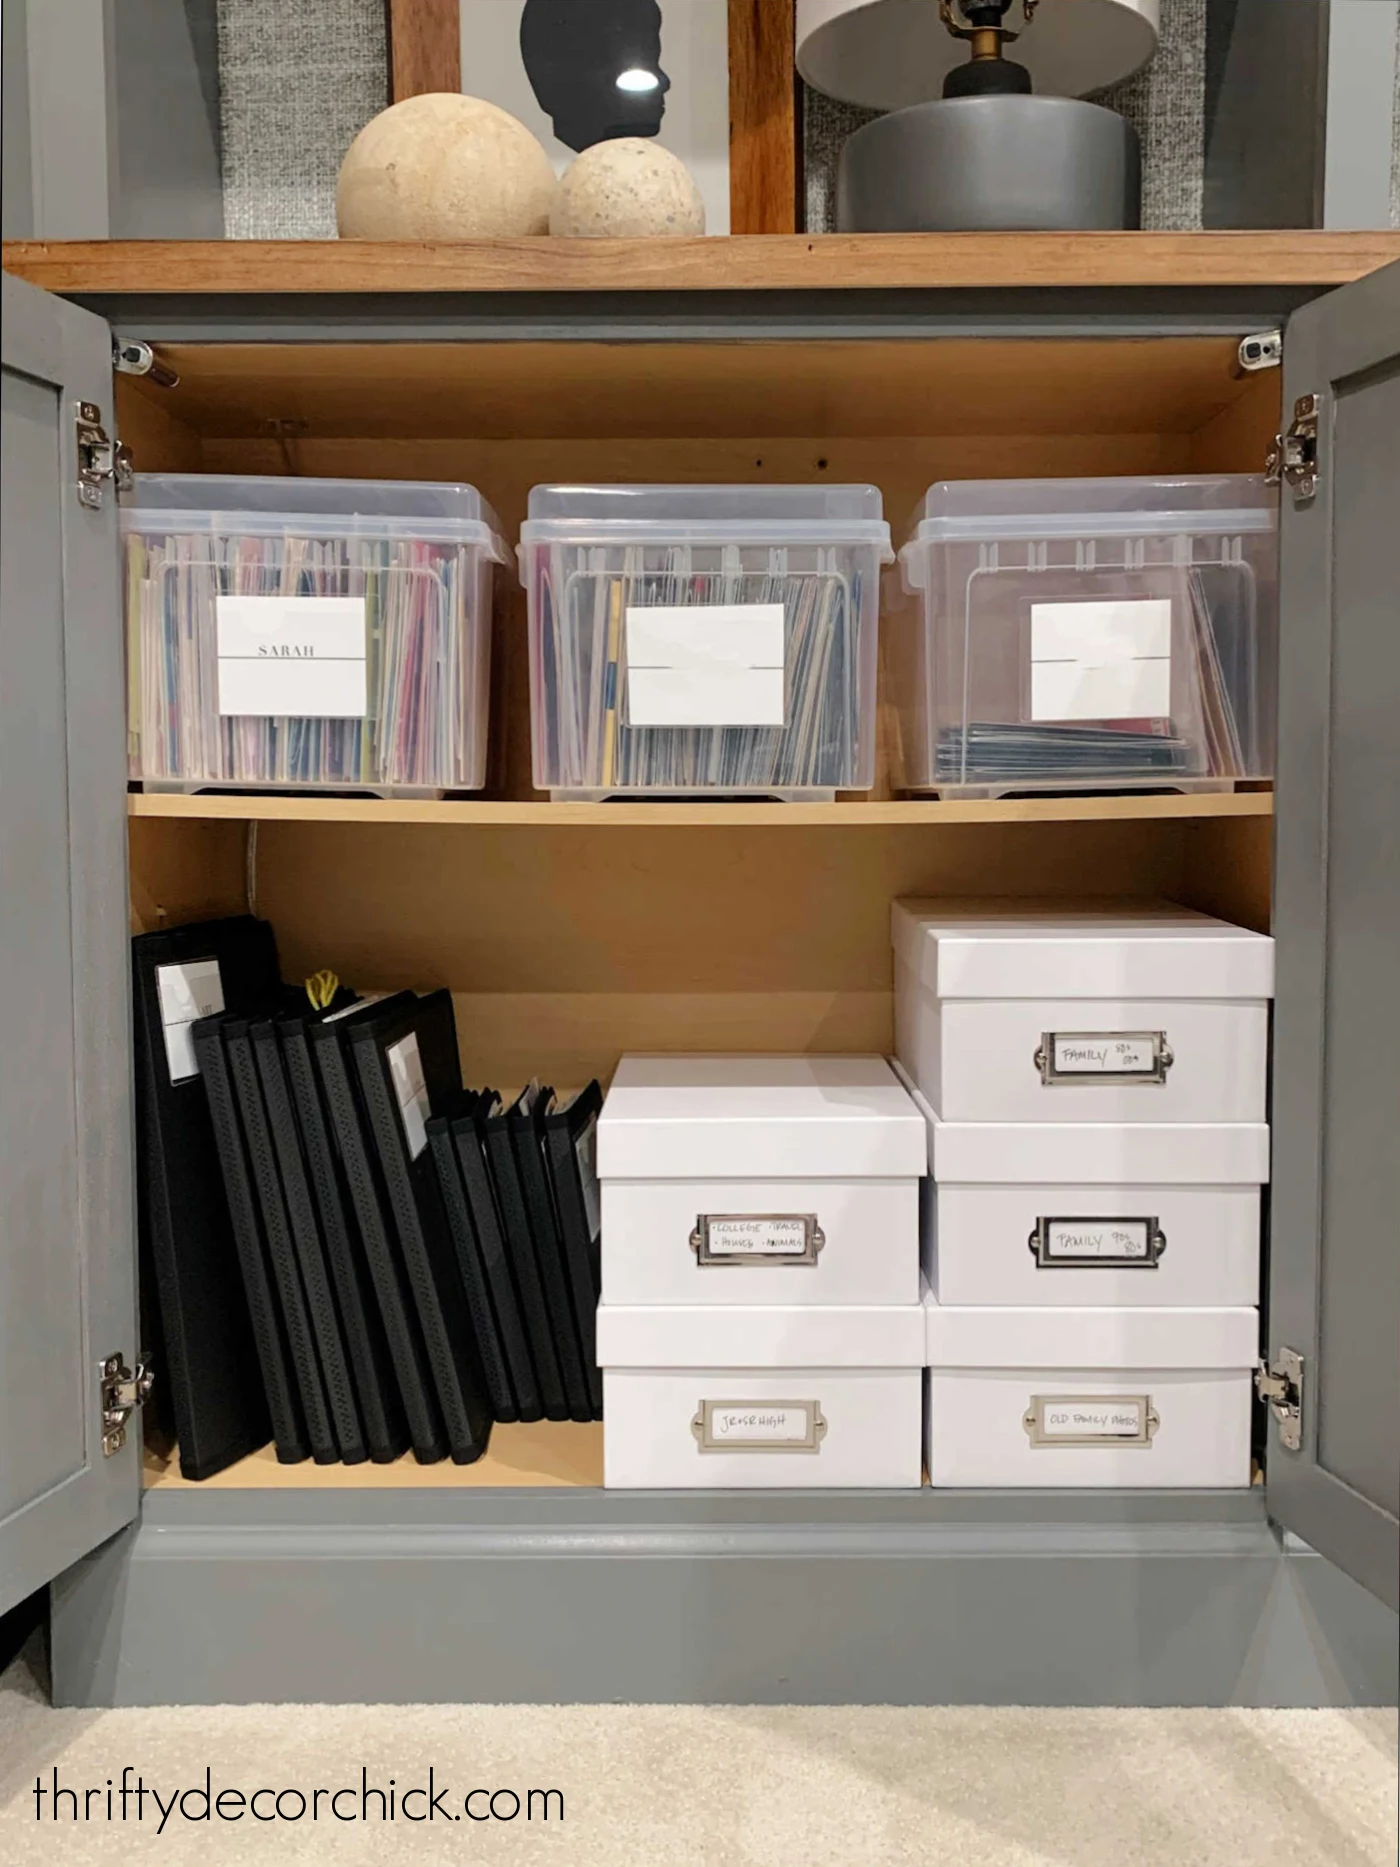
Finding specific things is now much easier! I can’t tell you how many times we’ll talk about a particular memory, and I can run here and find exactly what I want in just a few minutes.
I’m still trying to decide if I’ll try to put all those pictures in photo albums someday. I’d love to put it in a book and make it easier to look at, but man…that would be a huge undertaking!
Maybe I’ll deal with it in a few years when we’re empty nesters.  I would love to create a series of photo books that you can order online one day.
Some final thoughts on organizing keepsakes and keepsakes:
I plan to collect all of our yearbooks and put them in this closet as well. All memories in one place! If you have small trinkets like matchbooks, postcards, or magnets, you can display them in a shadow box like this. It will be a great way to get your favorite items out where you can enjoy them! Avoid storing memorabilia in places exposed to extreme temperatures such as attics or garages if possible. My husband and I cleaned out two of our parents’ houses after they passed, and no matter how big they were, it was emotionally and physically exhausting. Completing this process gives me some peace of mind about what we will be leaving for our two children. I purchased storage items over the course of the nine months, so it was nice to split the cost a bit. I recommend starting with a few and seeing what you’ll need as you go.
Did you find a solution for your memorabilia? It is overwhelming for you too? I took my time so it was a long process, but totally worth it!
 Arabic
 Chinese (Simplified)
 Dutch
Dutch English
 French
 German
 Italian
 Portuguese
 Russian
 Spanish