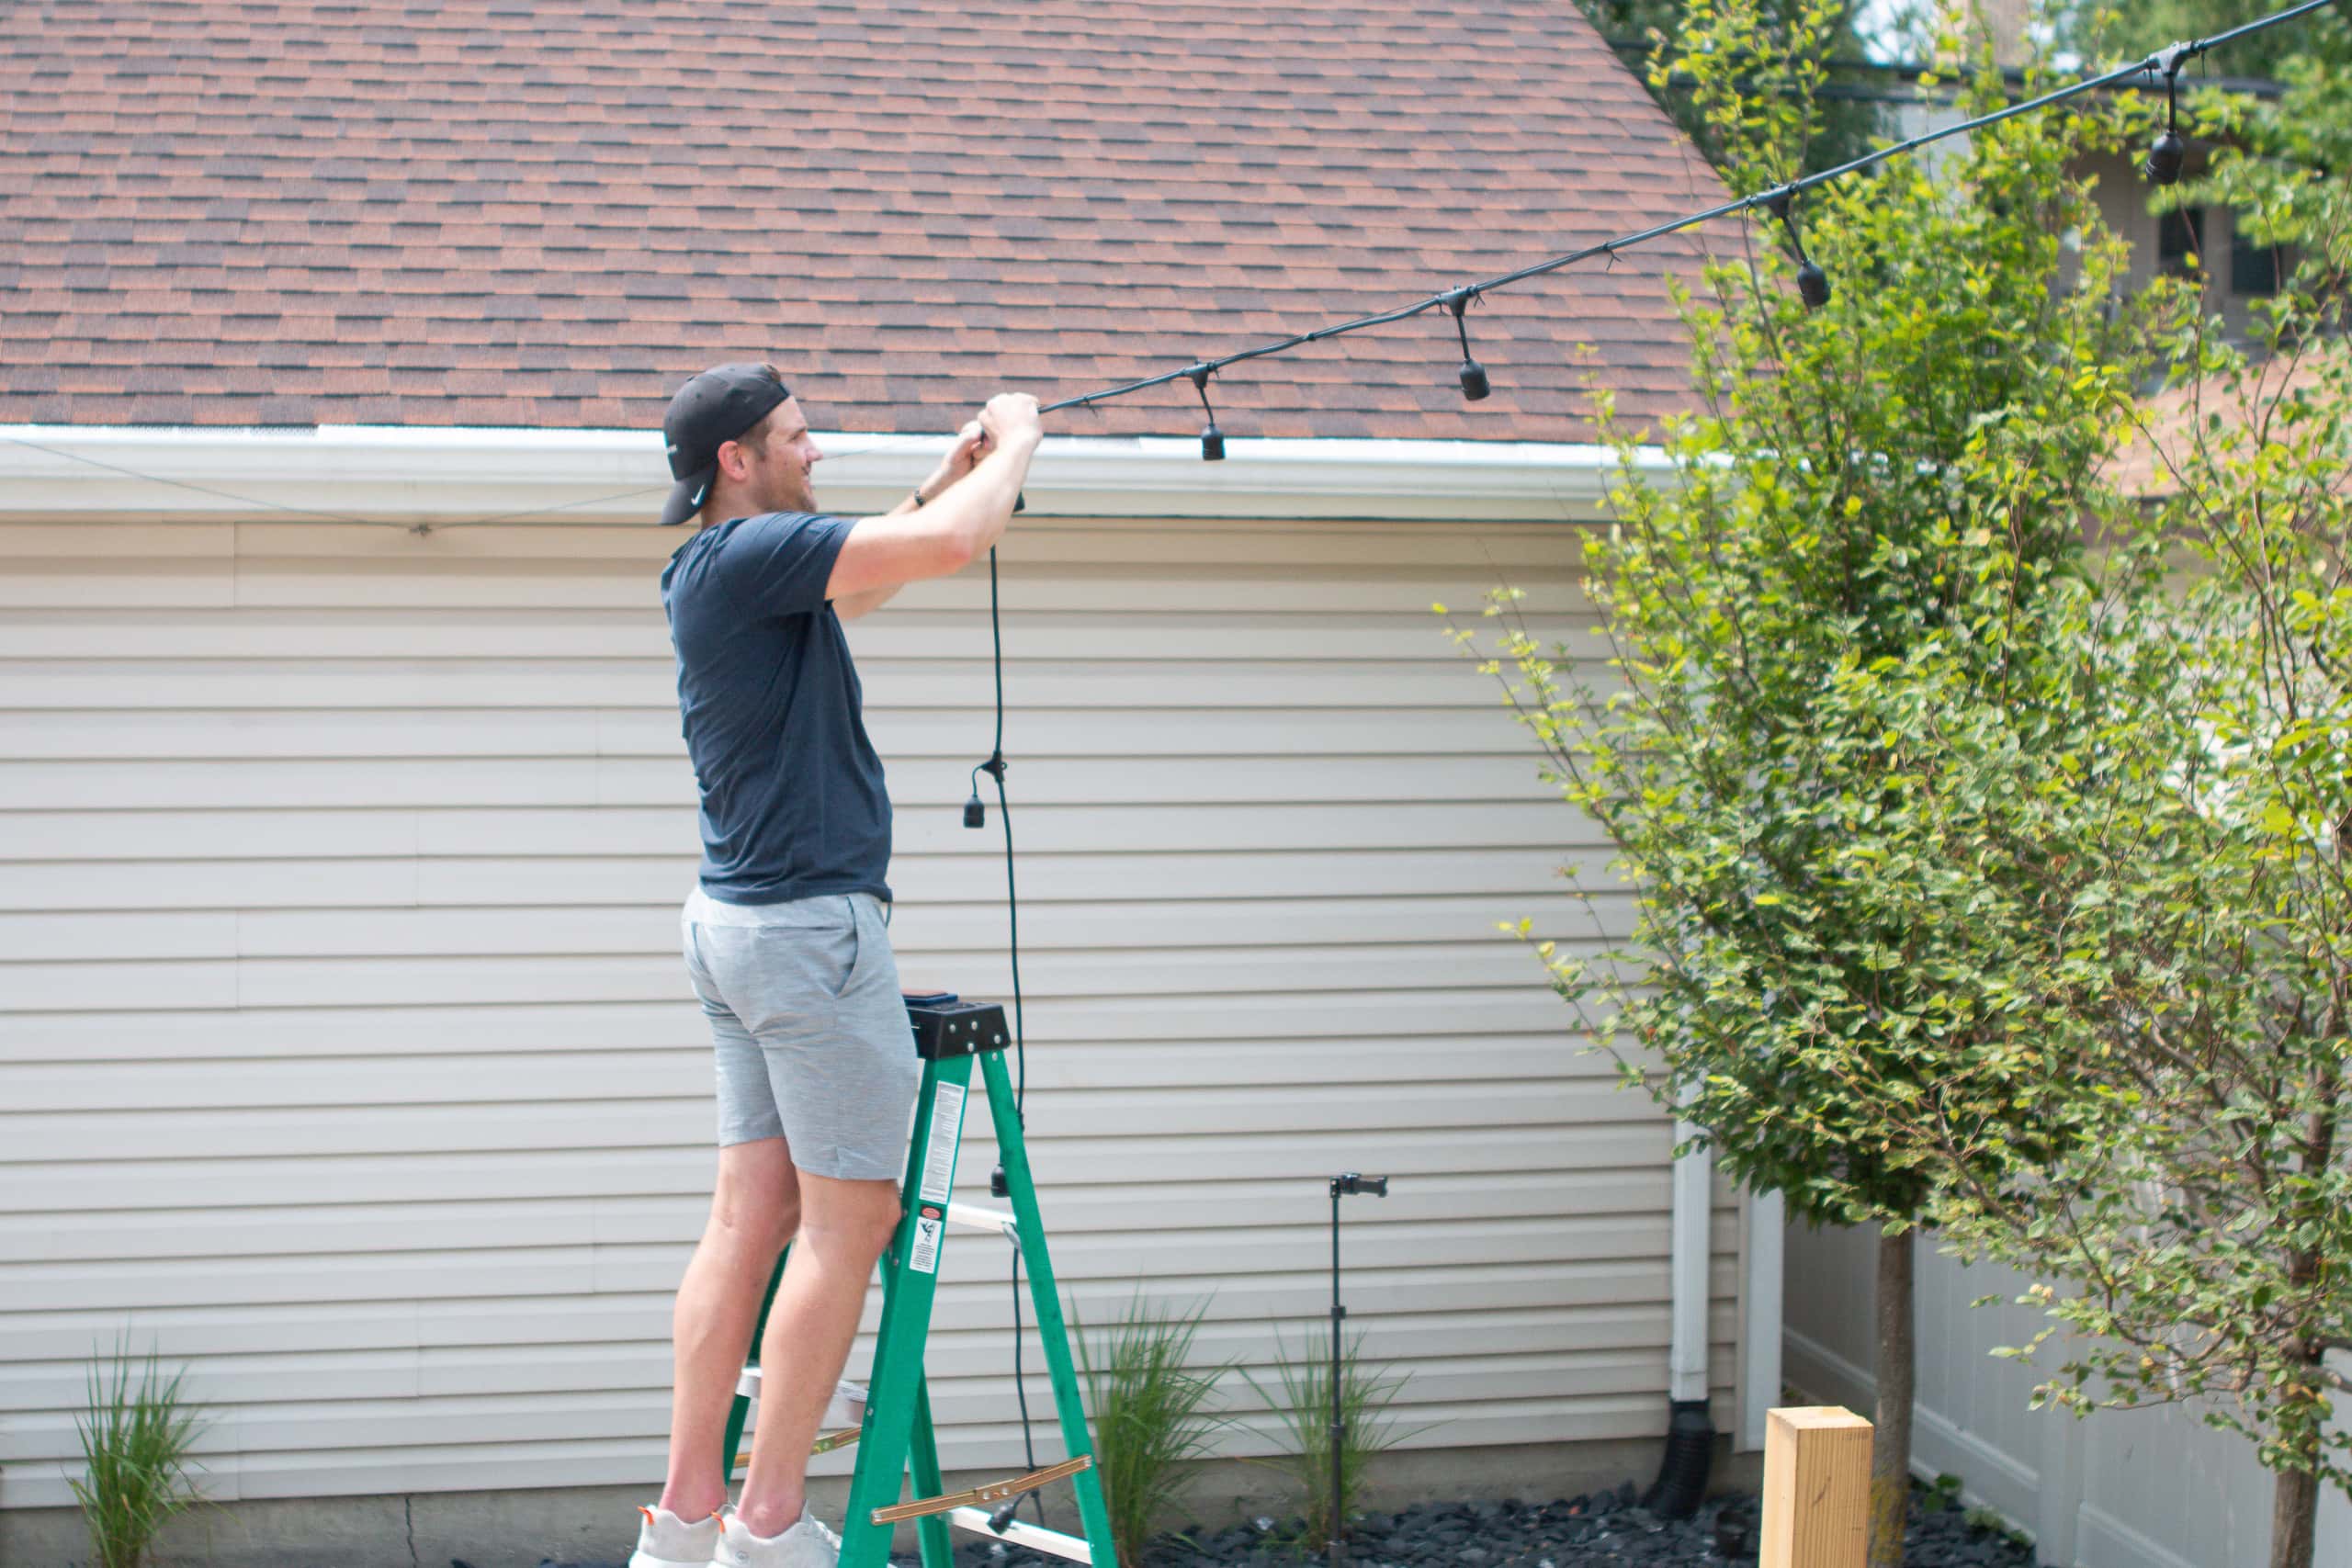
Try this quick DIY project for your outdoor space. This fire bowl will add a great atmosphere to your backyard while keeping the bugs away!
On my website, I have a category called “Do It in a Day.” I like to know that all the projects in this category can be done by almost anyone themselves. Today’s project should be called “Do It in Five Minutes” because that’s how long it will take!
Our backyard

I haven’t talked much about our backyard since we unveiled it. So far, we’ve been using it a lot this summer! We go out here with the kids whenever the weather is nice, and after bedtime, Finn and I spend some time out here eating dinner or watching a movie. It’s a really nice extension of our home.

We don’t get mosquitoes on our big porch here – we are city dwellers, after all – but they do show up occasionally. Finn went on a tiki torch spending spree last summer and got two floor torches and one table torch. They’re great and help keep the bugs away, while adding a nice ambiance to the room.
While I love the torches he got on the tabletop, I wanted to take things to the next level with a homemade fire bowl to serve as a centerpiece on our table.
DIY Table Fire Bowl – Supplies
How to Make a Fire Bowl on the Table Yourself

I’m not kidding when I say that this project will take you less than five minutes. It’s all about gathering the right supplies in advance to make your own fire bowl.
If you have any rocks left over from a landscaping project, this is a great way to use them for another project. Unfortunately, we didn’t have any leftover from our backyard renovation, so I had to purchase rocks for this project.
Choose the right planter
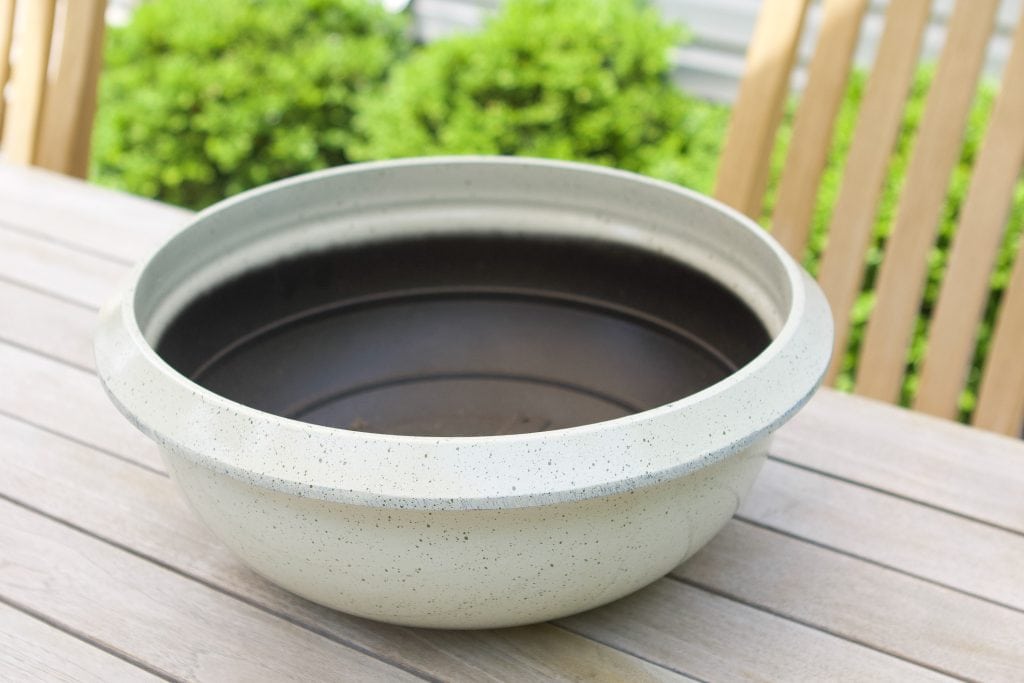
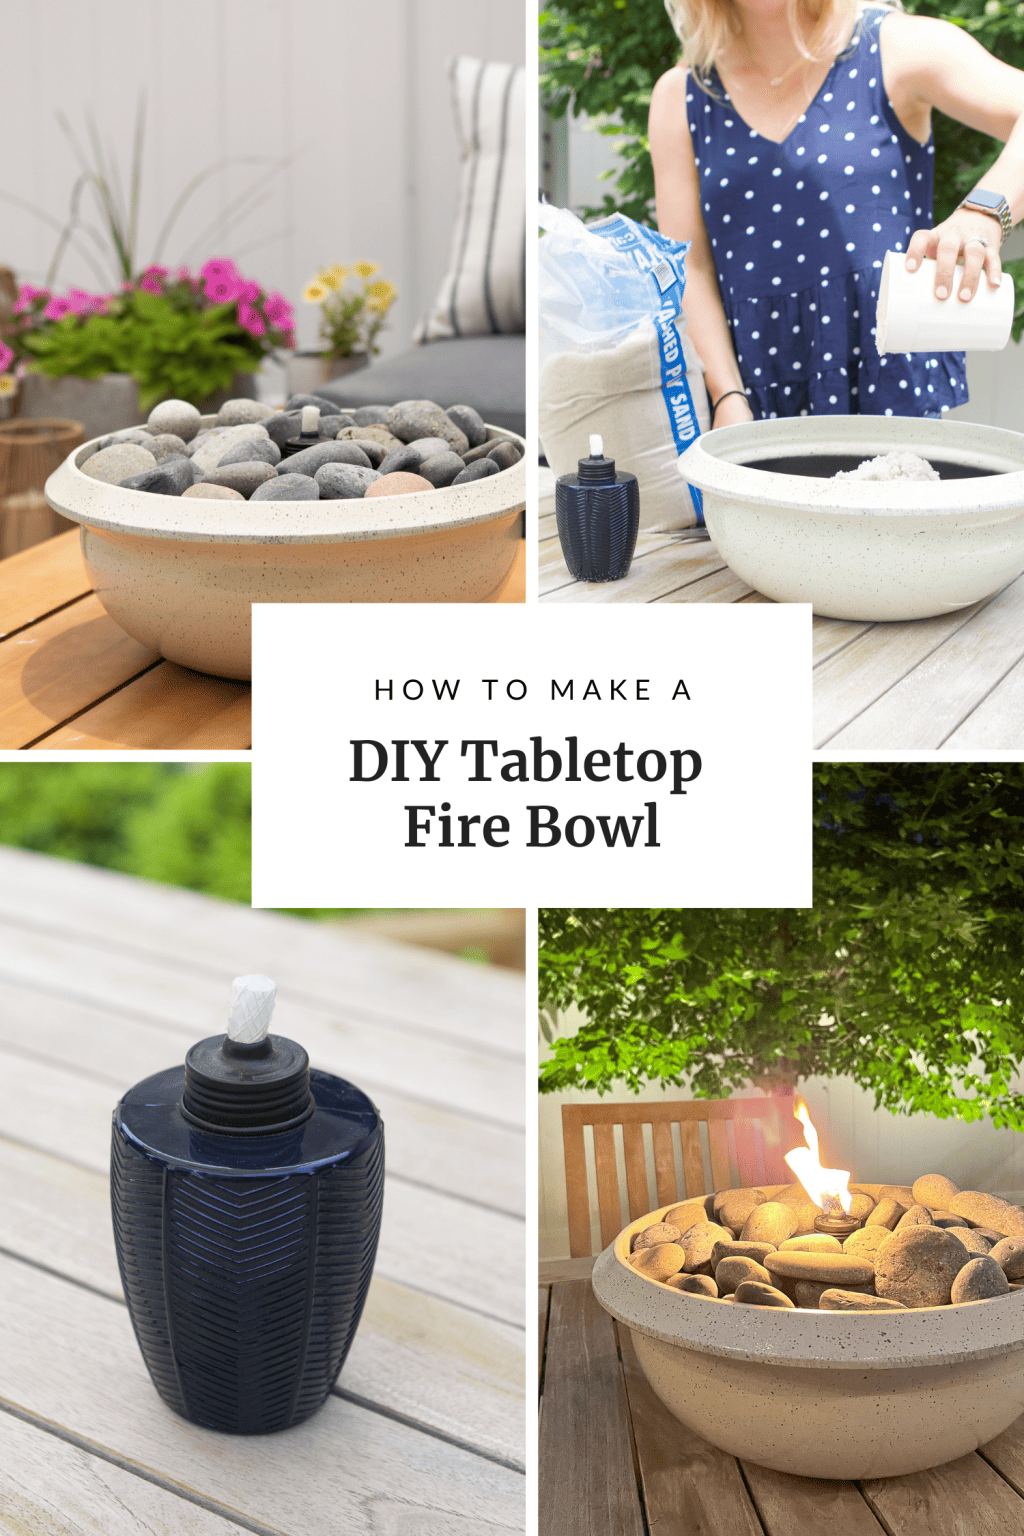
First, choose the right pot or planter for your DIY tabletop fire bowl. I wanted a low, wide pot to fit my tiki torch. I bought this large pot from Home Depot. This similar pot looks like a concrete pot and is a great price!
Make sure there is drainage or else water can pool at the bottom and make a big mess in the pot. Plastic tubs can work well, just make sure they are large enough that the burner does not have any direct contact with the pot itself.
Add sand and rocks.
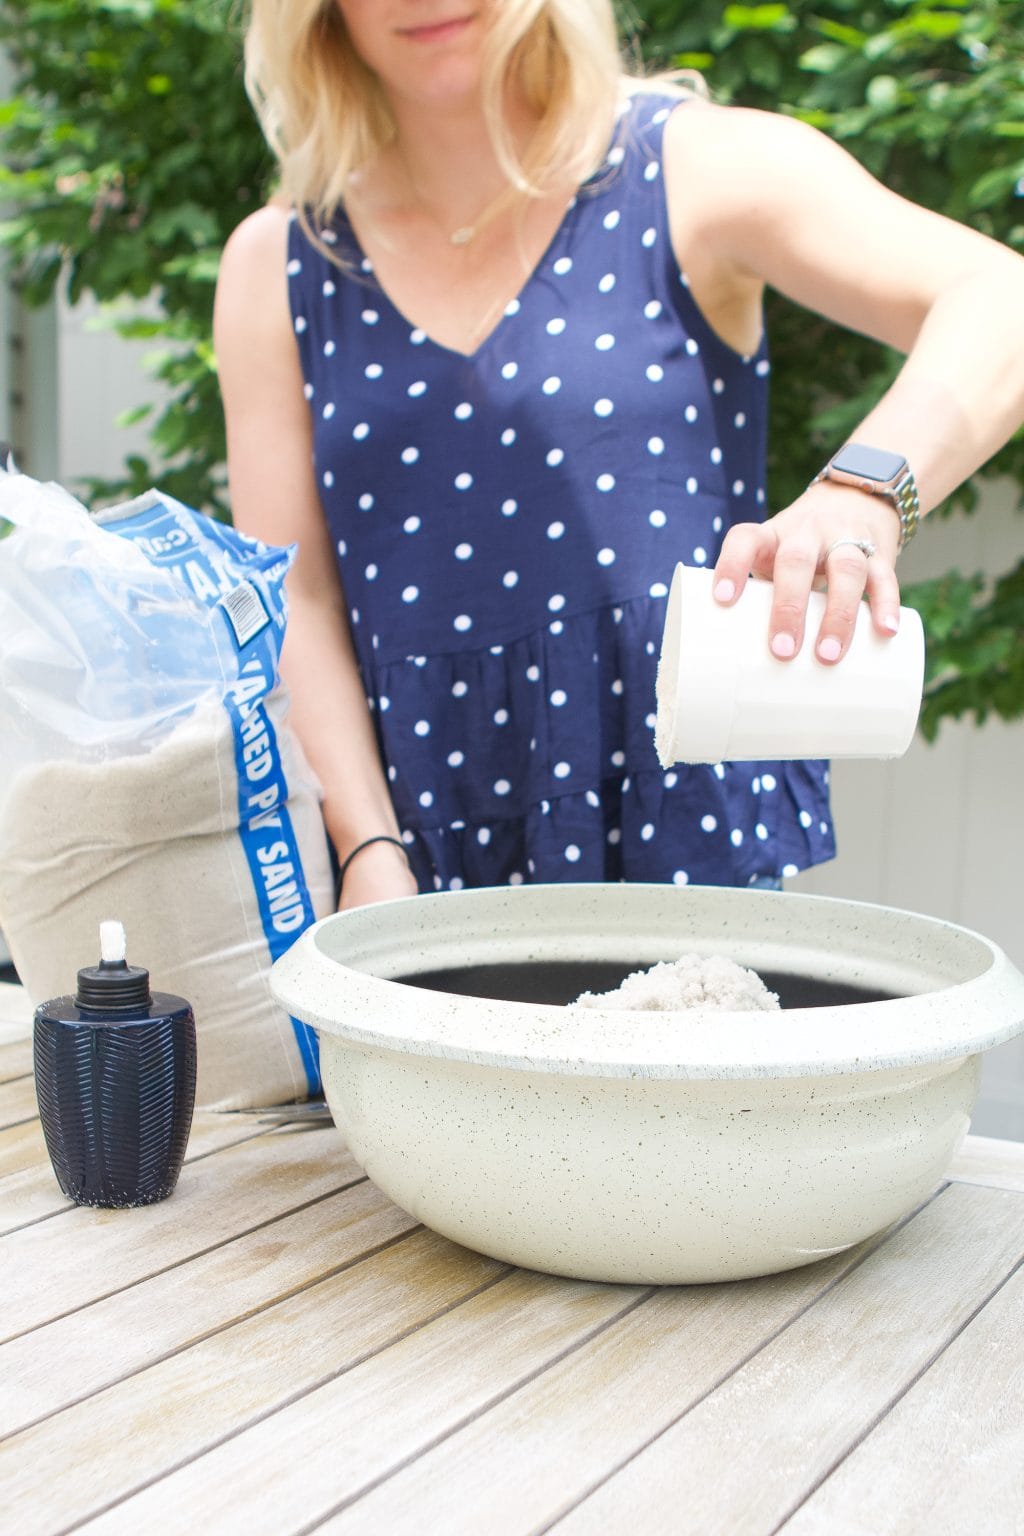
Once you have the planter, add sand and rocks to it.
You can skip the sand and just use all the rocks. I added sand to the bottom of the bowl because I wanted to use fewer rocks (sand is much cheaper) and it made a good base for my tiki torch. Plus, the more rocks you use, the heavier the bowl will be.
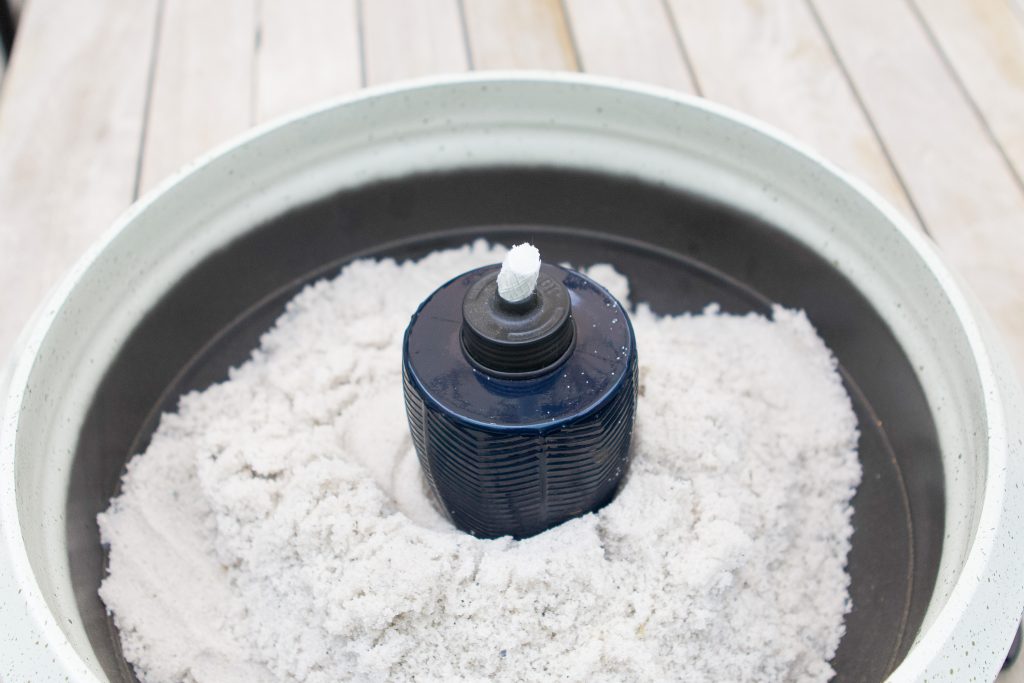
I wanted the torch to be placed a few inches from the top of the planter lip, so the sand would help create a solid base to place the torch on.
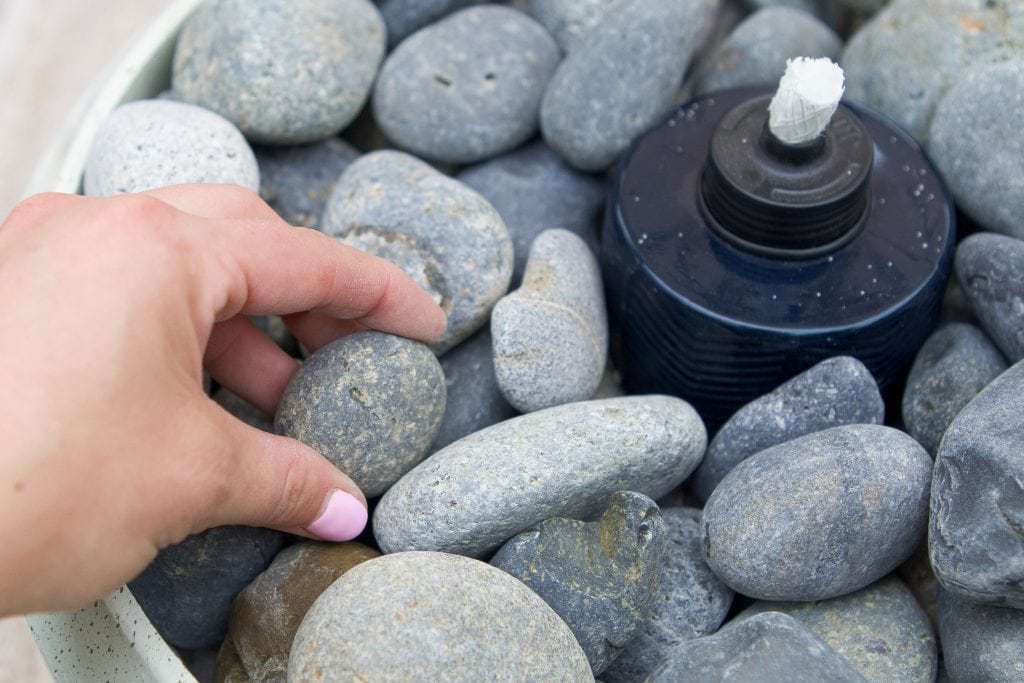
Once I had the sand, I added my tiki torch to the center and then added river rocks around it.

I really like the Mexican beach pebbles I found. They are quite large and come in different shapes and sizes.
Your hardware store should sell bags of various decorative rocks and pebbles, so look around and see what best suits your plant pot and the color scheme of your backyard.
Fill your torch with fluids.
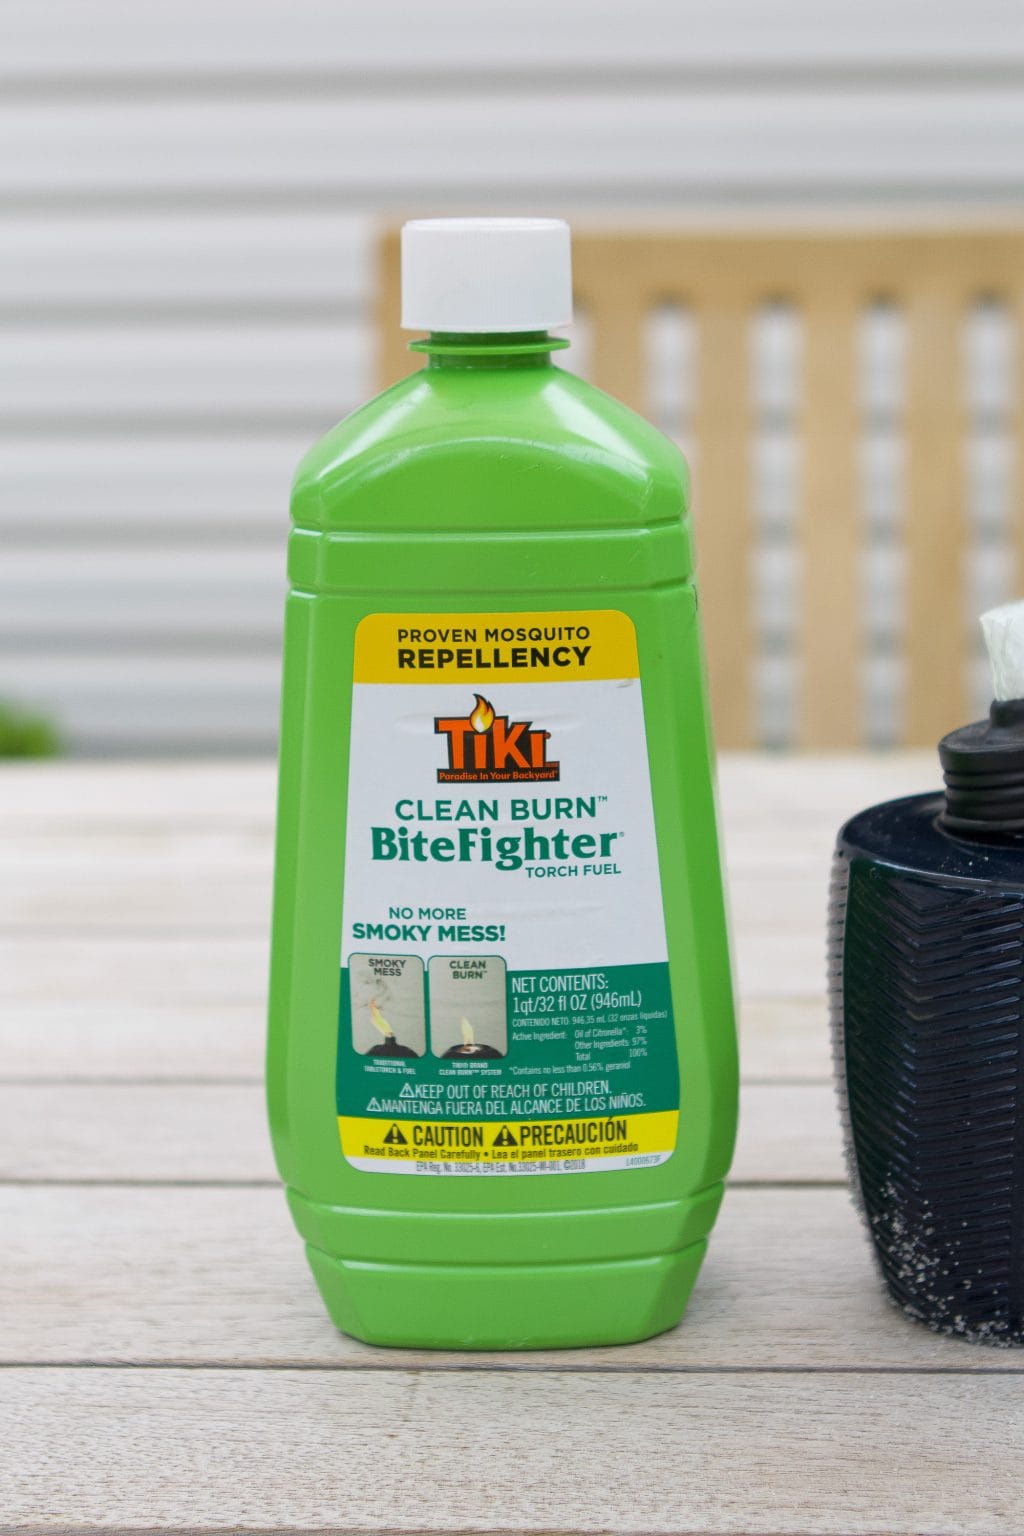
The next step is to fill the torch with fuel source.
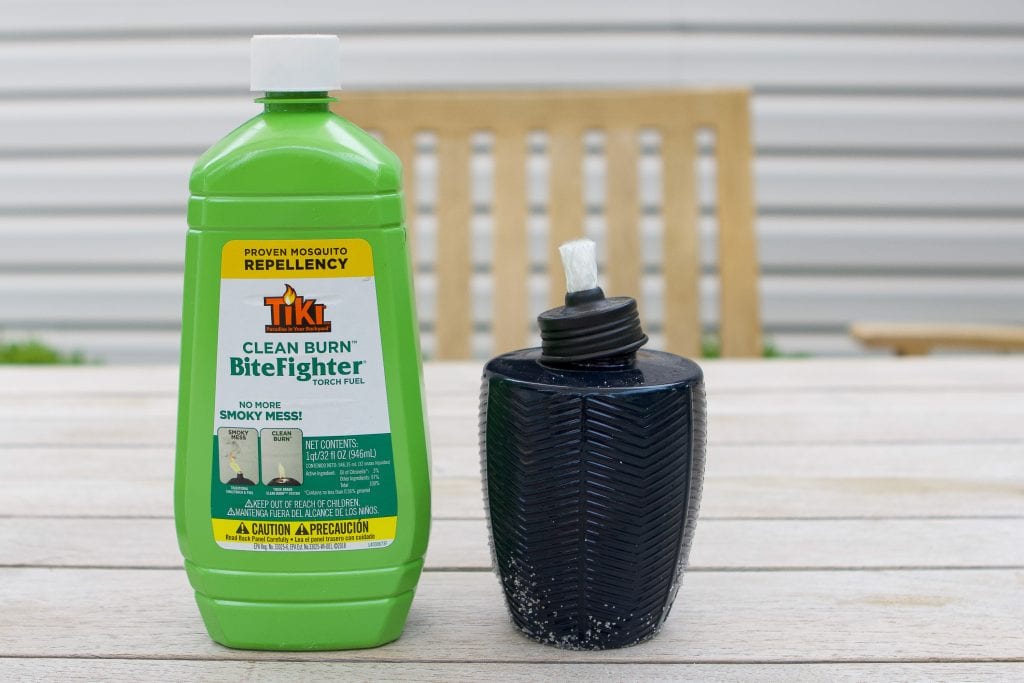
This is the tiki torch fuel we love to use in our backyard. It helps keep bugs away because it contains citronella oil. That’s great, but the best part is that the torches don’t emit any smoke. I hate feeling like I’m having a bonfire in my backyard, but this fuel burns cleanly without all the annoying smoke. It’s so much better!
Light and enjoyment
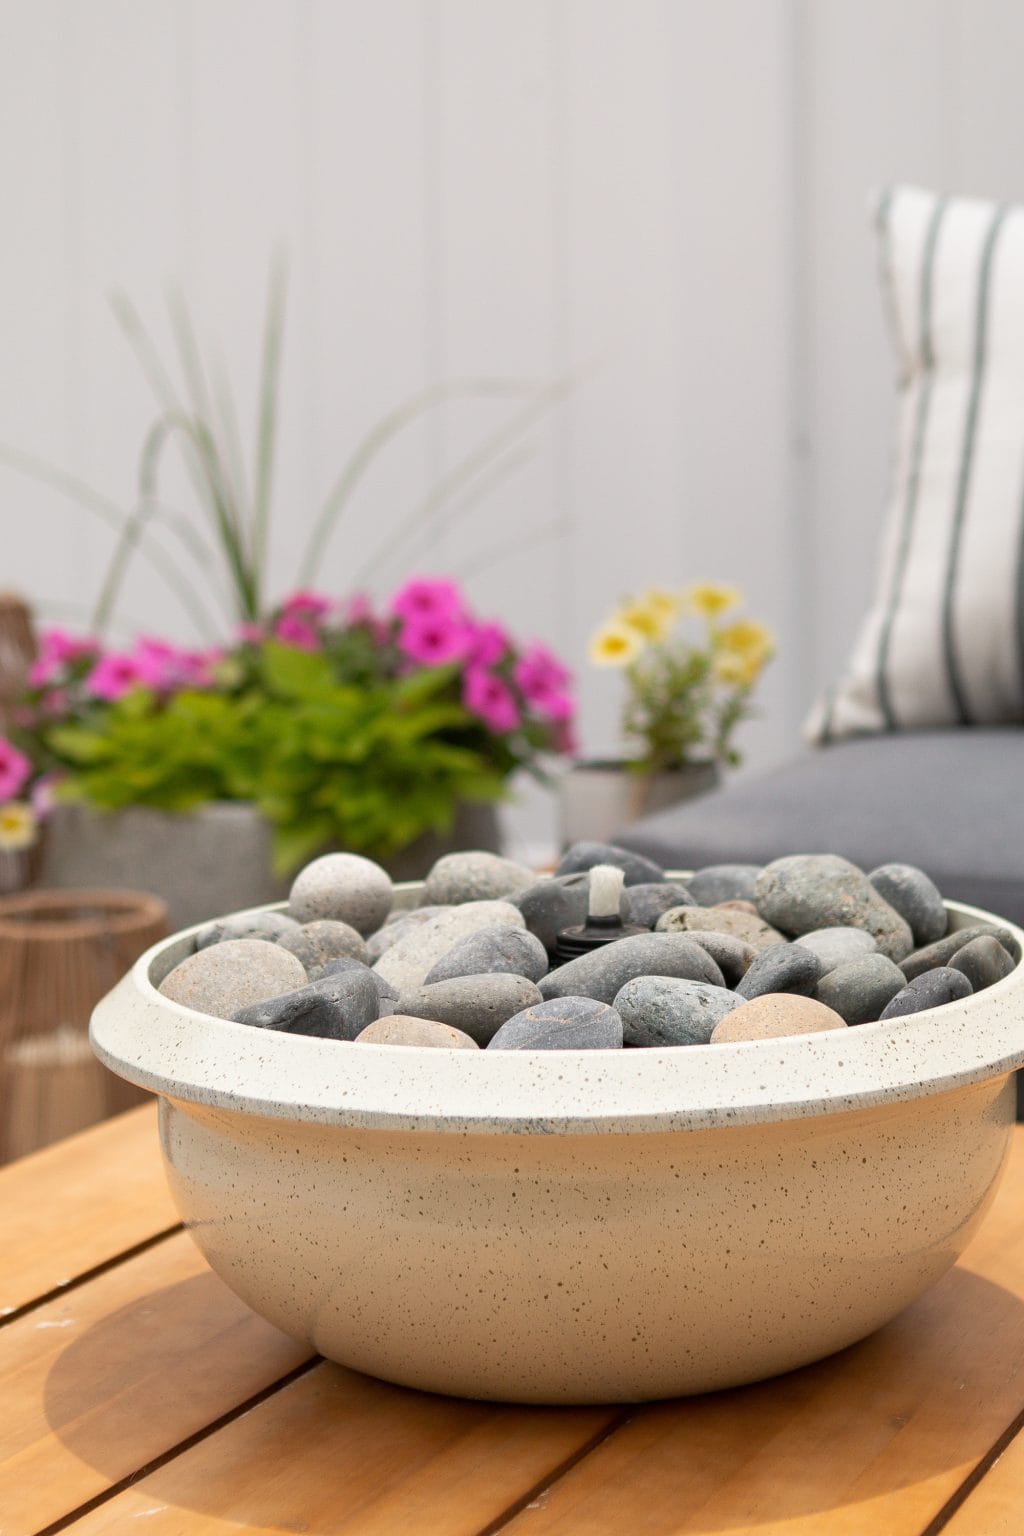
During the day, it looks like a beautiful piece of rock on our patio table. It’s the perfect outdoor decor!
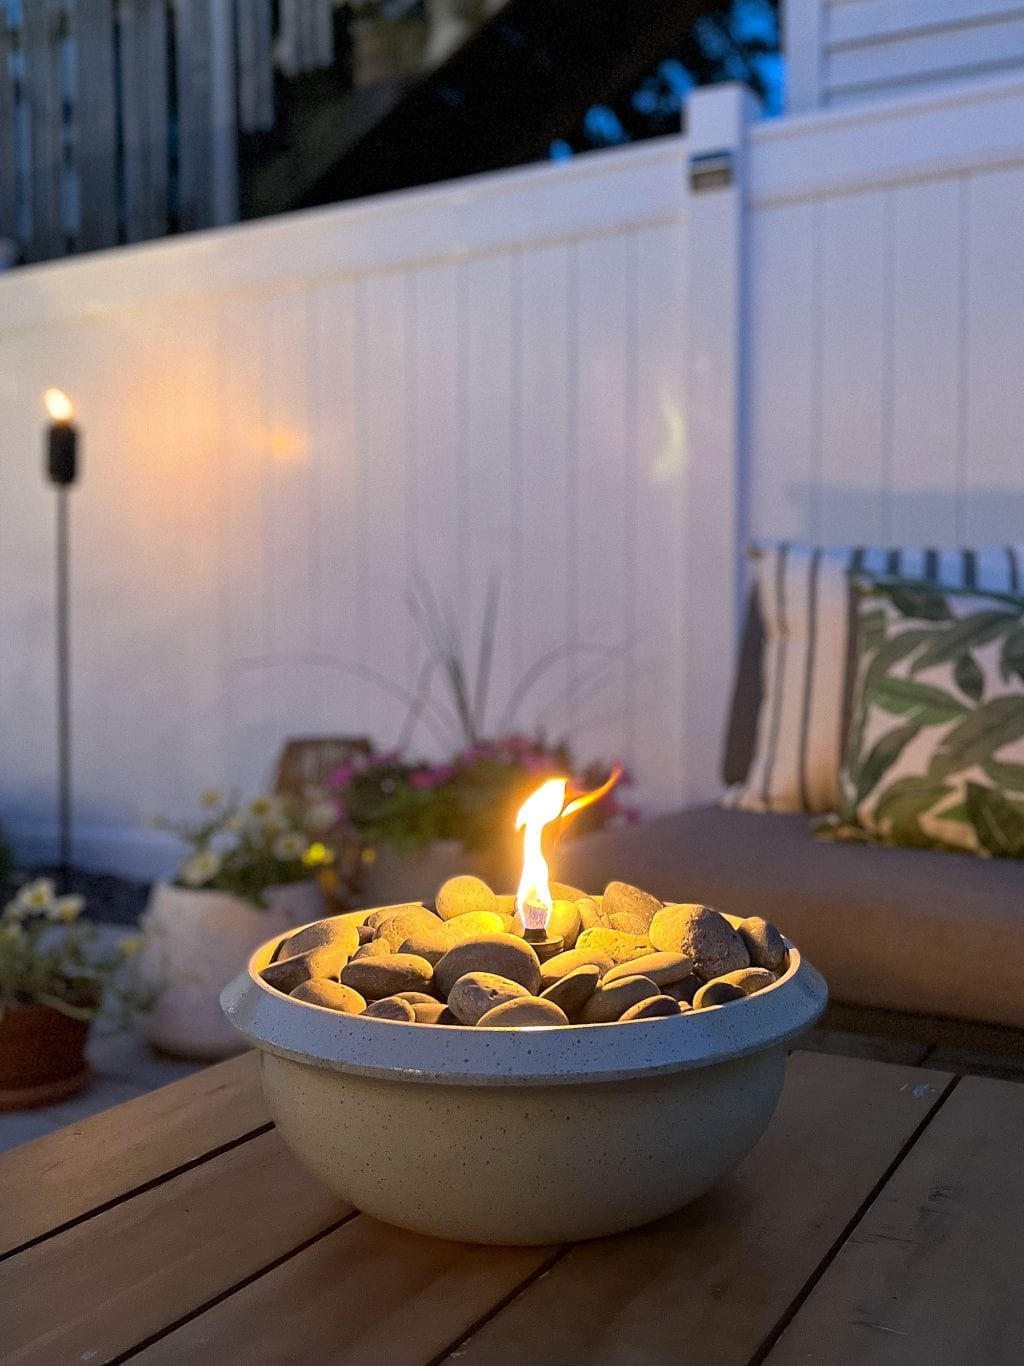
Then at night it transforms into a beautiful and very functional fire bowl. It has the atmosphere of a fire pit, without taking up a lot of space.
You can simply blow out or extinguish the flame when you are done. To be clear, this product is for outdoor use only! I don’t want you to have to use a fire extinguisher if you bring this product indoors!

If you don’t want to spend a lot of money on a backyard fire pit, but want the look, this is a great alternative.
This didn’t cost me much at all and is a really nice addition to our backyard to use any time of year. I’m excited to have my friends over and light all the torches here.
Backyard Resources
If you need any resources for our backyard, you can find it all in this reveal post. Plus, it has tons of crazy before and after photos. It’s amazing how much this space has evolved in just a few years!

Garage door color, Benjamin Moore “Blue Note” // Outdoor dining table and chairs // Umbrella // Umbrella base // Grill // Sonos outdoor speakers // Outdoor sconces // Outdoor TV // Chaise longue // Outdoor porch // Outdoor rug // Pendant light 1 // Pendant light 2 // Pendant light 3 // Black coffee table // Fence information // String lights // Tile (“Greyed Nickel”) // Lounge chairs // Side table // Sectional // Palm-patterned pillows // Solar-powered lights
Happy summer, my friends!
I’m excited for a fun summer ahead with many nights spent on our porch.
More Backyard Posts to Browse
