
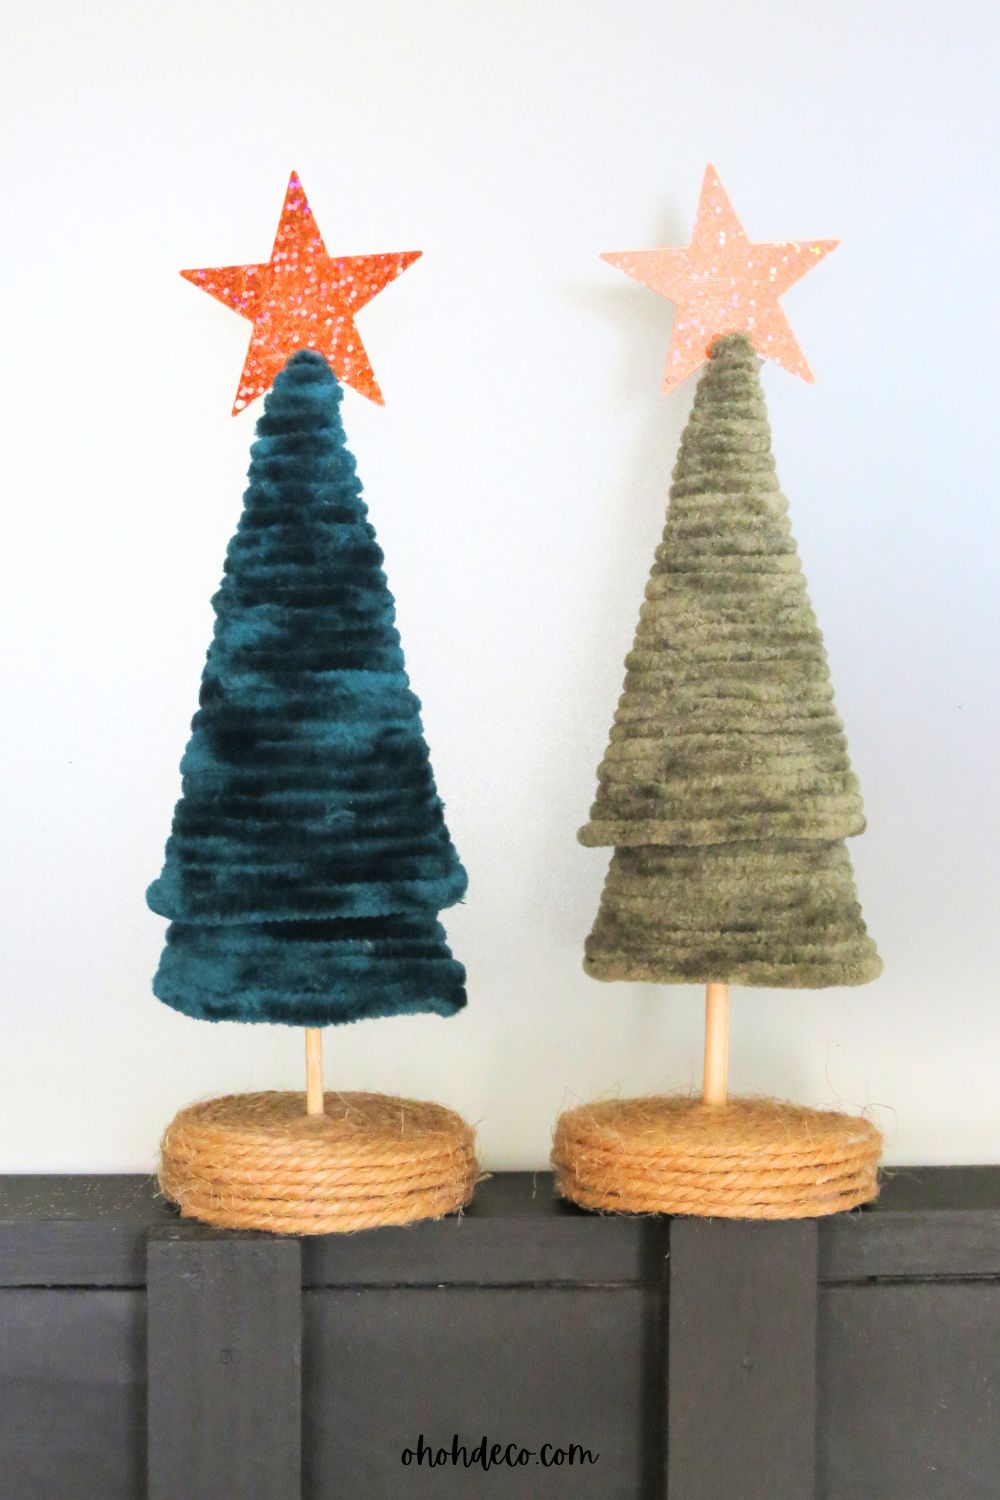
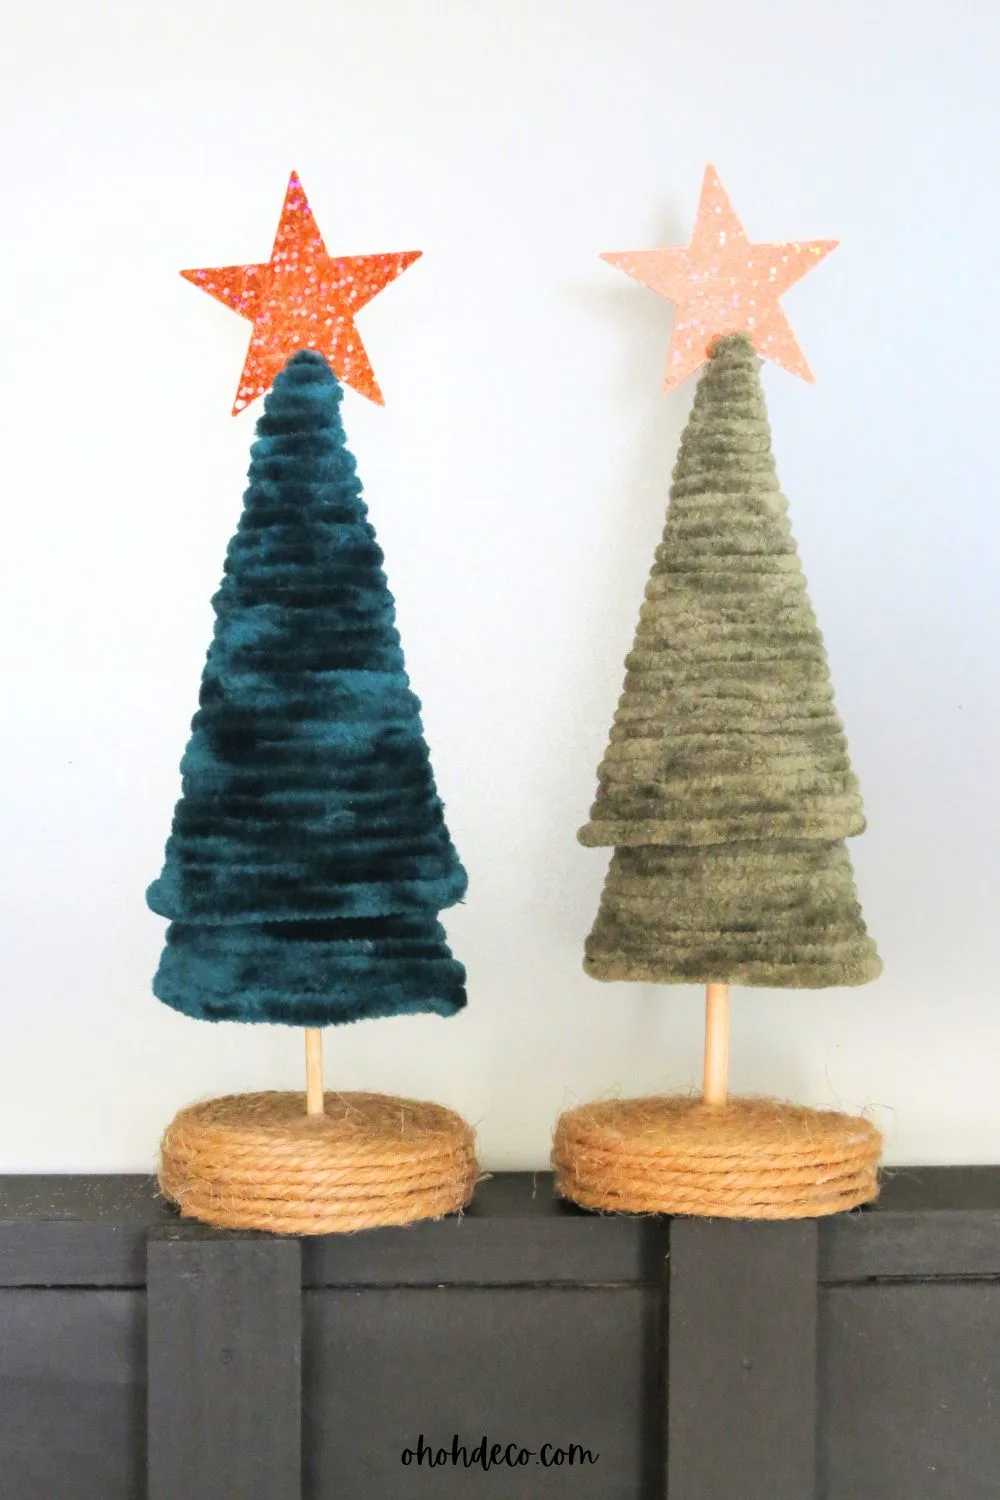
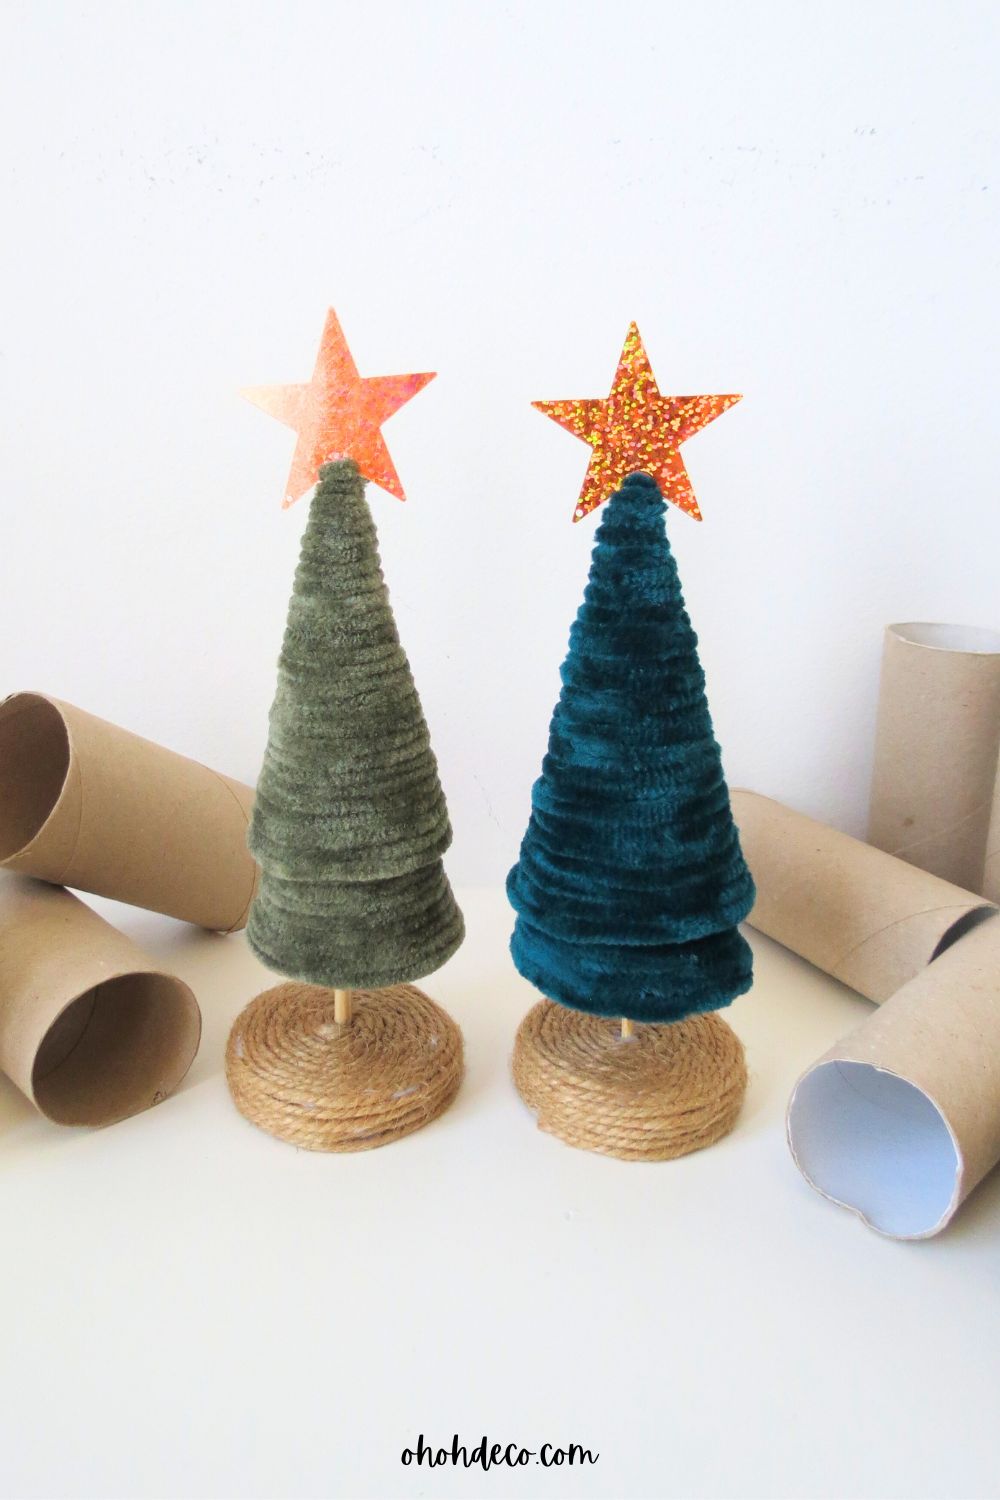
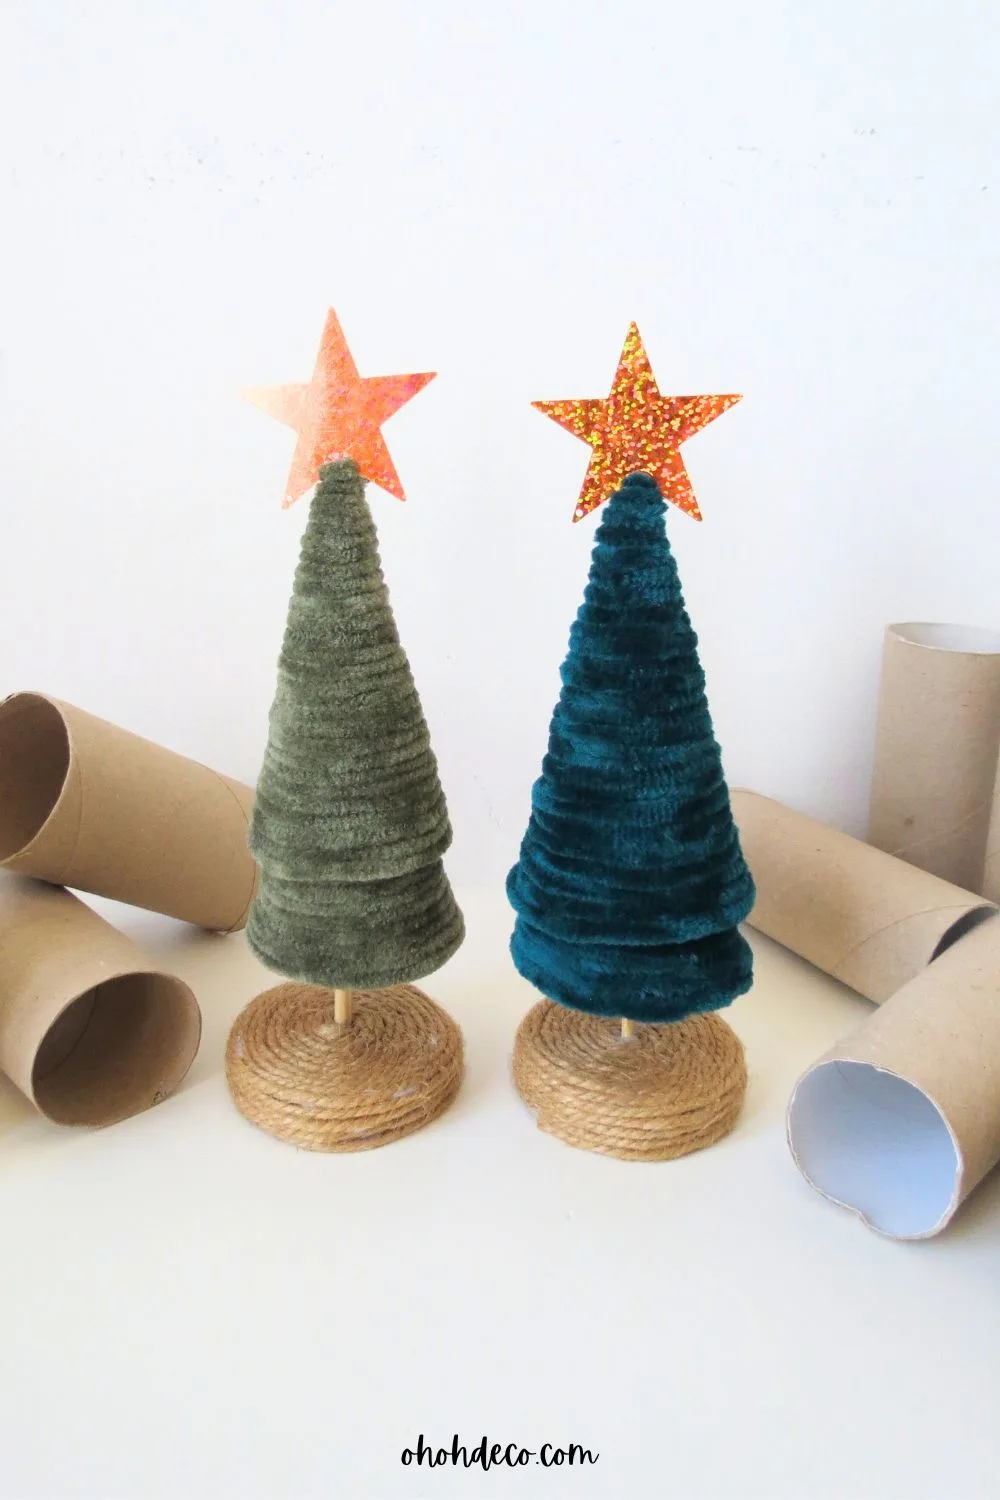
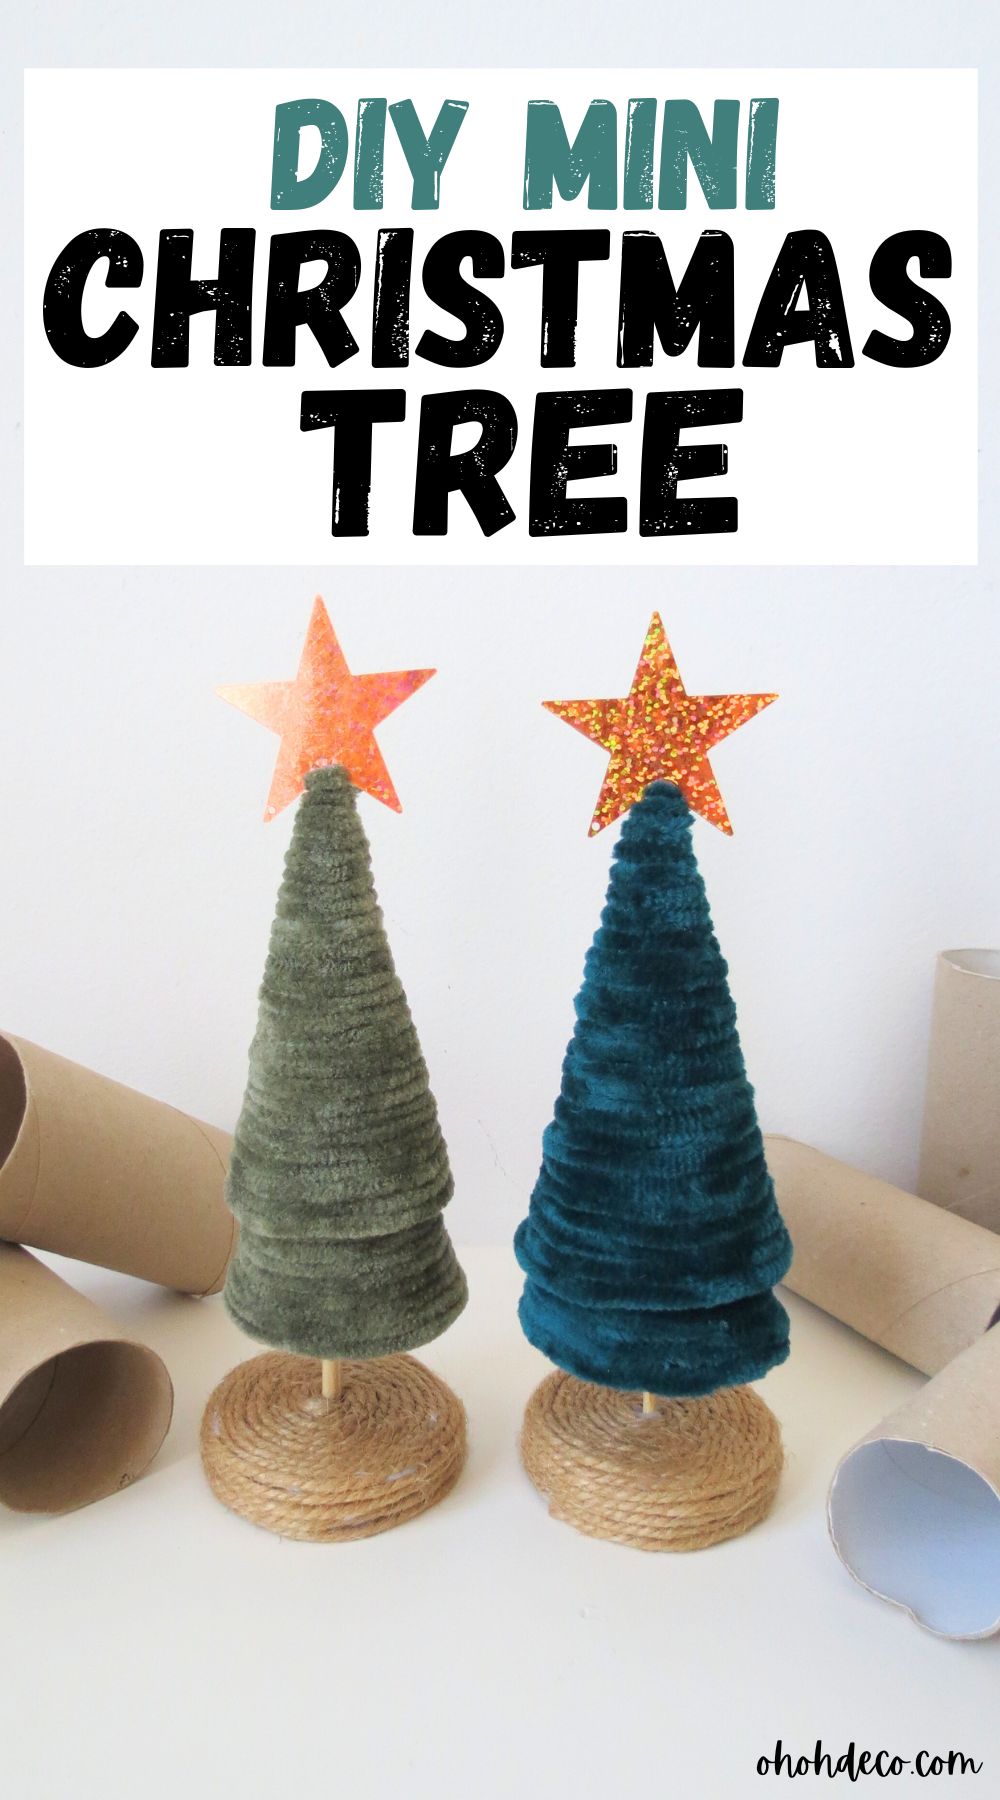
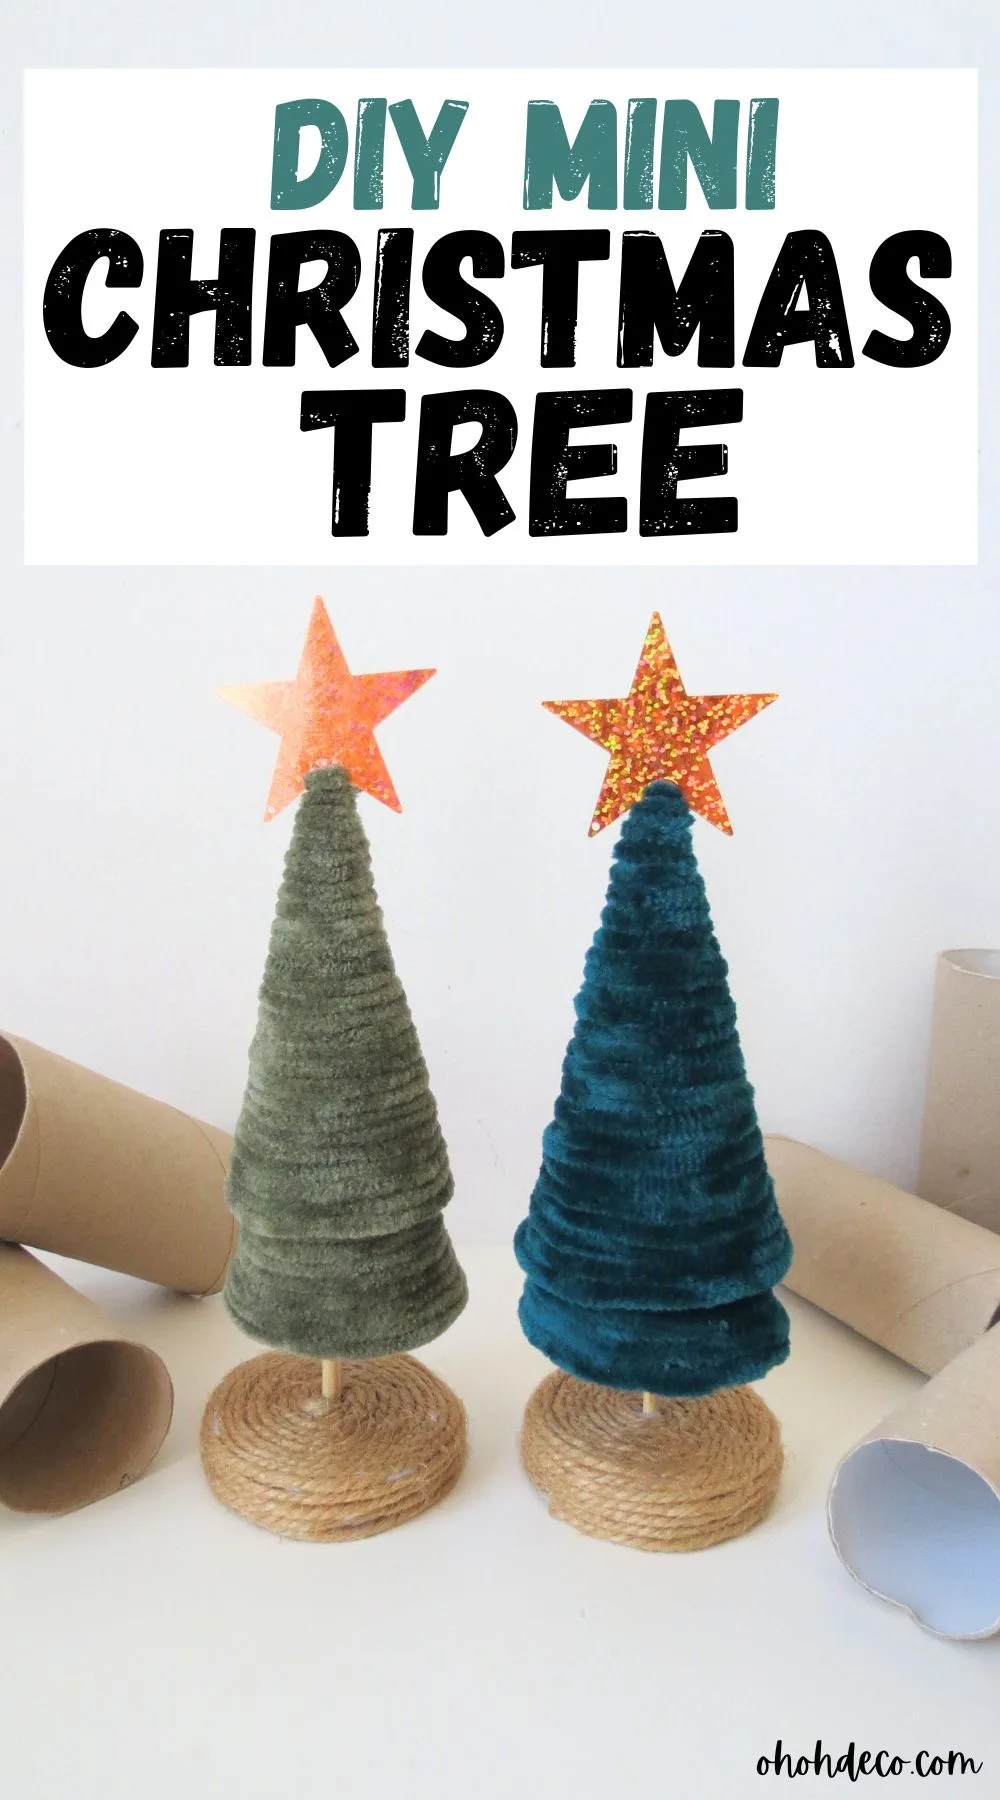
Get into the holiday spirit by creating a mini Christmas tree using toilet paper rolls!
This fun and simple craft is perfect for adding a personal touch to your holiday decorations.
You can let your creativity shine as you transform those empty rolls into charming little trees that will brighten your home this holiday season.
This project is easy to handle and provides a great opportunity to spend quality time with family or friends.
Before you know it, you’ll have a cheerful collection of unique Christmas trees that will make your holiday decor truly stand out! Gather your supplies and start crafting.
[ This post probably contains affiliate links, our full disclosure policy is boring, but you can read it HERE ]
Gather your materials
To get started making your own mini Christmas tree, be sure to gather all the supplies you’ll need for the project.
You can also collect various decorative items to liven up your mini tree, such as colorful beads, whimsical buttons, a string of LED fairy lights, or even some sparkling stars.
How to make a mini Christmas tree yourself
1. To start, take a roll of paper and cut it so it lies flat on your work space.
2. Next, take a pencil and draw a quarter circle using one corner as the center point.
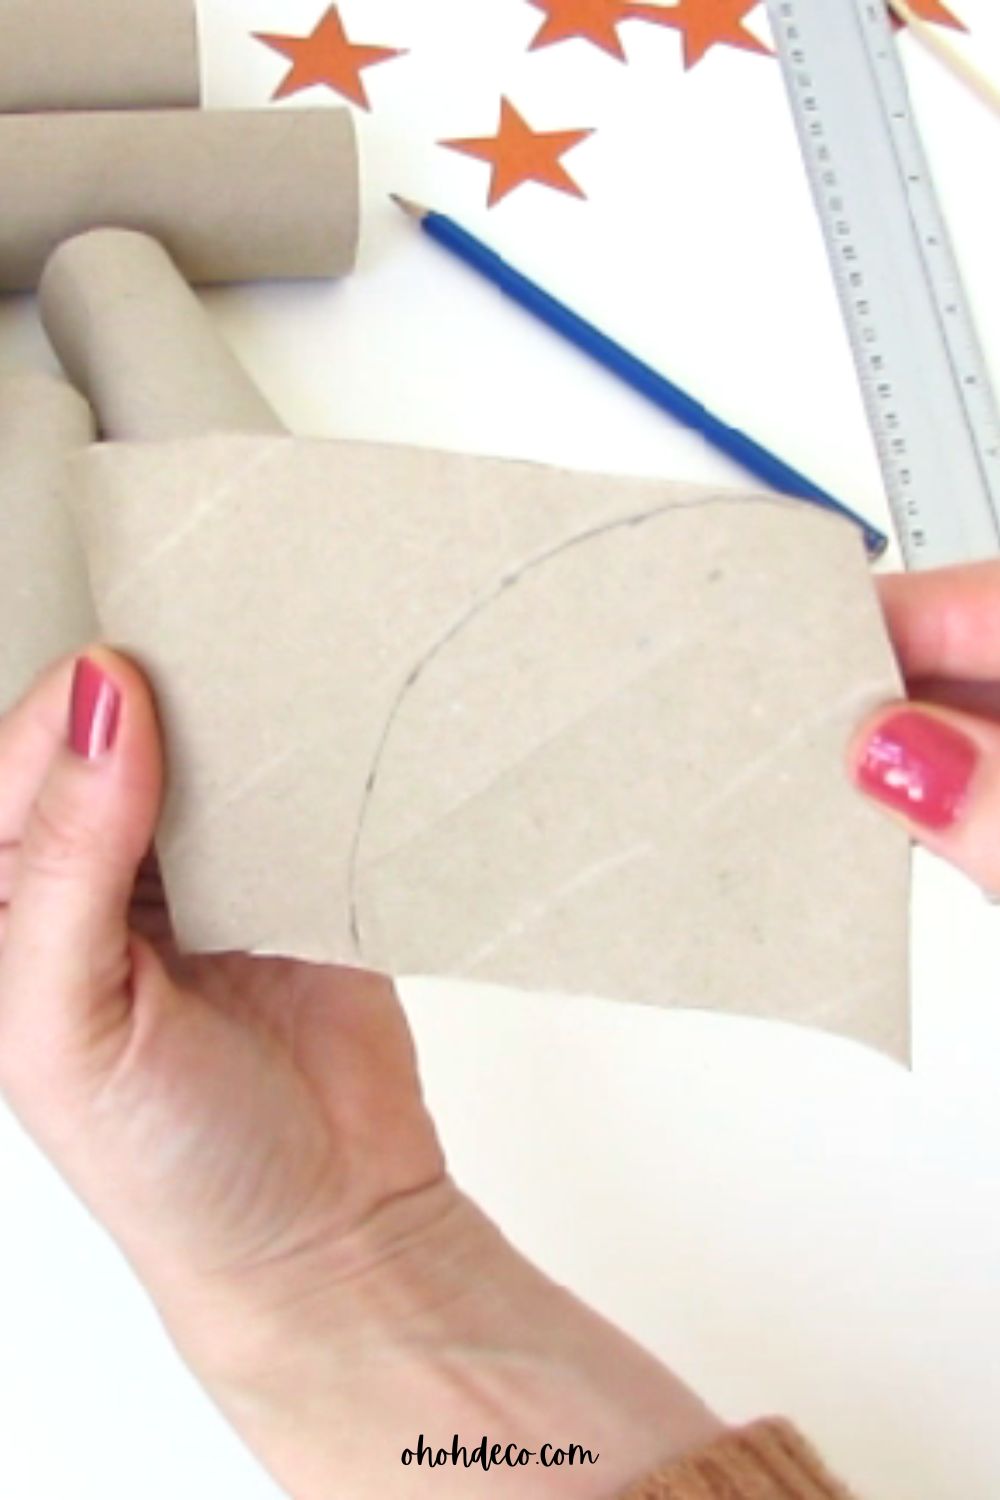

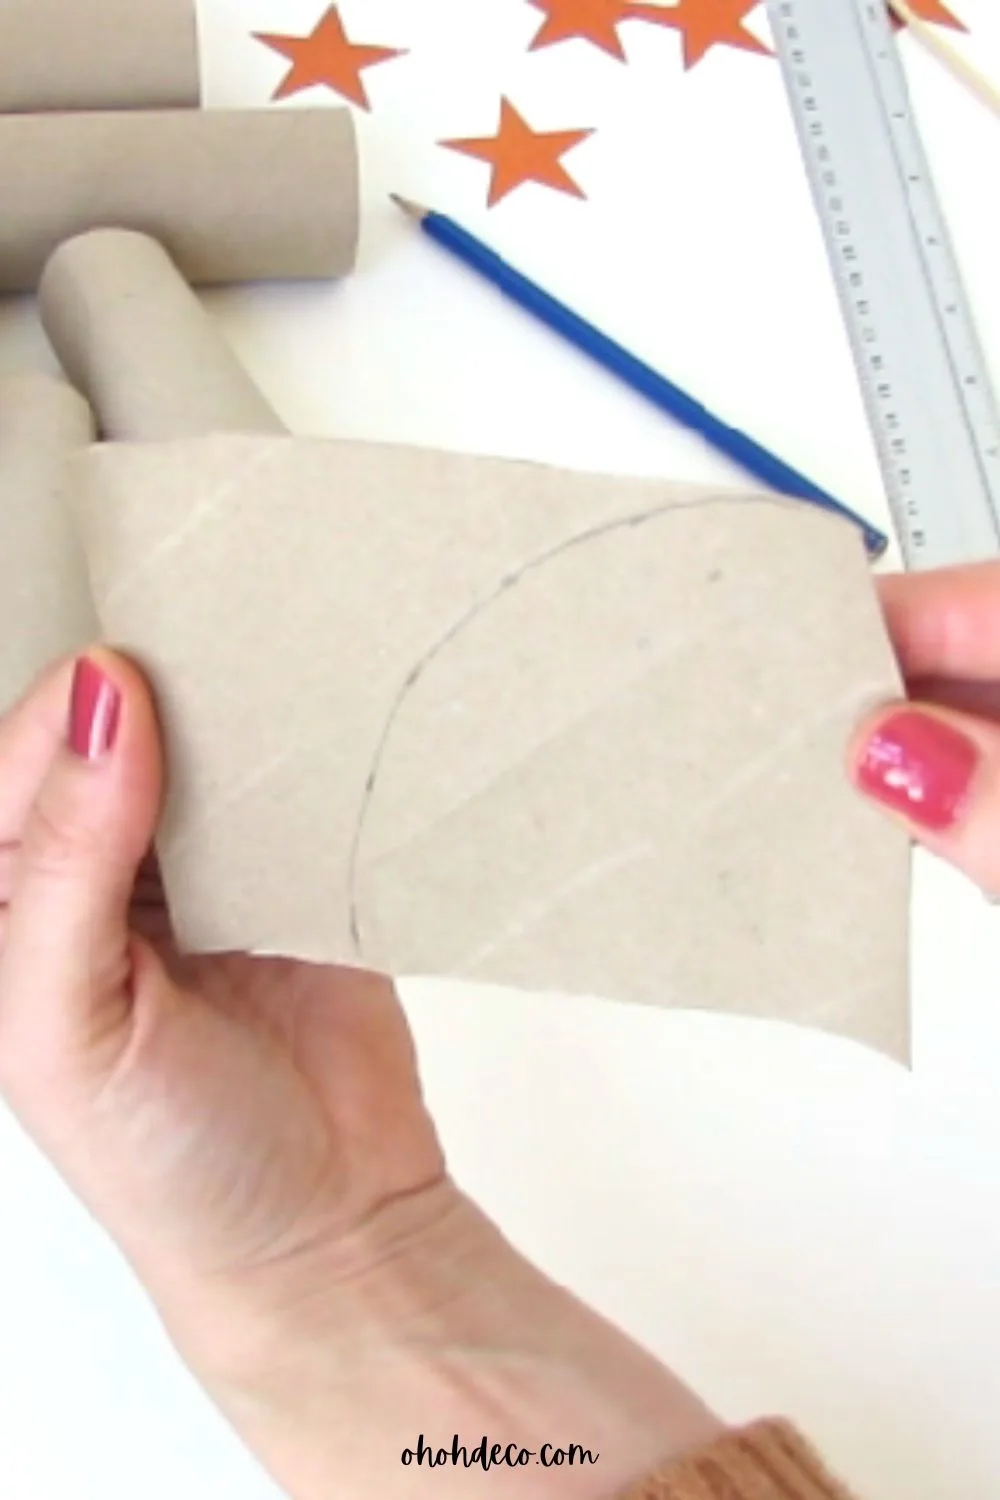

3. Once you have this shape selected, cut it out.
4. Now, take a quarter of the circle and roll it into a cone shape, securing the edges with some glue to prevent it from collapsing.
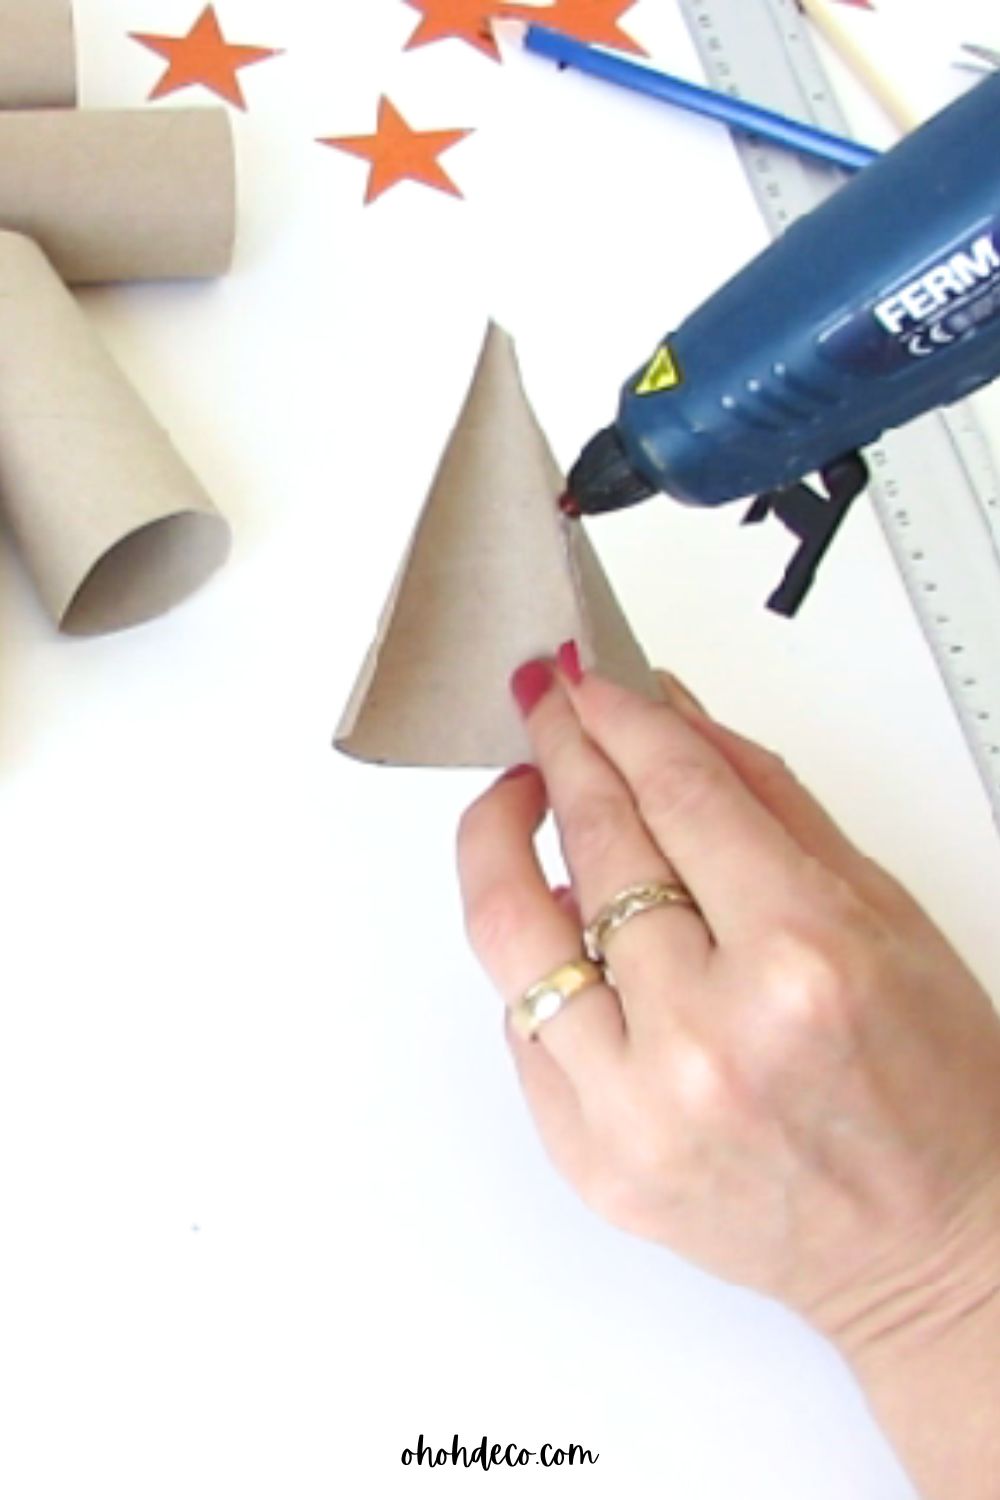

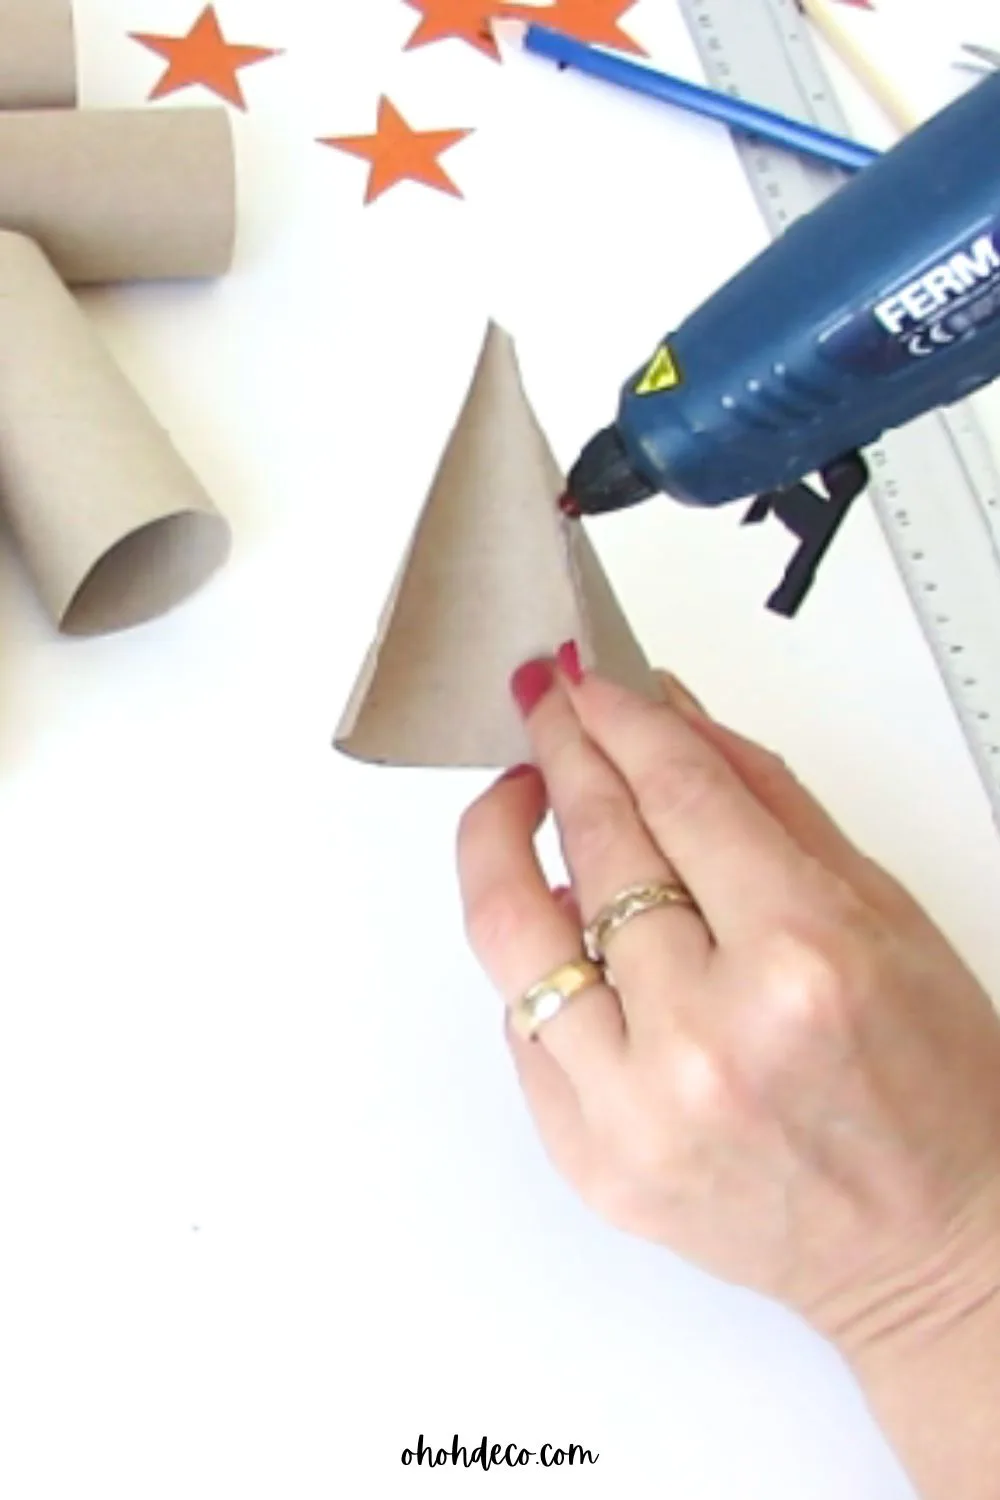

5. Repeat this process to create a second cone. Cut off the tip of one of the cones.
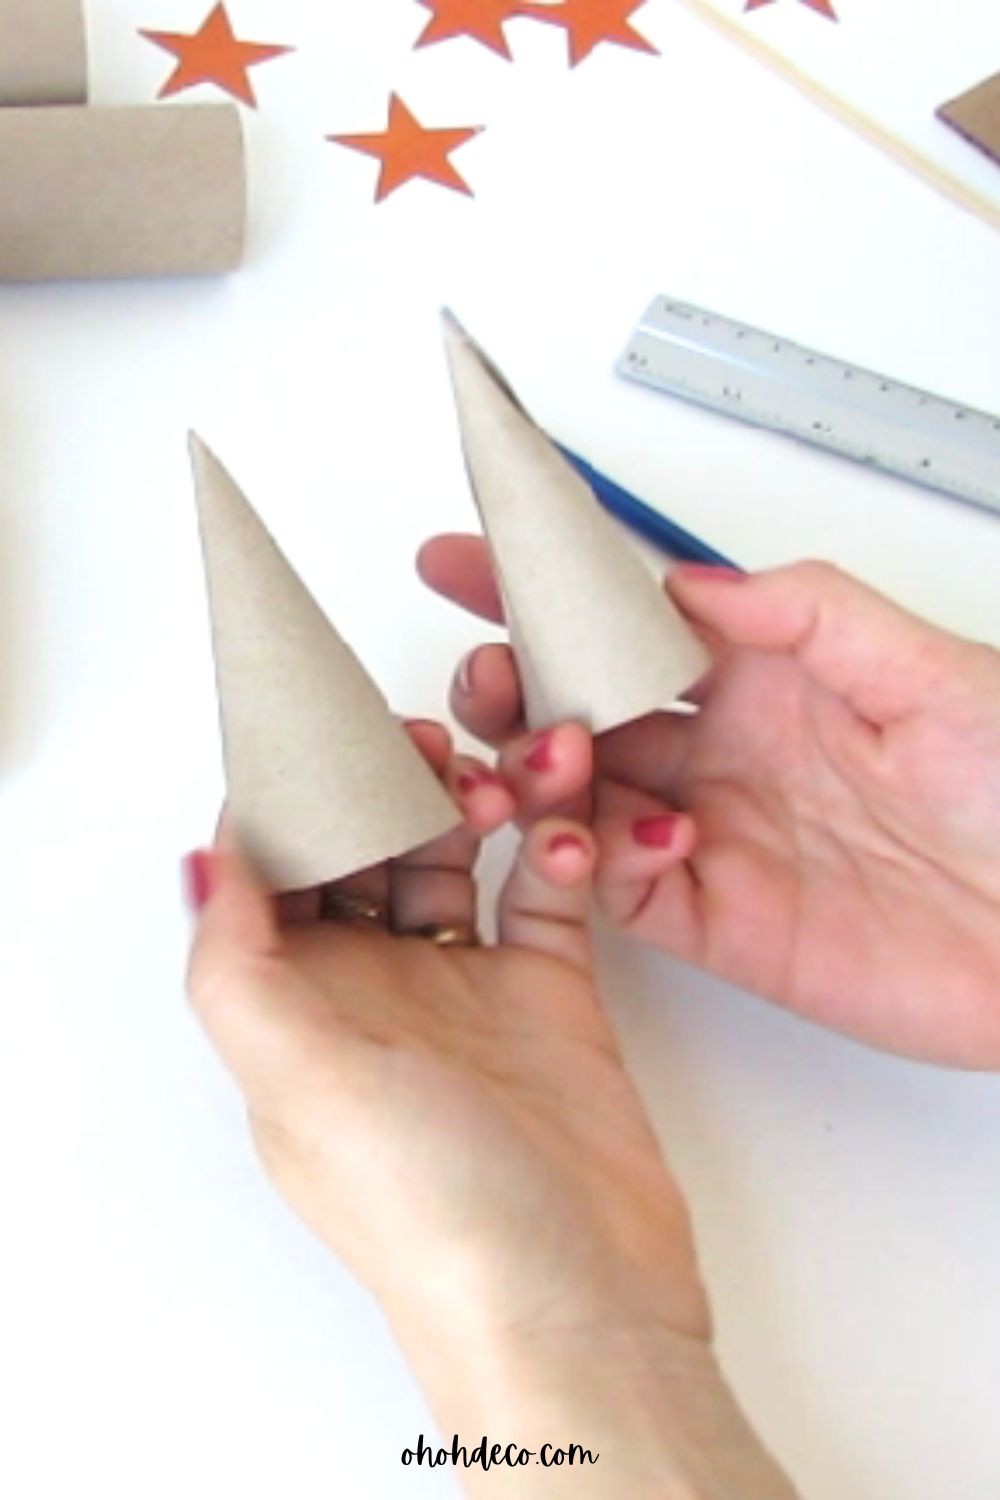

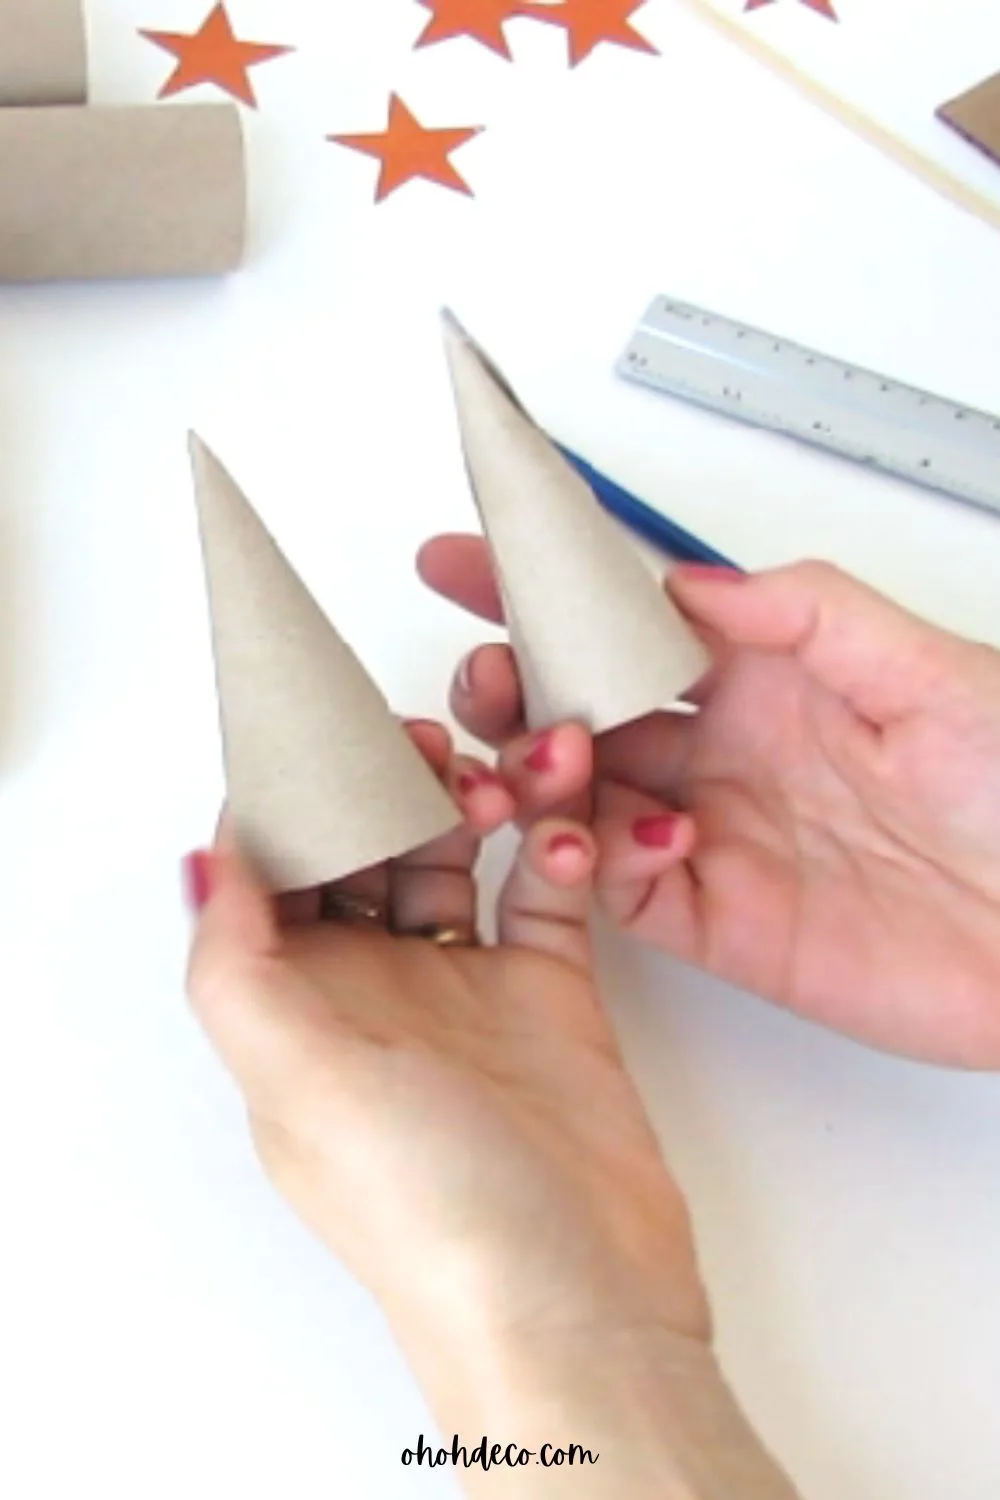

6. Apply white glue to all the cones and wrap them with string to completely cover the cardboard; I recommend using some soft velvet threads for a cozy touch.
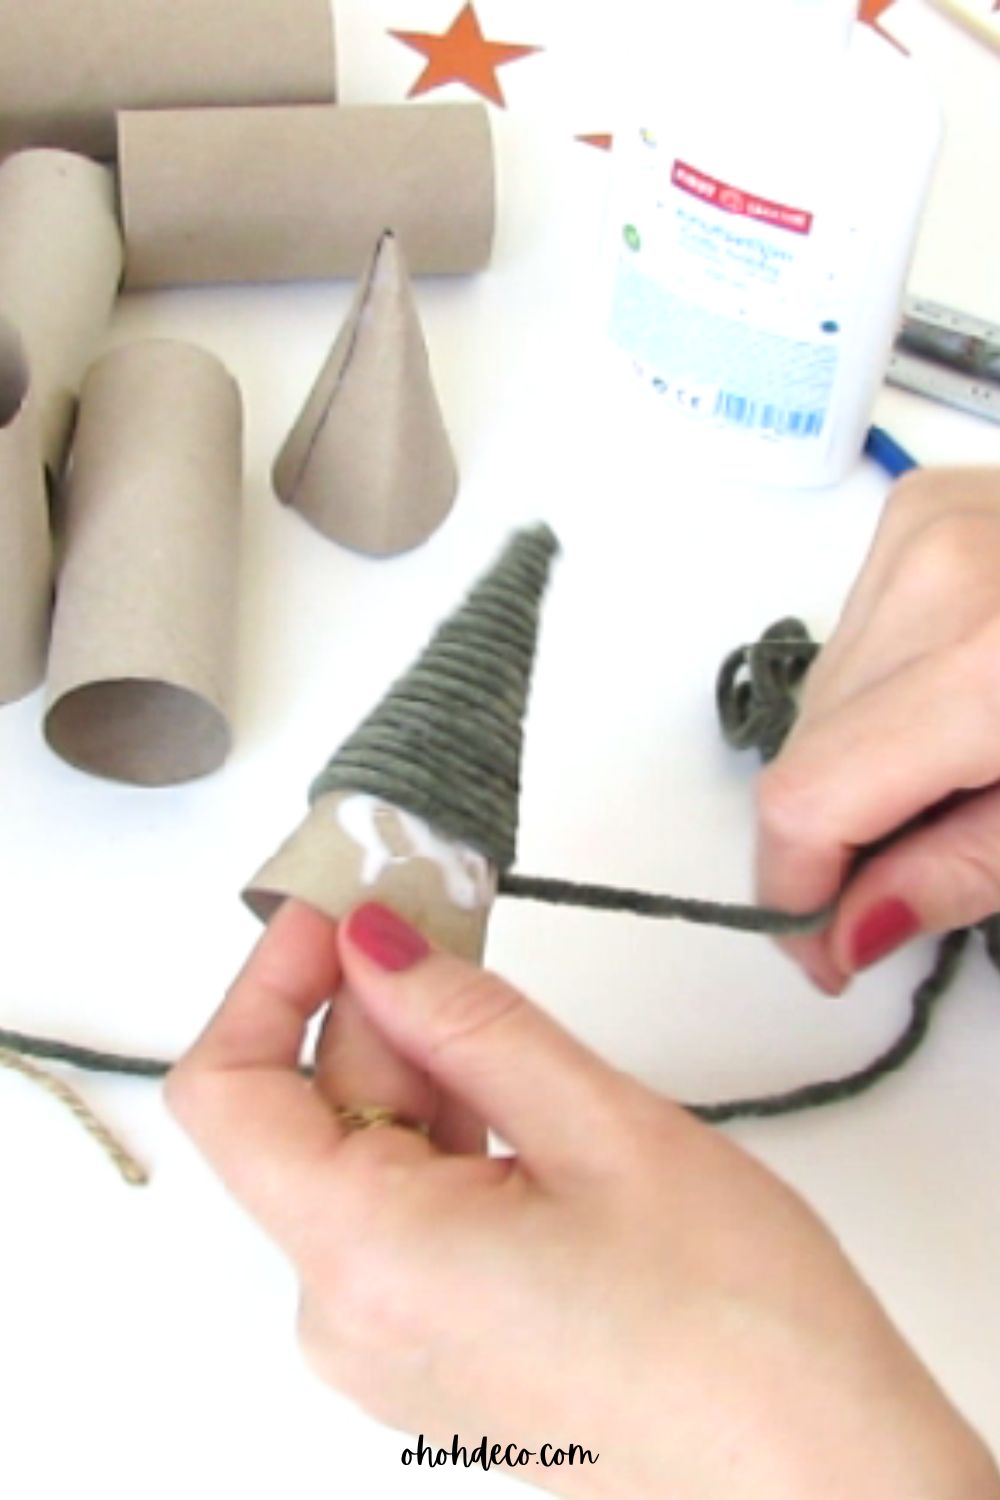

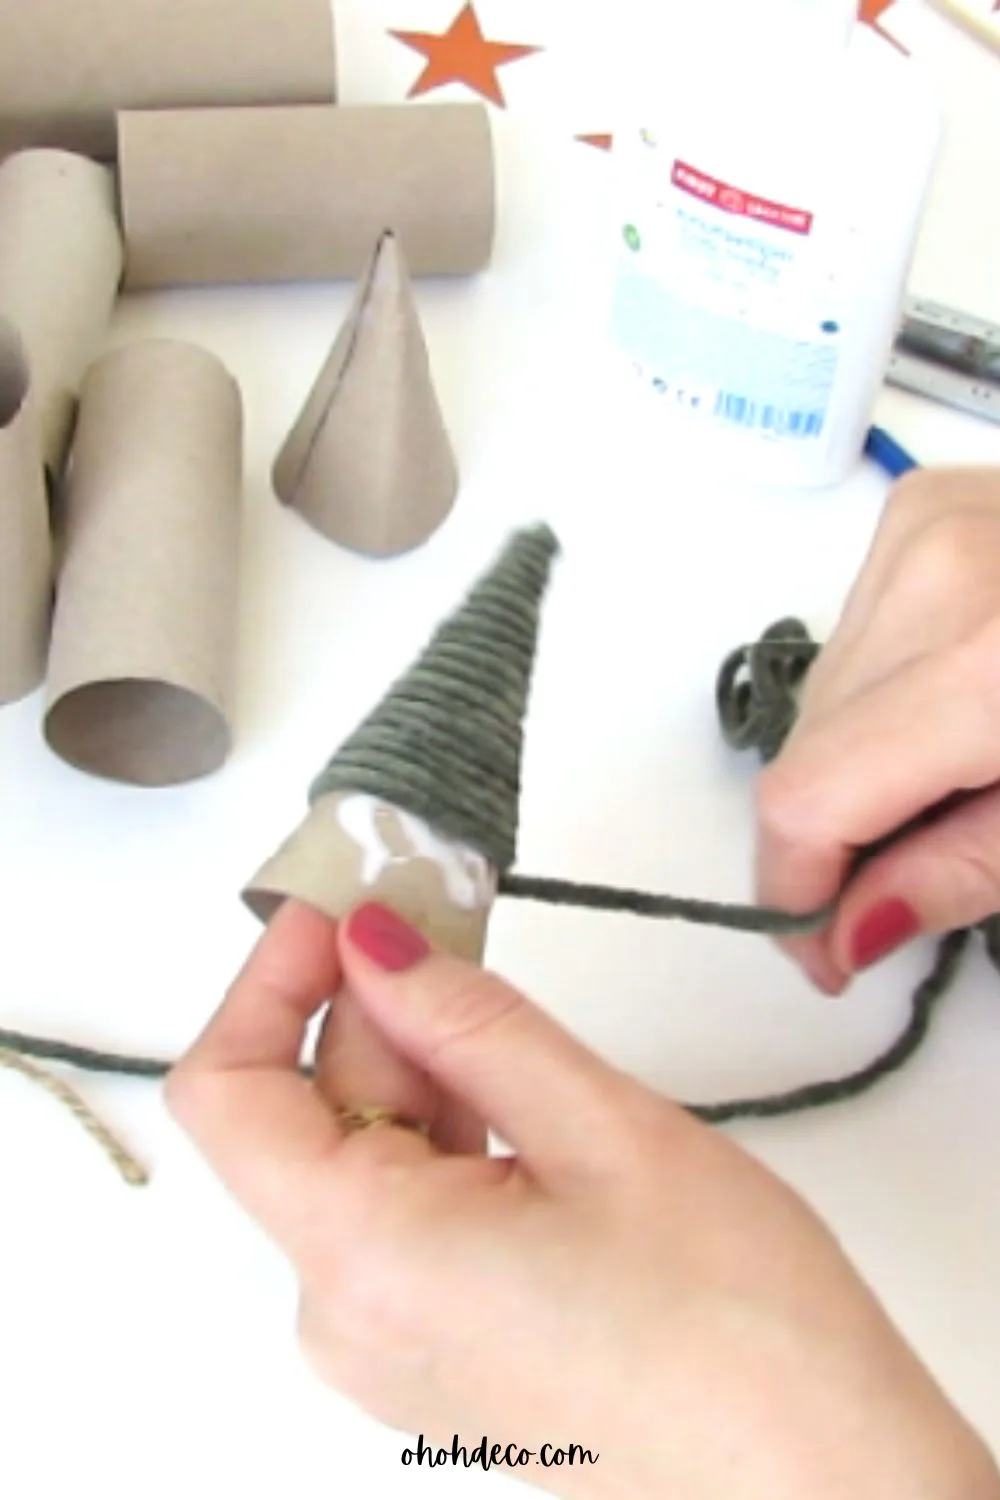

7. Grab a skewer to serve as the trunk of your tree, slide the trimmed cone down a few centimeters onto the skewer, and secure with a swipe of hot glue.
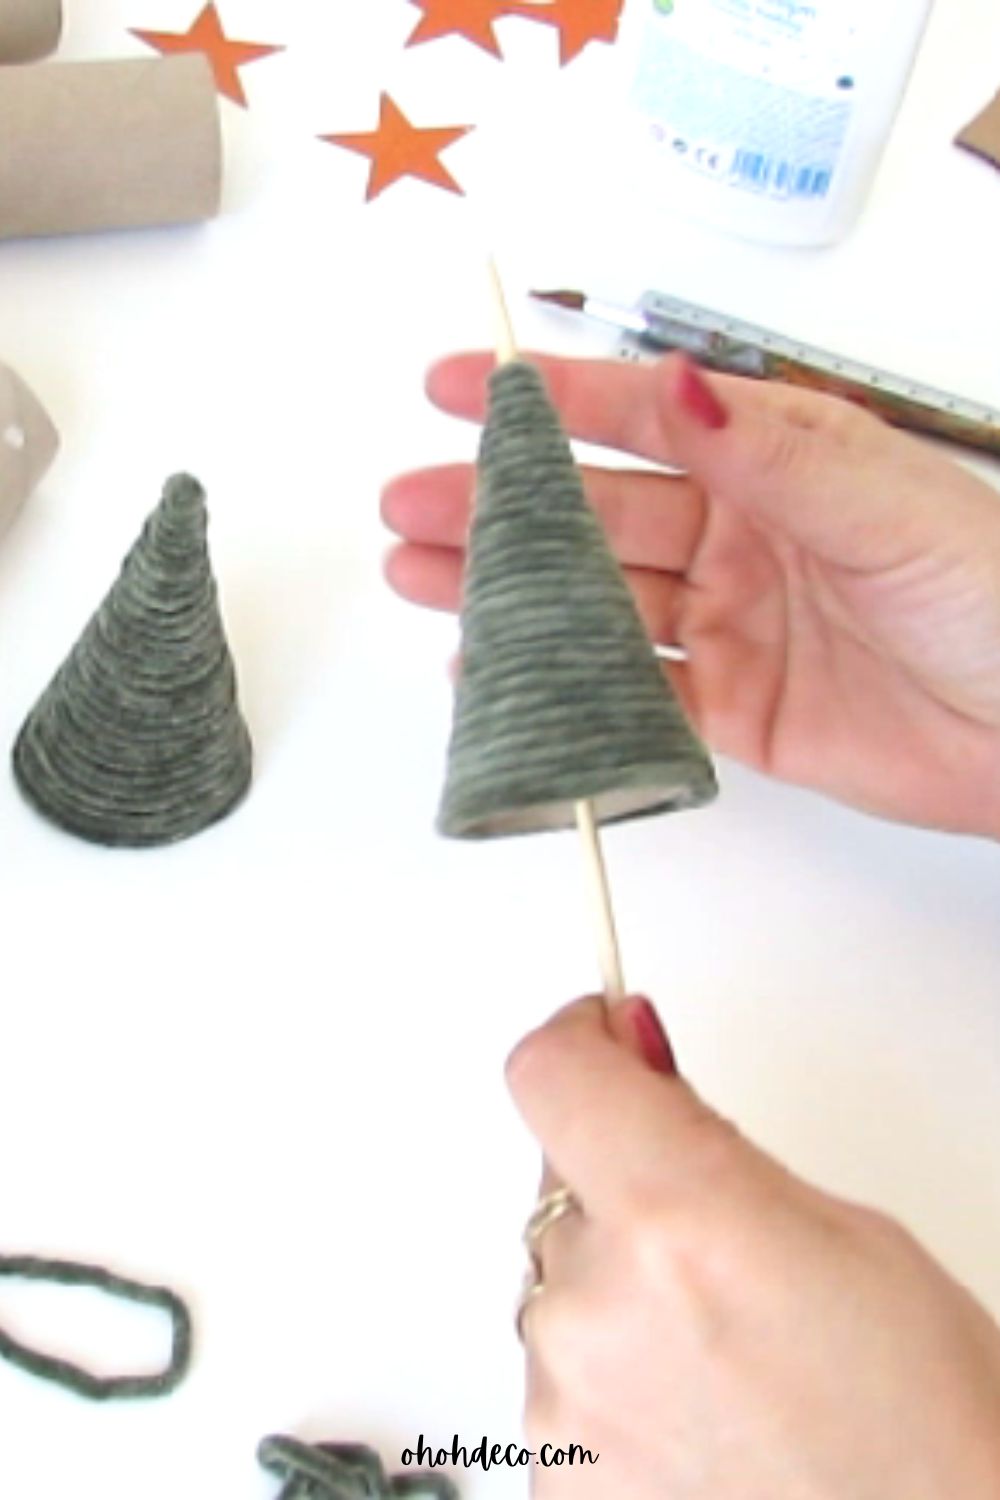

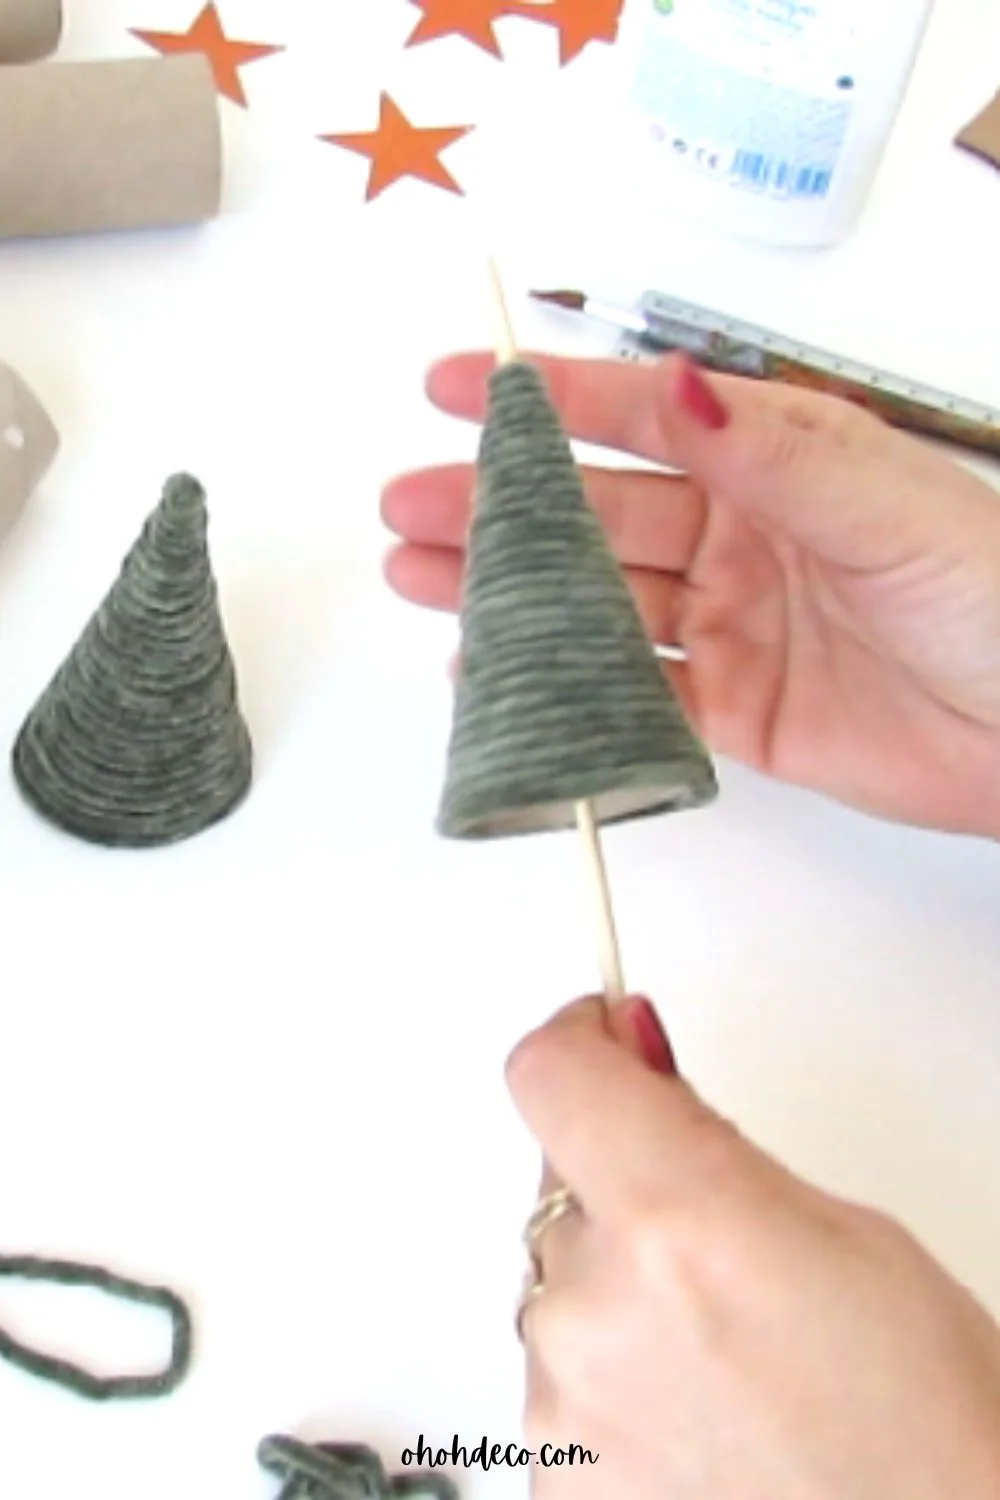

8. Add a little glue to the top of the skewer and attach the second cone to complete the tree shape.
9. Cut the bottom of the skewer with pliers or scissors.
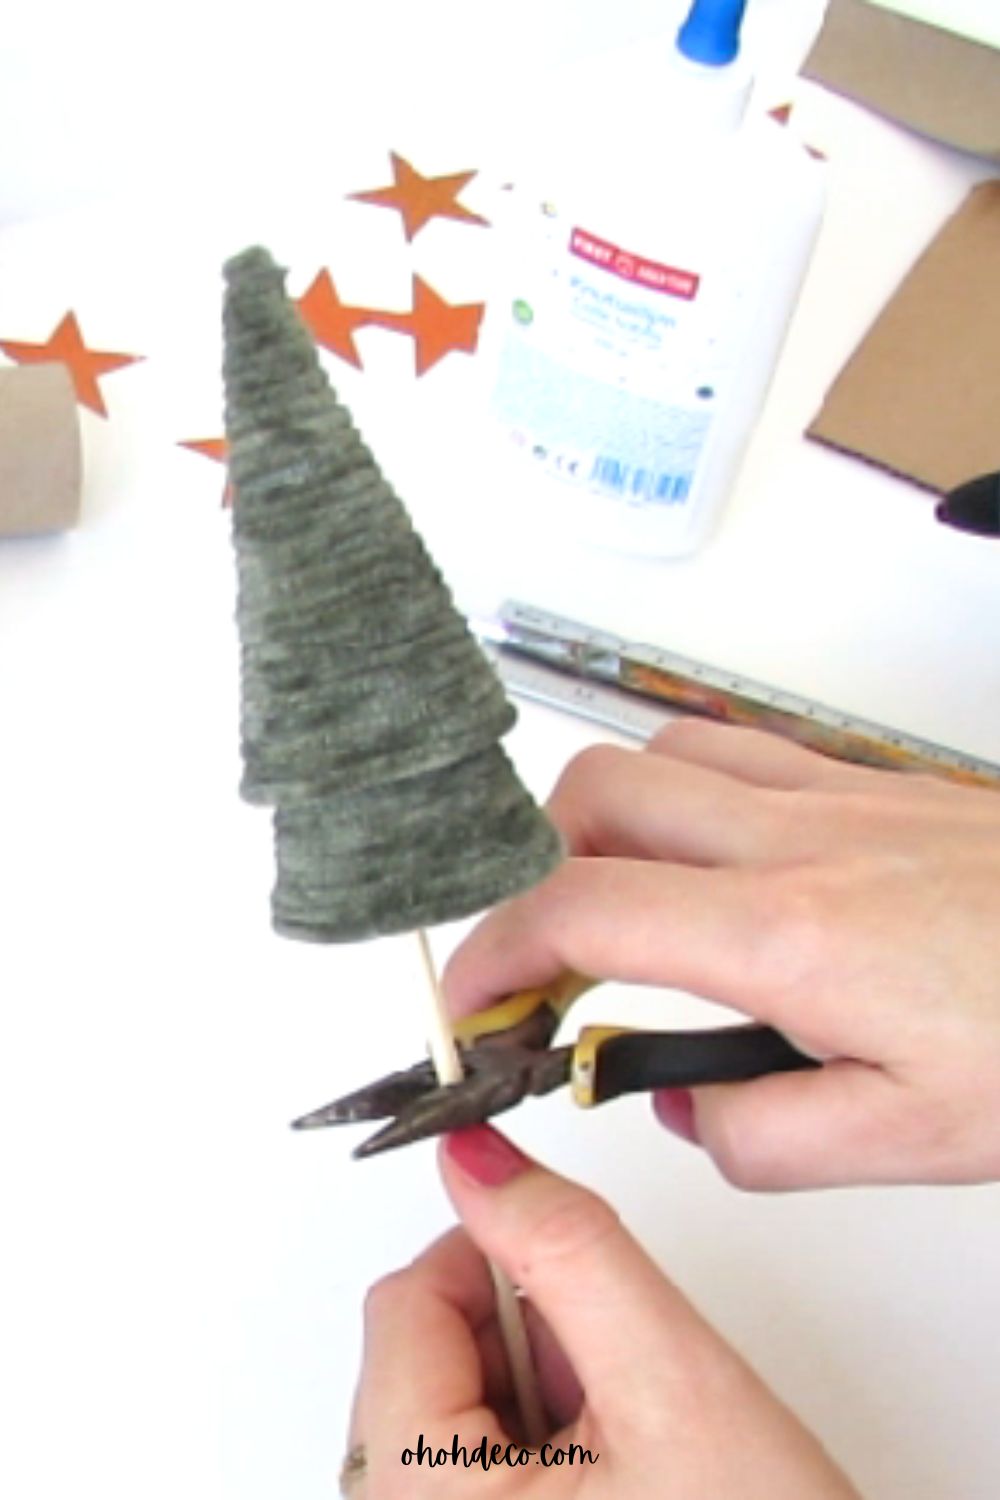

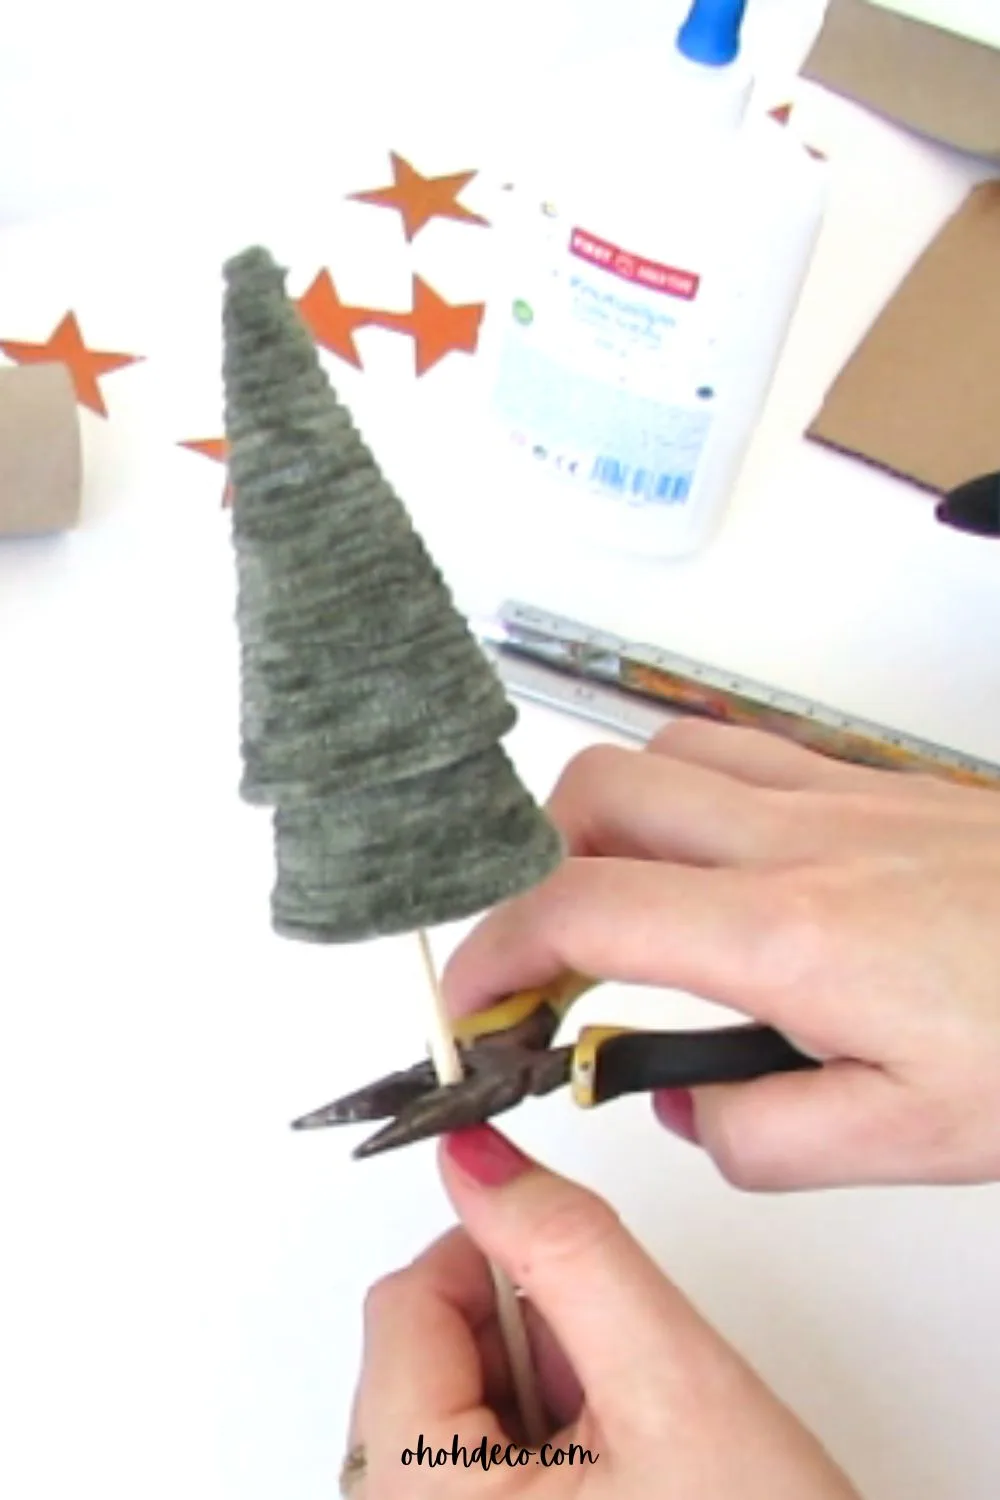

10. Next, take a piece of cardboard and draw some small circles for the base of the tree; You can use the bottom of the glass or a roll of tape as a guide.
11. Cut the three circles and stack them on top of each other using glue.
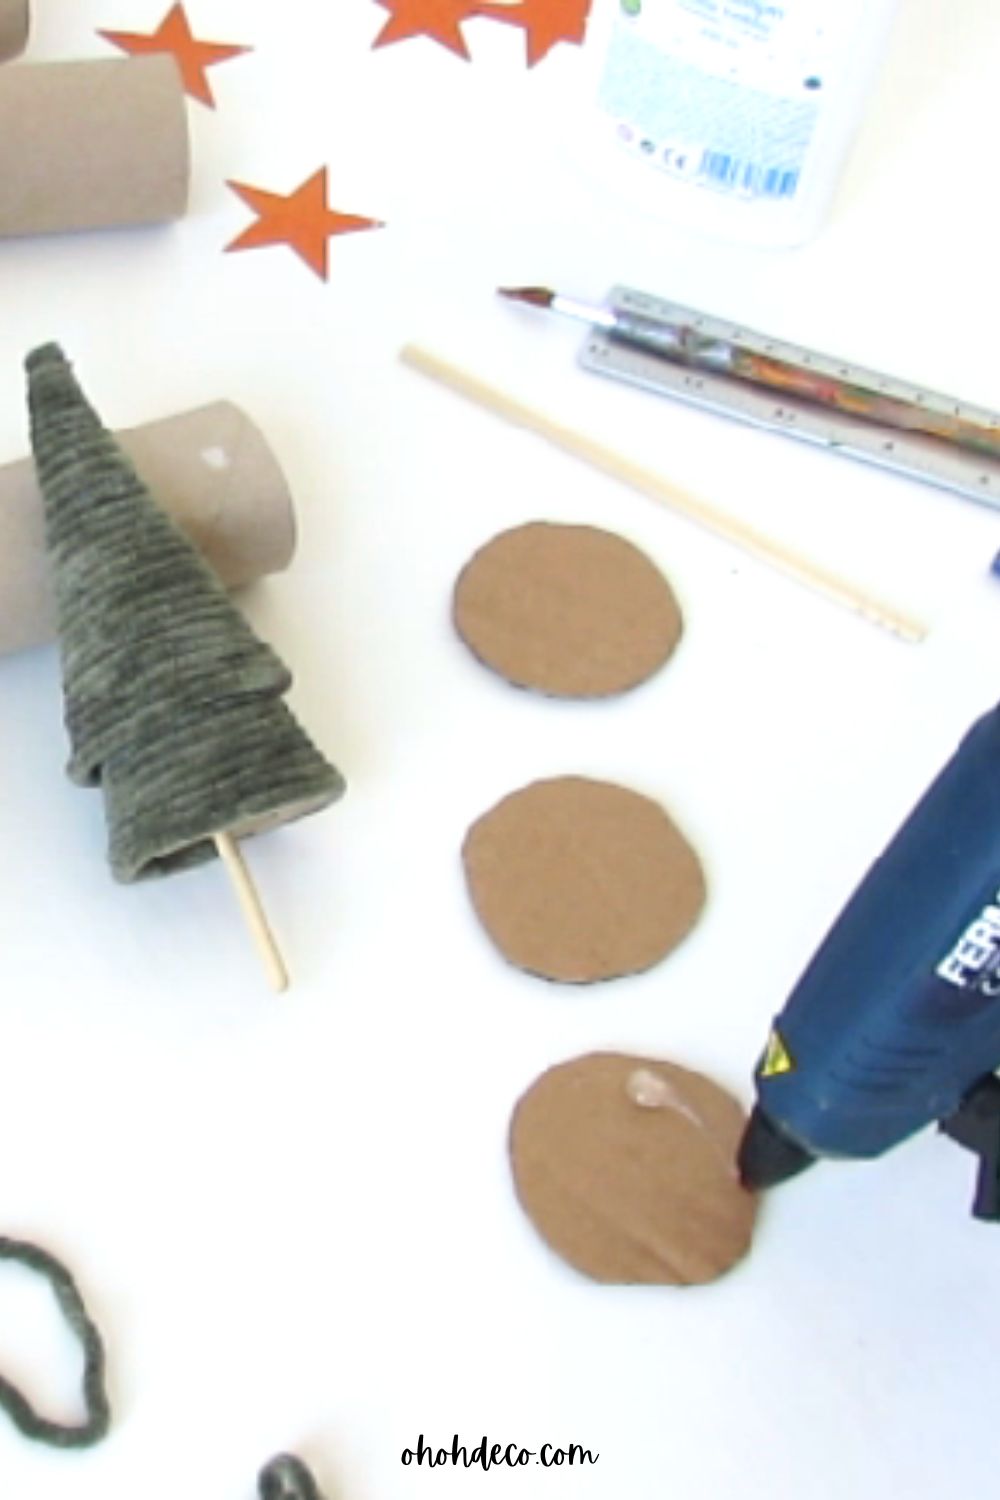

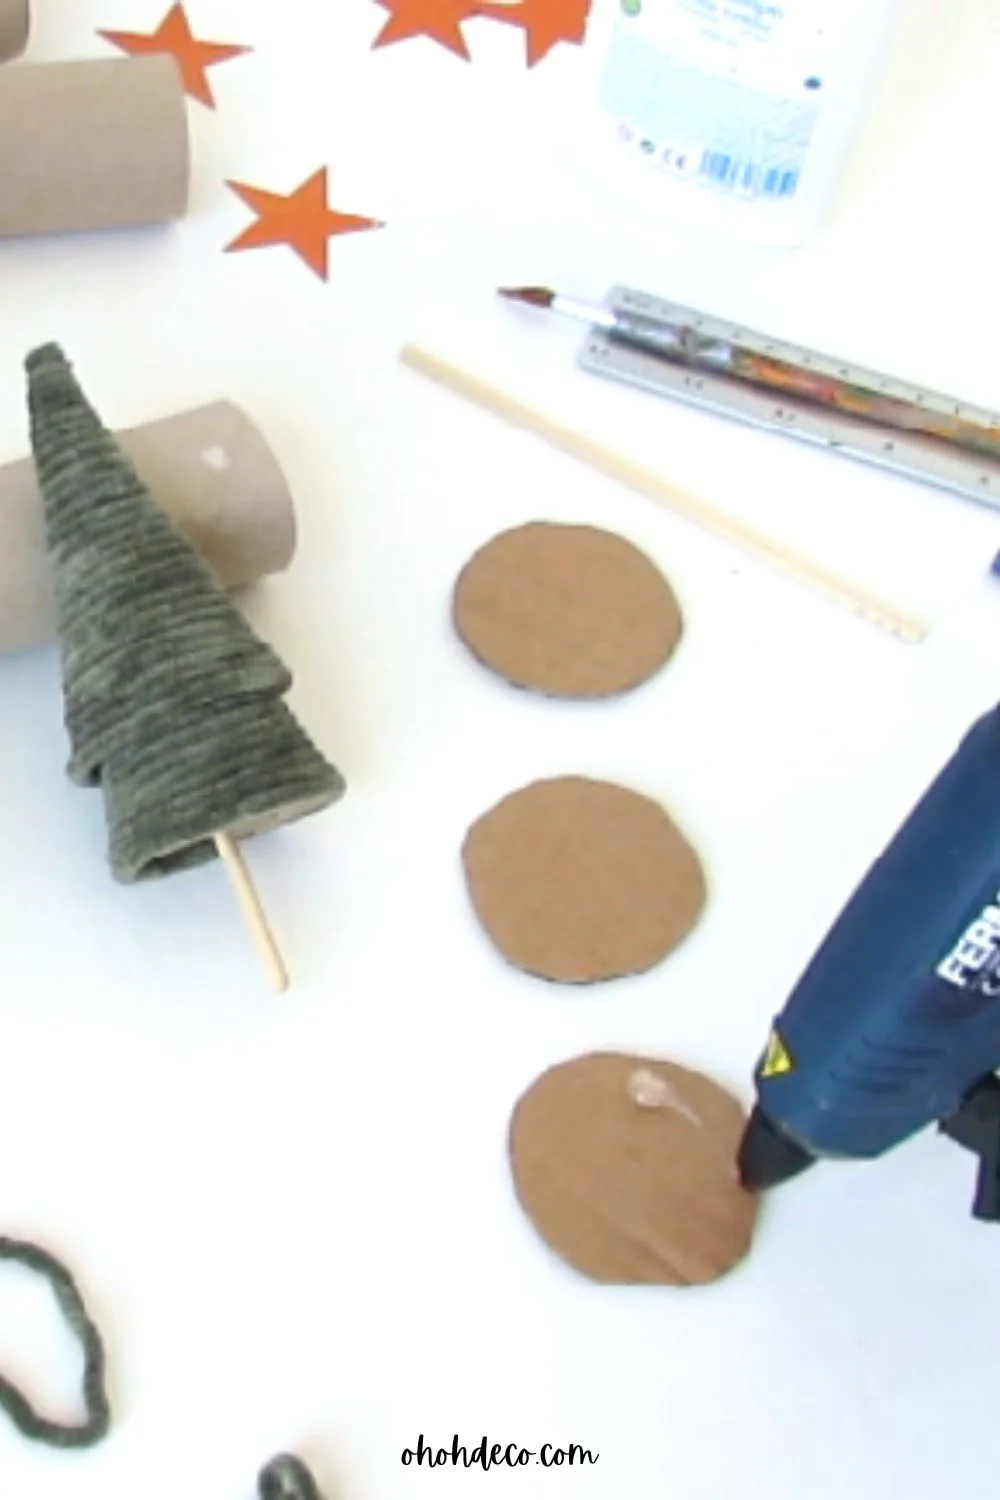

12. Make a hole in the center of this pile, add a dot of glue, and push the skewer from the tree trunk into the hole to secure it.
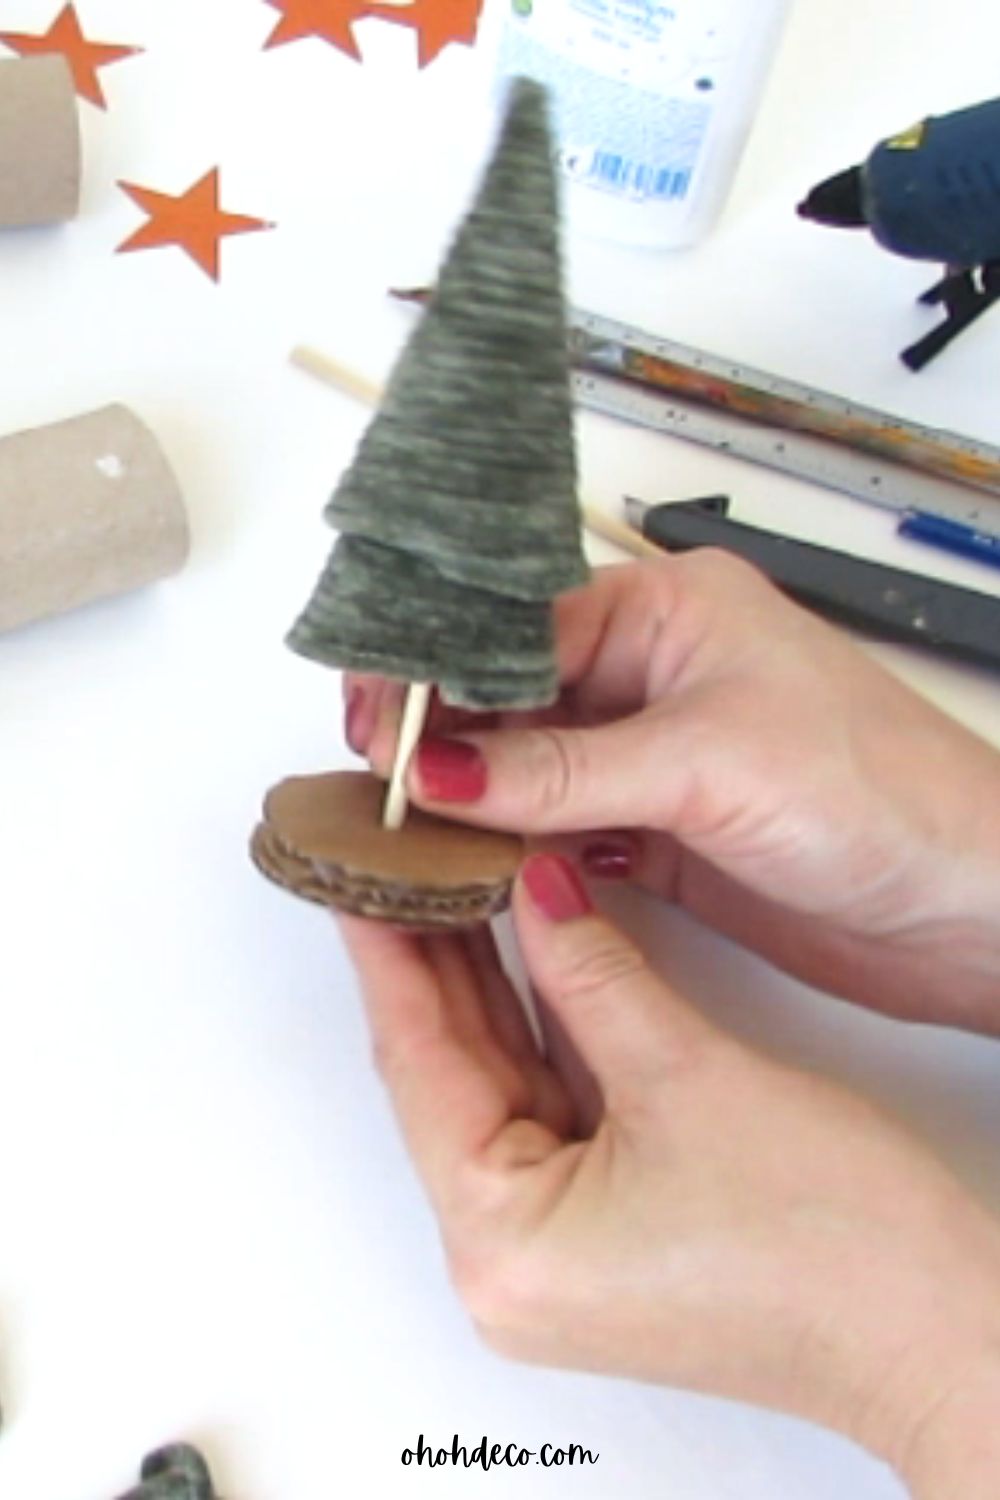

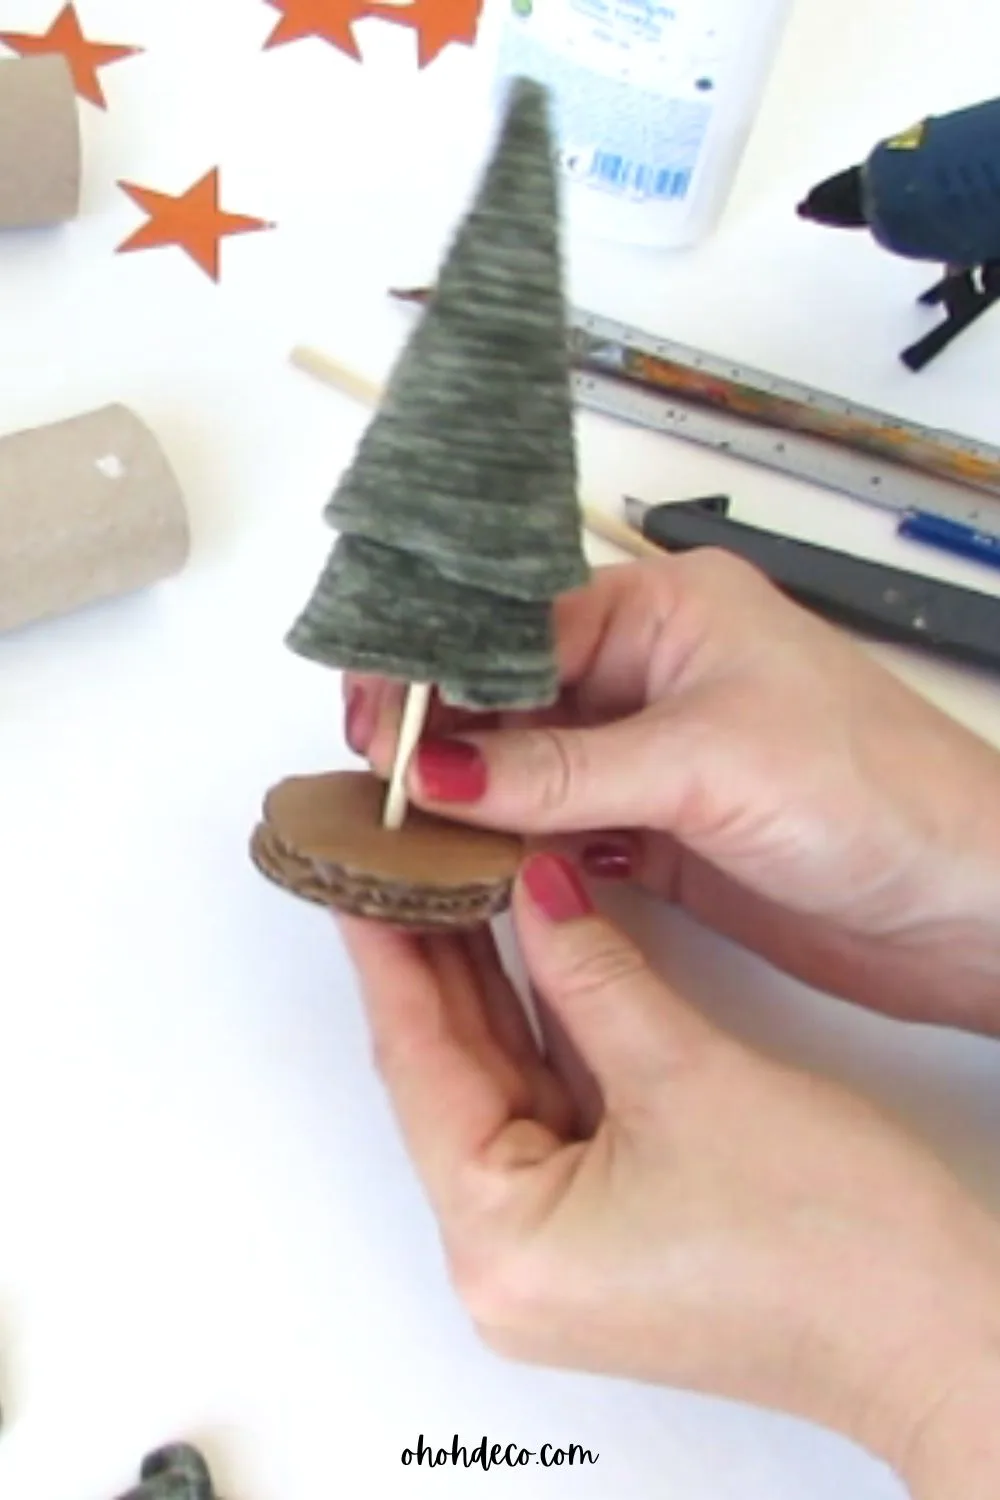

13. Finally, get creative with your tree base! You can wrap it with string, paint it, or sprinkle a little glitter for extra sparkle.
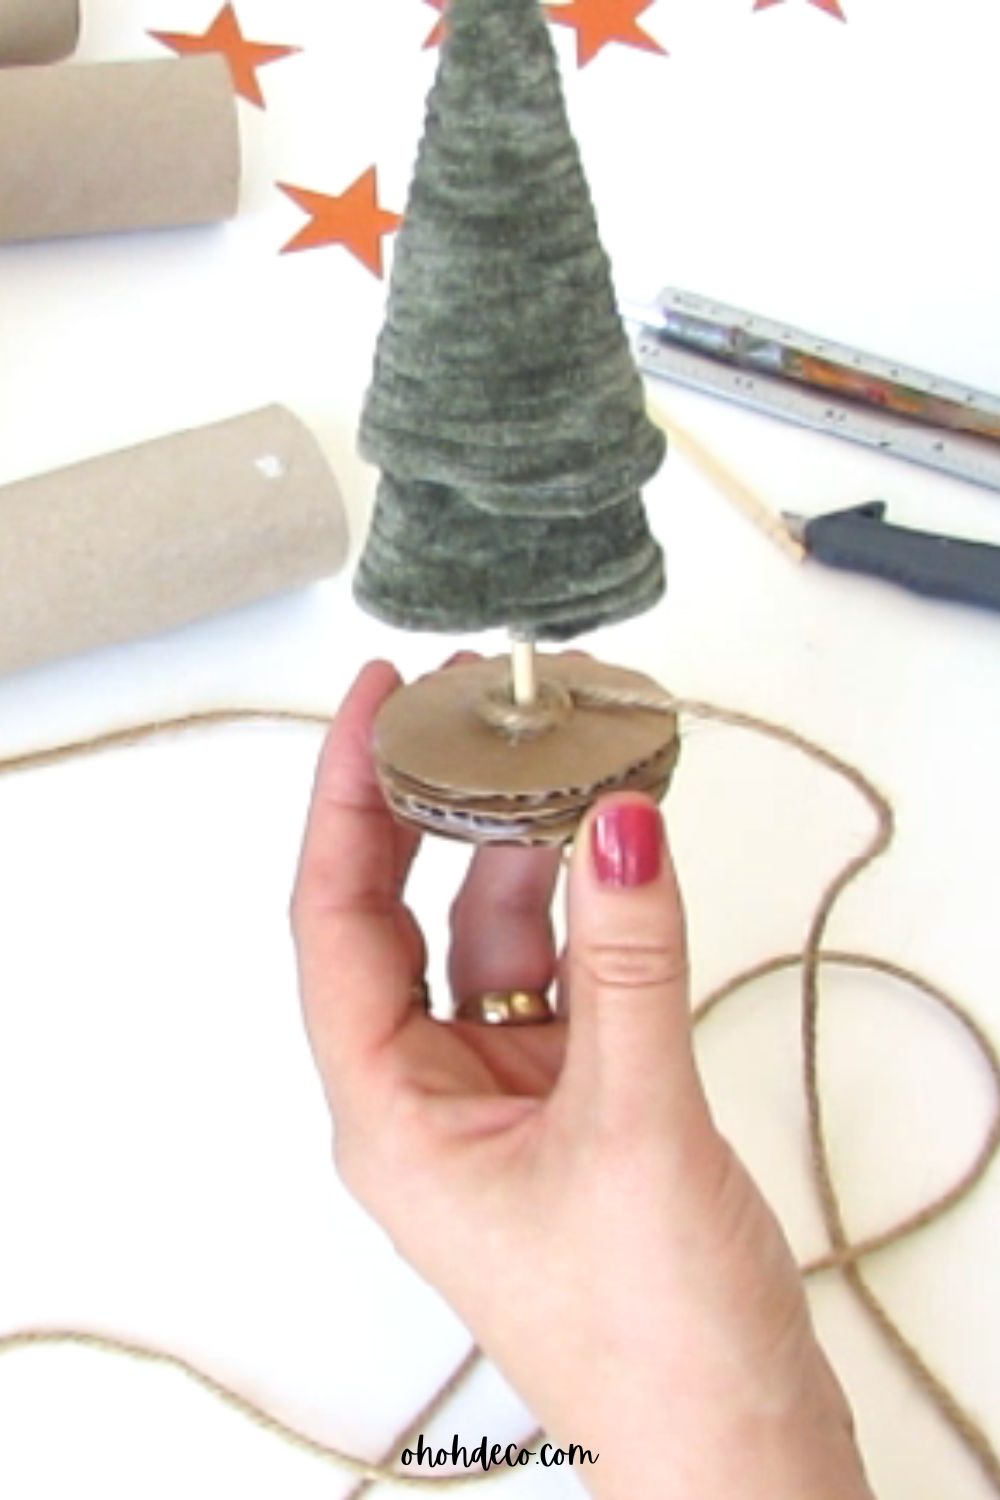

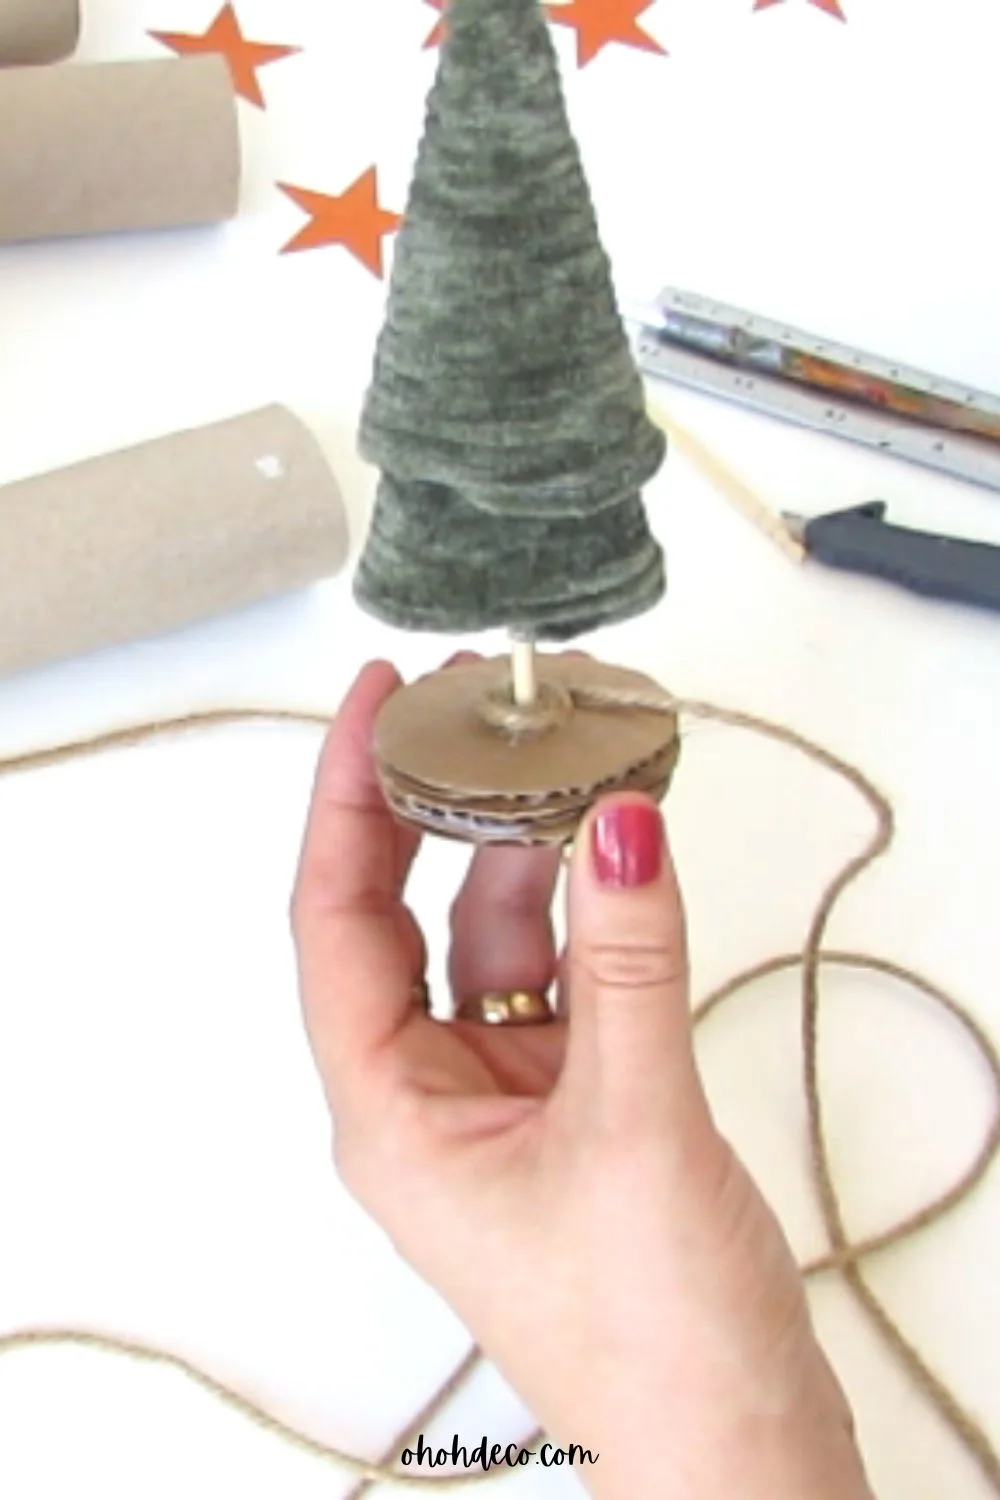

14. To top it all off, stick a star on the tip of your tree for the perfect finishing touch.
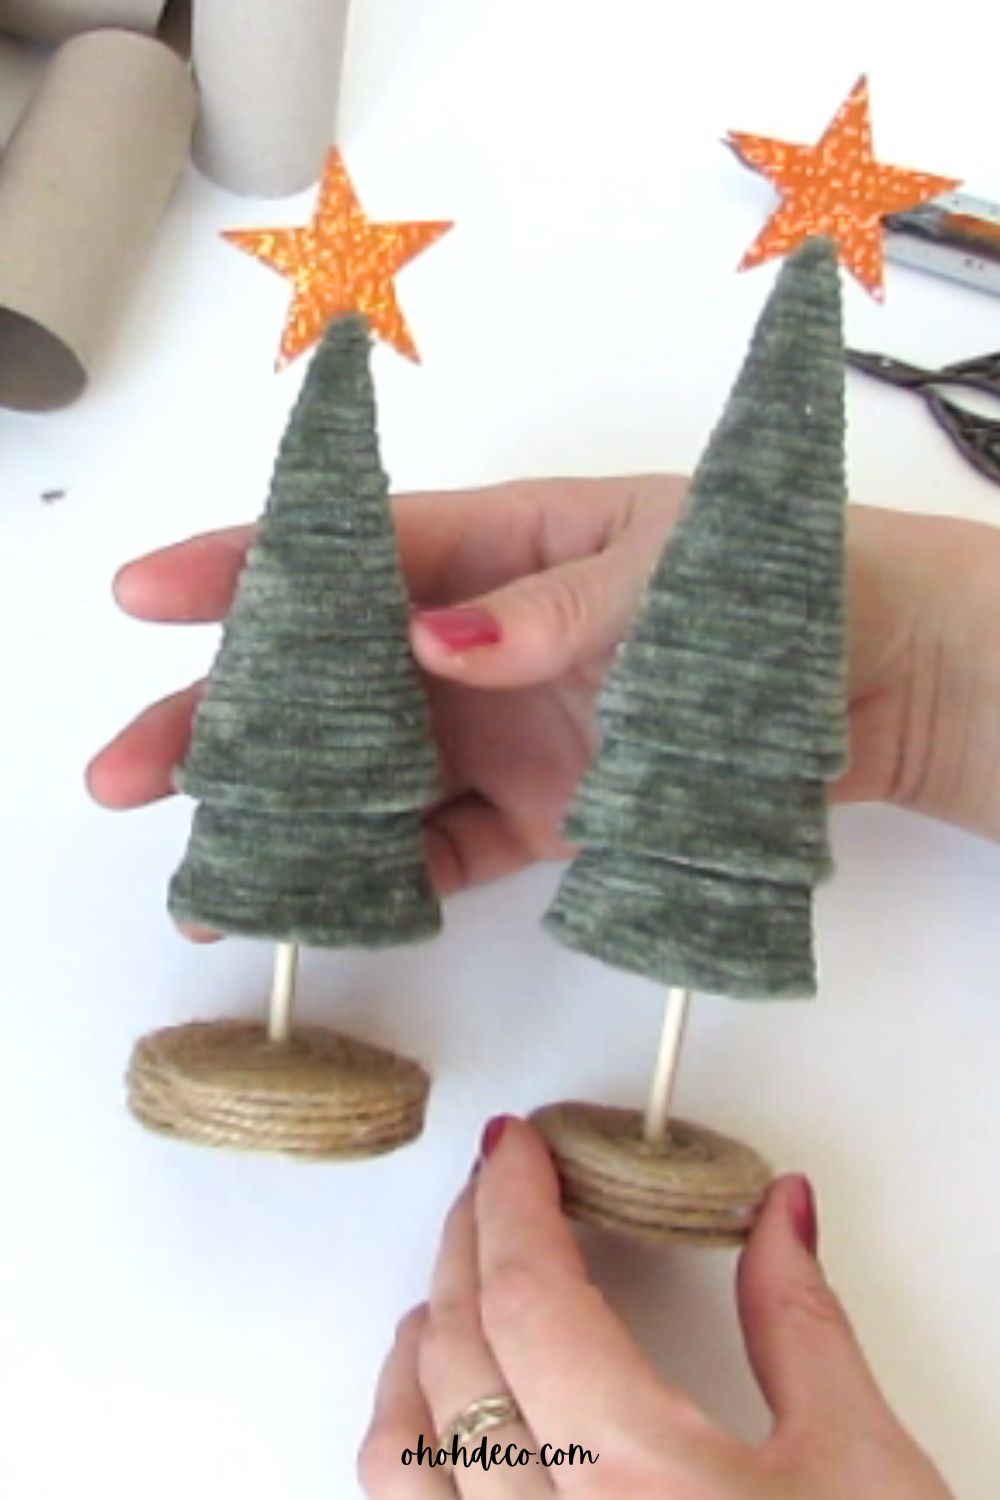

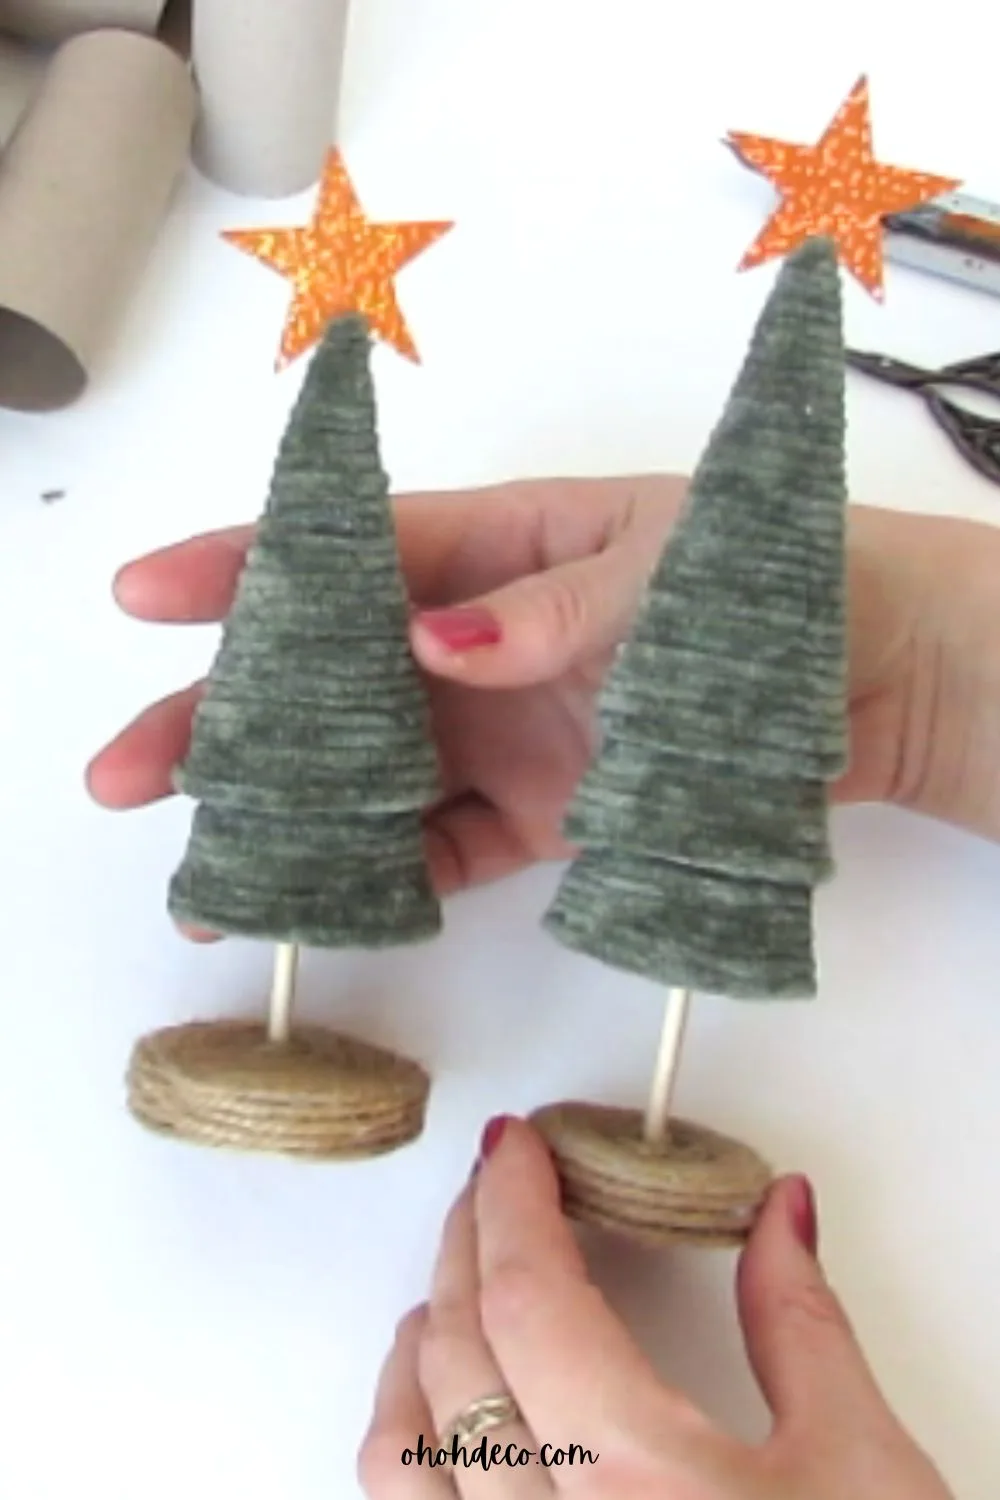

You can also spruce up your small tree if you like. There are so many decorative things you can collect to spice it up!
Consider adding vibrant beads, unique buttons, a twinkling string of LED fairy lights, or even some sparkling stars for extra flair.
Watch the video to make a mini Christmas tree
Check out our DIY mini Christmas tree video to help you decorate these cheerful ornaments. It’s a great way to get into the holiday spirit while crafting something unique for your space!
Creating a DIY mini Christmas tree is a fun and festive way to brighten your home, whether you display it on a mantel, on a windowsill, or as a Christmas centerpiece for your table.




.




.




.


.




.




.


Enjoy the crafting process and let your creativity shine this Christmas season!
RELATED: Christmas Tree Pillow
Related: How to Make a Christmas Tree-Shaped Toilet Paper Roll
Want to remember that? Save this mini Christmas tree to your favorite Pinterest board.


Amaryllis

