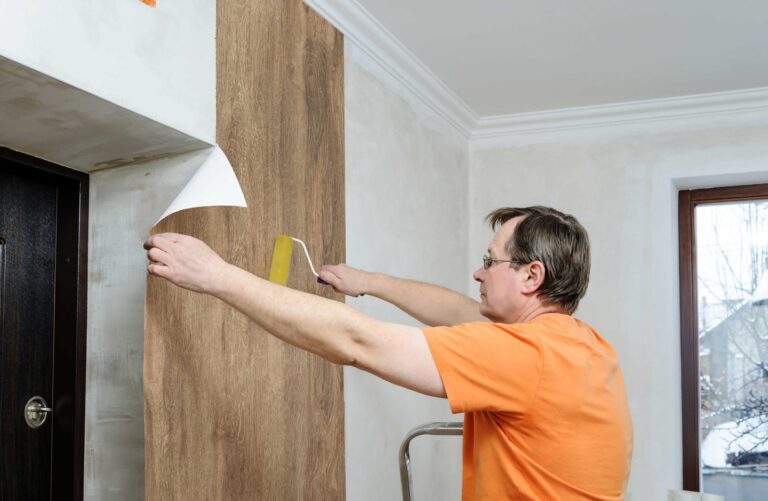
How to remove self-adhesive wallpaper without damage: a step-by-step guide
Knowing how to remove self-adhesive wallpaper without damage is key to making a smooth transition when that time of year comes. Whether it’s due to changes in style or simply updating the space, this step-by-step guide will help you remove your wallpaper without damaging the surface underneath.

Remove peel and stick wallpaper without damage in 10 easy steps
Step 1: Prepare your tools
Materials needed: putty knife, sponge, spray bottle, warm water, mild detergent, and hair dryer.
Step 2: Test a small section
Peel a small hidden section before starting to see if it will peel off easily without damage.
Step 3: Start at the edge
Use a putty knife or your fingernail to lift the corner and begin gently peeling off the wallpaper.
Step 4: Peel slowly
Work carefully by pulling the wallpaper with both hands to avoid tearing.
Step 5: Apply heat
If you resist, start by heating the adhesive with a hairdryer on low heat.
Step 6: Spray warm water
For stubborn areas, spray warm water and leave to soak for a few minutes.
Step 7: Scrape off the remaining adhesive
Use a putty knife to pull out any remaining adhesive without damaging the wall.
Step 8: Clean the wall
Wipe the wall with a sponge and mild detergent to remove all traces of adhesion.
Step 9: Dry the wall
Allow the wall to dry completely before applying new wallpaper or paint.
Step 10: Check for damage
Check for defects and fix spots before redecorating.
Safely remove self-adhesive wallpaper without damage
Removing wallpaper doesn’t have to be a chore. In a few easy steps, learn how to remove self-adhesive wallpaper without damage and leave your walls ready for your next renovation. With the right tools and approach, your walls will be spotless, waiting to be redecorated!

