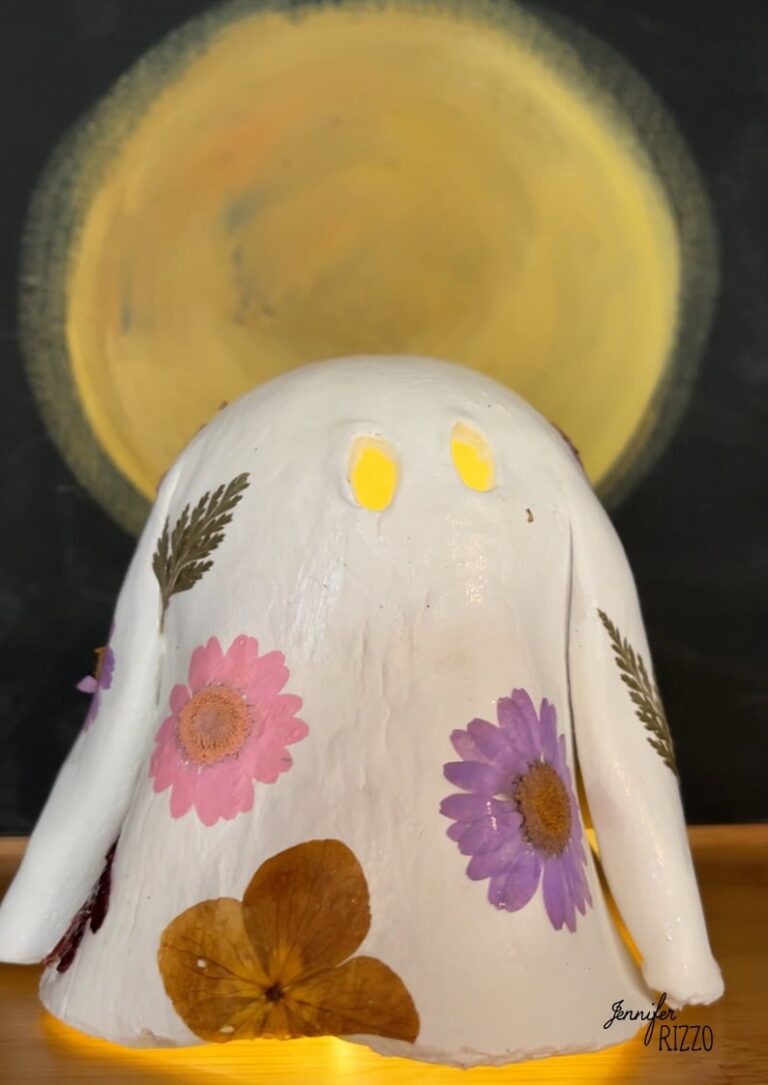
Although I love a traditional Halloween full of orange and black, there’s something about creating a “pretty” Halloween with moss and flowers that doesn’t quite feel creepy. I love how pastel Halloween decor is trending, and these air-dry clay floral ghosts decorated with dried flowers are the perfect way to make even prettier Halloween decor and a fun craft.
This post contains affiliate links including Amazon affiliate links. See our sponsor and affiliate disclosure here.
You’ll only need a few supplies for this tutorial. The hardest thing about this project is the waiting because depending on the weather, the air dry clay can take anywhere from 24 hours to a few days to completely dry.

Supplies needed to create floral clay ghosts using air dry clay
Find supplies on Amazon
Air dry clay (I used paper clay but other types are fine to use)
rolling pin
Parchment paper
Plastic skewer or knife
A straw
tweezers
A small bowl of water
An inflated balloon the size of a golf ball to a baseball (or a Styrofoam ball covered in foil)
Painter’s tape and the item to be attached to it such as a disposable cup (if necessary)
Paintbrush or foam brush
White acrylic paint for crafts
Decoupage medium such as Mod Podge
Compressed dried flowers
Battery operated fairy lights

Create the model for your ghost
To create the curtain ghost shape, you will need something to bend the clay over. I used small jars with an inflated balloon taped to the top. A disposable plastic cup will also work. Use painters tape to secure it if necessary. Set aside.

Air dry clay
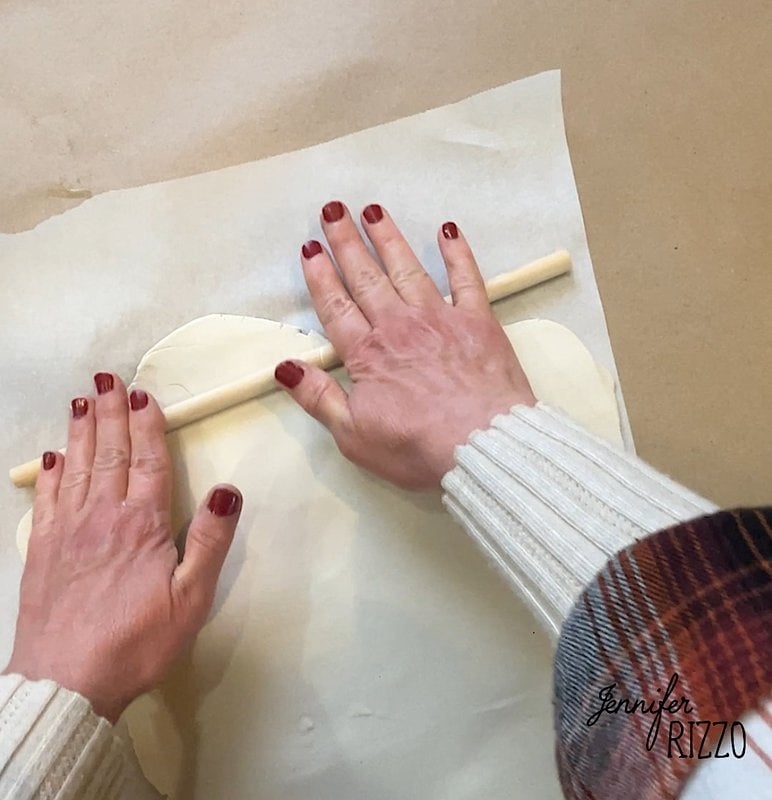
Start by taking a baseball size piece of air dry clay and rolling it out on a piece of parchment paper. The amount of clay you use will determine the size of your ghost. Any remaining clay can be kept in the original container or wrapped in plastic wrap to keep it wet enough to work with. Roll out your clay until it is approximately 1/8 inch thick.

Cut out your circle ghost shape
While it is easier to cut a perfect circle, the imperfections make it more interesting! I added a few strokes to my circular shape cut out of clay and then removed the excess. I ended up cutting my piece a bit short, so keeping it round is a better idea. Use a wet finger to smooth out any rough edges of the clay.

Drape your clay
Pick up the edge of the clay and carefully place the clay over the balloon attached to the jar and let the clay make its own folds. Use a wet finger to smooth out any edges and smooth out any cracks that may form on the little ghosts.

Create ghost eye holes
Pinch the end of the straw to make it into a slightly oval shape. Dip it in water and use it to puncture the ghost’s eyes. It may be easier to apply after rolling the clay circle.

Let the clay dry
This is the hard part! The clay takes a few days to dry depending on the humidity. Make sure to let it dry out in the open. If any cracks form, use a little extra clay mixed with a little water to form a slurry to fill the cracks and allow to dry. Discard any extra mortar as it may rot due to its high moisture content.

Paint your own clay ghosts
Once the clay is completely dry, carefully deflate and remove the balloon. If a harder object such as a ball is used, remove it before the clay dries too much and loses its elasticity. My clothes were still a little damp on the inside, so I put them in a paper towel-lined box so the inside would dry easier the rest of the way. Once dry, use a paintbrush to add a few coats of white paint and let it dry.


Add your dried flowers using decoupage medium
Now the beautiful and fun part! Adding dried flowers is the best way to turn these ghosts from scary to sweet. Use a paintbrush to brush on a layer of decoupage medium and add flowers over the medium. Use a brush to add another layer while pressing the flowers to keep them in place. Once you have added all your dried flowers, add a final coat of Mod Podge or other decoupage medium over everything and let dry completely.

Place your fairy lights below
Fairy lights (or battery-operated candles) are a cute way to light up your little ghosts. It’s an easy craft to make and the perfect addition to the beautiful Halloween season!


For another pastel Halloween idea, check out these cute bats and witches’ hats.


