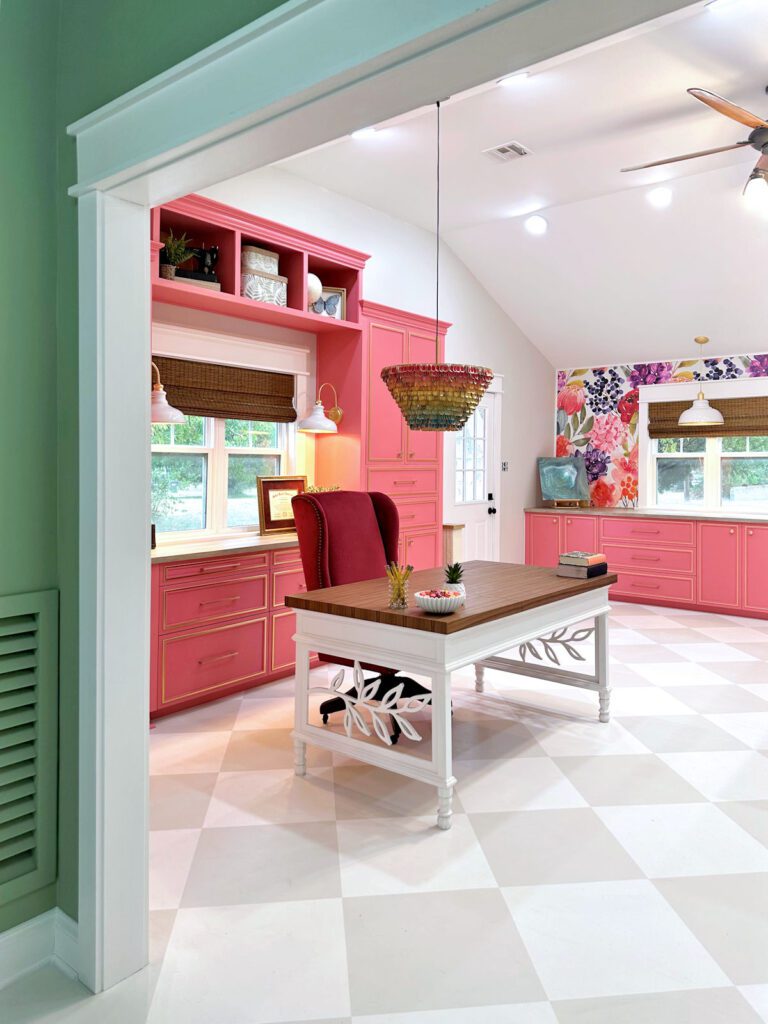
I can’t believe it’s finally done. This room was, by far, my biggest project yet in our house. This was much larger, more in-depth, and involved more DIY projects, even than the master bathroom. It has been “in progress” for years. But finally, quite literally, as of this morning, when I finished painting the door, it was finished!
I was really hoping to clean out the garage before taking these “after” photos because the garage is full of stuff and it shows through the back doors of the studio. But I decided we’d all been waiting too long to see this room ready, so I wasn’t willing to delay any longer. So please be so kind as to ignore the view through the back doors. Hopefully I can spend this evening and all of tomorrow cleaning that up so I can show you our final route!! But for now, let’s pretend the view from the back studio doors is great, and we’ll focus on what’s inside the room.
I have a few comments on this room. I did most of that in this last post where I walked through the timeline of how this room looked. So today I’m going to show you some before pictures, and we’ll go straight to the after pictures and skip everything in between.
Just a reminder, my studio was originally a garage. So, when I stood at the front garage doors and looked out into the backyard, this was the view…
Today it looks like this…


Unfortunately, I didn’t take many photos of the garage when we bought the house, so the first photo I could find looking toward the front of the room (i.e. standing in the back and looking toward the front yard) was this photo that was taken around the time the transformation began , after the garage doors were removed, and while the concrete perimeter was being filled in where the garage doors had been.


Today it looks like this…
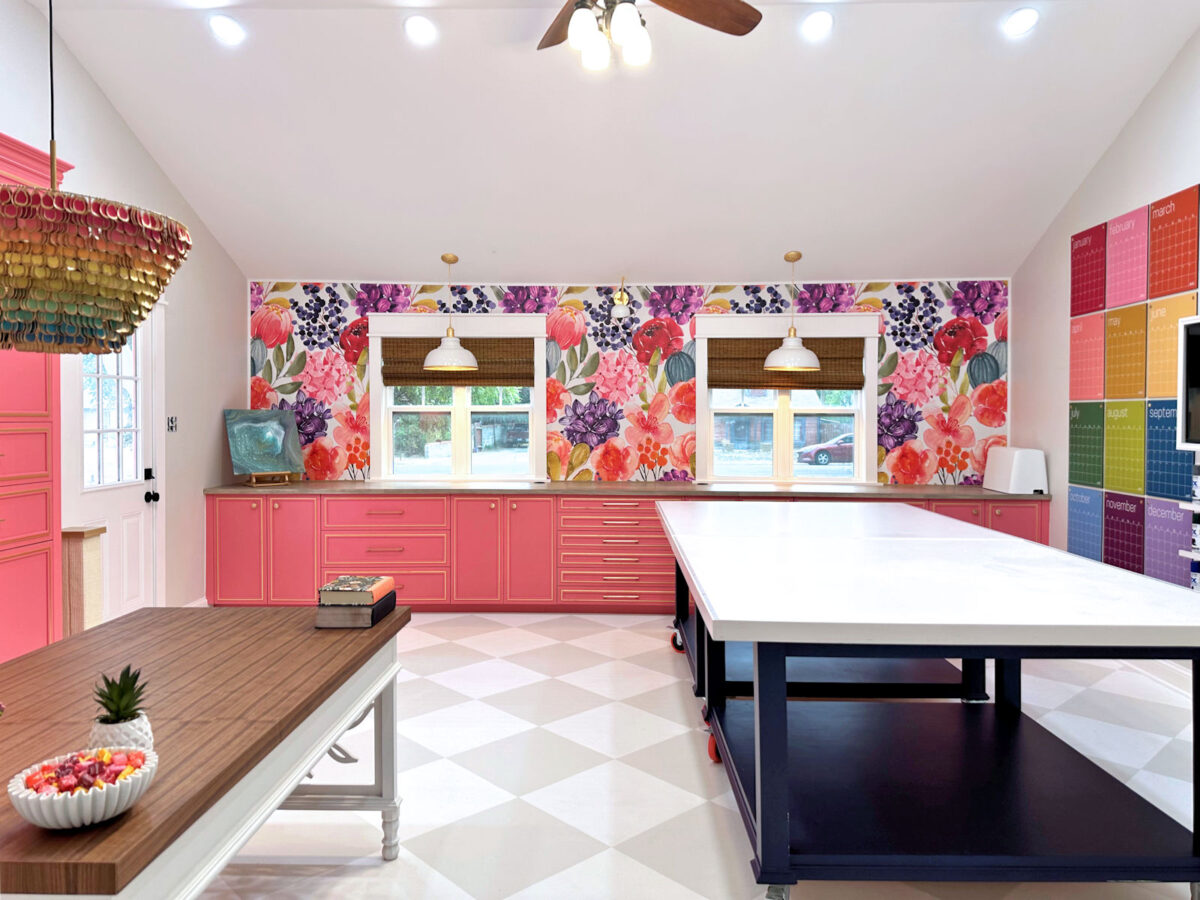


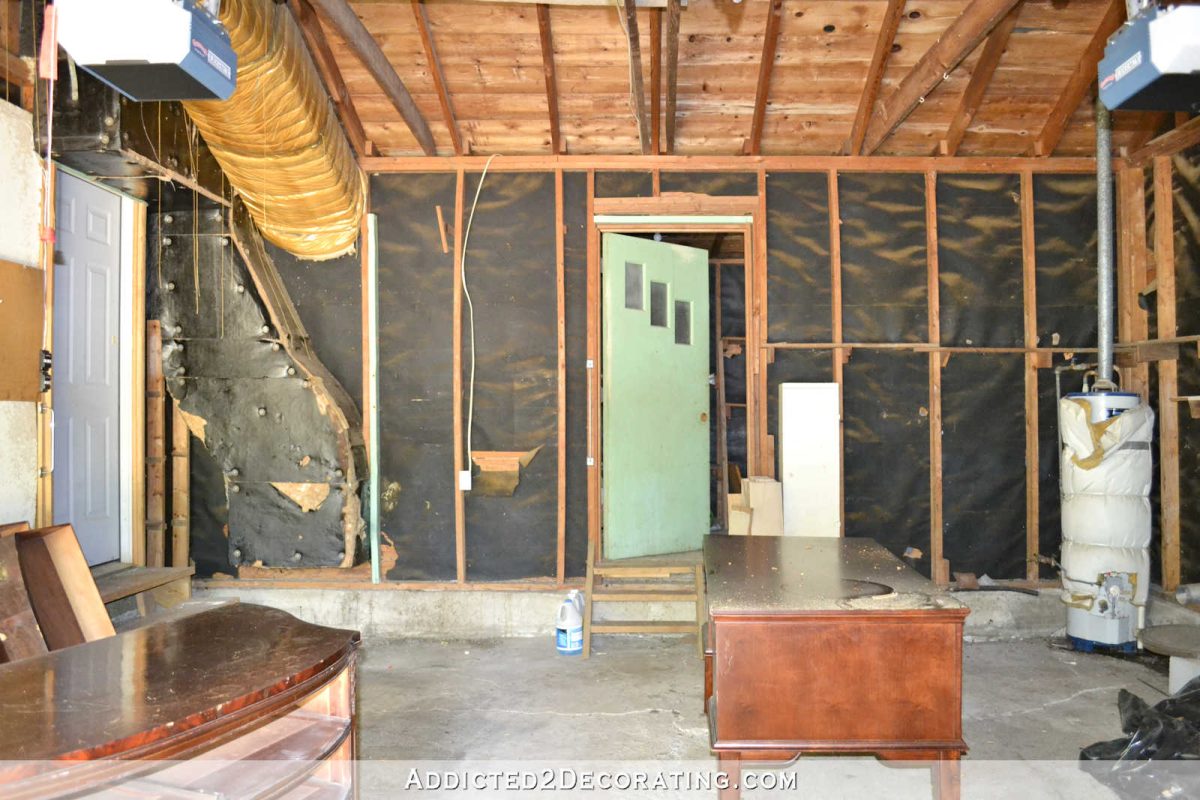
I really regret not taking more photos sooner. When we bought the house, the garage had virtually no drywall. All you could see was the black tar paper, and it looked so dark and depressing. This is a view of the corner that is now my desk area in the studio.


Today, that area looks like this…


Of course, since it was a garage, the floor was at ground level and there were stairs leading up to the house.


Now the floor has been raised to be level with the rest of the house


Again, this drywall was not there originally. We added that later, and also removed the oven which had huge ducts filling the space above the door leading into the house. But this is still a good idea of what we started with.
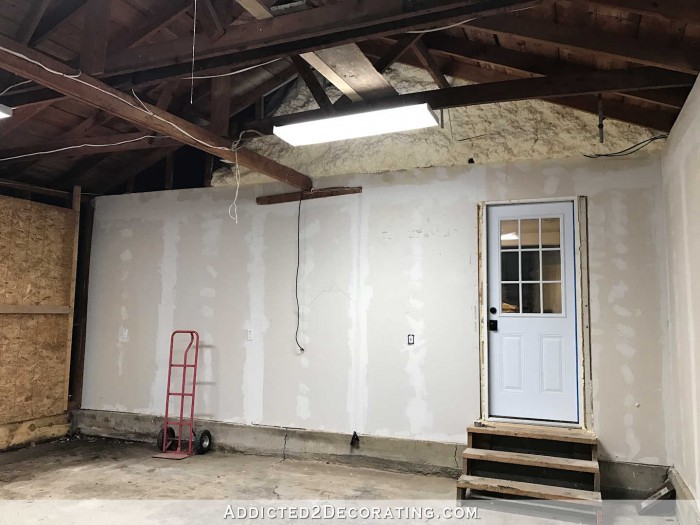


Today, the wall of the room looks like this…


This is one of the few real “before” pictures I can find that doesn’t actually have drywall and still has the garage doors.
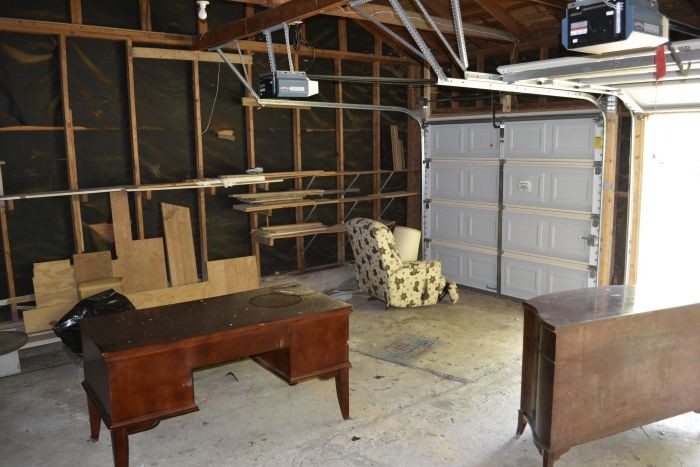


This is what it looks like today…


I can’t believe it’s over! I still have some organizing to do inside the drawers and cabinets, and I’ll give you a peek inside all that stuff when I’m done. I have everything stored now, but I’m still making some adjustments to how I want to arrange things.
In the meantime, here are some more photos of the finished room, displayed without caption. Enjoy!


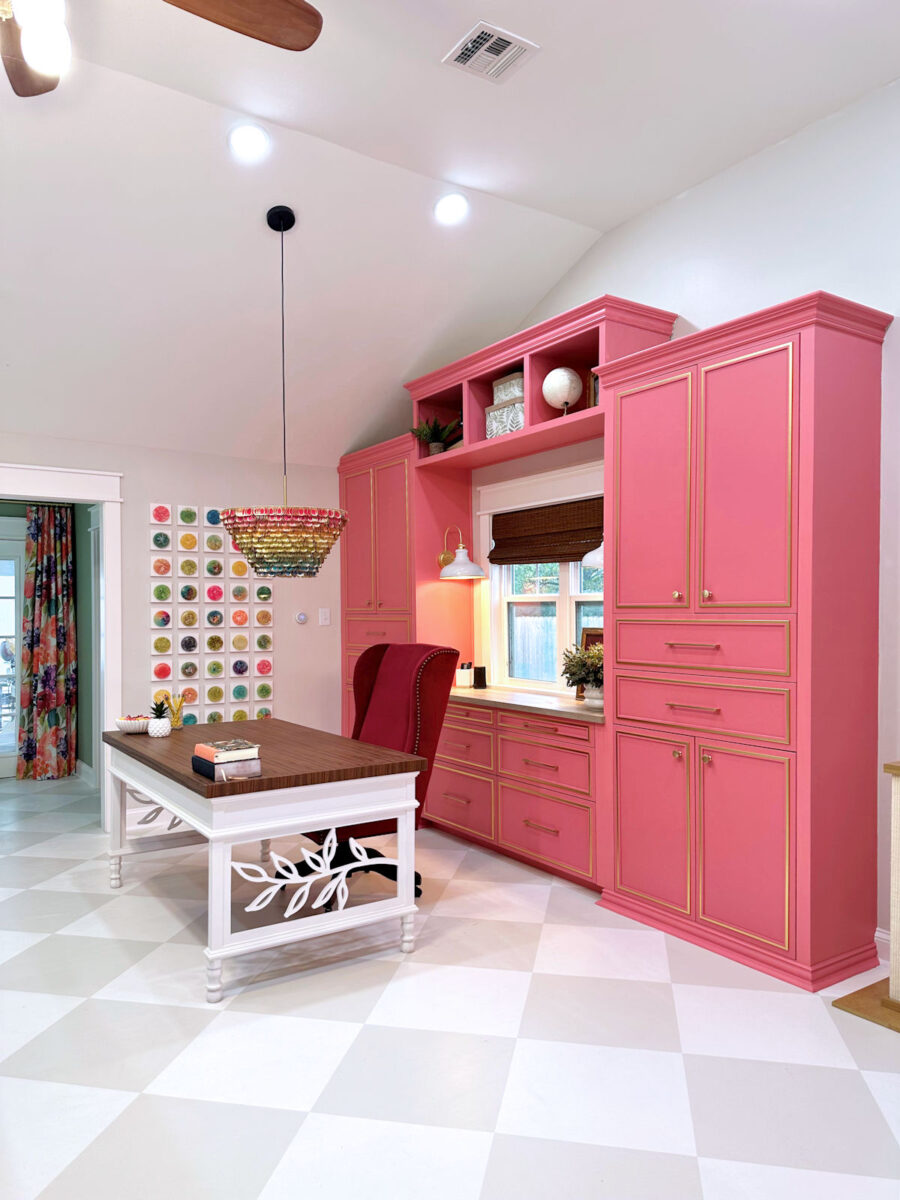


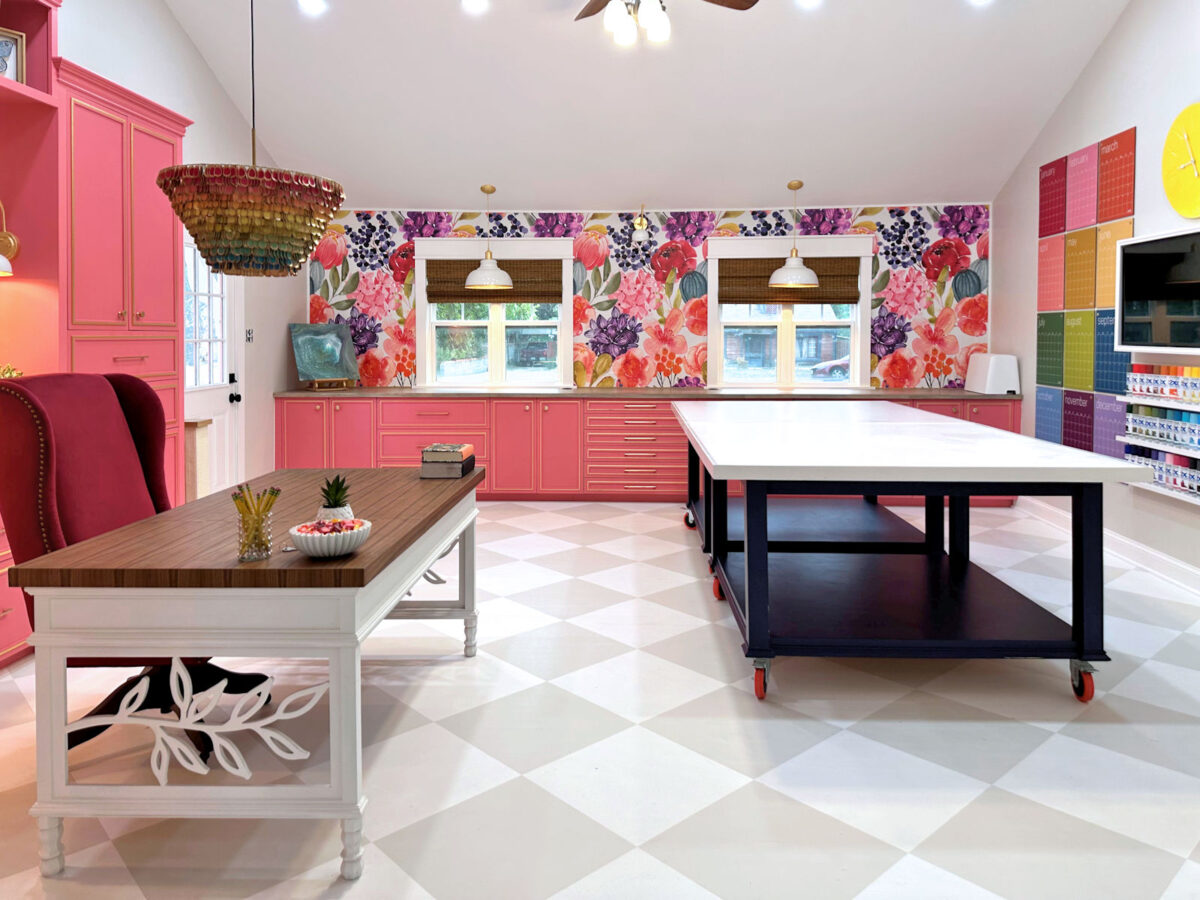


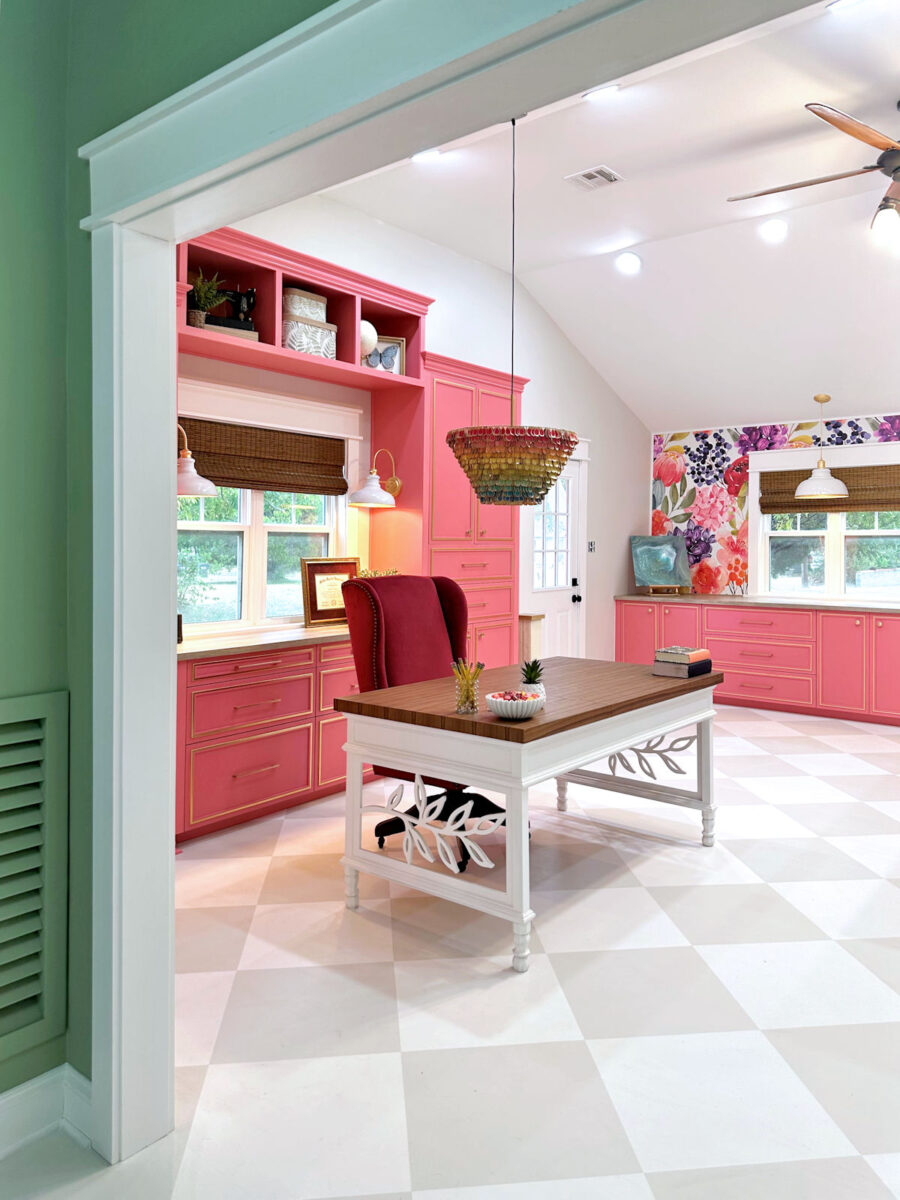


If you are looking for any of the DIY projects that went into this room (cabinets, painted floors, desk, tasting spoon pendant lamp, wood floor countertops, and much more) you can find all of them here.
I can’t even believe it’s done. This room has taken up most of my time and energy over the past year, and I feel like I’m stuck on Groundhog Day. But it’s over, and I can move on. Next is the garage. Now that we have a driveway and I have a workshop, I need to clean out the garage so I can park the car there.
Next, I’ll start in the bedroom. I’ll start by installing, staining, and sealing the hardwood floors, then move on to making the headboard, making the curtains, and decorating that room. Next, I’ll move to the closet and laundry area. So there are some exciting things coming! But quite frankly, I might as well spend some time over the next few days sitting in my studio and enjoying the completed room. It’s a colorful and happy space, and I can’t wait to spend some time here creating!

Addicted 2 Decorating is where I share my DIY and decorating journey as I repurpose and decorate a 1948 fixer upper that my husband Matt and I purchased in 2013. Matt has MS and is unable to do physical labor, so I do most of the work Working at home by myself. You can learn more about me here.

