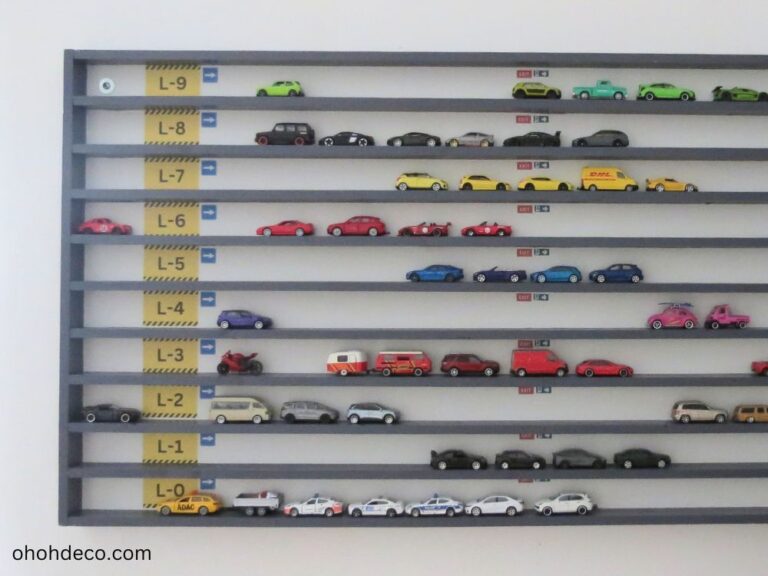
Are you a die-cast car enthusiast and want to display your collection in a unique and stylish way? Look no further!
In this article, we’ll walk you through the process of creating a DIY display rack that will truly revolutionize the way you display your favorite toy cars.
From gathering materials to assembling and decorating your shelf, we’ll provide you with all the steps you need to take your collection to the next level.
Prepare to impress your fellow collectors with a display that is as impressive as the cars themselves!
Gather your materials
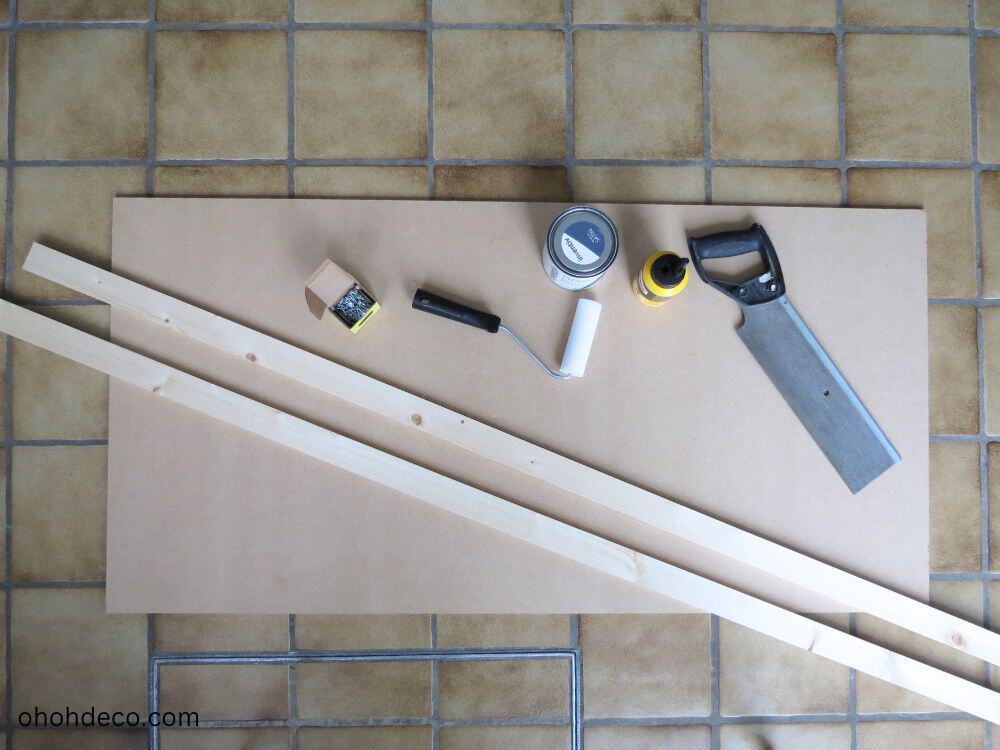


First, gather the materials needed for this project. You will need:
Once you have gathered all of your materials, you’ll be ready to move on to the fun part of designing your display rack.
Design your own display rack
Now that you have all your materials ready, it’s time to start designing your display rack. Think about the overall look you want to achieve and consider factors like color, style, and size.
You can get creative with the design by adding unique details like stickers, stripes, or even a racing theme.
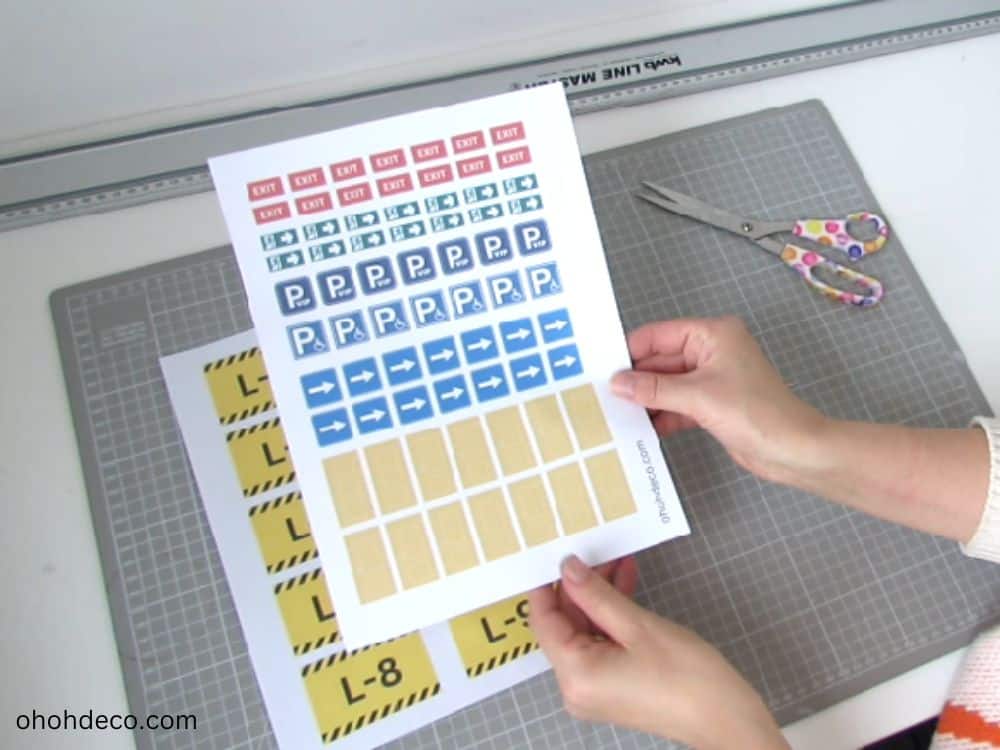
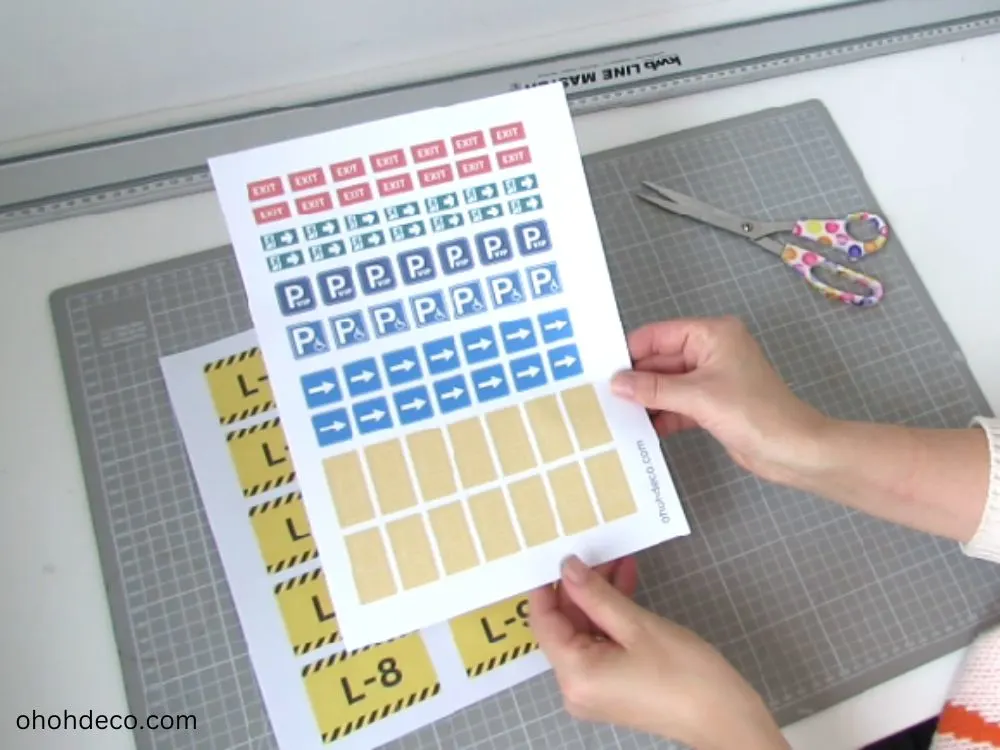
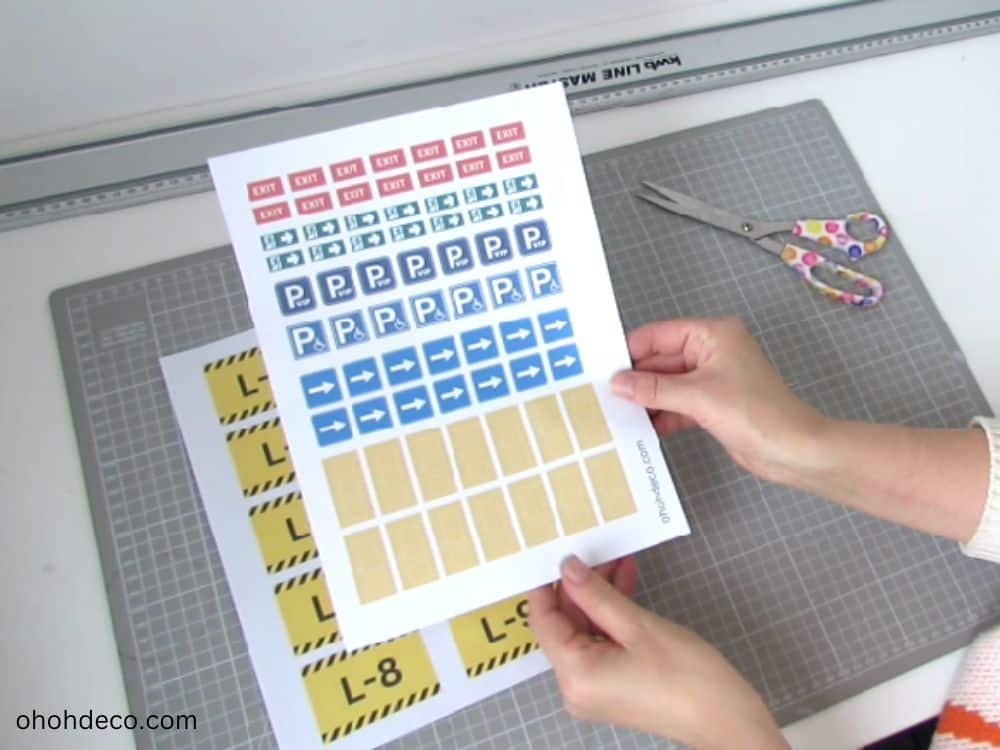
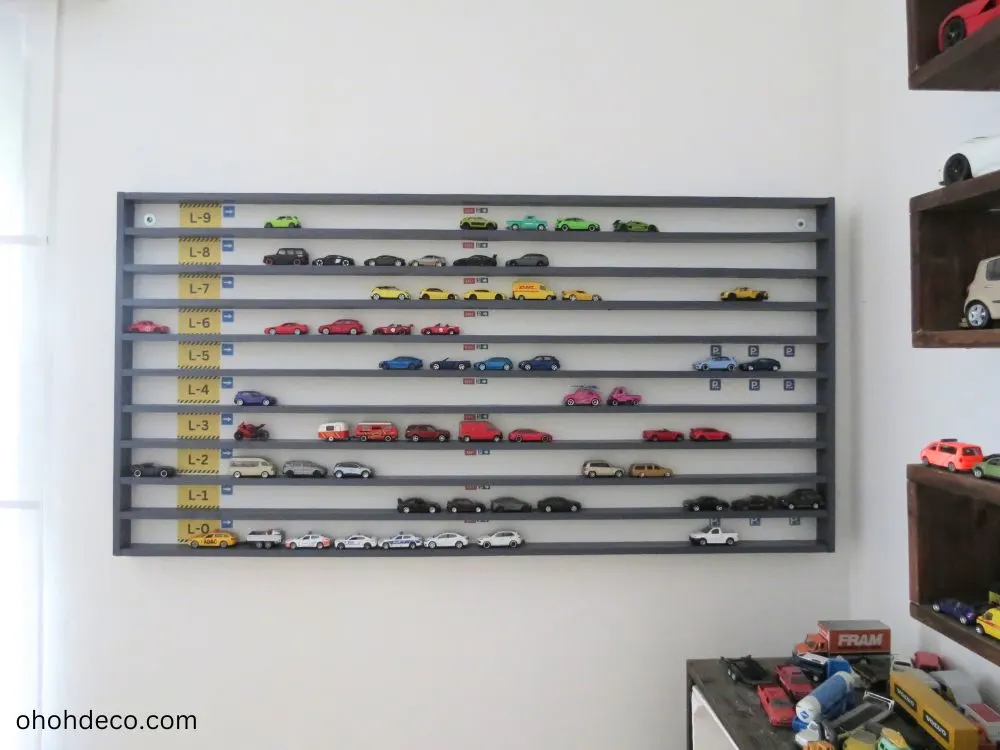
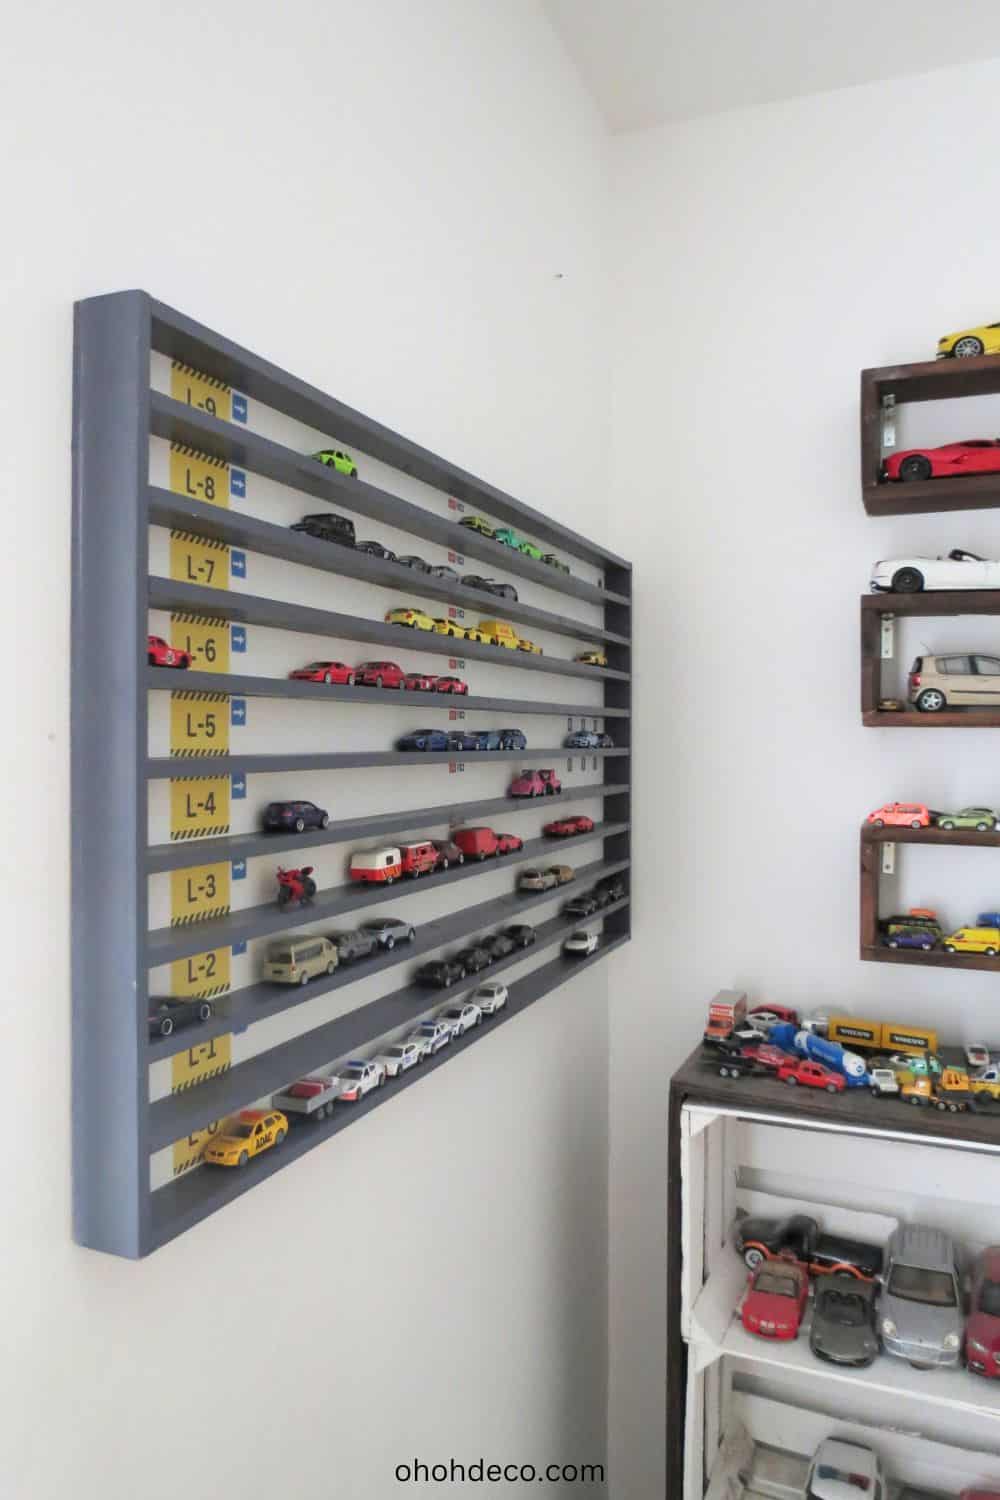
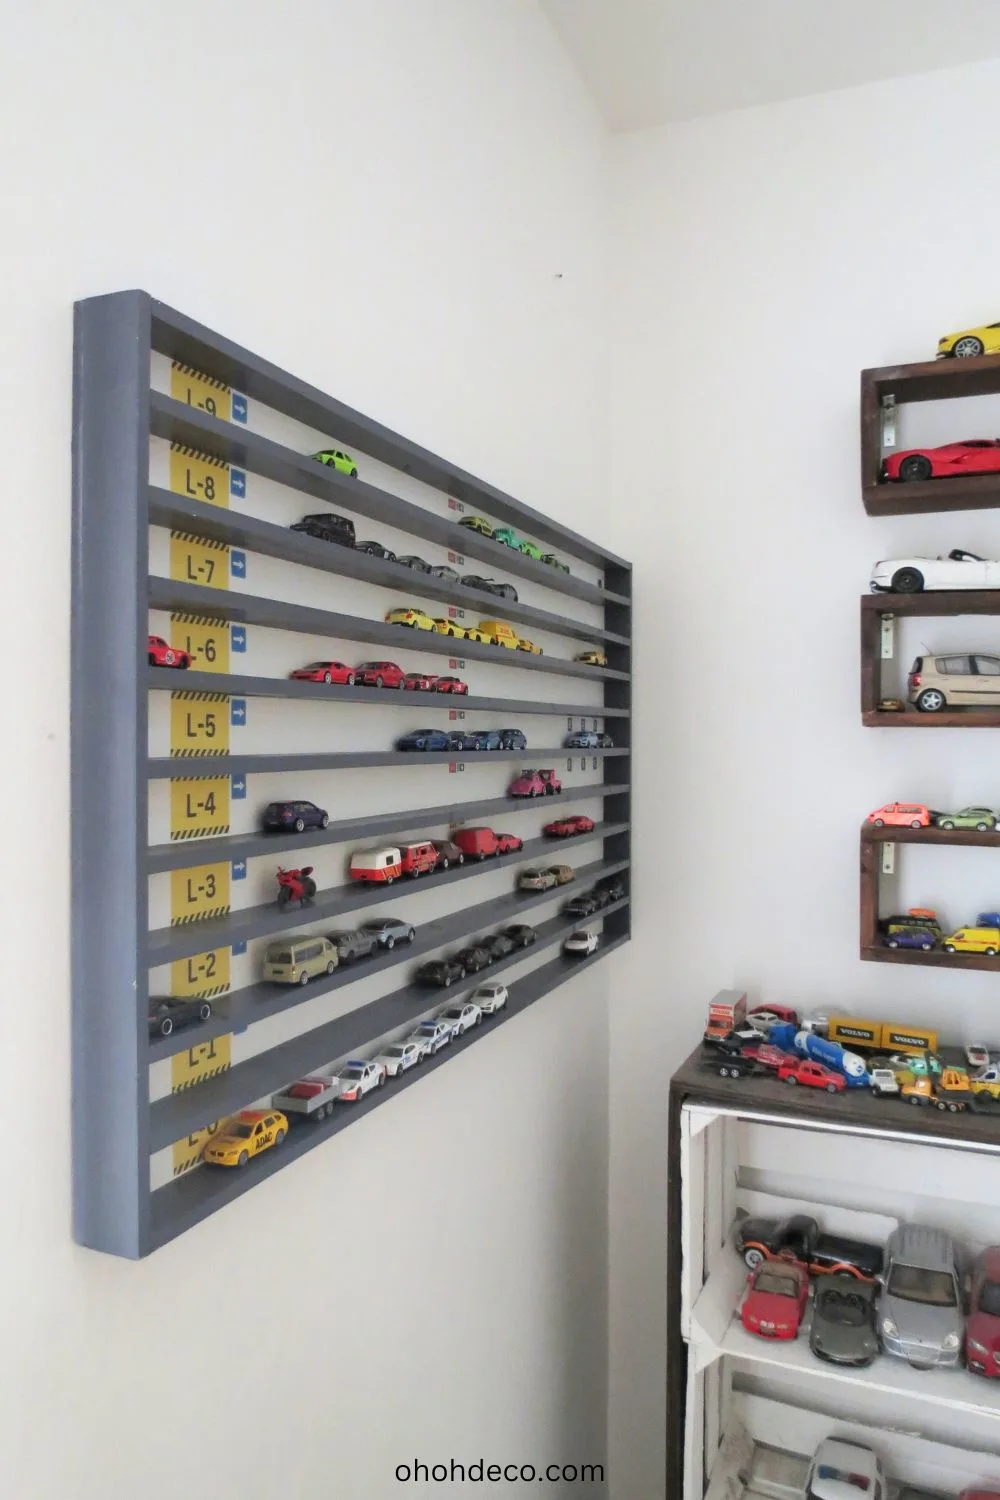
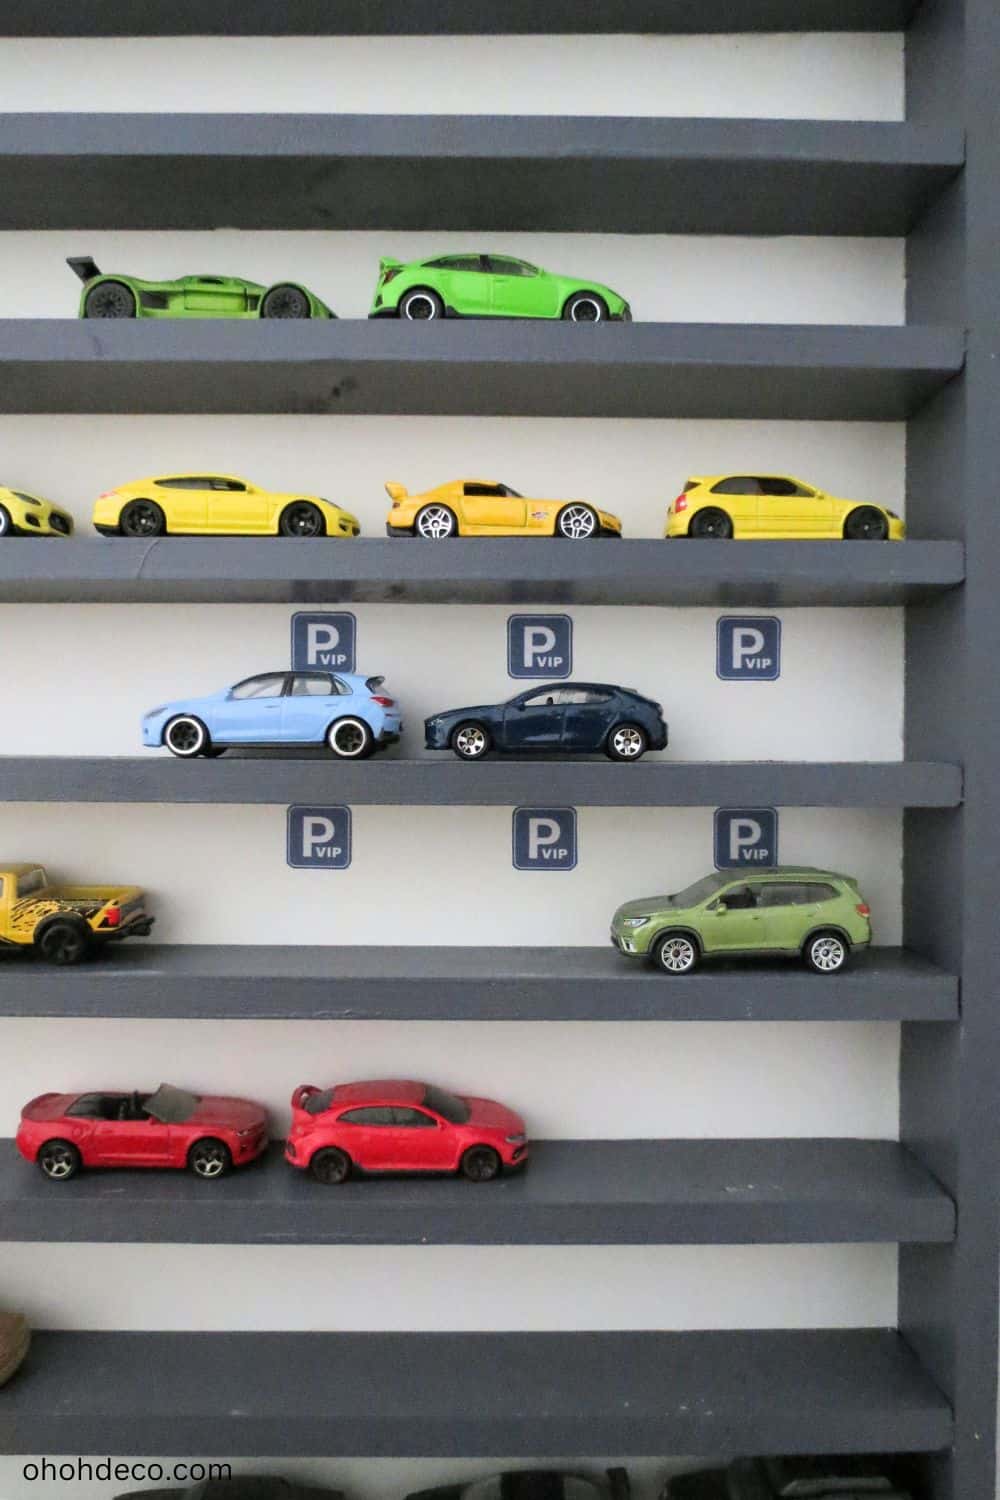
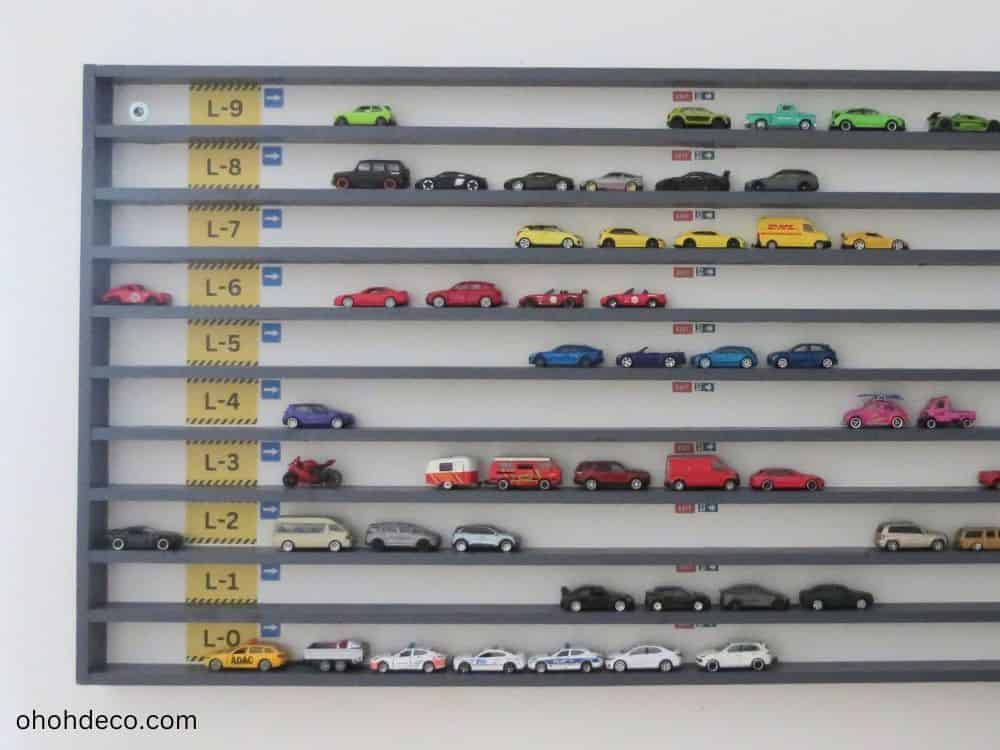
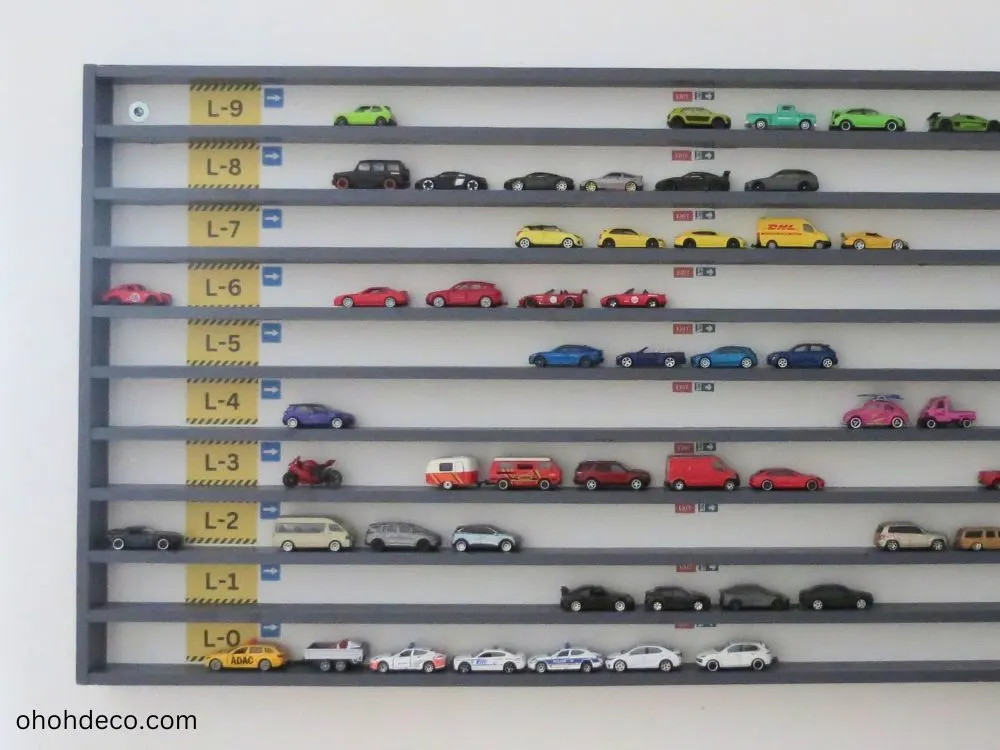
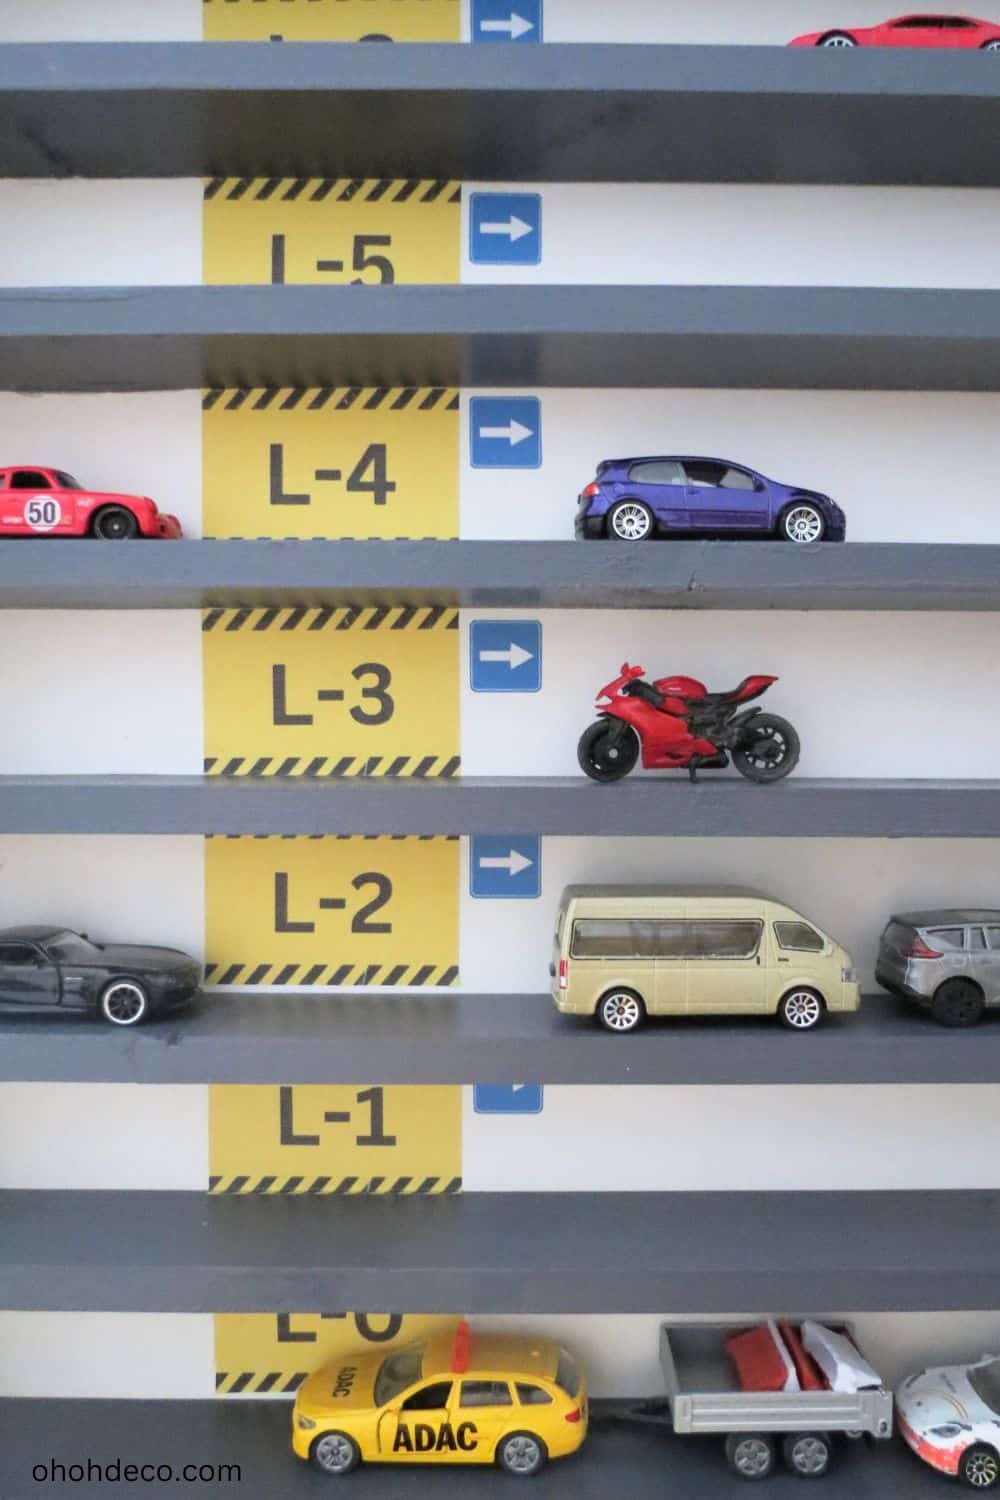
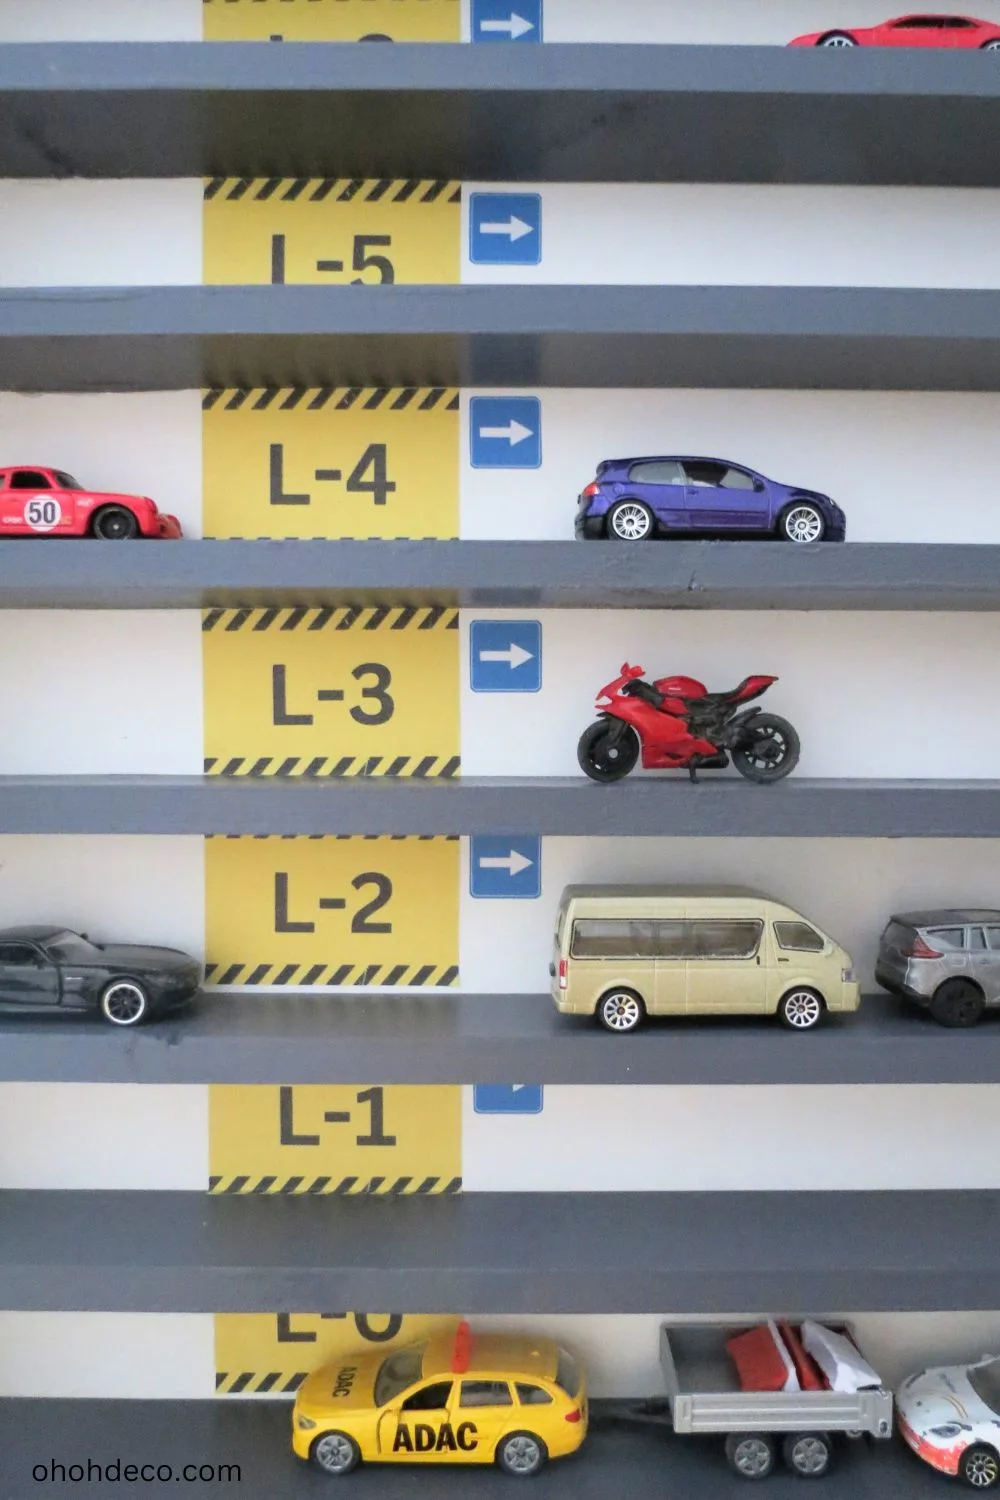
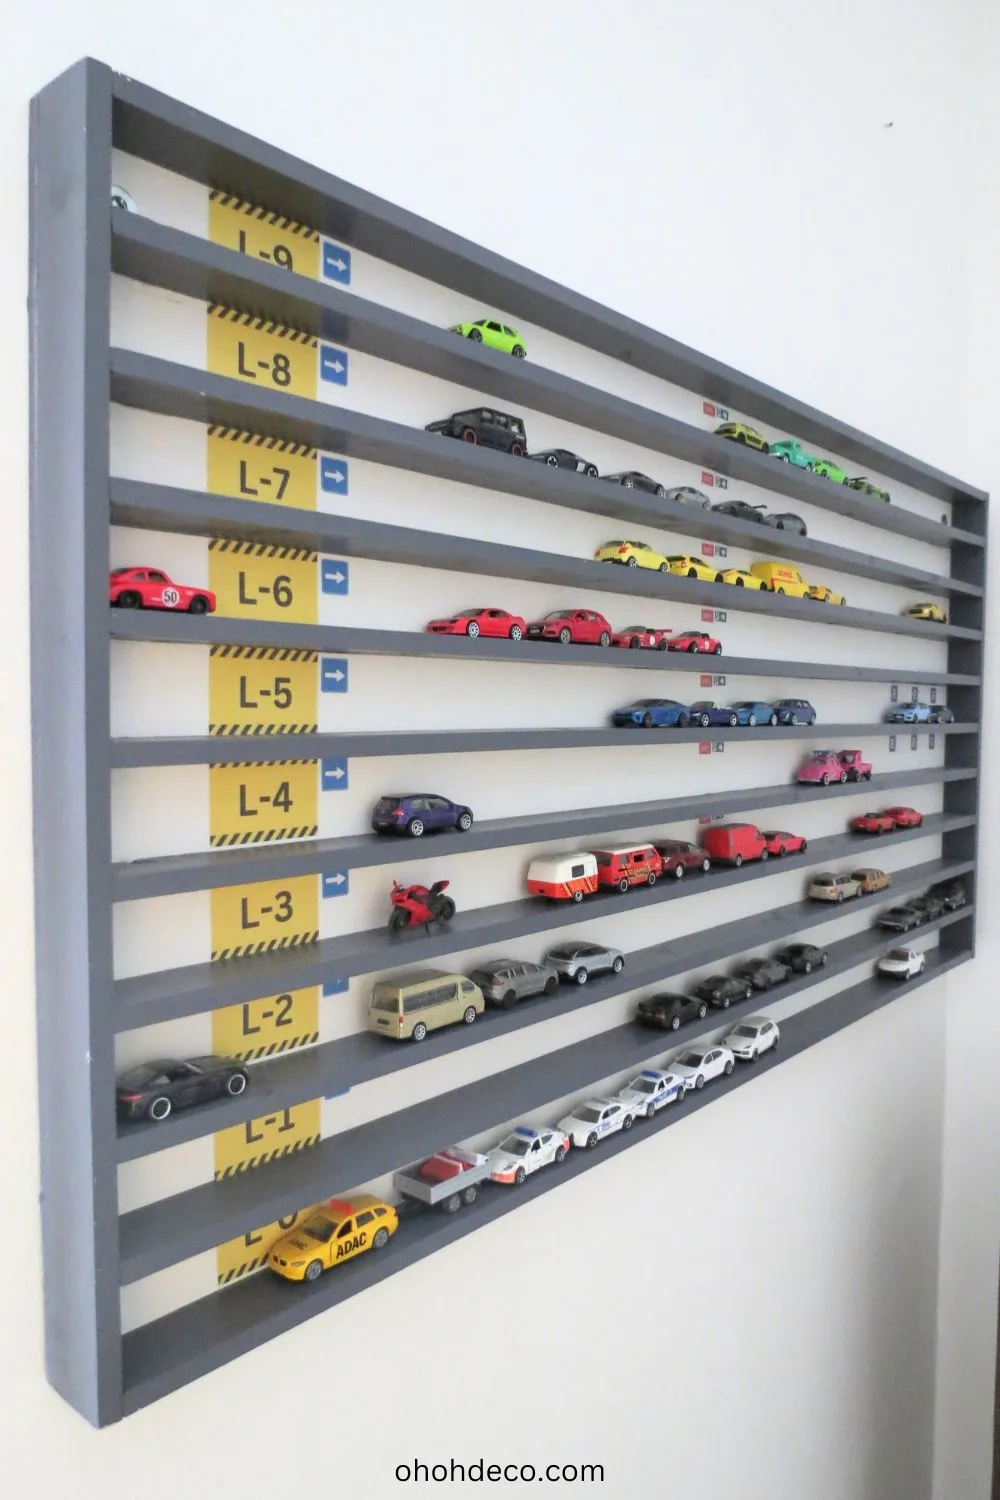
Customizing your cast metal rack to look like a parking lot is a fun idea. I’ve created printable files for parking signs, level numbers, and other signs. If you’d like to customize your own cast metal rack with the same theme, you can get a free download from my resource library.
>>>> Download Printable Parking Signs


Build Your Own Toy Car Display Rack
Once you have a clear vision in mind, you can move on to the next step and bring your design to life by building a toy car display rack.
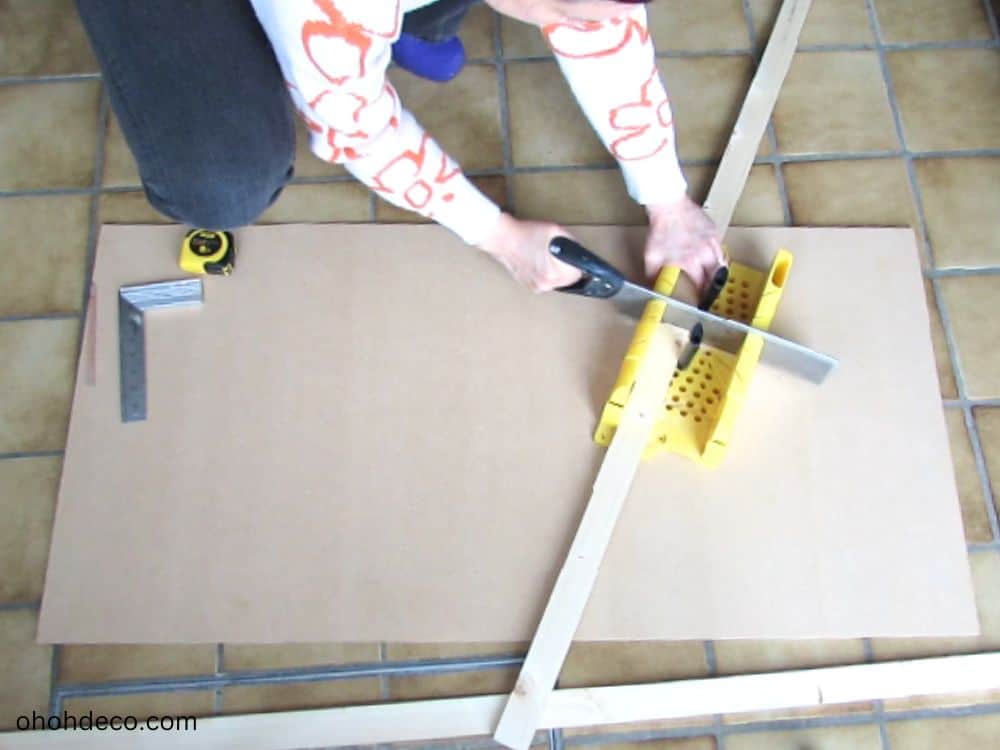


For the back panel to display the toy car, I used standard 9mm MDF board, which you can find already cut to 122 x 61 cm at your hardware store.
To make the frame and shelves, I used 45mm x 10mm x 2.4m rectangular wooden sticks.
Start by measuring and cutting 4 pieces of wood to make a frame. If you are using the same MDF that I used, cut 2 pieces 24 inches long for the sides and 2 pieces 48 inches long for the top and bottom.
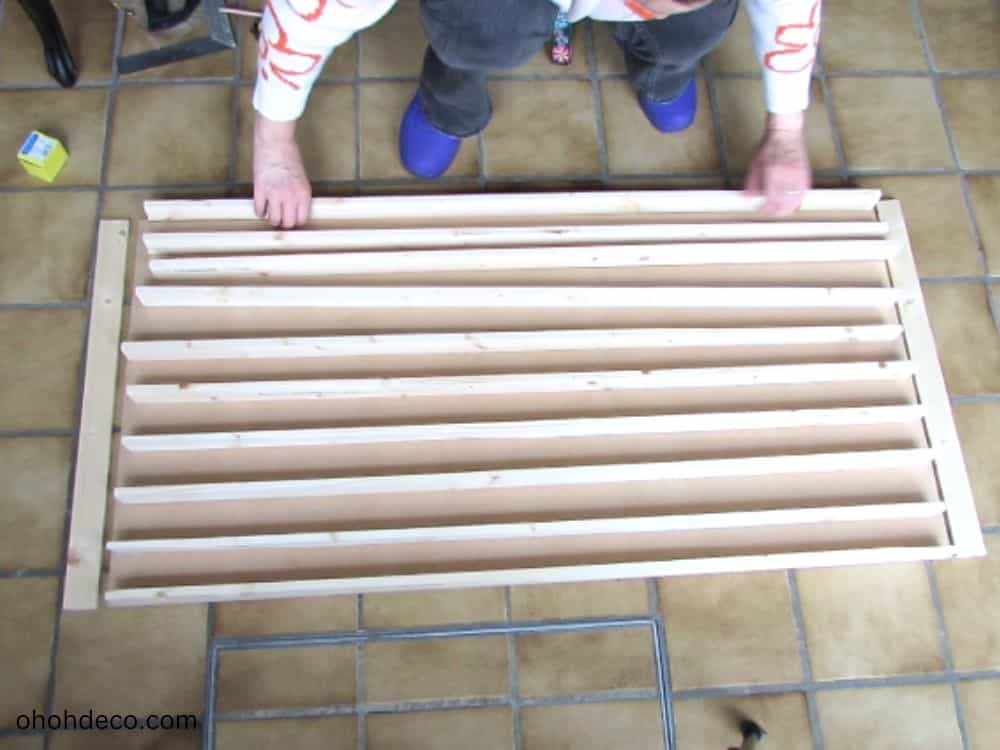

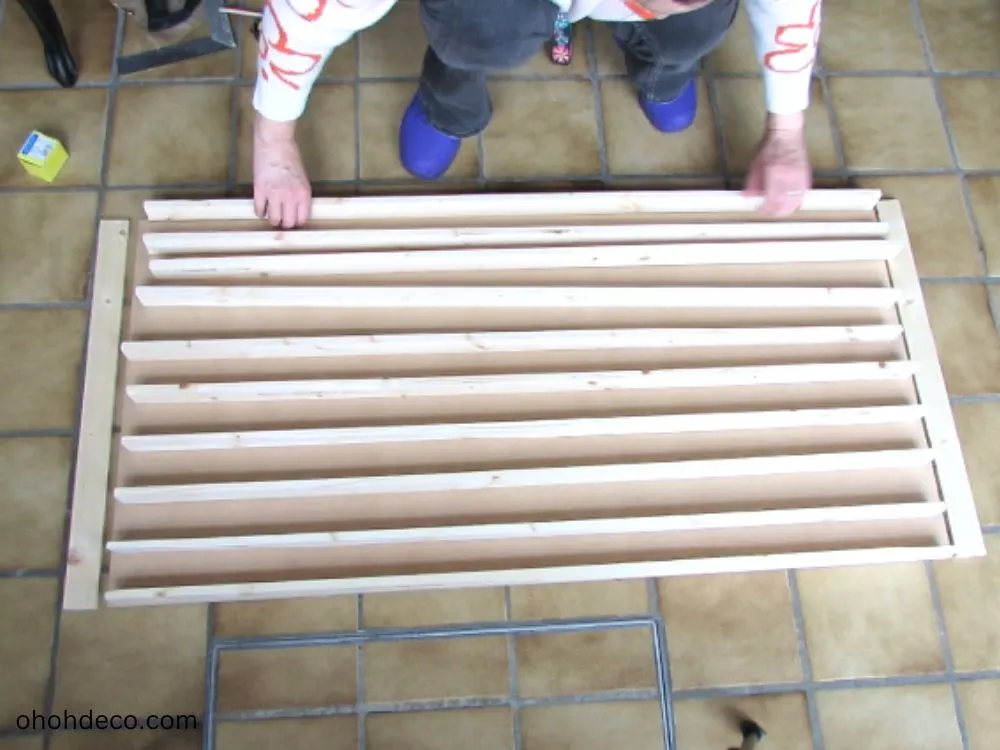

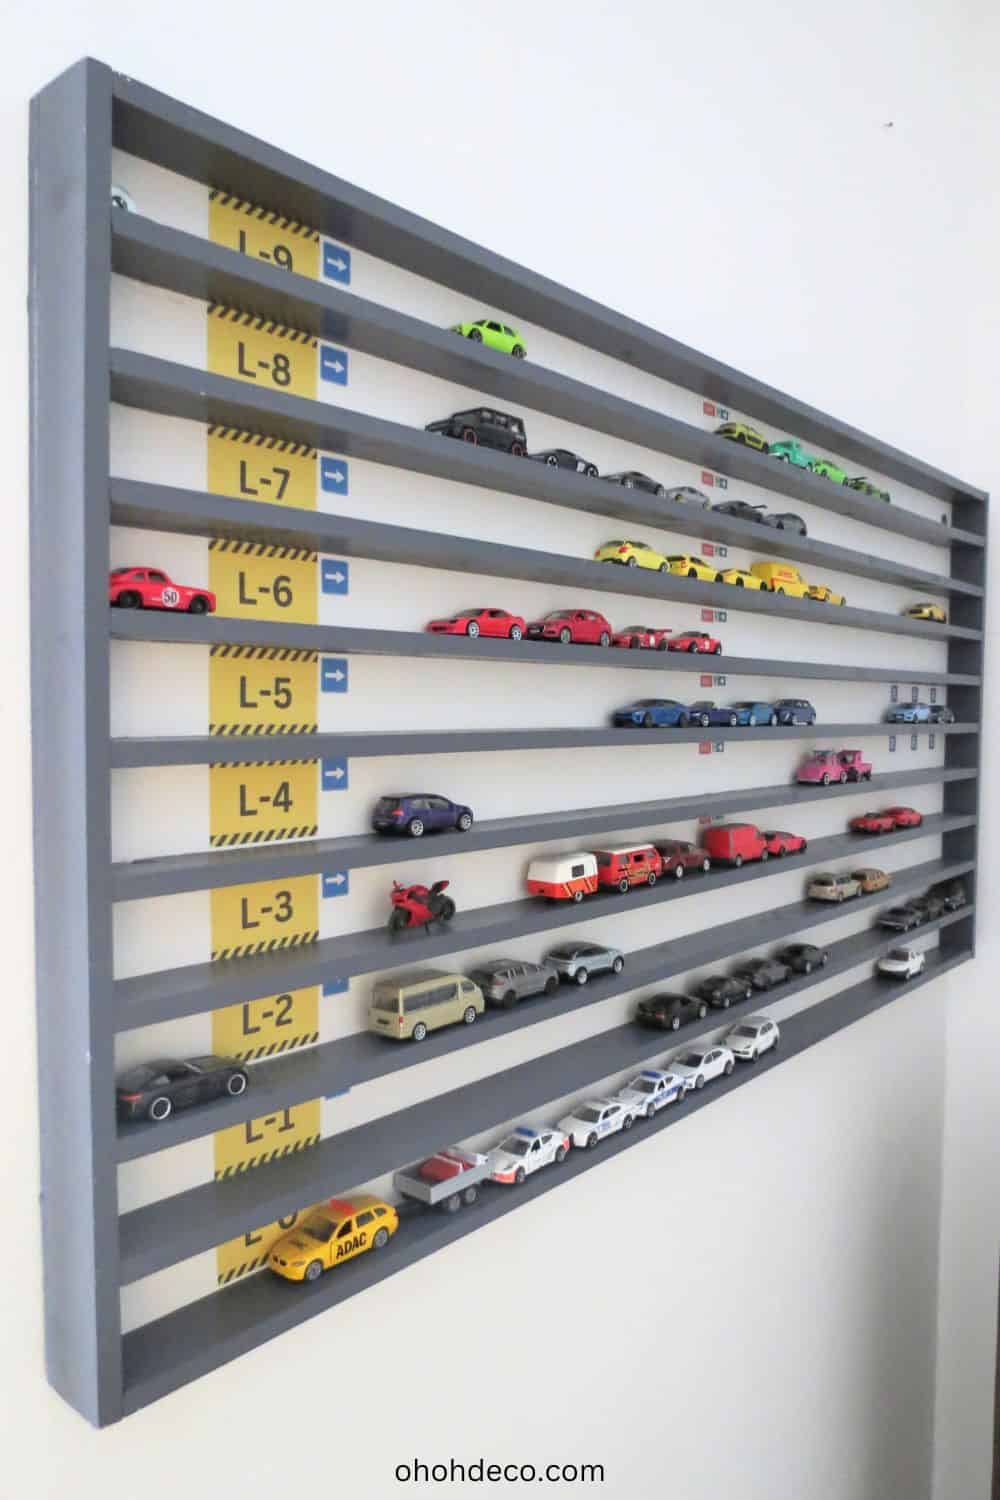
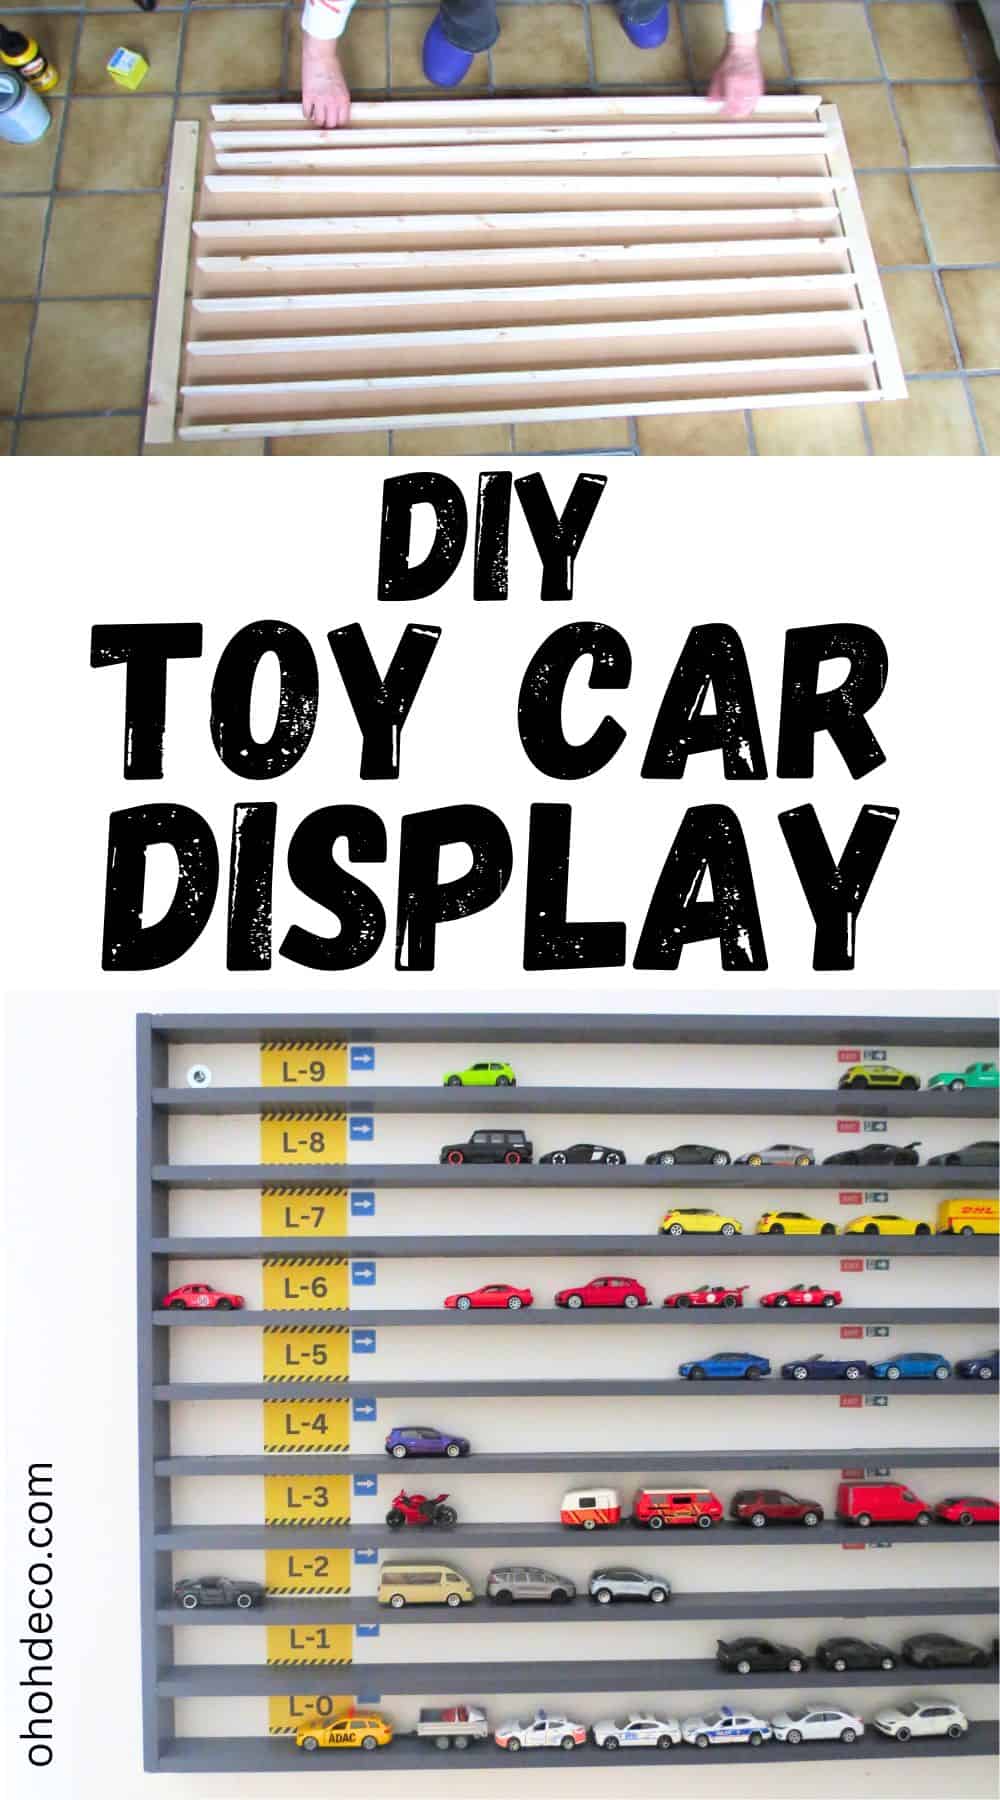
Cut more pieces of wood to make the shelves. Leave 5cm between each shelf. So I had to cut 9 pieces of 120cm to make the shelves.
You can put it on the back panel to make sure everything fits.
Sand all pieces.
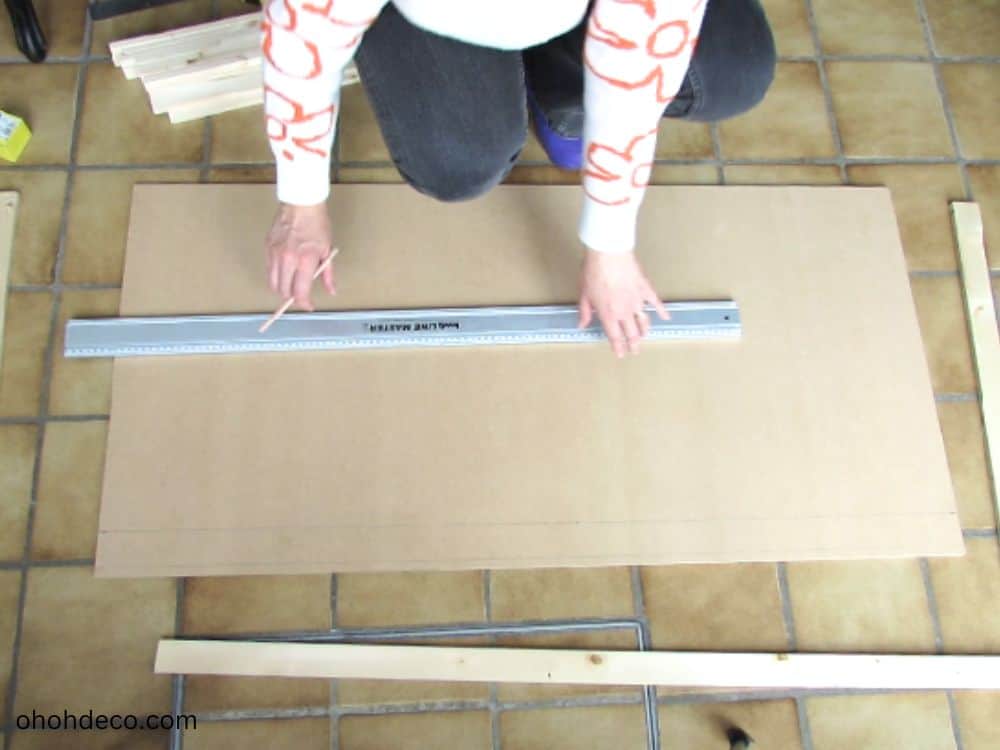

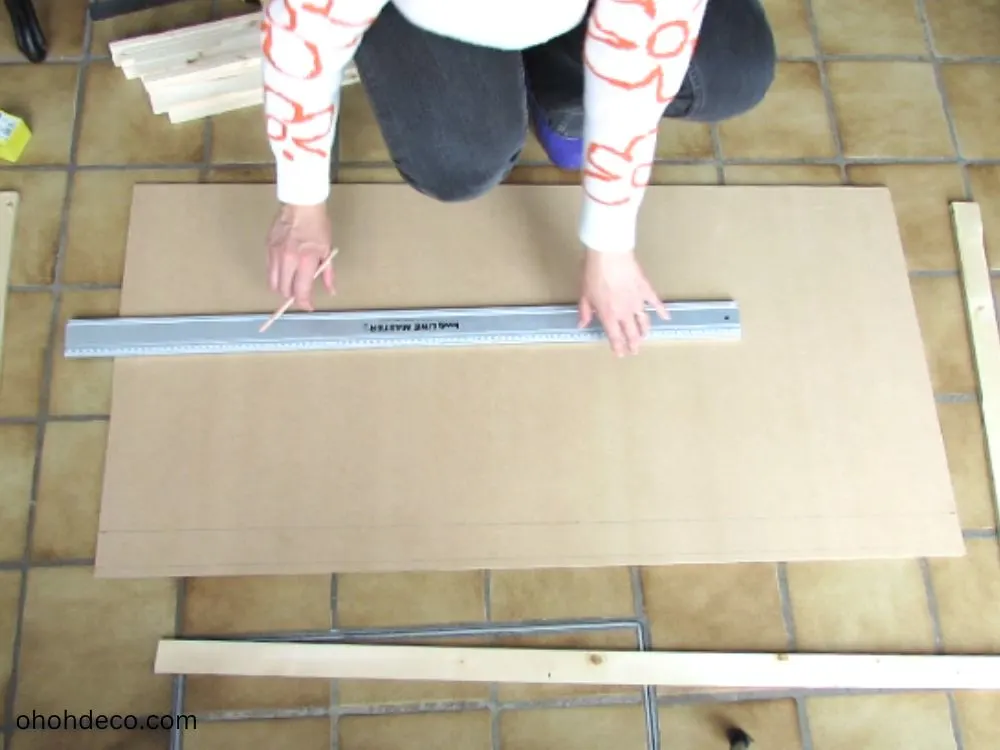

To find where to install the shelves on the back panel, measure and draw the position of the shelves. Remember to leave a space of -/+ 5 cm between each shelf.
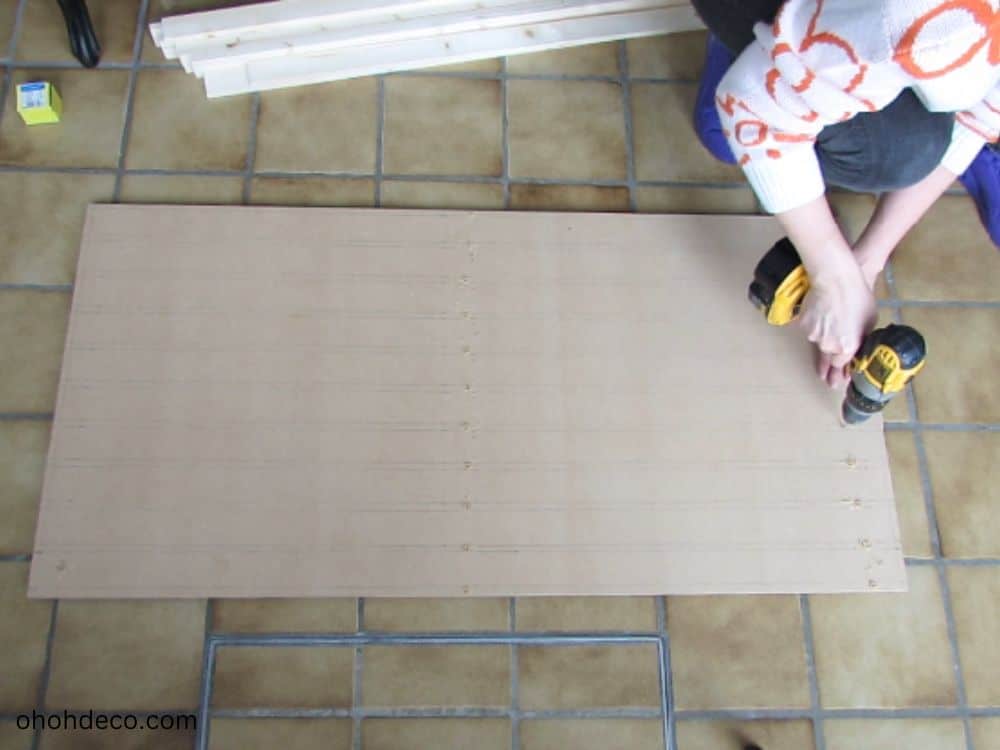

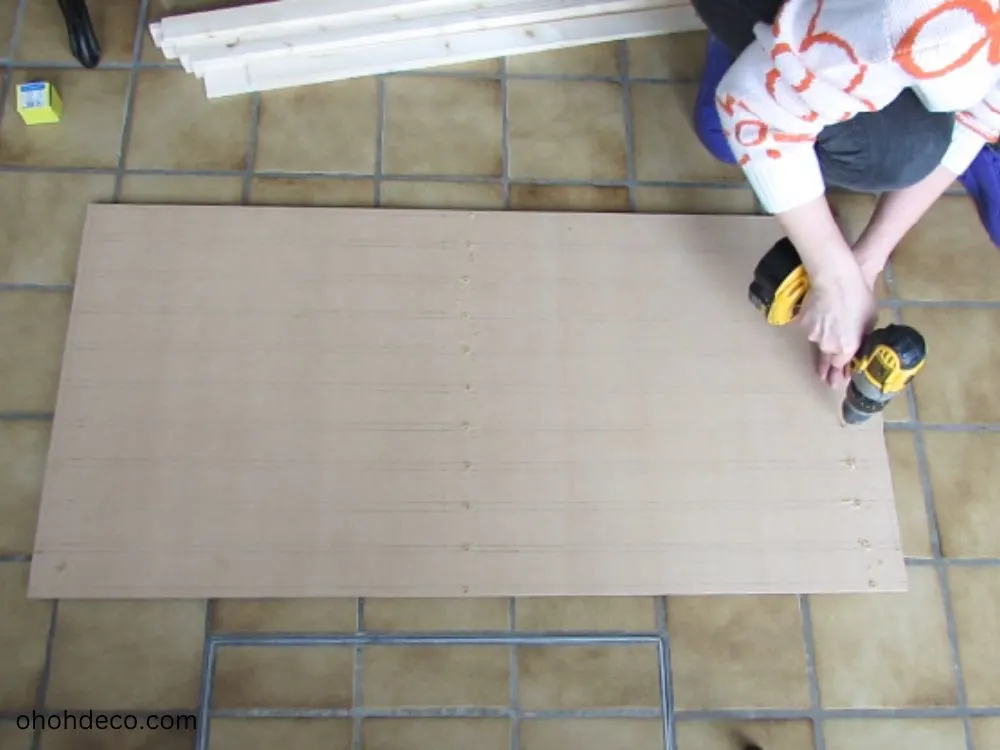

Drill holes where you will insert the screw to attach the shelves to the back panel.
Put at least 3 screws on each shelf and 3 screws on each side of the outer frame. Sand to a smooth, flat board.
Paint the toy car display rack
To paint the toy car display rack, remove all dust with a damp cloth to create a clean base for the paint to adhere to.
Choose a color that matches your room decor or choose a bold color to make the shelf stand out.
Since I wanted a parking lot inspired shelf display, I chose a white background and gray shelves.
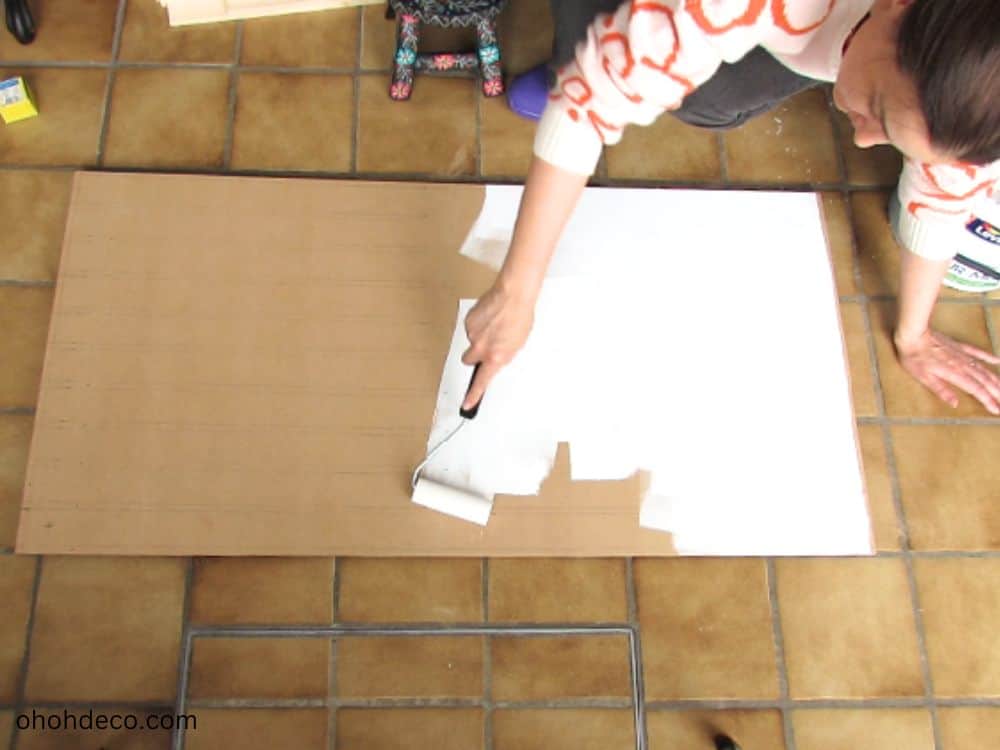

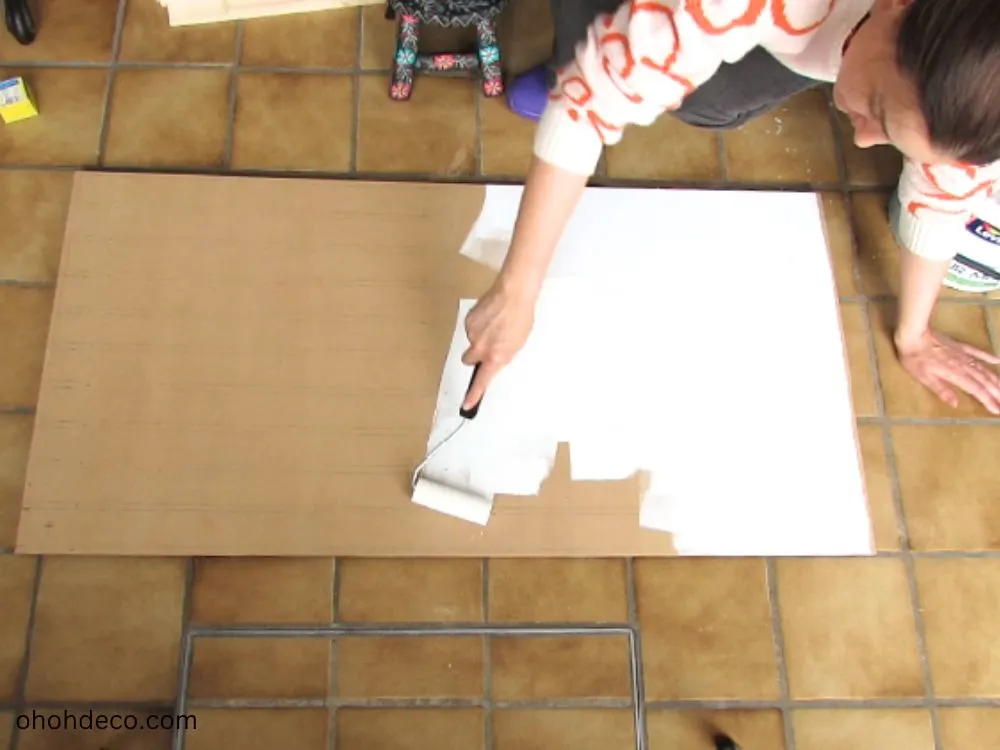

Apply several thin coats of paint, allowing each coat to dry completely before adding the next. Once the paint is dry, consider adding a clear coat for extra protection and a glossy finish. This will not only enhance the look of your display rack, but will also ensure its durability over time.
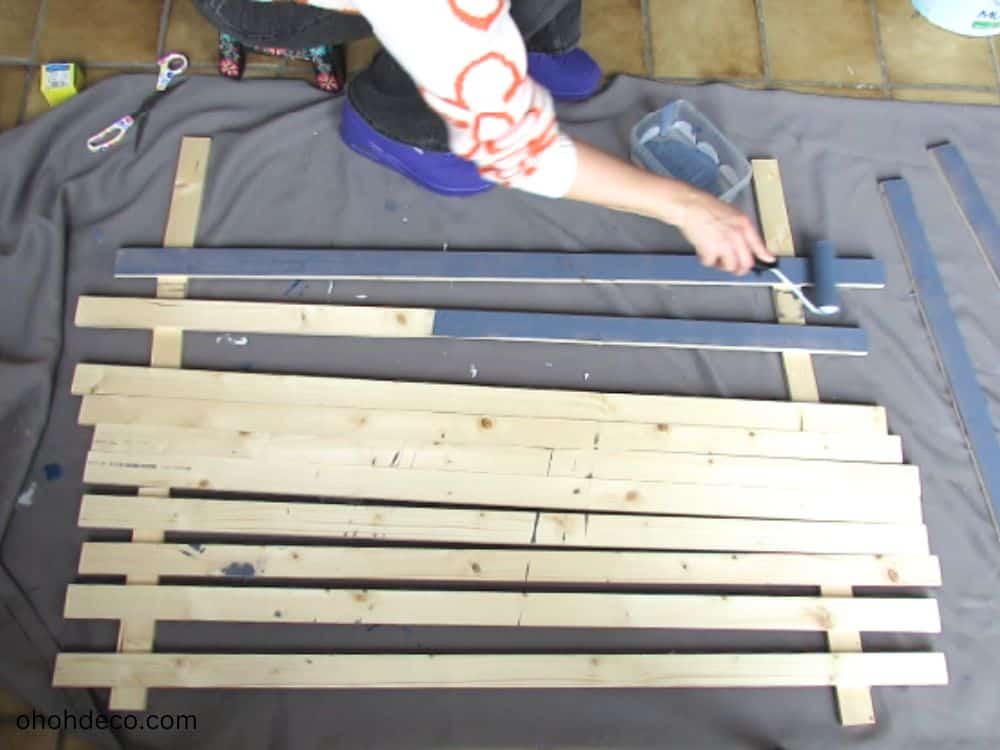

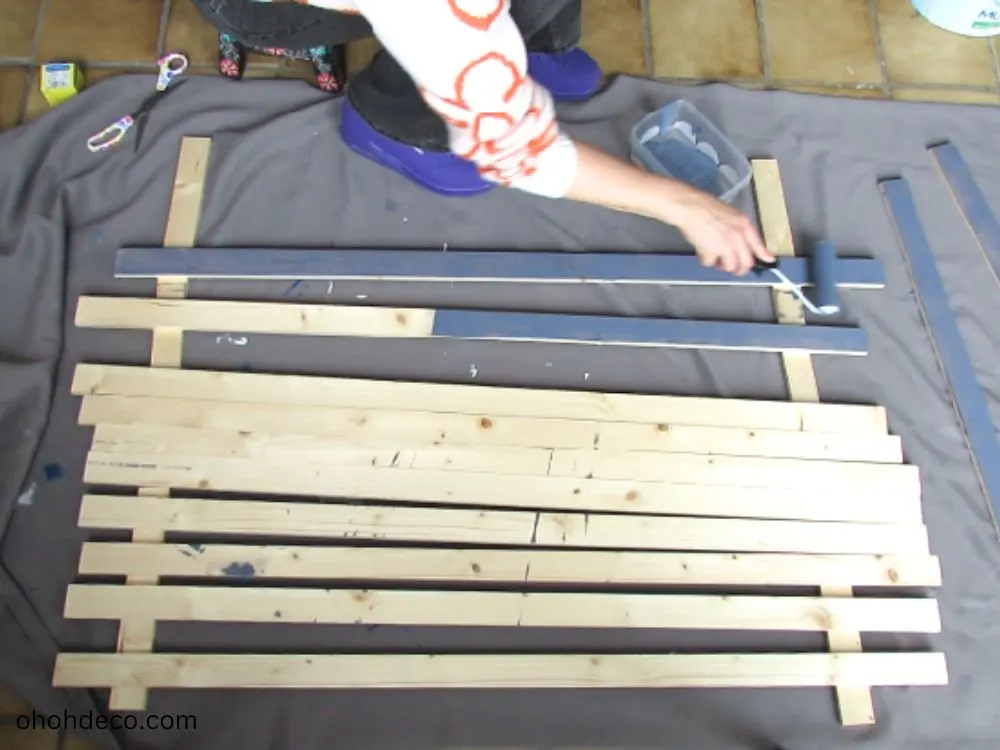

Now, it’s time to assemble the shelf to display your casting collection.
Shelf assembly
Now that you have painted your play car display rack pieces to perfection, it is time to assemble them to display your play car collection. This step is essential to ensure that your rack is sturdy and ready to hold all of your favorite play cars.
Let’s put all the pieces together and get ready to decorate your new display shelf in the next step.
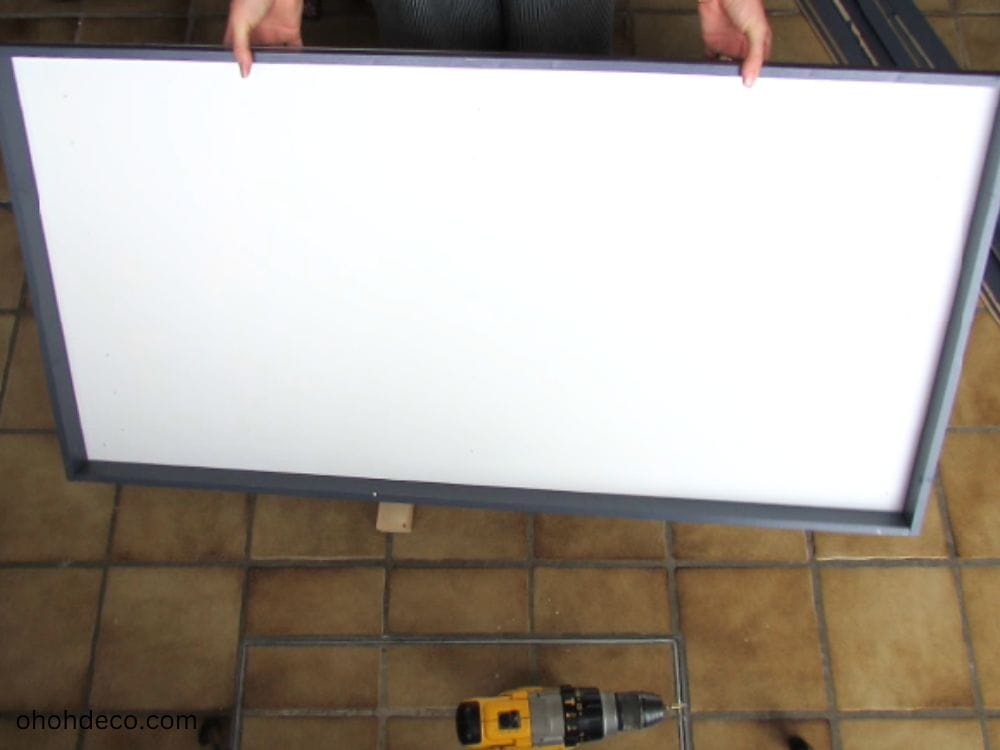

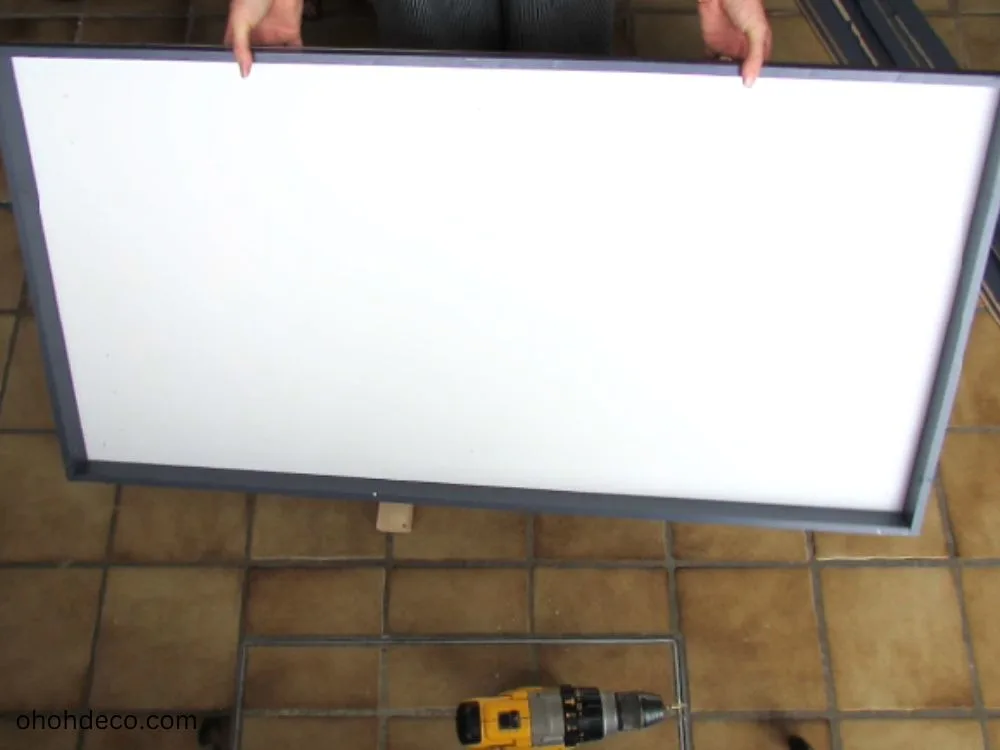

Start by assembling the outer frame. Apply wood glue around the edges of the back panel.
Using the holes you drilled earlier as a guide, attach the frame to the board.
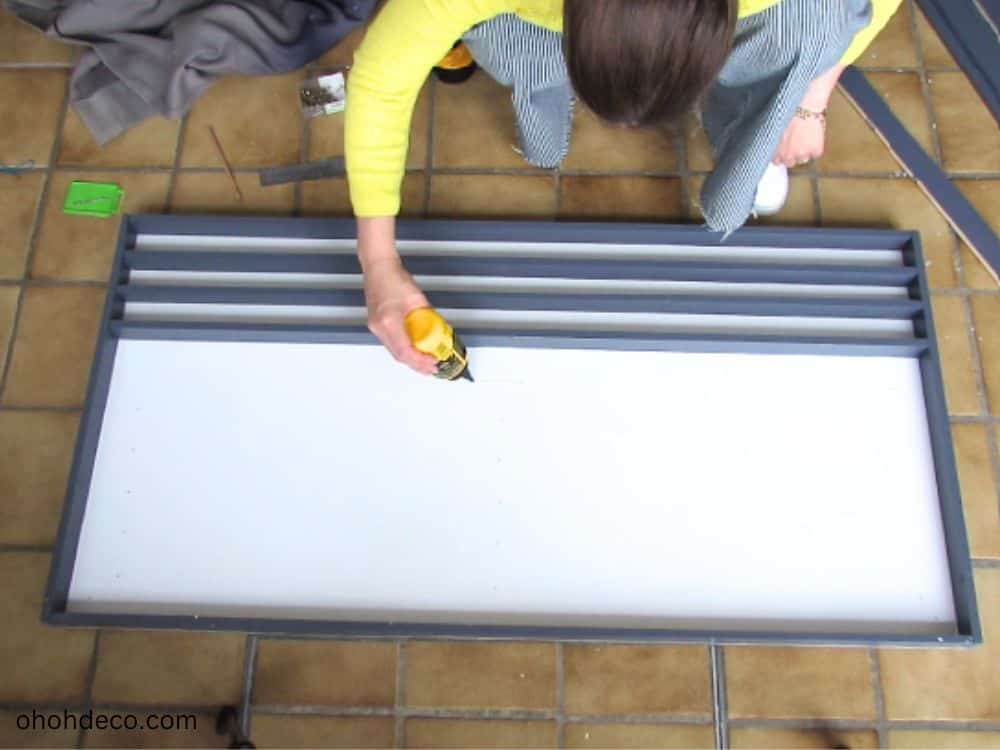

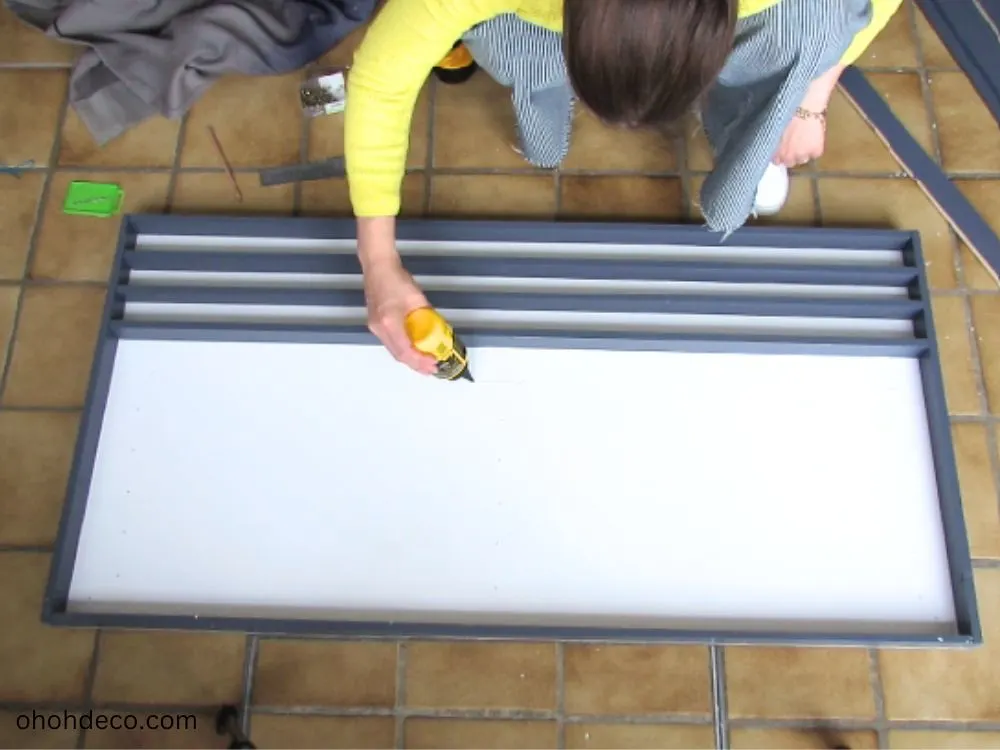

Glue each shelf individually and secure it in place. Make sure the shelves are level and 5 cm apart.
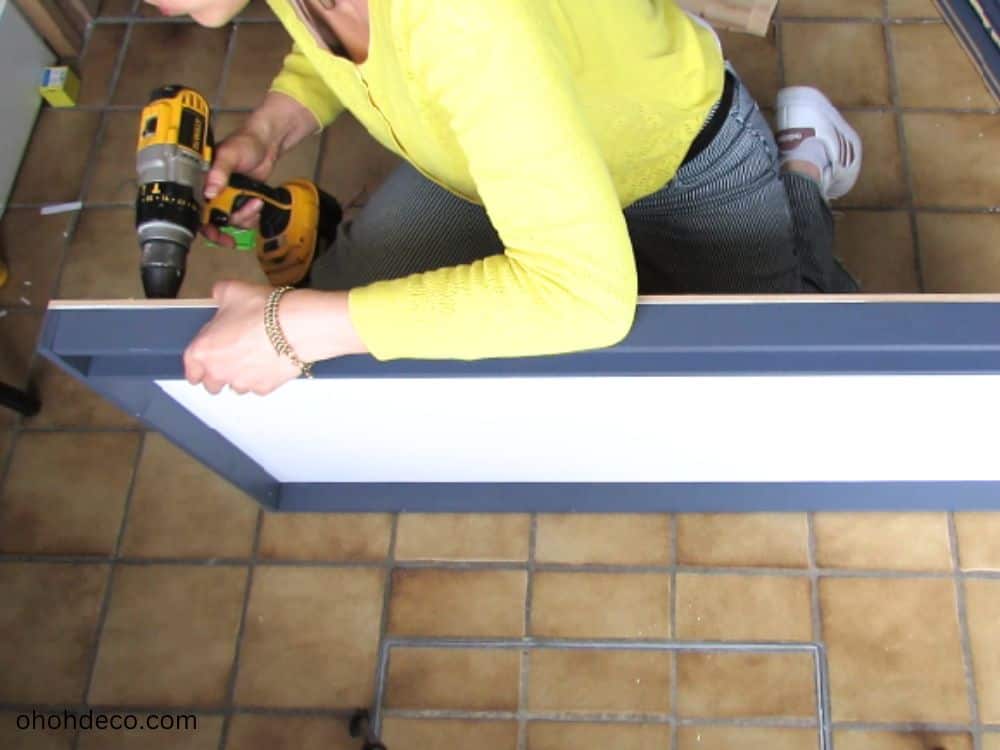


The holes in the board you made earlier will help you easily install each shelf in place.
Decorate
When it comes to decorating your toy car display rack, the options are endless. Consider adding a pop of color with some decorative accents or stickers that reflect your personality and style.
You can also get creative with themed decorations to complement your die-cast set, such as mini road signs, trees, or even a mini garage.
>>>> Download Printable Parking Signs


The key is to make your display rack unique and eye-catching to showcase your toy cars in the best possible way.
Not only will this personal touch highlight your collection, it will also create a visually appealing focal point in any room.
So, let your creativity run wild as you decorate your toy car display rack to make it truly one of a kind. With the right decorations, your die-cast collection will be displayed in a way that reflects your passion for collecting toy cars.
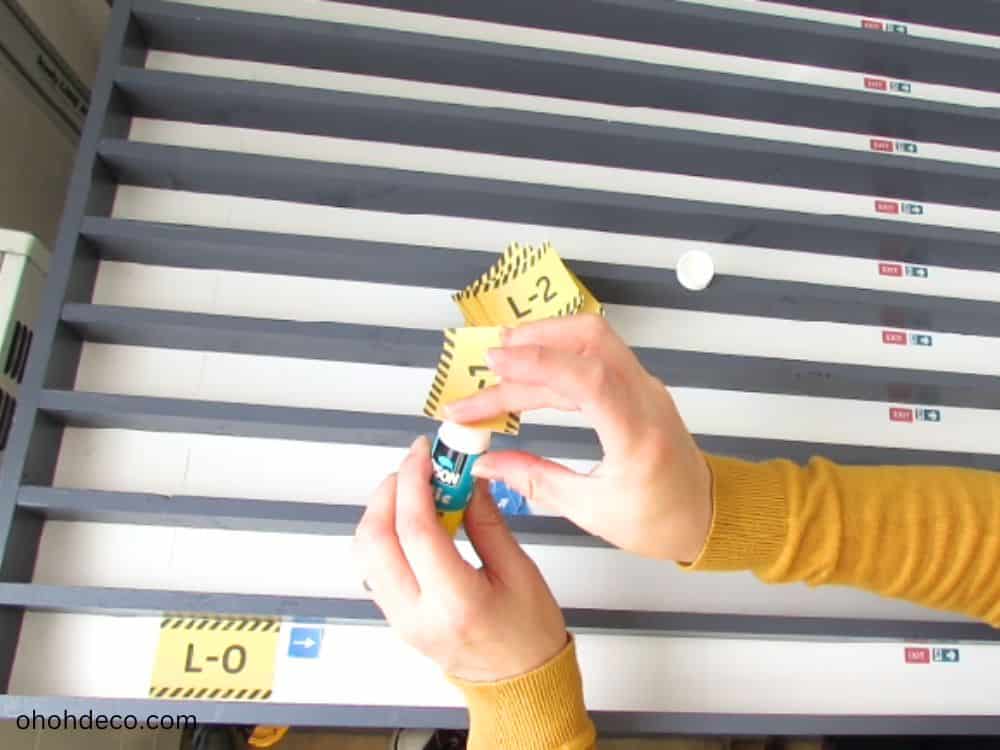

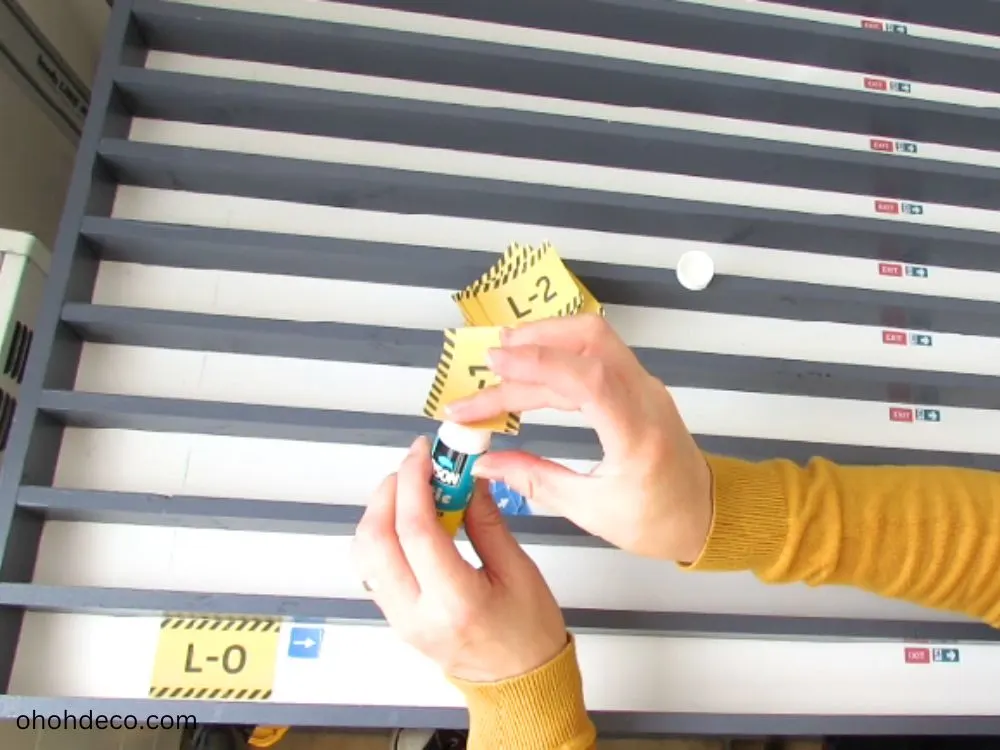

I chose to customize the cast display to resemble a parking lot. If you like the idea, you can download the PDF and print it.
Cut out the shapes and paste them anywhere you want on the screen to create your parking lot decoration.
Car display rack hanging toy
It’s time to hang your toy car rack on the wall. Choose your favorite spot… or any available space to display more cars :).
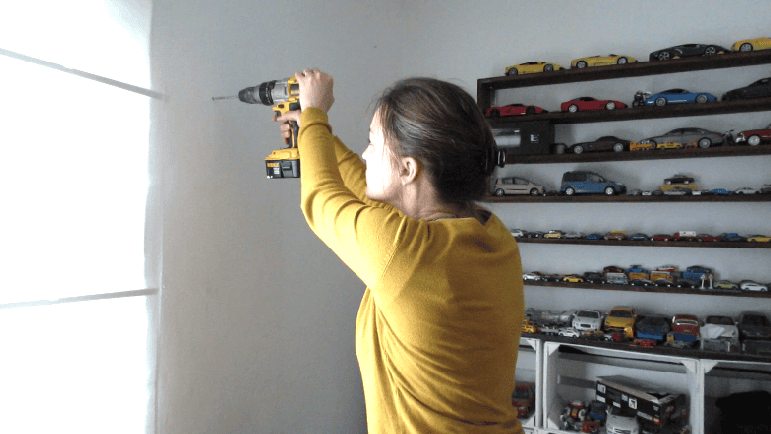

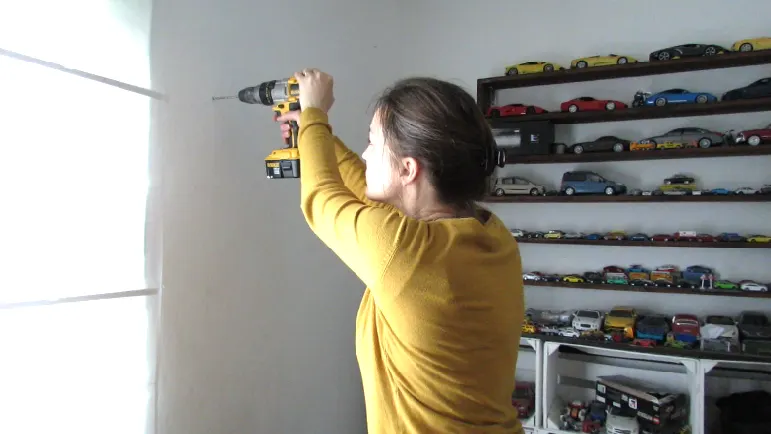

Drill two small holes on the back of the shelf, one on the left and one on the right.
Have someone help hold the shelf, make sure it is straight with a level, and then mark where the holes will go.
Drill two holes in the wall and then put in the wall plugs.
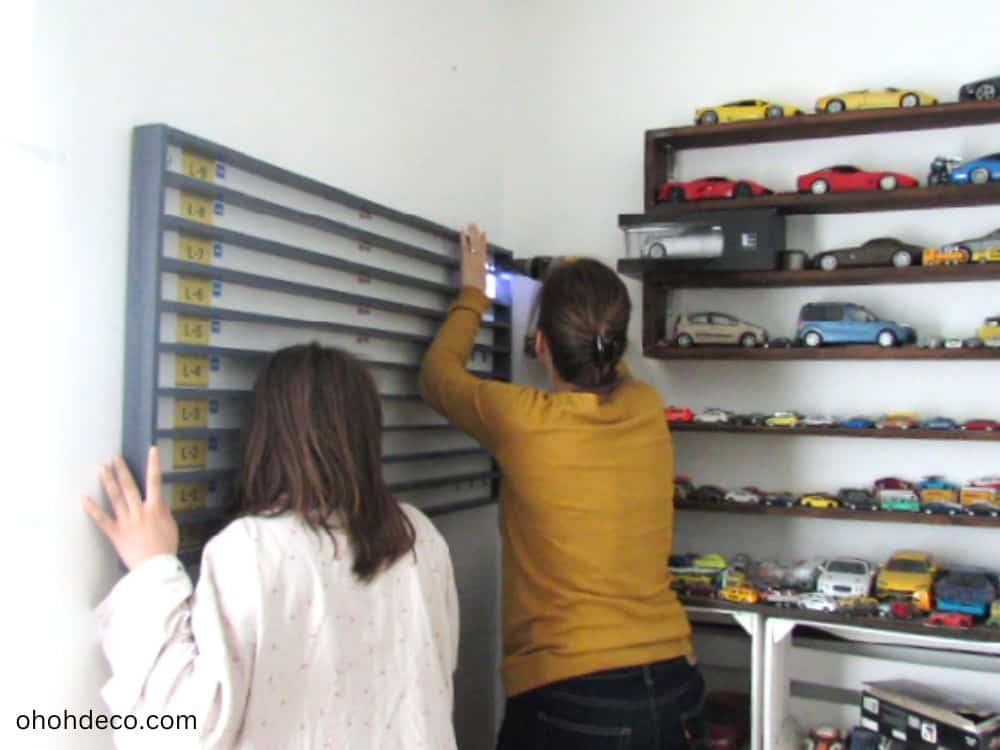


With someone’s help, you can hold the shelf in place and drill it into the wall using washers and screws.
Show your collection
It’s time to showcase your diecast car collection, and the key is to make it unique and eye-catching.
Showcase your toy cars in the best possible way.
Not only does this make your collection stand out, it also creates a visually appealing focal point in any room.
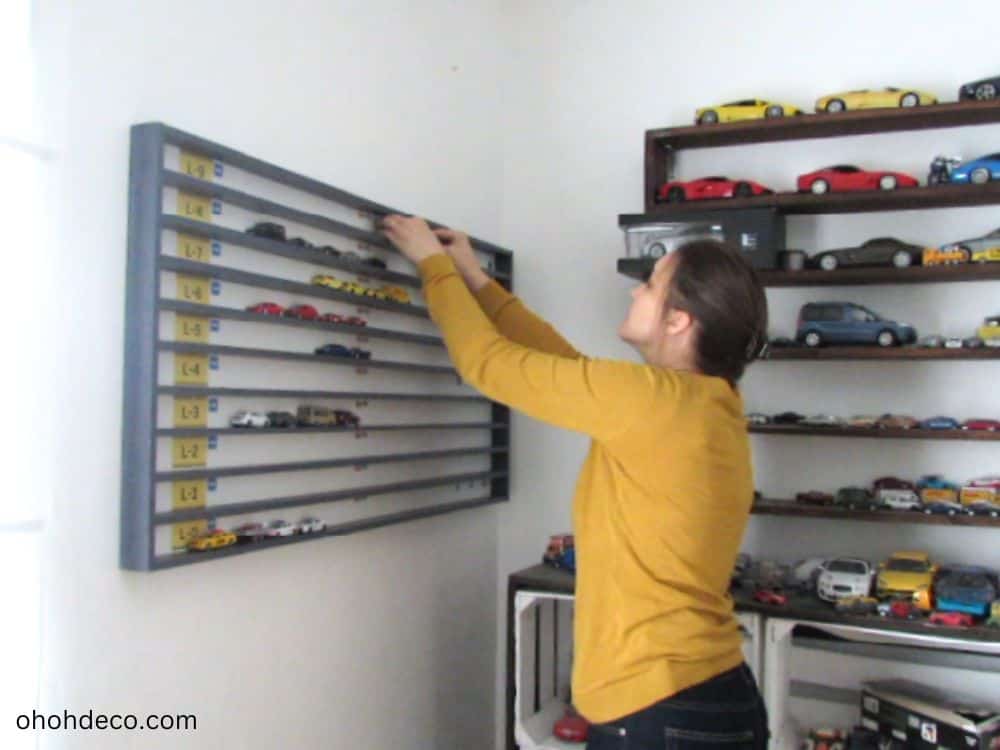

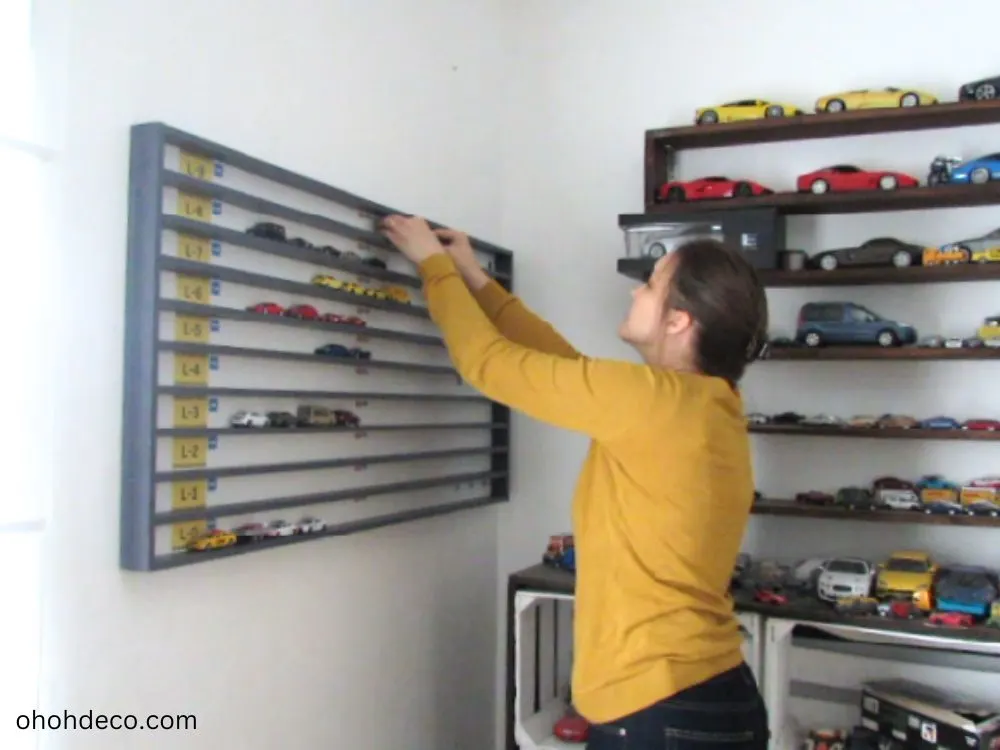

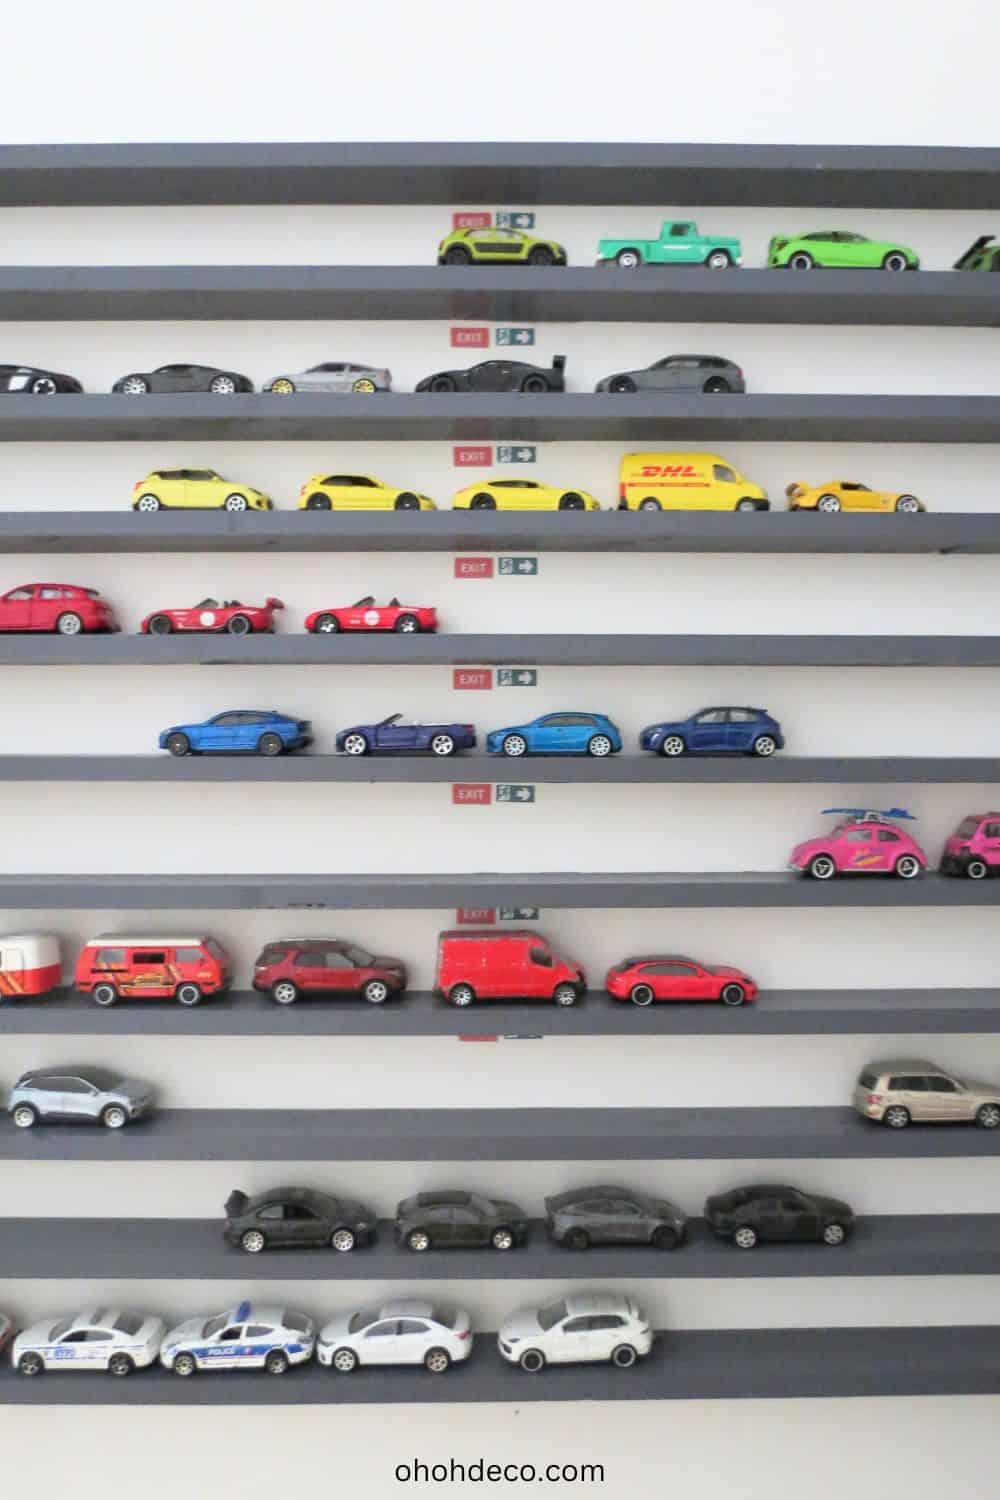
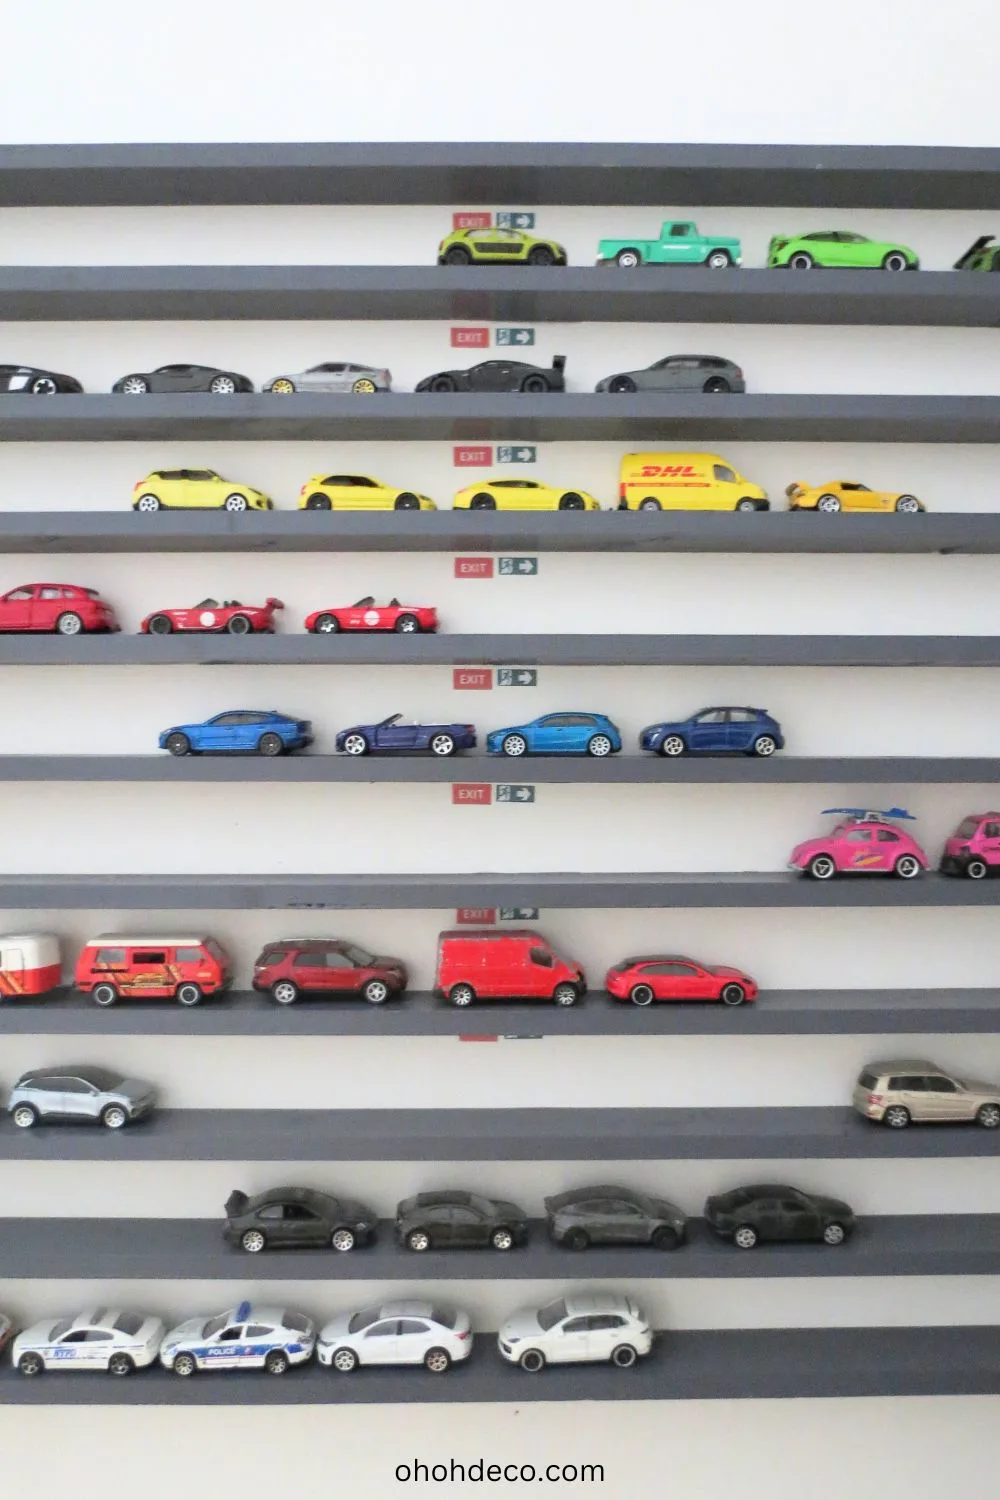
I chose to display the cars by color… My son told me it would be better to organize the cars by makes and models. Then he would have to reorganize everything in his own way.
If you like the wall shelves I built to display my 1/18 scale car collection, check out the DIY Box Shelf.
Storage boxes are also something you can make yourself. I made them to organize books and toys… but as time went on and my son’s car collection grew, they turned into car storage as well.
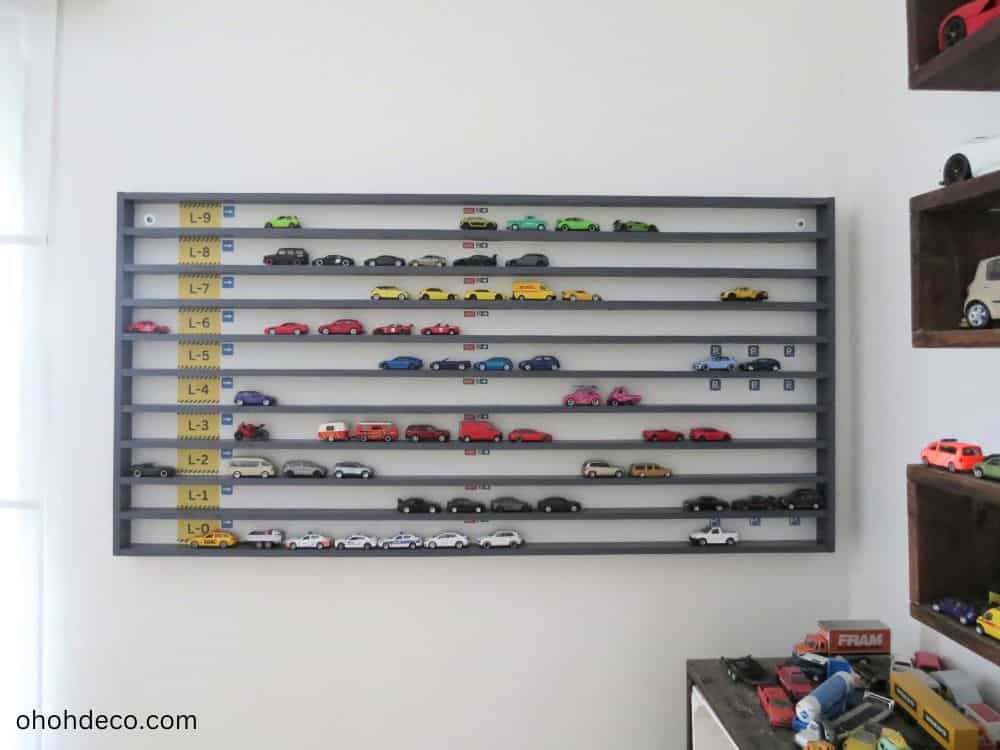














In conclusion, by following the steps outlined in this guide, you can transform your collection of metal cars from ordinary to extraordinary.
Displaying your favorite toy cars on a DIY display rack will not only impress other collectors, but will also add a new level of satisfaction to your hobby.
So, what are you waiting for? Start creating your own unique display rack today and revolutionize the way you display your collectibles.
Make your collection shine with a display rack that is as unique and distinctive as the cars it contains.
Related: DIY 1/18 Scale Car Racks
Related: How to Build Custom Storage Shelves on Your Own on a Budget
Want to remember it? Save this toy car display rack to your favorite Pinterest board.


Amaryllis

