This makeover of my studio office was an example of “make it as you go.” When I started the renovation, I had a general idea of what I wanted the office to look like when it was finished, but I didn’t have any specifics. I knew I wanted to add some decorative panels to the sides, and I knew I wanted to add some drawers. Beyond that, the details evolved as I went along with this project.
“Make it as you go” doesn’t always work, as I shared in my last post about this office. But last night, I finally finished building the base. Now I just need to do some sanding, caulking, priming, and painting, and the base will be done. So let me show you what I did to get to this point.
First, let me go back and remind you of the mistakes I made in my first attempt at adding panels to the existing office. I didn’t just install the decorative side vine panels upside down. (In my opinion, the vines needed to “grow” up, not down.) But I also made the mistake of thinking that I could just add boards to the inside of the top area to hide the drawers I would be adding.

So what I ended up with was this – an inverted vine and a top area that looked like it wanted to be an interior panel but failed because the panel was placed too far in. It also looked awkward when the top panel and bottom decorative panel were placed at different points on the 2×2 inch boards that make up the desk frame.


To correct my mistakes, I needed to start by removing the decorative panel. I used my Dremel Multi-Max to cut the edges through the screws that held the board in. This left some holes in the frame pieces, so I had to fill them with wood filler and sand to mitigate the damage.


Then, after cutting the top piece of board on my table to fit the frame pieces, I used a piece of 1/4″ board as a spacer to attach it. This is one of the specialty boards you can find at Home Depot or a craft store.


So I used this as a spacer while installing all the boards to make sure they all fit into the desk frame at the same point.


This is what the top panel looks like when it is mounted inside the frame instead of behind the frame.


It looked so much better that way! I attached it using 16 gauge screws taken through the frame cuts at the top and bottom of the board, and into the edges of the board. (The desktop is currently offline, so I just moved it to get to the top bezel piece so I could reach it and the top edge of the board.)
Then I used the same spacer to reattach the decorative panel.


It looked so much better! Everything seemed planned and deliberate this time. Before, it seemed random and like an afterthought.


In the photos below, you can really see the difference that bringing those top panels forward into the desk frame made. Here’s what it looked like before with the panels attached to the back of the desk frame. As such, the panels were moved back 1.5 inches…


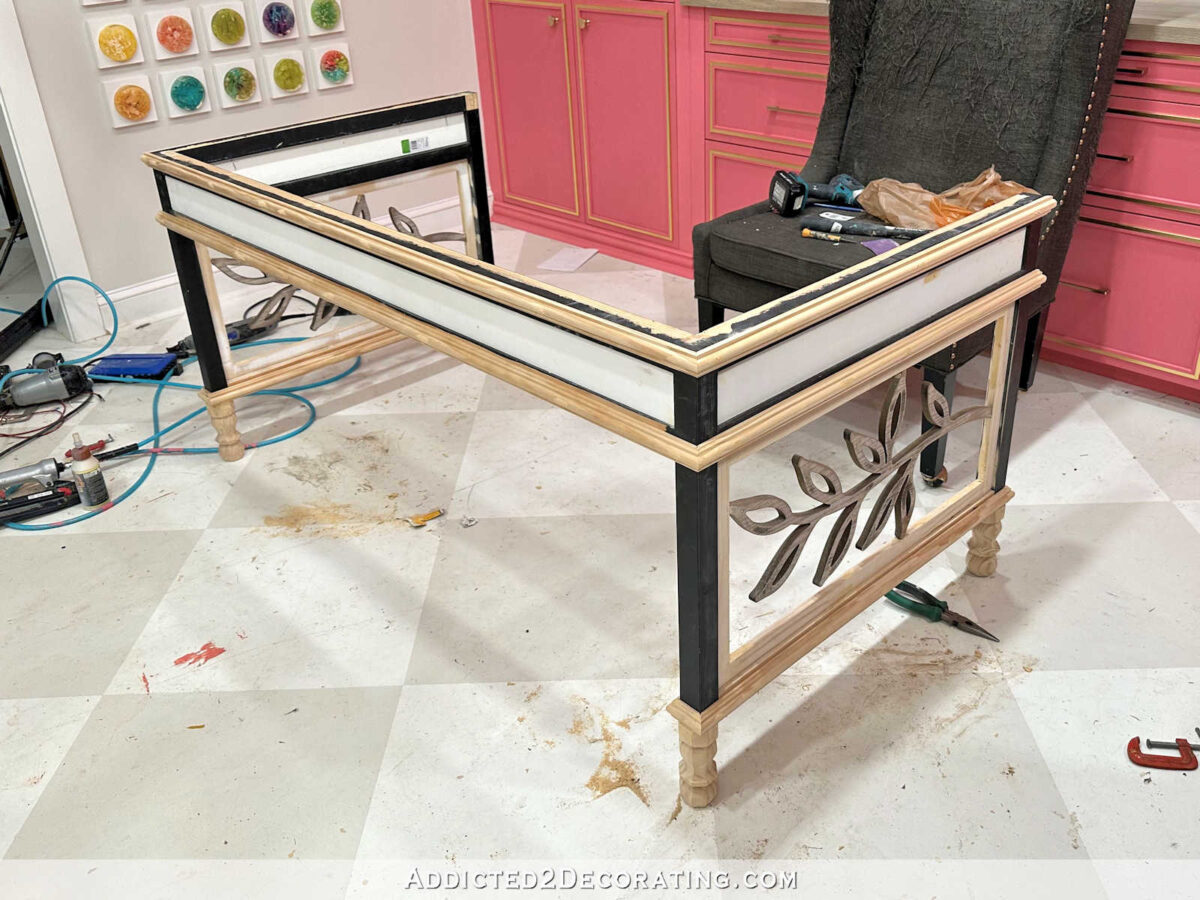
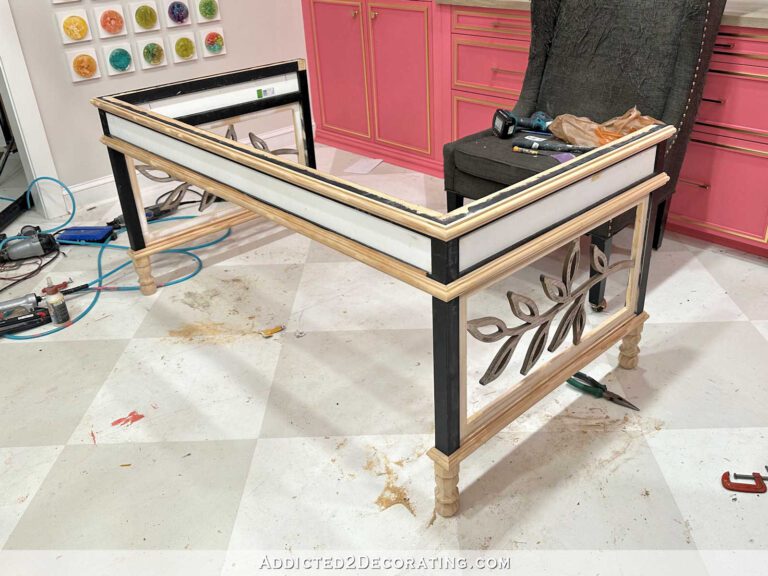
This is what it looks like after cutting the boards to fit the desk frame, and sliding those boards forward into the frame so they are set back only 1/4 inch…


After all the boards were in place, I started adding the trim. This is where I really started getting creative as I went along. 


It looked like I had taken a Parsons table and added trim to it to make it look traditional in style. It looked very strange to me. So I went to Home Depot and bought some furniture legs. The length of the legs from the bottom of the trim below the decorative panel to the floor was six inches. The only six inch furniture legs that were narrow enough to use on my desk that I could find locally were these…


I wasn’t thrilled about it. I have vowed to never use these legs again in any project because they are so ubiquitous in DIY furniture projects simply because they are readily available at both Home Depot and Lowe’s. But I had to either use these items or wait several days for the order to appear online, and I wasn’t willing to wait. So that left me with one option. I had to use these.
So I turned the desk on its back…


Then I used the handsaw to cut the leg below the cut…


And I stayed with this…


Home Depot did not have the metal shims that fit the screw on these legs, and the boards they sell to easily attach these legs to furniture were too large to fit in this area of my desk. So I just drilled a hole in the desk leg smaller than the top of the screw on the furniture leg, coated the top of the furniture leg with wood glue, and screwed it on. I then reinforced it with some nails fired at an angle through the top edge of the legs and angled them into the bottom of the desk leg. Once the glue dried, the new legs were very secure.


After flipping the desk over and repeating this on the back leg, this is what it looked like.


Although these are not my favorite furniture feet, I thought this looked much better than having those simple square legs extending to the floor.


After repeating this process on the legs on the other side of the desk, the basic construction of the desk base was completed.


I finished filling all of the wood last night before I went to bed (nail holes, bevels, etc.), so hopefully I can finish this base today.


I’ll need to sand down all the wood filler, then prime and quickly sand everything again before painting. I’ll also need to do some sanding to fix up some areas around the trim panels where my Dremel Multi-Max left some really rough bits. But I’m really hoping I can get this done today and get started on the desk. I won’t be able to attach the drawers until the desk is finished and in place.


But it’s going great! I was having doubts about halfway through. In fact, I started thinking that I should go online and buy a new desk. The only reason I decided to go ahead was because I had already bought the walnut veneer for the top, and I didn’t want to waste it. So I just kept going. And I’m so glad I did! I think once this desk is finished, it’s going to be really beautiful, and a unique piece for my studio.

Addicted 2 Decorating is where I share my home decorating and project journey, renovating and decorating the 1948 home my husband Matt and I purchased in 2013. Matt has MS and can’t do any physical work, so I do most of the work around the house myself. You can learn more about me here.

