
")
Yes, the floors have been completed !! Oh my God, this seems to have just purified a big obstacle. What a relief! I mean, I wiped an obstacle, but it is an obstacle at the beginning of a very long race. But I am comfortable, however.
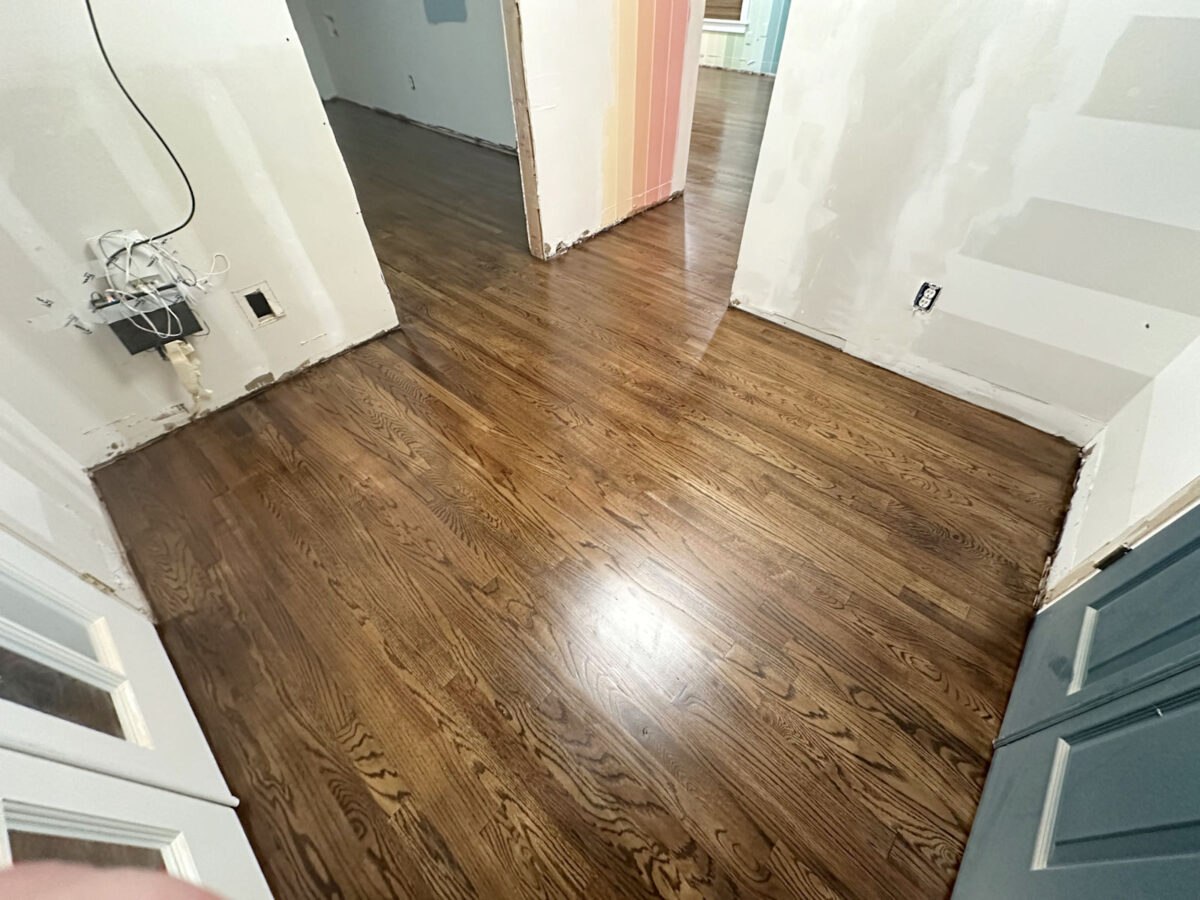
Here is the end result.
The funny thing is that, with naked feet that walk across the floors, I can say a big difference between the floors before sanding (i.e., the floors that only contained coats of the stain/polyurethane mixture) and the floors now after they were sand and polyurethane with the last clear casing of the poly. These floors are very soft now and feel soft butter. But in the pictures, there is no difference.
Here is the floor with polyurethane mixture coats/stain on the left, the final floor after sanding and adding this final coat of polyurethane to the right. It is difficult to know a difference in the pictures, right?
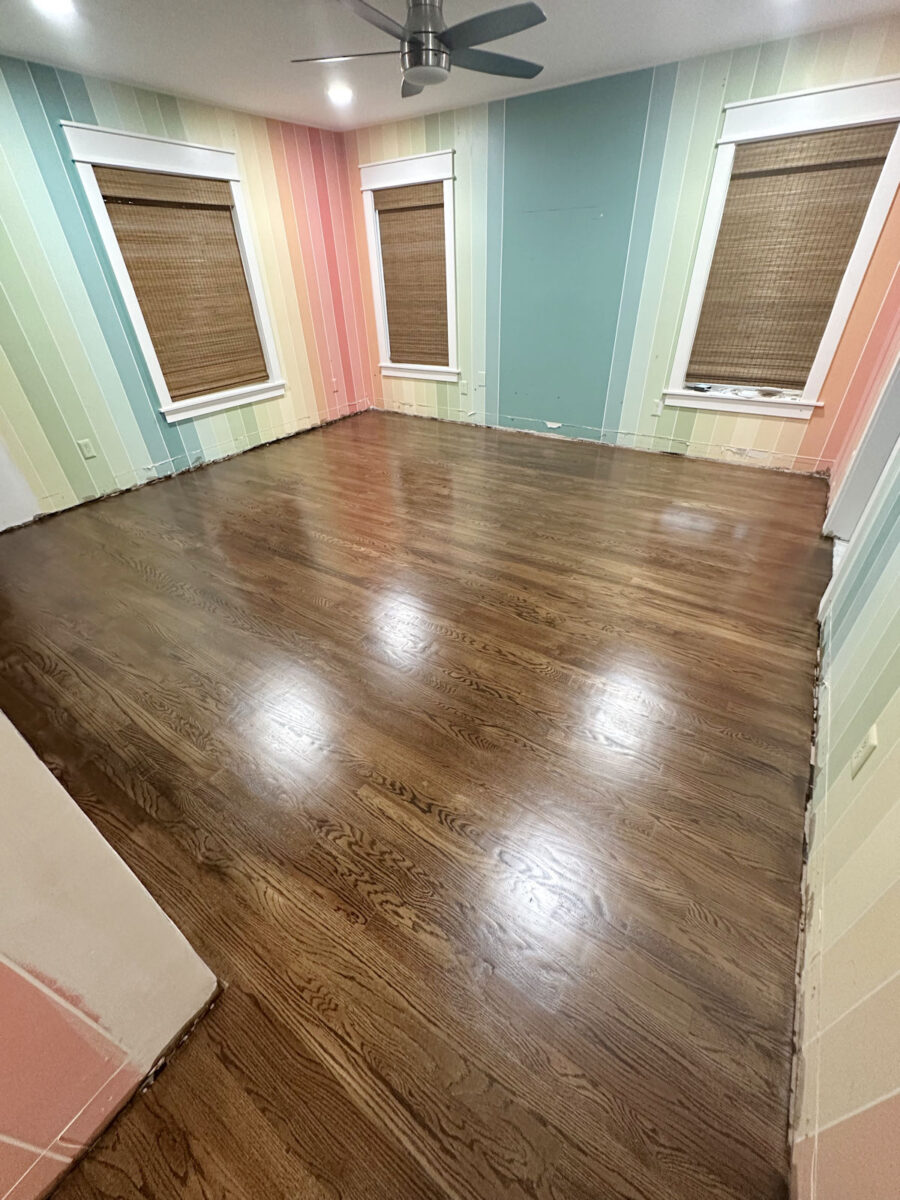
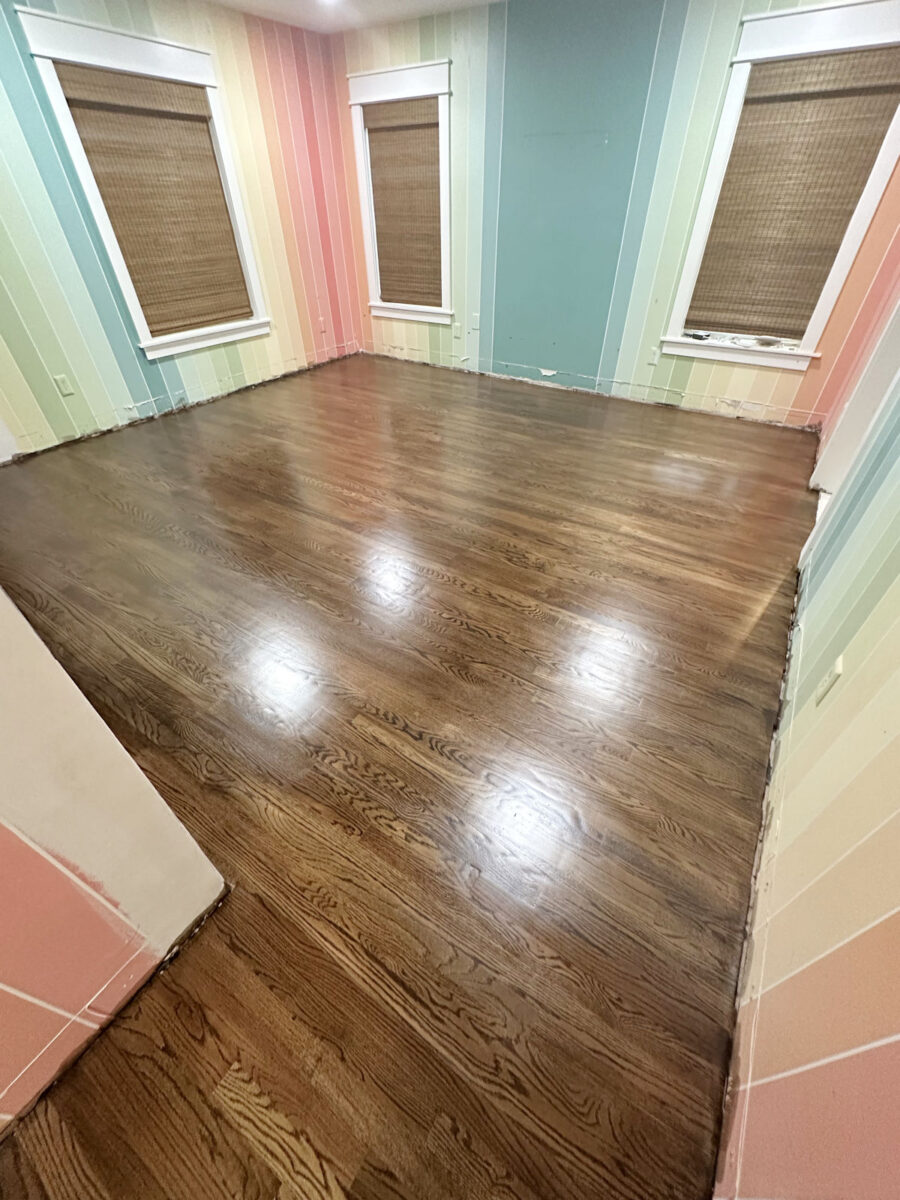
So I think you just have to take my words for that. The difference in how he feels big.
I thought the shine might be slightly less after this final coat of polyurethane satin, but there is no really big difference. Unfortunately. Flooring reflects everything – striped walls, black wall, lights and everything else.

This is one of the main reasons that I don’t like shiny finishes. Fluencing the real color because it reflects the things around it. Also, the luster I worse, the more defects appear.
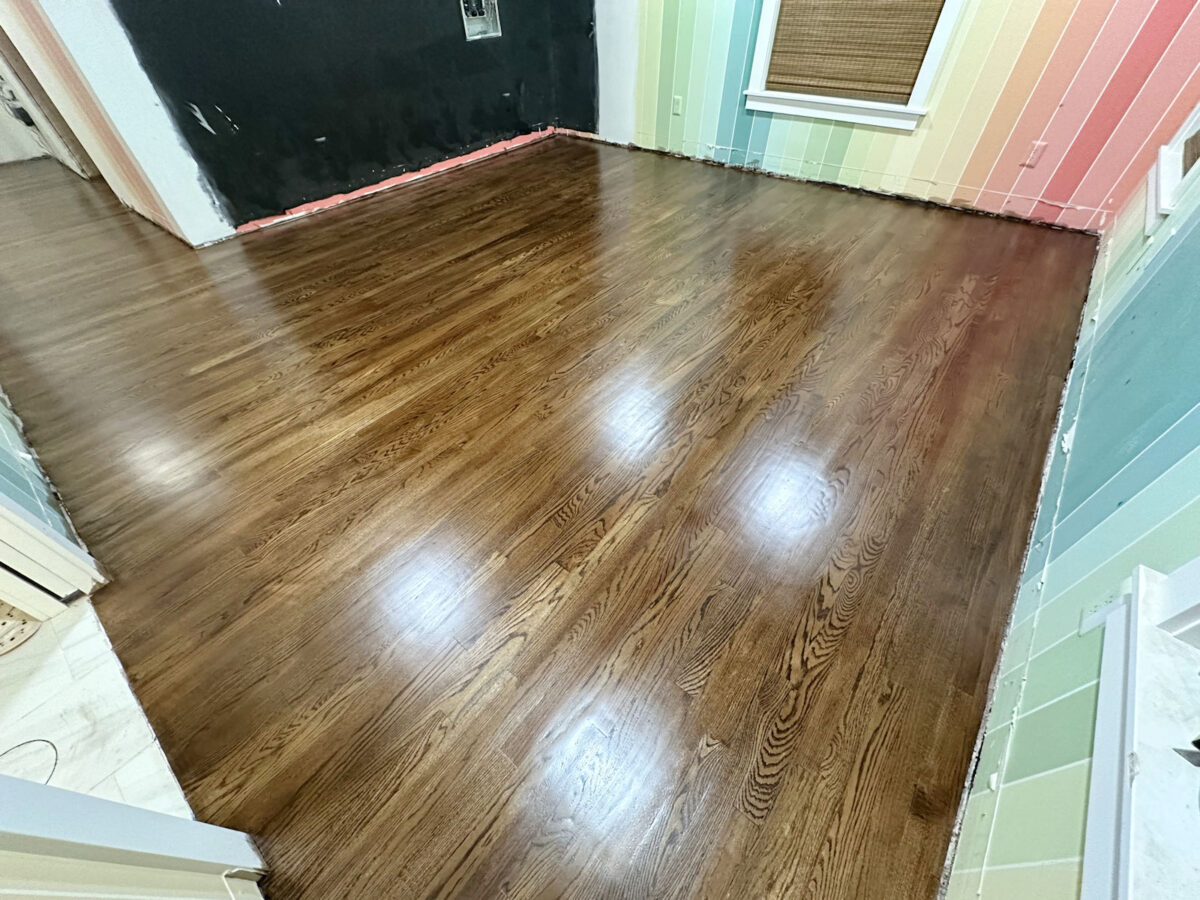
There are a lot of defects, especially on the path of animal fur and my hair that occurred in the polyurethane. I tried to pick up the largest possible number and take them out when I saw them, but when I had a 100 -pound dog, it receives the equivalent of Chihuahua once a week, almost impossible to capture them all. I emptied and washed away twice before putting this last coat from the Polly on the floors. However, it is impossible to get rid of them.

But we hope that the floors will be dark, and since no other person will examine my floors the way I do, no other person will notice the few Cooper’s hair besieged on our ground at least for the contract or the next decade.  In general, I am very happy with how the floors appear.
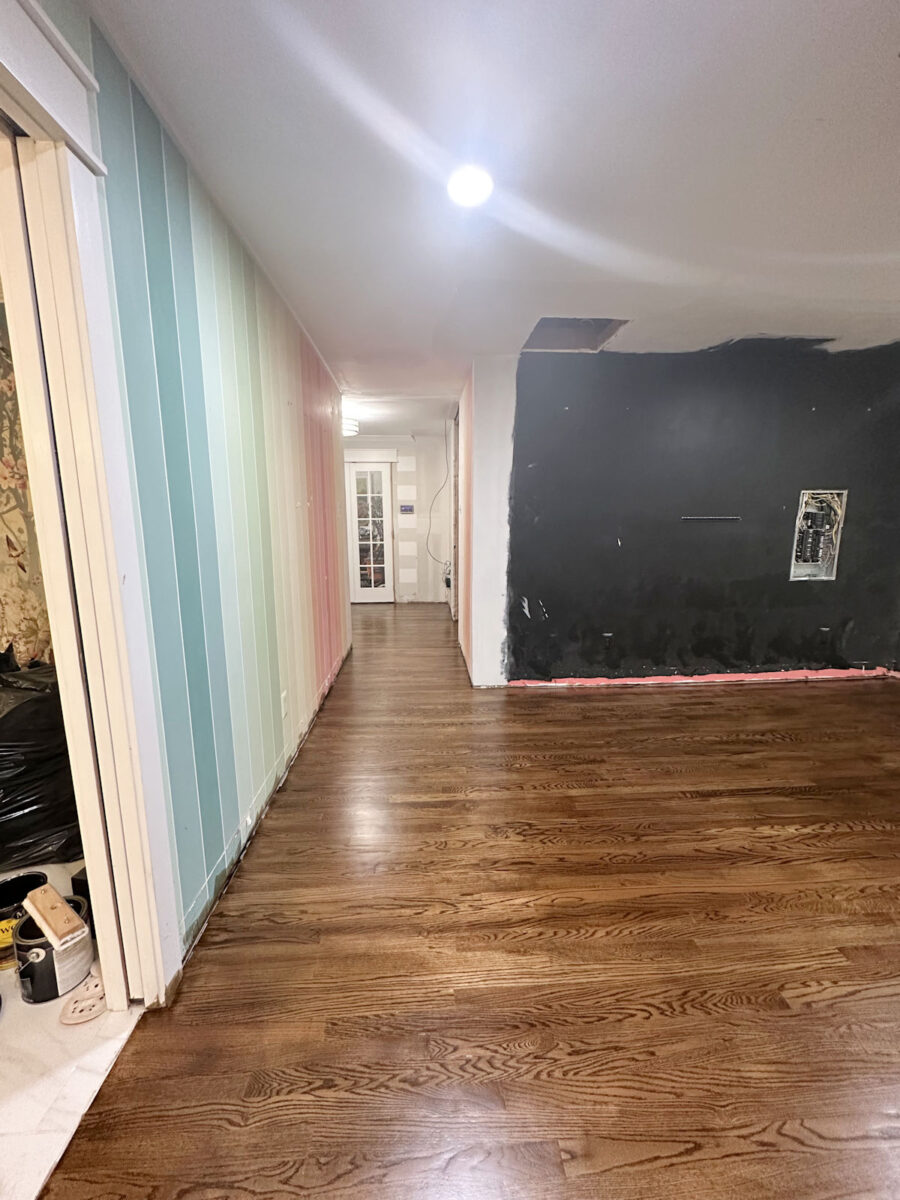
Finally, here is a look at the cabinet – the room with a little light now.

I still decide the type of lighting that I want to add to this room, but the final room will be brighter than it is now.

But the floor has been completed, and now it has become fun!
This leads me to the cabinet. As you know, I want to focus on my wardrobe first because my current lack in a wardrobe is something that affects my life more than others now. He died while sleeping well in the breakfast room. But what negatively affects my life and peace of mind is that all my things spread to the house. Our bathroom is at one end of the house, my clothes in the sun room, my shoes and handbags in my studio.
In addition, there is a fact that I hadn’t had a work dryer since mid -December when the contractor canceled my dryer so that he could withdraw this wire (the dryer requires 220 outlets and wires larger than everything else) from the sun room and put it on the new site. So, one of my first priorities, as soon as I feel that the floors have spent enough time to dry them so much that I will not spoil them, will be to get a washing machine and dryer in its new sites. (Don’t worry. The floors will be covered.)
So at least now, my clothes wardrobe will be my priority. I may take a break here and there and do a project for the bedroom and the air, but I hope to complete the cabinet as soon as possible. This leads me to yesterday and plans the cabinet.
I sat on my office to know my purchase menu and the cabinet menu, and I got certain details that could have a significant impact on the total price of the cabinet. This details are the depth of the cabinet. Throughout this time, I was planning to build the tanks with a depth of 20 inches. This is the depth that appears here. All tanks are on the circumference of the room in a 20 -inch depth, and the three sections on each side wall are 46 inches wide.

But if you make one small change, these tanks of plywood will require much lower for construction, which will save me a lot of money. If you make 20 -inch cabinets, I can only get two pieces of one plywood. But if I change the depth to 16 inches, I can get three pieces of one sheet of plywood. The plywood is very expensive these days, so it can add one change to a large saving.
I know these are small details, but they are details of a big difference. The width of the hangers that I use is 17.5 inches, and this is without an article of clothes.

It is very common for the depths of the cabinets to range from 14 to 16 inches, which means that hanging clothes exceed the tank frames. In fact, I would like to say that this is the most common depth that you see when passing through tank images.
This is what I see more when I scroll through cabinet pictures. In fact, this depth will work better, and makes much more, for the side of the cabinet that will often be shelves. It is completely logical to shoes, handbags and folded clothes on the 16 -inch shelves instead of 20 inches. I plan on one side of the entire cabinet to be nothing but shelves and drawers. These drawers are wide, so they are not needed to be really deep.

But the only thing that I continue to return to is the idea that I would like, at some point in the future, to add doors to the tanks if I find that dust is a problem. I can not really imagine myself. I want the doors on everything, but I live somewhat in it. If you make 16 -inch tanks to hang clothes, this excludes the possibility of being able to put the doors on these tanks.
I know they are small details, but these details are the ones that make a difference. These are the details that I constantly stumble. So you can tell me your thoughts about it. Should I go with the depth of the J16 inches and save a package of money? Or should I adhere to a 20 -inch depth of the possibility (which really looks little, if you are honest) to put the doors on the tanks in the future? * Sigh* Once this decision is made, I am ready to make my final list and buy all supplies to start this room!
A2D daily:
If you want to keep up with the home goals list for my 2025 (and apply with links to the final projects!) You can see that here: 2025 Master List from the home goals

Decorating 2 addicts is the place where I participate in my DIY and Decor journey during the reshaping and decorating the upper part of the installation of 1948 that my husband died, and I bought in 2013. Matt has MS and is unable to do physical work, so I do most of work on the house myself. You can learn more about me here.
 Arabic
 Chinese (Simplified)
 Dutch
Dutch English
 French
 German
 Italian
 Portuguese
 Russian
 Spanish